
This post contains affiliate links. Please see our disclosure policy.
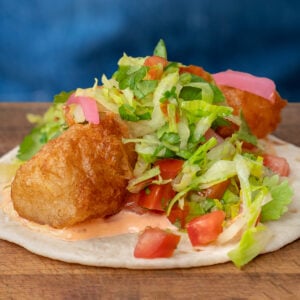
Brittle, crackly beer-battered fish topped with a juicy cold lettuce-tomato salad, spicy sambal mayo, and pickled red onions, all stacked in a fresh floppy flour tortilla.
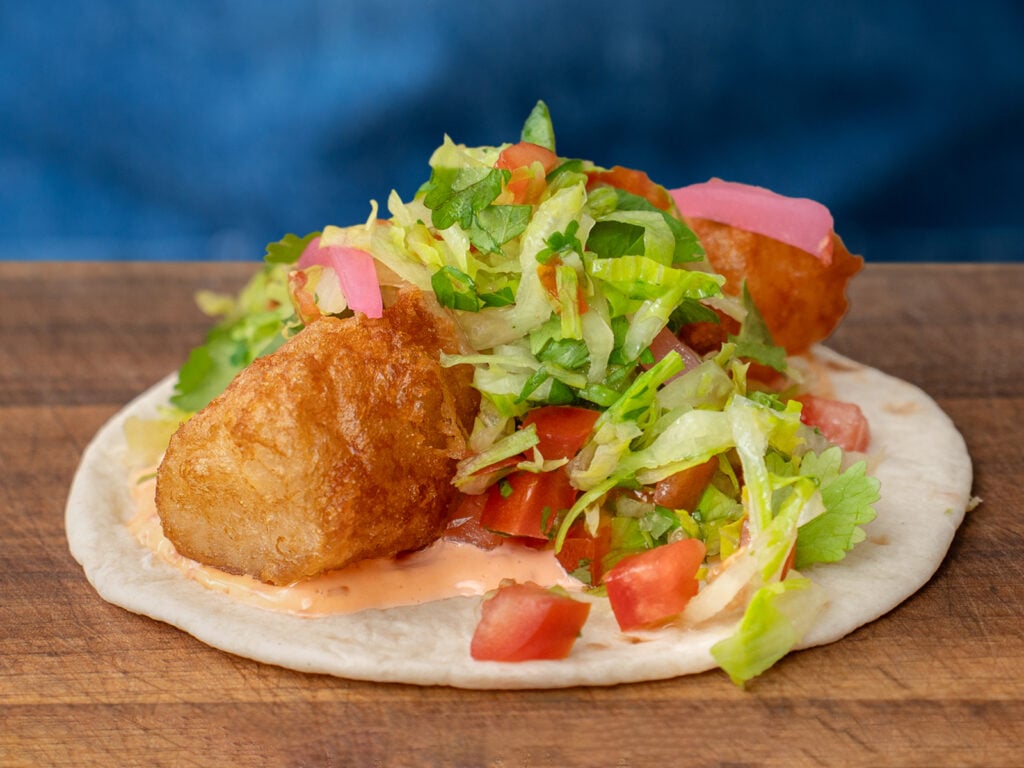
Table of Contents
Why This Fried Fish Tacos Recipe Delivers
Beer-battered fish is not one of those dishes that’s still pretty good when you mess it up. To get a great result you need the correct numbers on the recipe page AND a thoughtful process.
It starts with fresh cod, which in this particular use case, is far superior to frozen. Then instead of going right into the batter, I salt to season and help the fish stay moist. I dredge so the batter stays glued to the fish, then I drop it in a light beer batter that relies on rice flour to achieve a super delicate, glassy crust that shatters when you bite into it.
To finish, I try to honor the crispy fish rather than overpower it with a heavy, fatty slaw or an overly spicy, acidic pico de gallo. Instead, I go with a middle ground that I call “salad slaw.” It brings a fresh, cold crunch and just enough moisture to make the taco feel a little juicy. Finally, I add spicy mayo and pickled red onions for fat, acidity and sweetness. The result is a balanced, deeply pleasurable bite of food.
Brian’s Pro Tips
Salt the Fish Ahead – Season the fish planks on all sides with salt as soon as they’re cut. Then hold them uncovered in the fridge while you prep everything else. Salting ahead of time helps the fish hold onto its moisture during cooking and it seasons more thoroughly than a last-second sprinkle. I do this in most of my meat or fish recipes.
Start the Oil Hotter Than You Want to Fry – Heat the oil to 375°F / 190°C even though the actual frying happens lower. The cold fish and batter immediately knock the temperature down into the 350–365°F range where this batter browns evenly and predictably. If the temp gets too far below this, the batter will soak up oil and take too long to get golden brown which can dry out the cod.
Dredge the Fish – Before battering, I dust the fish with a thin layer of AP and rice flour. In my experience, this does an amazing job of keeping the batter attached to the fish. Fish contains a ton of moisture, and as it cooks, some of that moisture works its way out and can steam the crispy coating right off. The dry starch creates a buffer between the wet fish and the batter, helping everything stay put. This is a classic restaurant move and it makes a huge difference.
Dress the Slaw Right Before Serving – Salt and lime start pulling water out of the lettuce and tomato immediately. Cut everything before you start frying, but wait to combine and season the salad slaw until the fish is in the oil. I didn’t do this in the recipe video for practical filming reasons, but it’s important. The slaw only has about a 15–20 minute shelf life. After that, the lettuce starts to break down from the salt, acid and tomato juices, and everything gets soggy.
During that first 20 minutes, though, it’s fresh, cold, crunchy and the perfect pairing for the crispy fish and rich mayo.
Key Ingredient Notes & Substitutions
Below are the important ingredients and substitutions I’d like to call out in this recipe. The full list of ingredients and amounts is listed in the recipe card below.
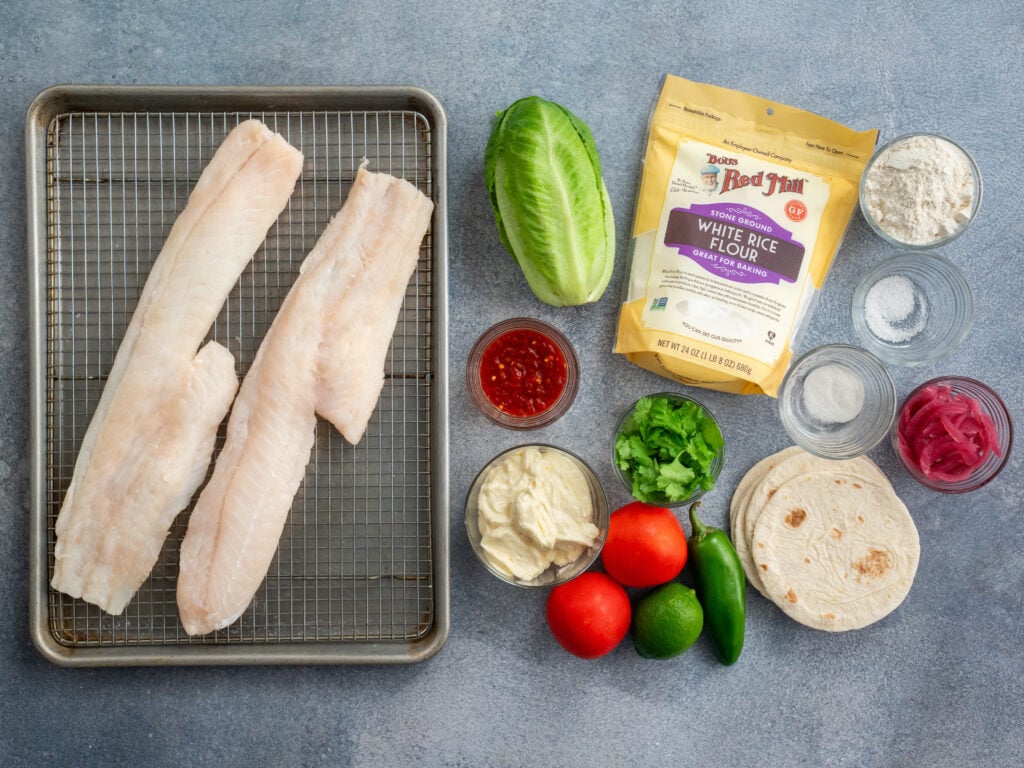
Atlantic cod – I prefer Atlantic cod over Pacific cod, and I prefer fresh over frozen. Fresh haddock is an even better choice if you can find it. Haddock flakes are a little smaller, which I think makes for a better bite. Frozen cod can still work, but it is often quite wet, and the texture can be inconsistent. Like fresh seafood, the quality of frozen fish can vary widely. With frozen fish though, you are judging not only the fish itself, but also how it was frozen and processed in the factory. Some frozen cod products have phosphates or other additives to try and prop up a suboptimal product. If you have a frozen cod fillet you trust and cannot find fresh fish, it is still worth making. Just make sure to dry it very aggressively with paper towels before prepping.
White rice flour – Rice flour has no gluten so it fries up light, crisp and brittle instead of heavy or bready. The all-purpose flour adds enough structure and elasticity to keep the coating together around the fish, while the rice flour makes that structure more delicate and crackly. A 50/50 blend gives you the best of both, and the same mixture also works as the dredge. You can usually find rice flour in the baking aisle or at an Asian grocery store.
Beer – The carbonation works with the baking powder to create small bubbles in the coating. Those bubbles expand when the batter hits the hot oil, producing a lighter, more irregular crust. The alcohol also evaporates quickly, which helps the exterior dry out and crisp faster than a batter made with only water. NA beer works well as a sub. Just don’t try to get fancy with a craft beer. They’re often too bitter, too dark, or too strongly flavored, and they can overpower the fish. Use a basic lager or pilsner. Something that would have a superbowl commercial.
How To Make Baja Fish Tacos
1. Make (or buy) pickled red onions. Bring 200g white vinegar, 200g water, 40g sugar, and 4g salt to a boil. While that comes up, slice a red onion very thinly then rinse well under cold water. Transfer onions to a glass or metal bowl and pour the hot liquid on top. Let cool to room temperature then refrigerate until you’re ready to use.
Tip: If you’re making your own pickled onions for this recipe, I recommend making them the day before to give them time to marinate. Same day works too in a pinch.
Looking for more recipes to use your pickled red onions? Check out my recipes to make 20 Craveable Meals in 1 Hour.
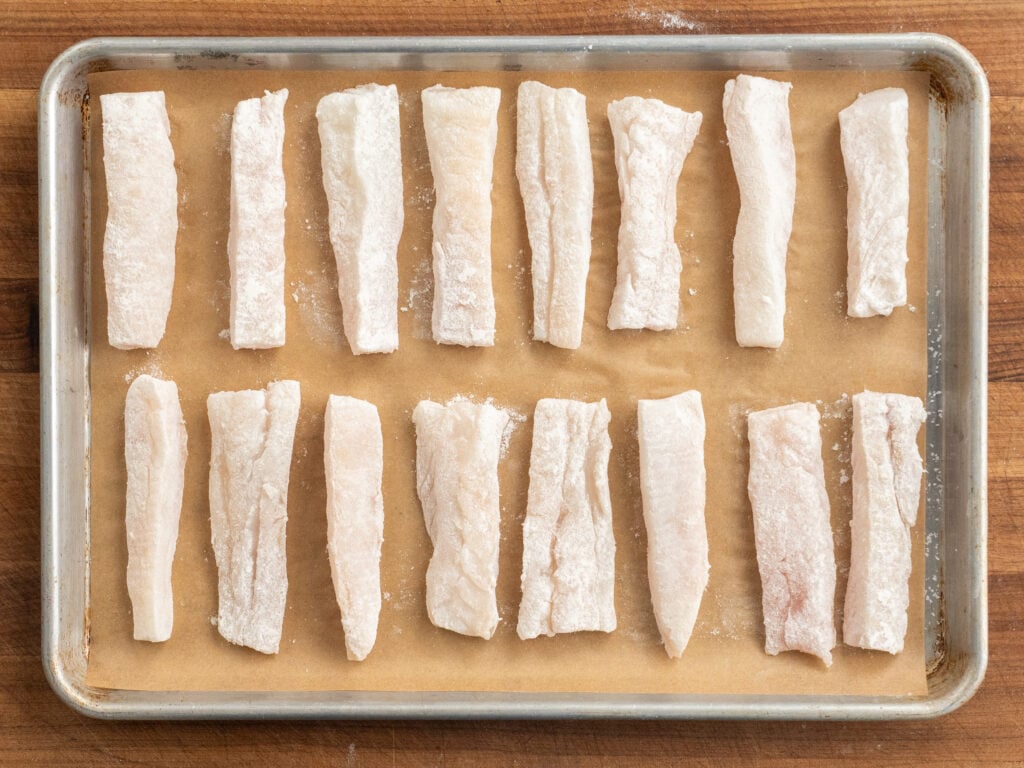
2. Cut the Fish. Start with about 2 pounds of fresh Atlantic cod and cut it into 16–20 pieces, about 1.5 ounces each. Aim for planks roughly 4 inches long and 1–1.5 inches wide.
Try to keep the pieces as close to the same thickness as possible. This shape and size are designed so the fish finishes cooking right around the time the crust turns golden brown. The fish-stick shape also fits perfectly inside the tortilla.
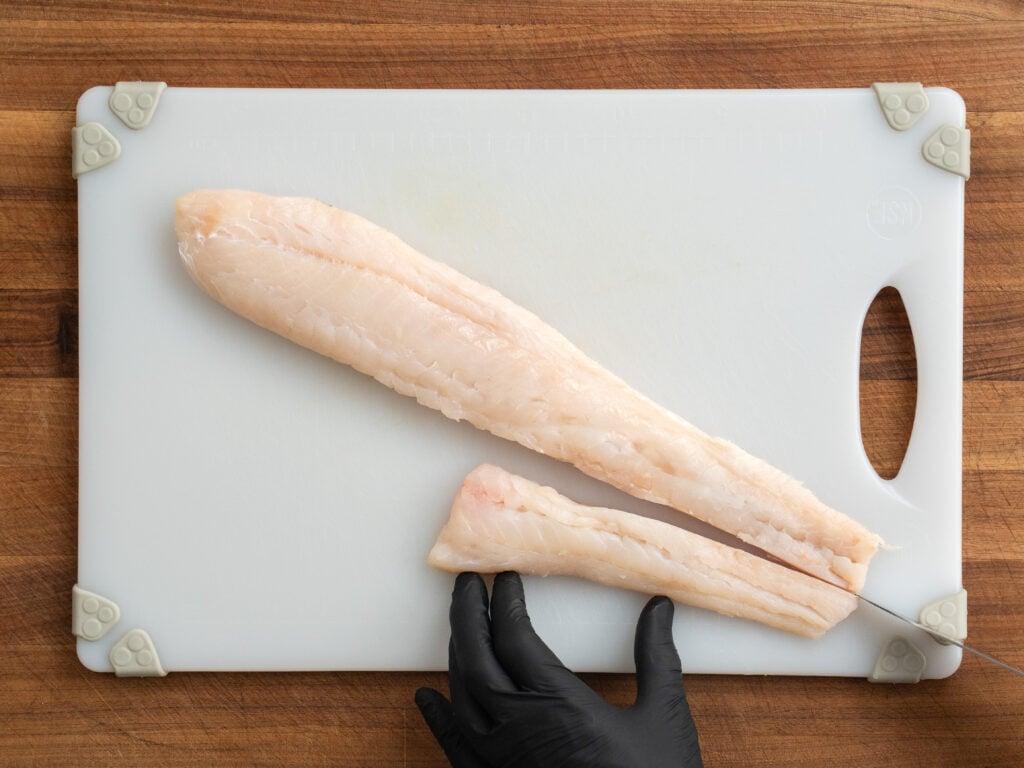
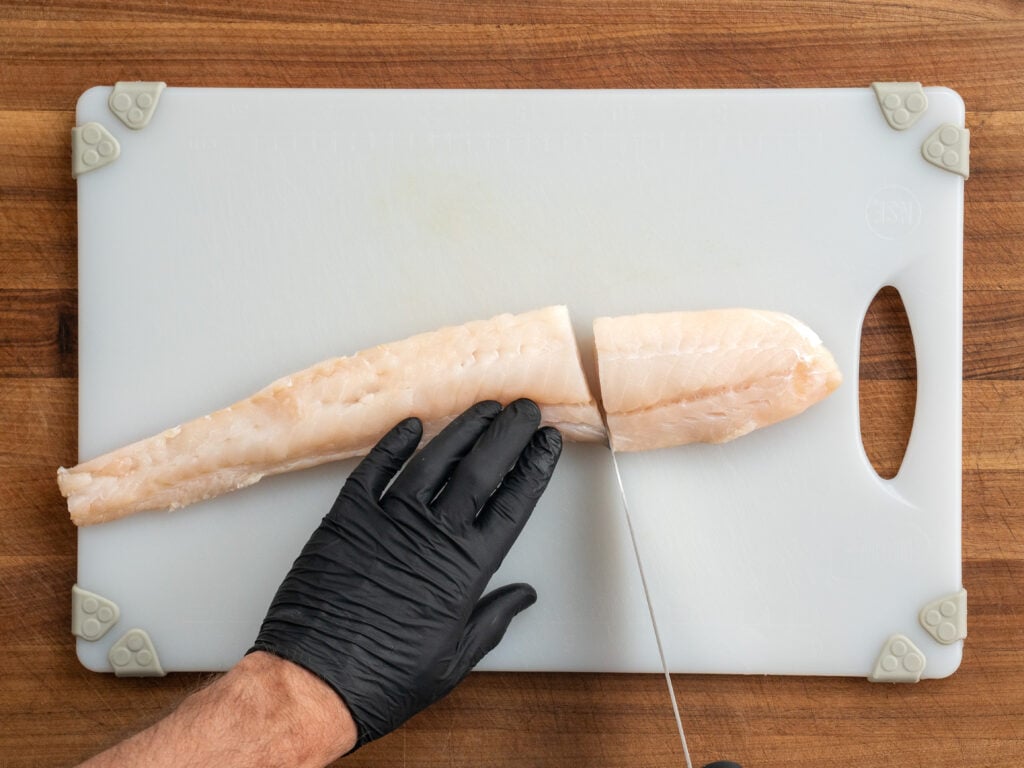
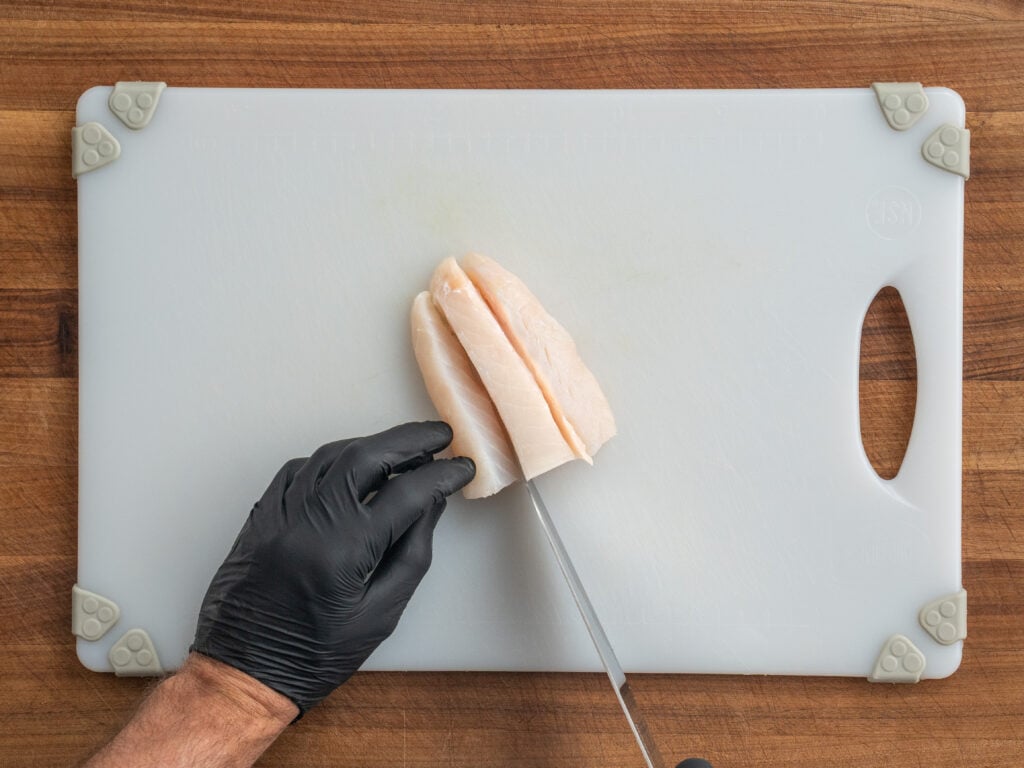
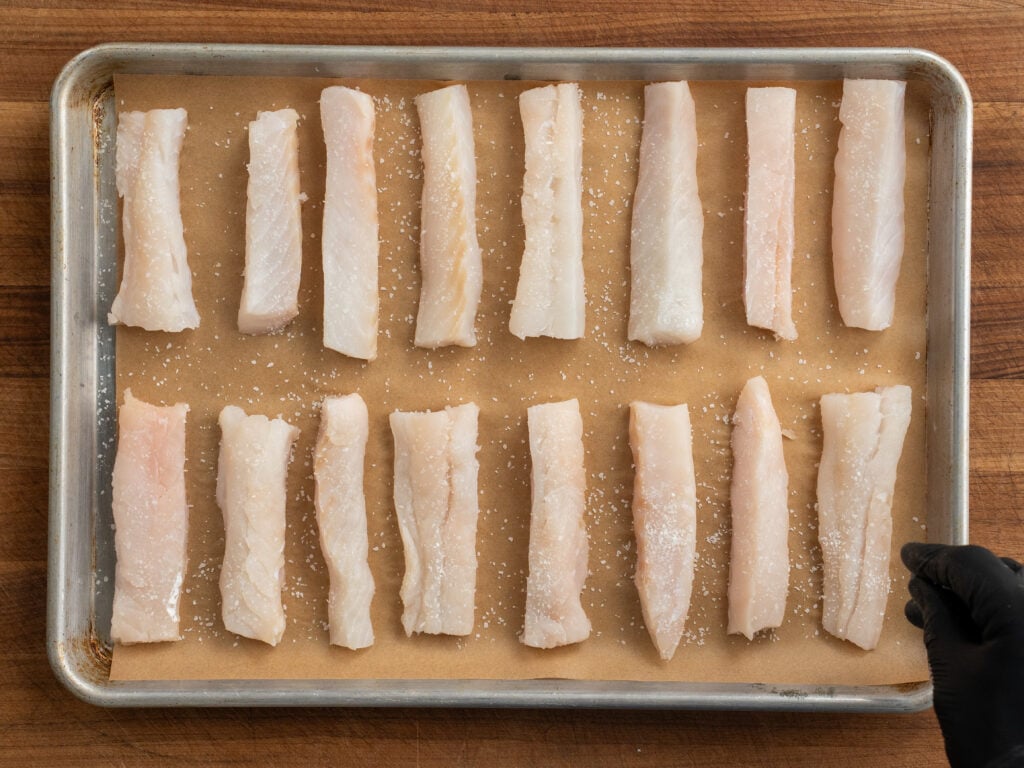
3. Season the Fish. Season the fish on all sides with a small 2 finger pinch of salt, then hold it uncovered in the fridge.
4. Mix the Batter and Chill It. Combine 75 grams of all-purpose flour, 75 grams of white rice flour, 2 grams of salt and 2 grams of baking powder in a medium bowl. While whisking, slowly pour in most of a 12-ounce bottle of beer. Keep whisking until the batter is smooth and no lumps remain.
The final texture should look like thin pancake batter or thin paint. Different brands of flour absorb liquid differently, so judge by appearance and add more beer if needed. Refrigerate the batter until you’re ready to fry.
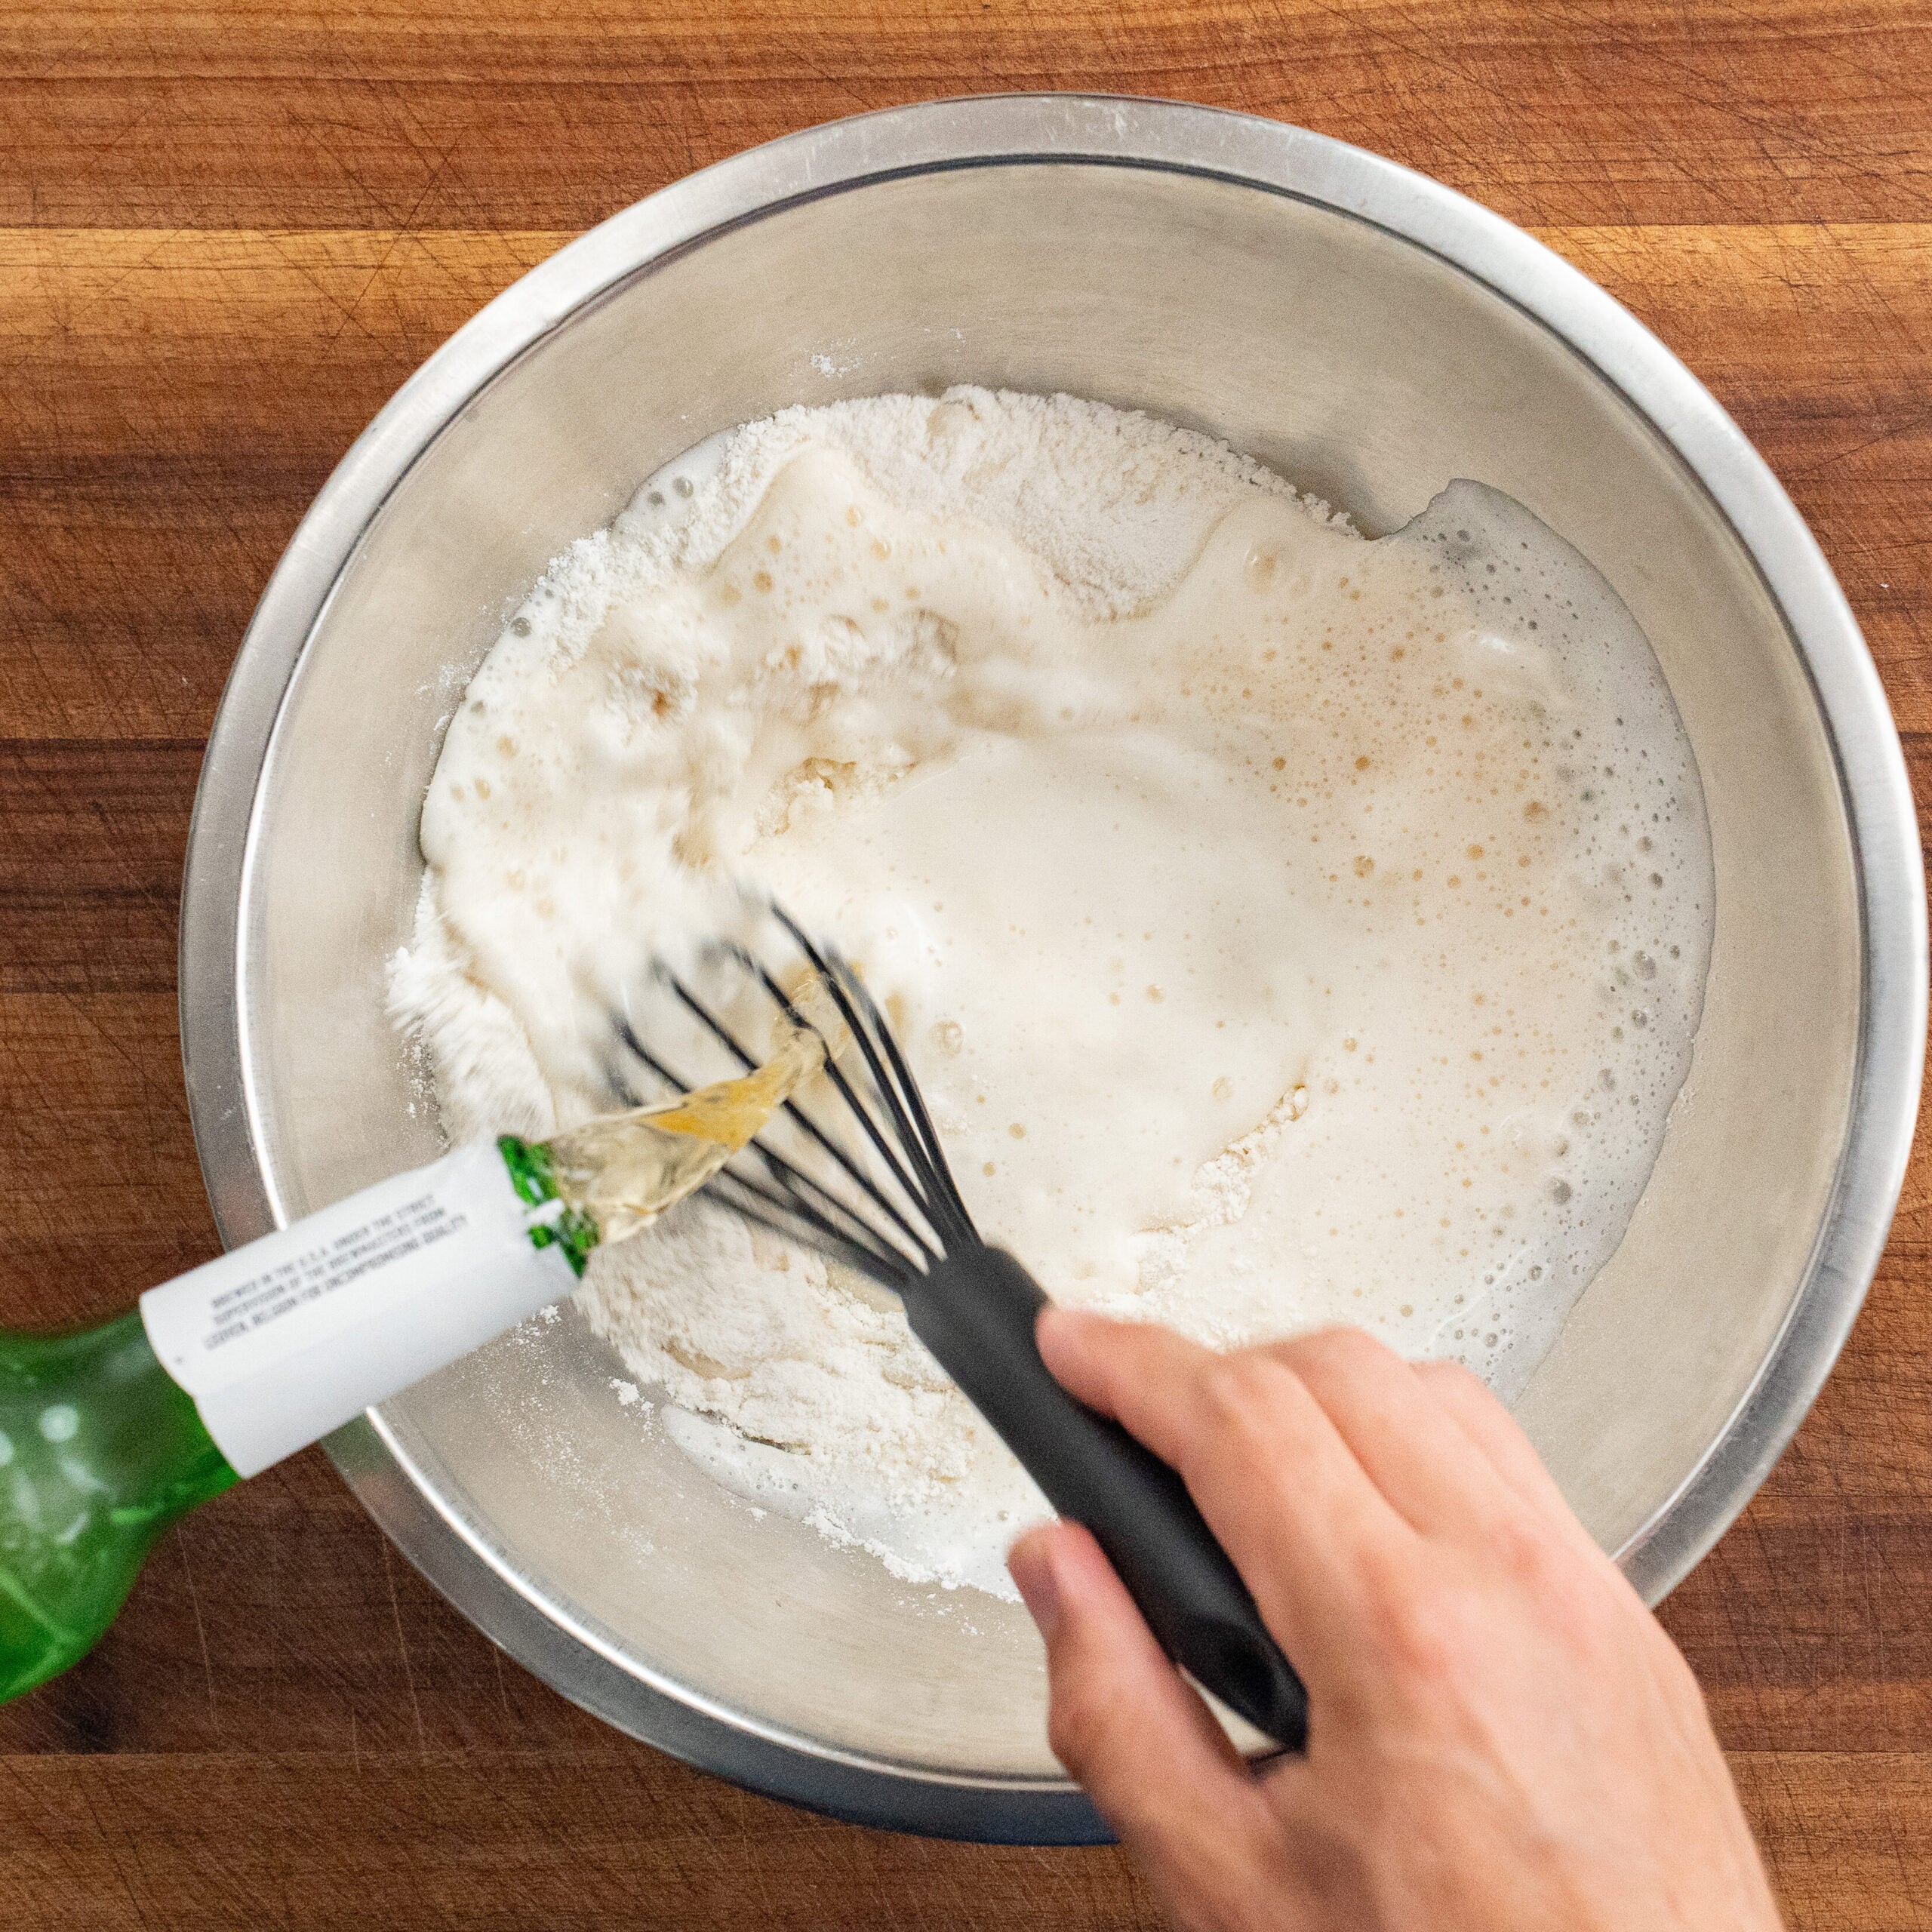
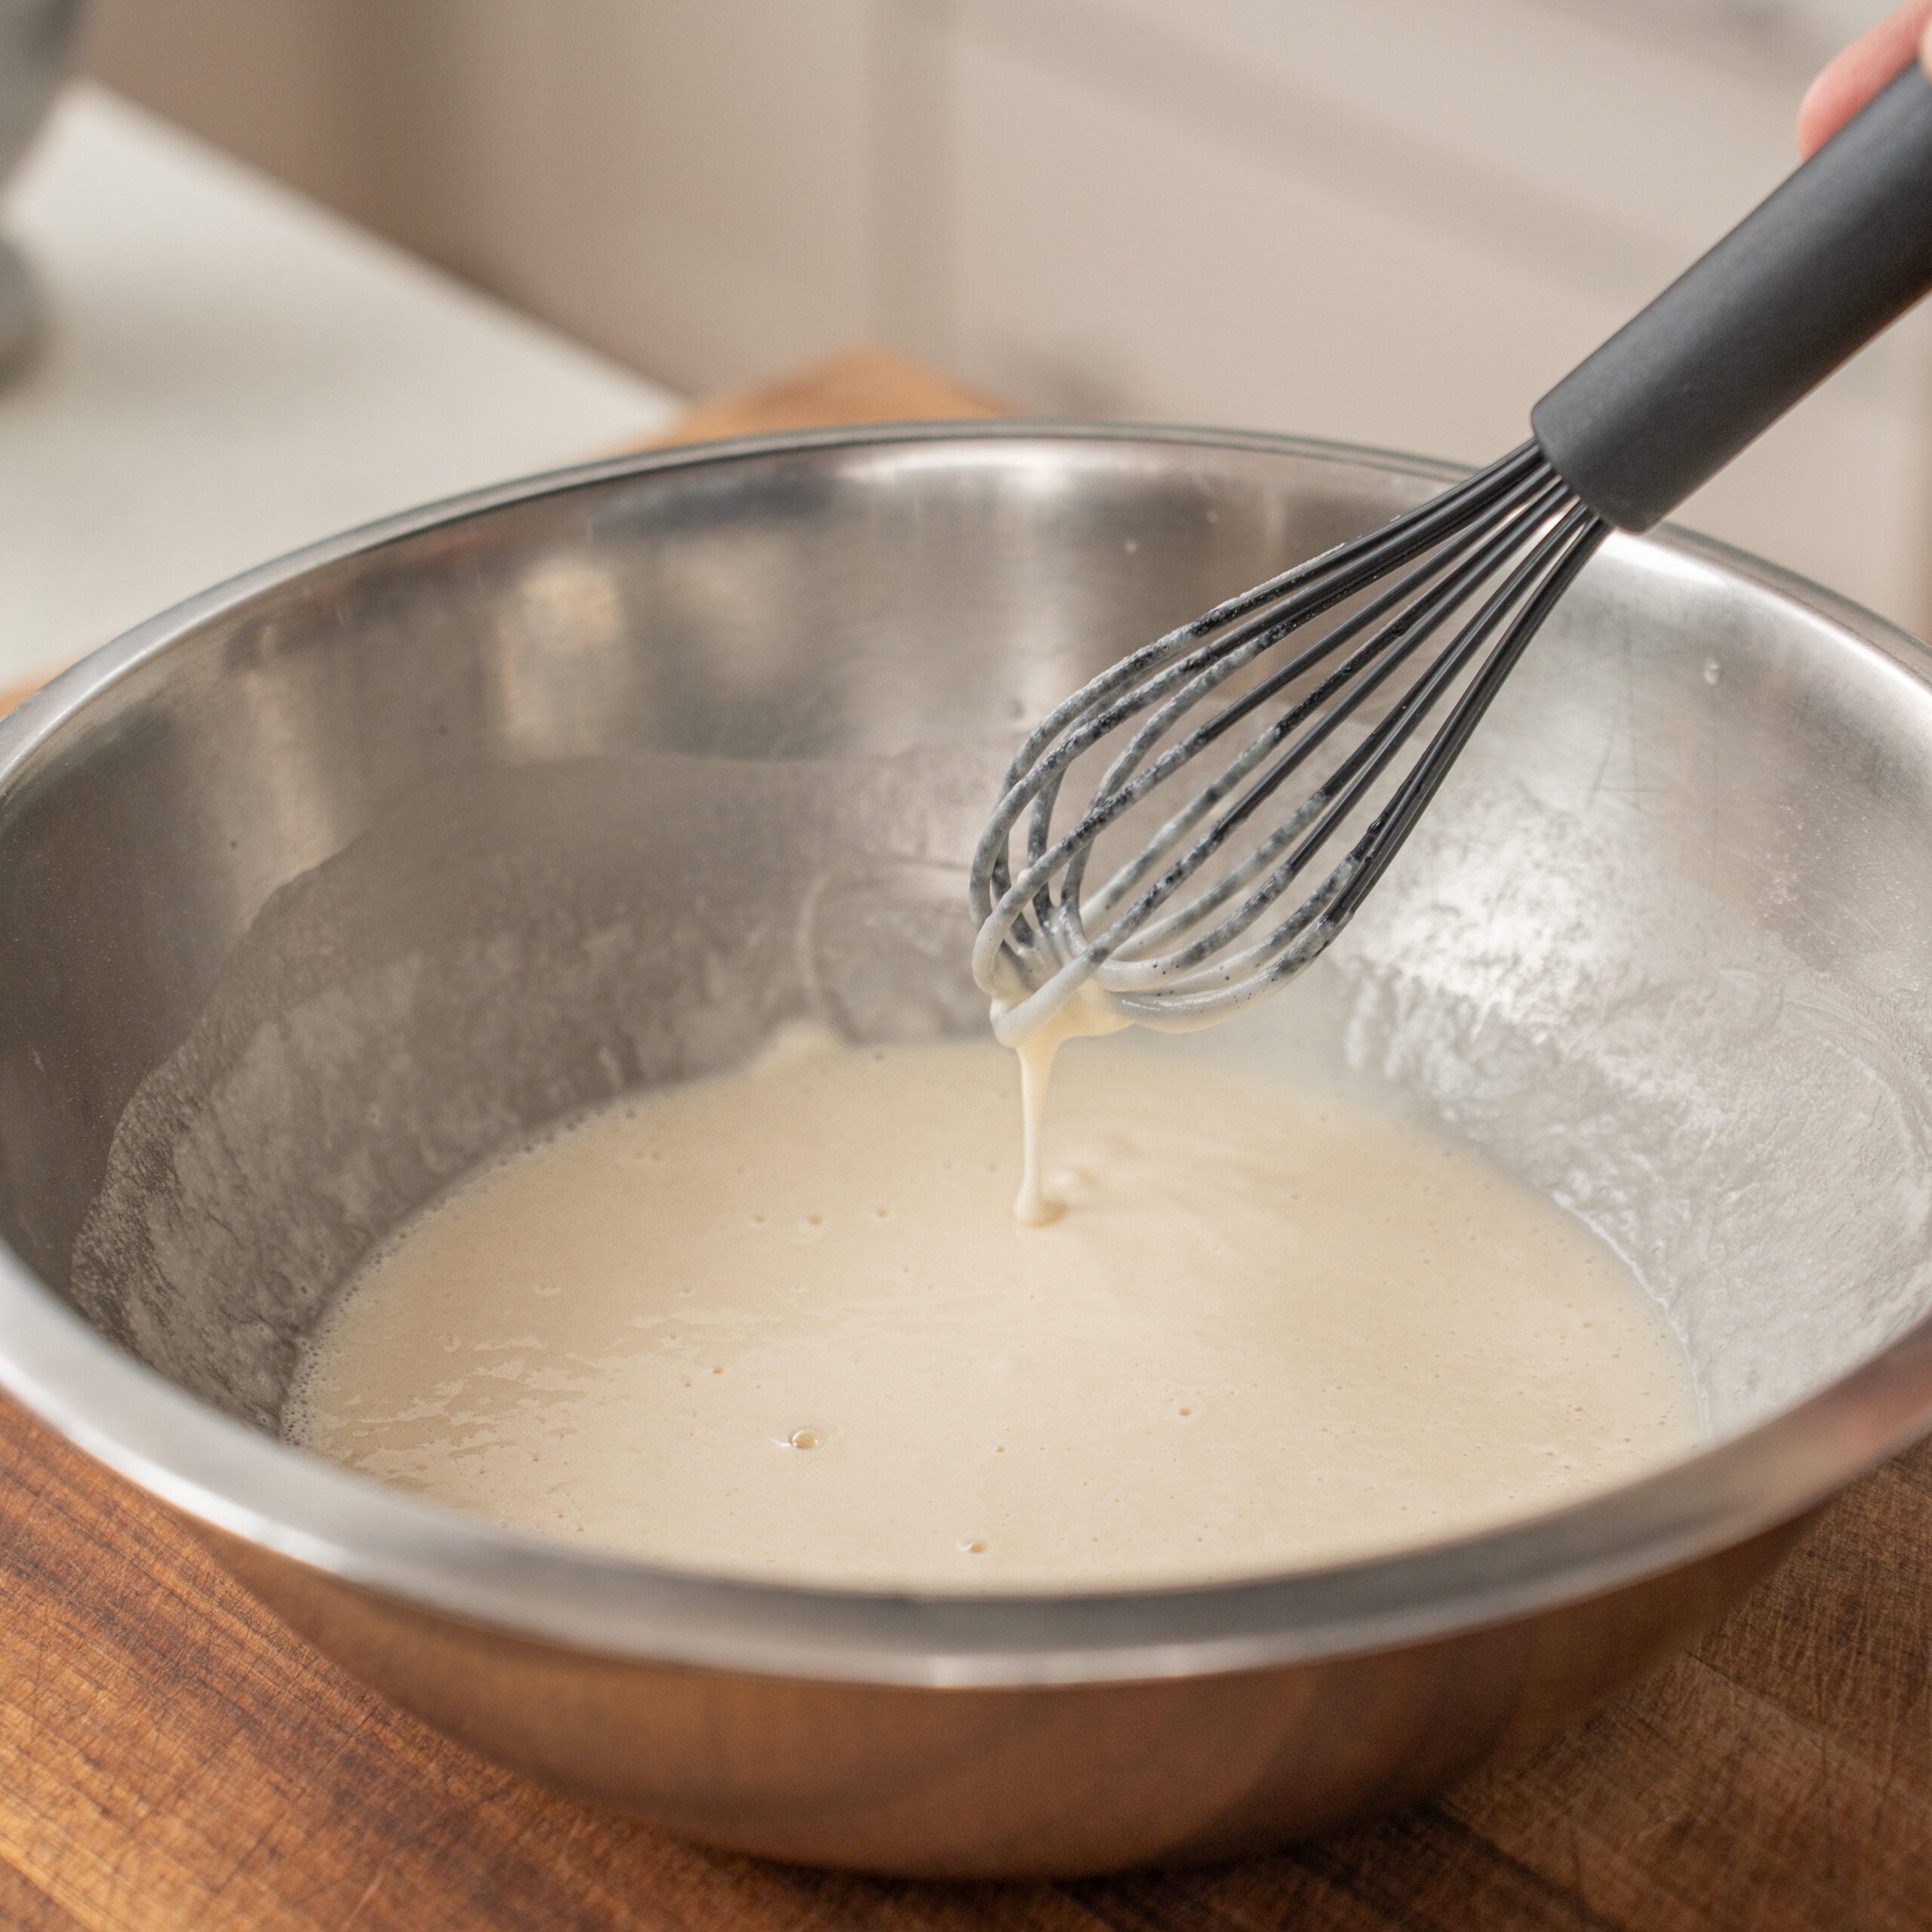
Why chill the batter? I’m not really sure. From my experience, it just seems to set better, crisp more, and have more life.
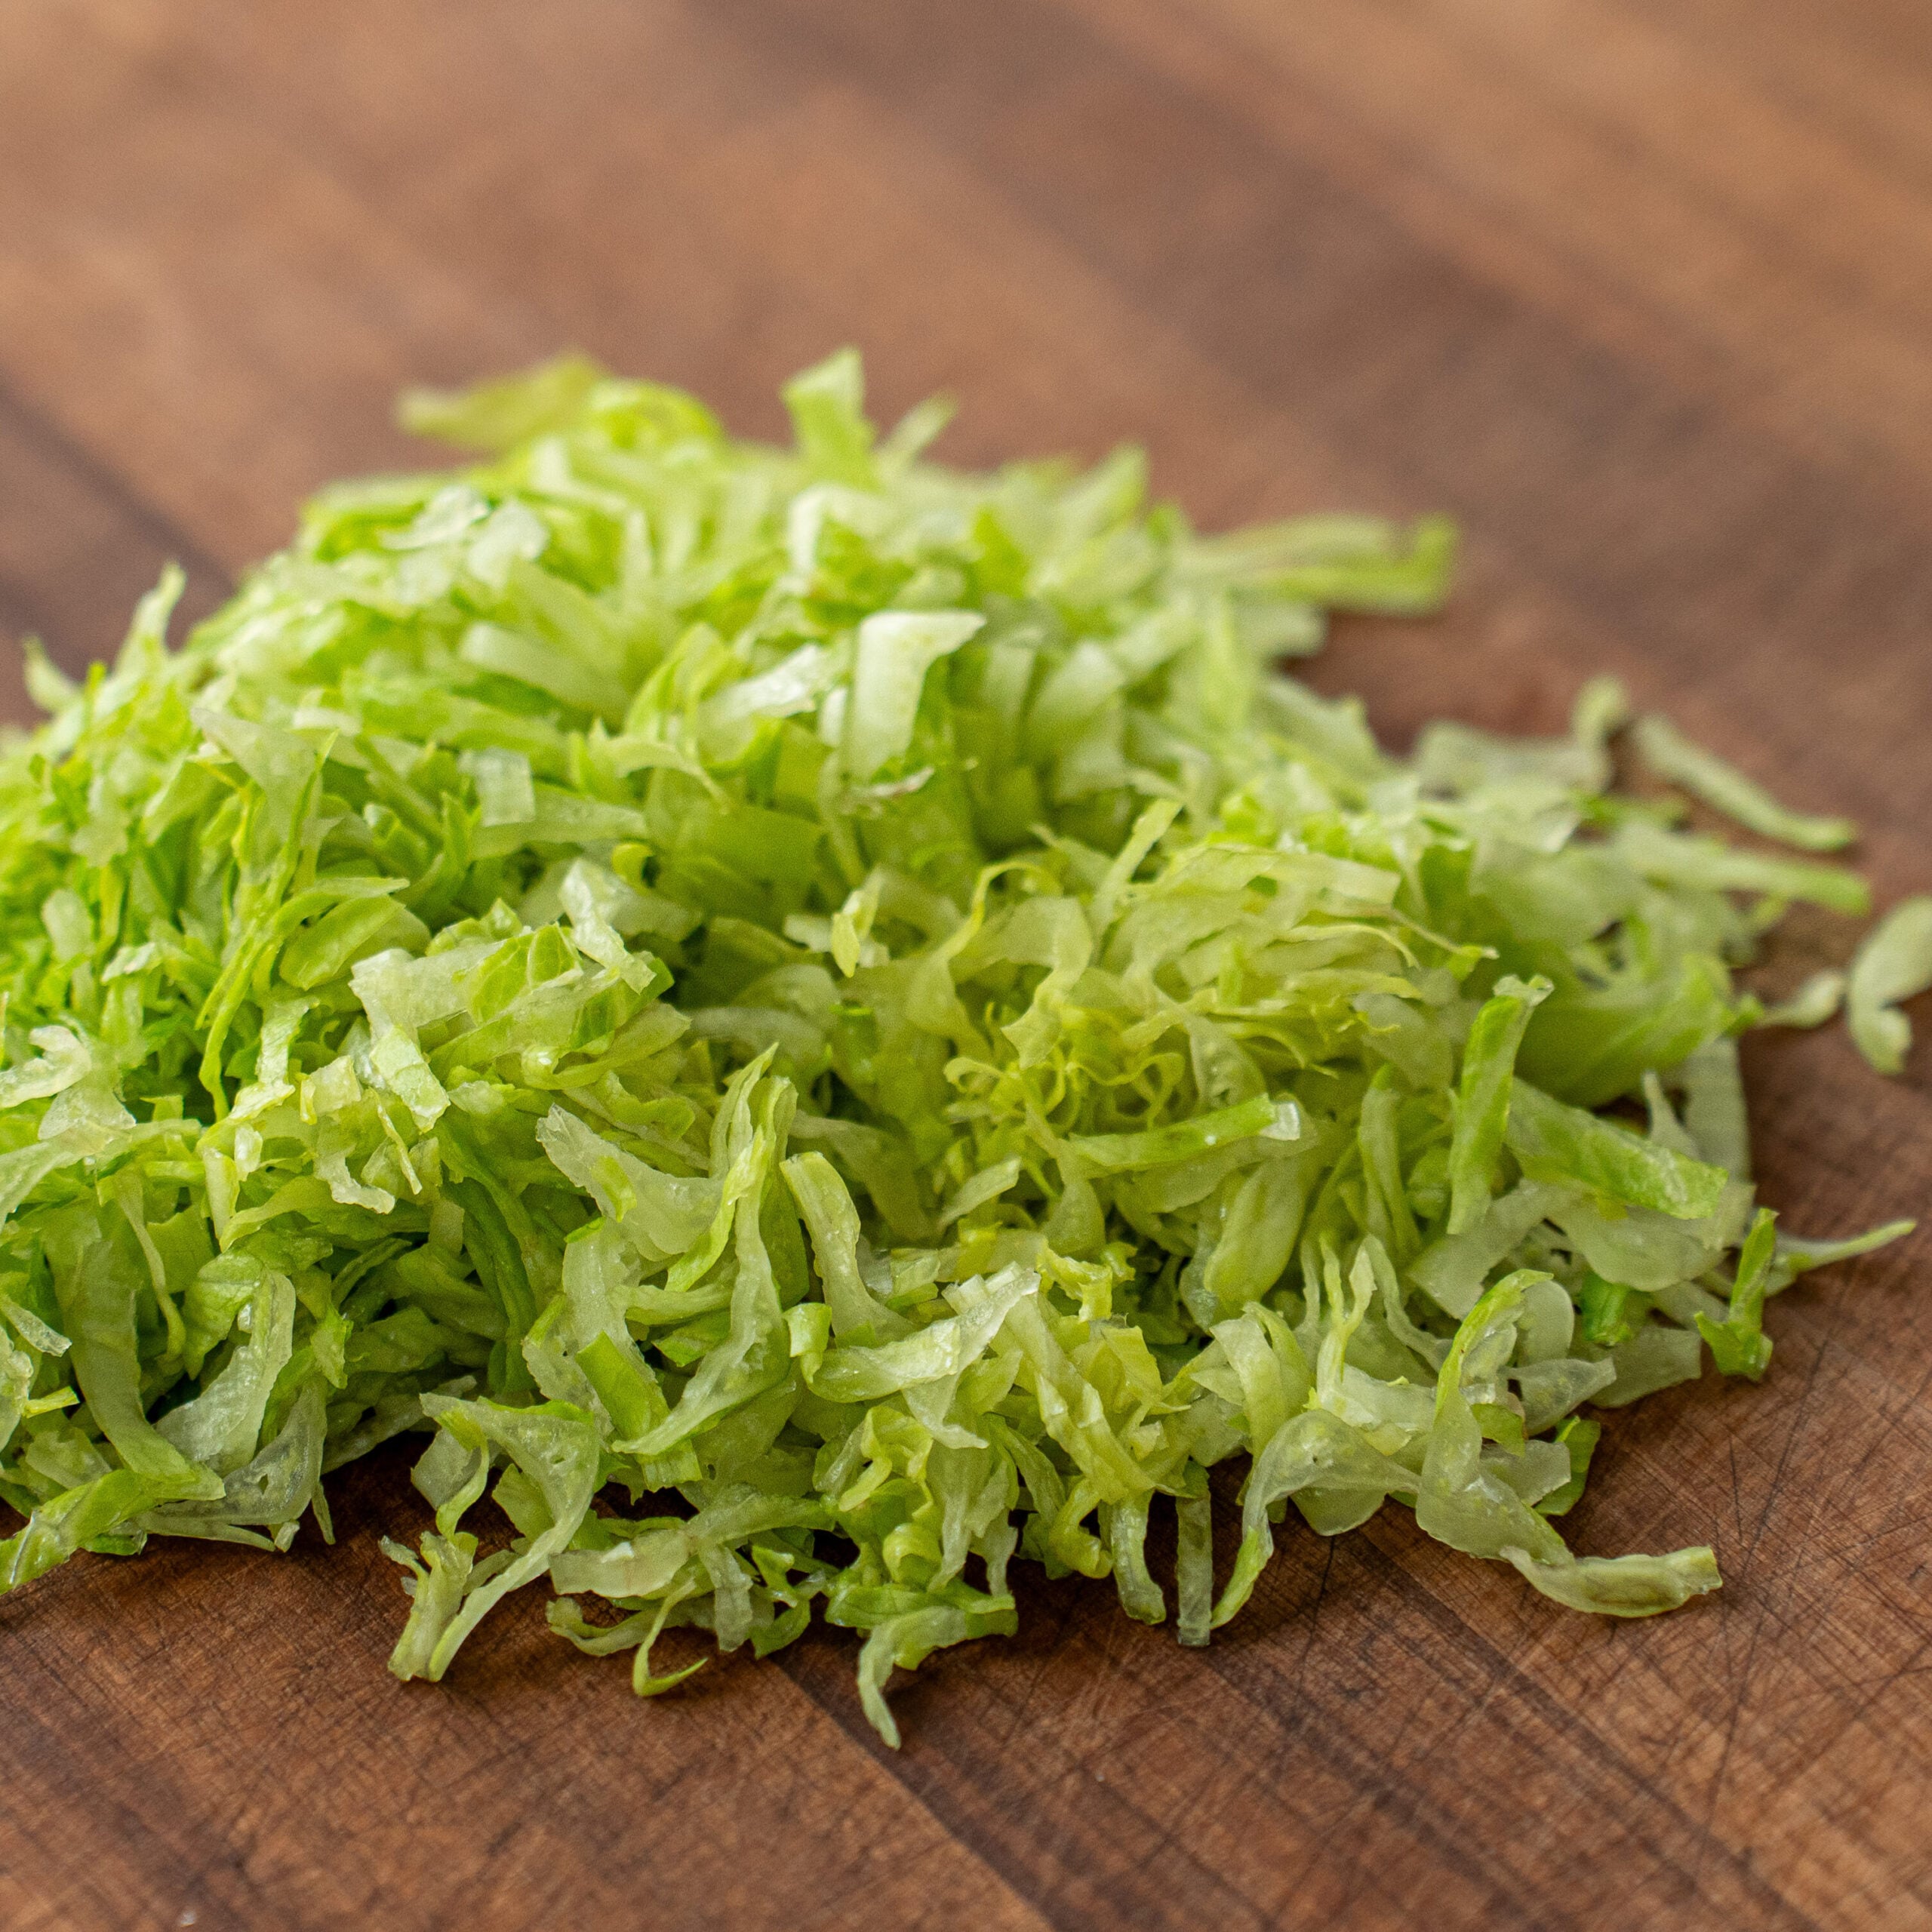
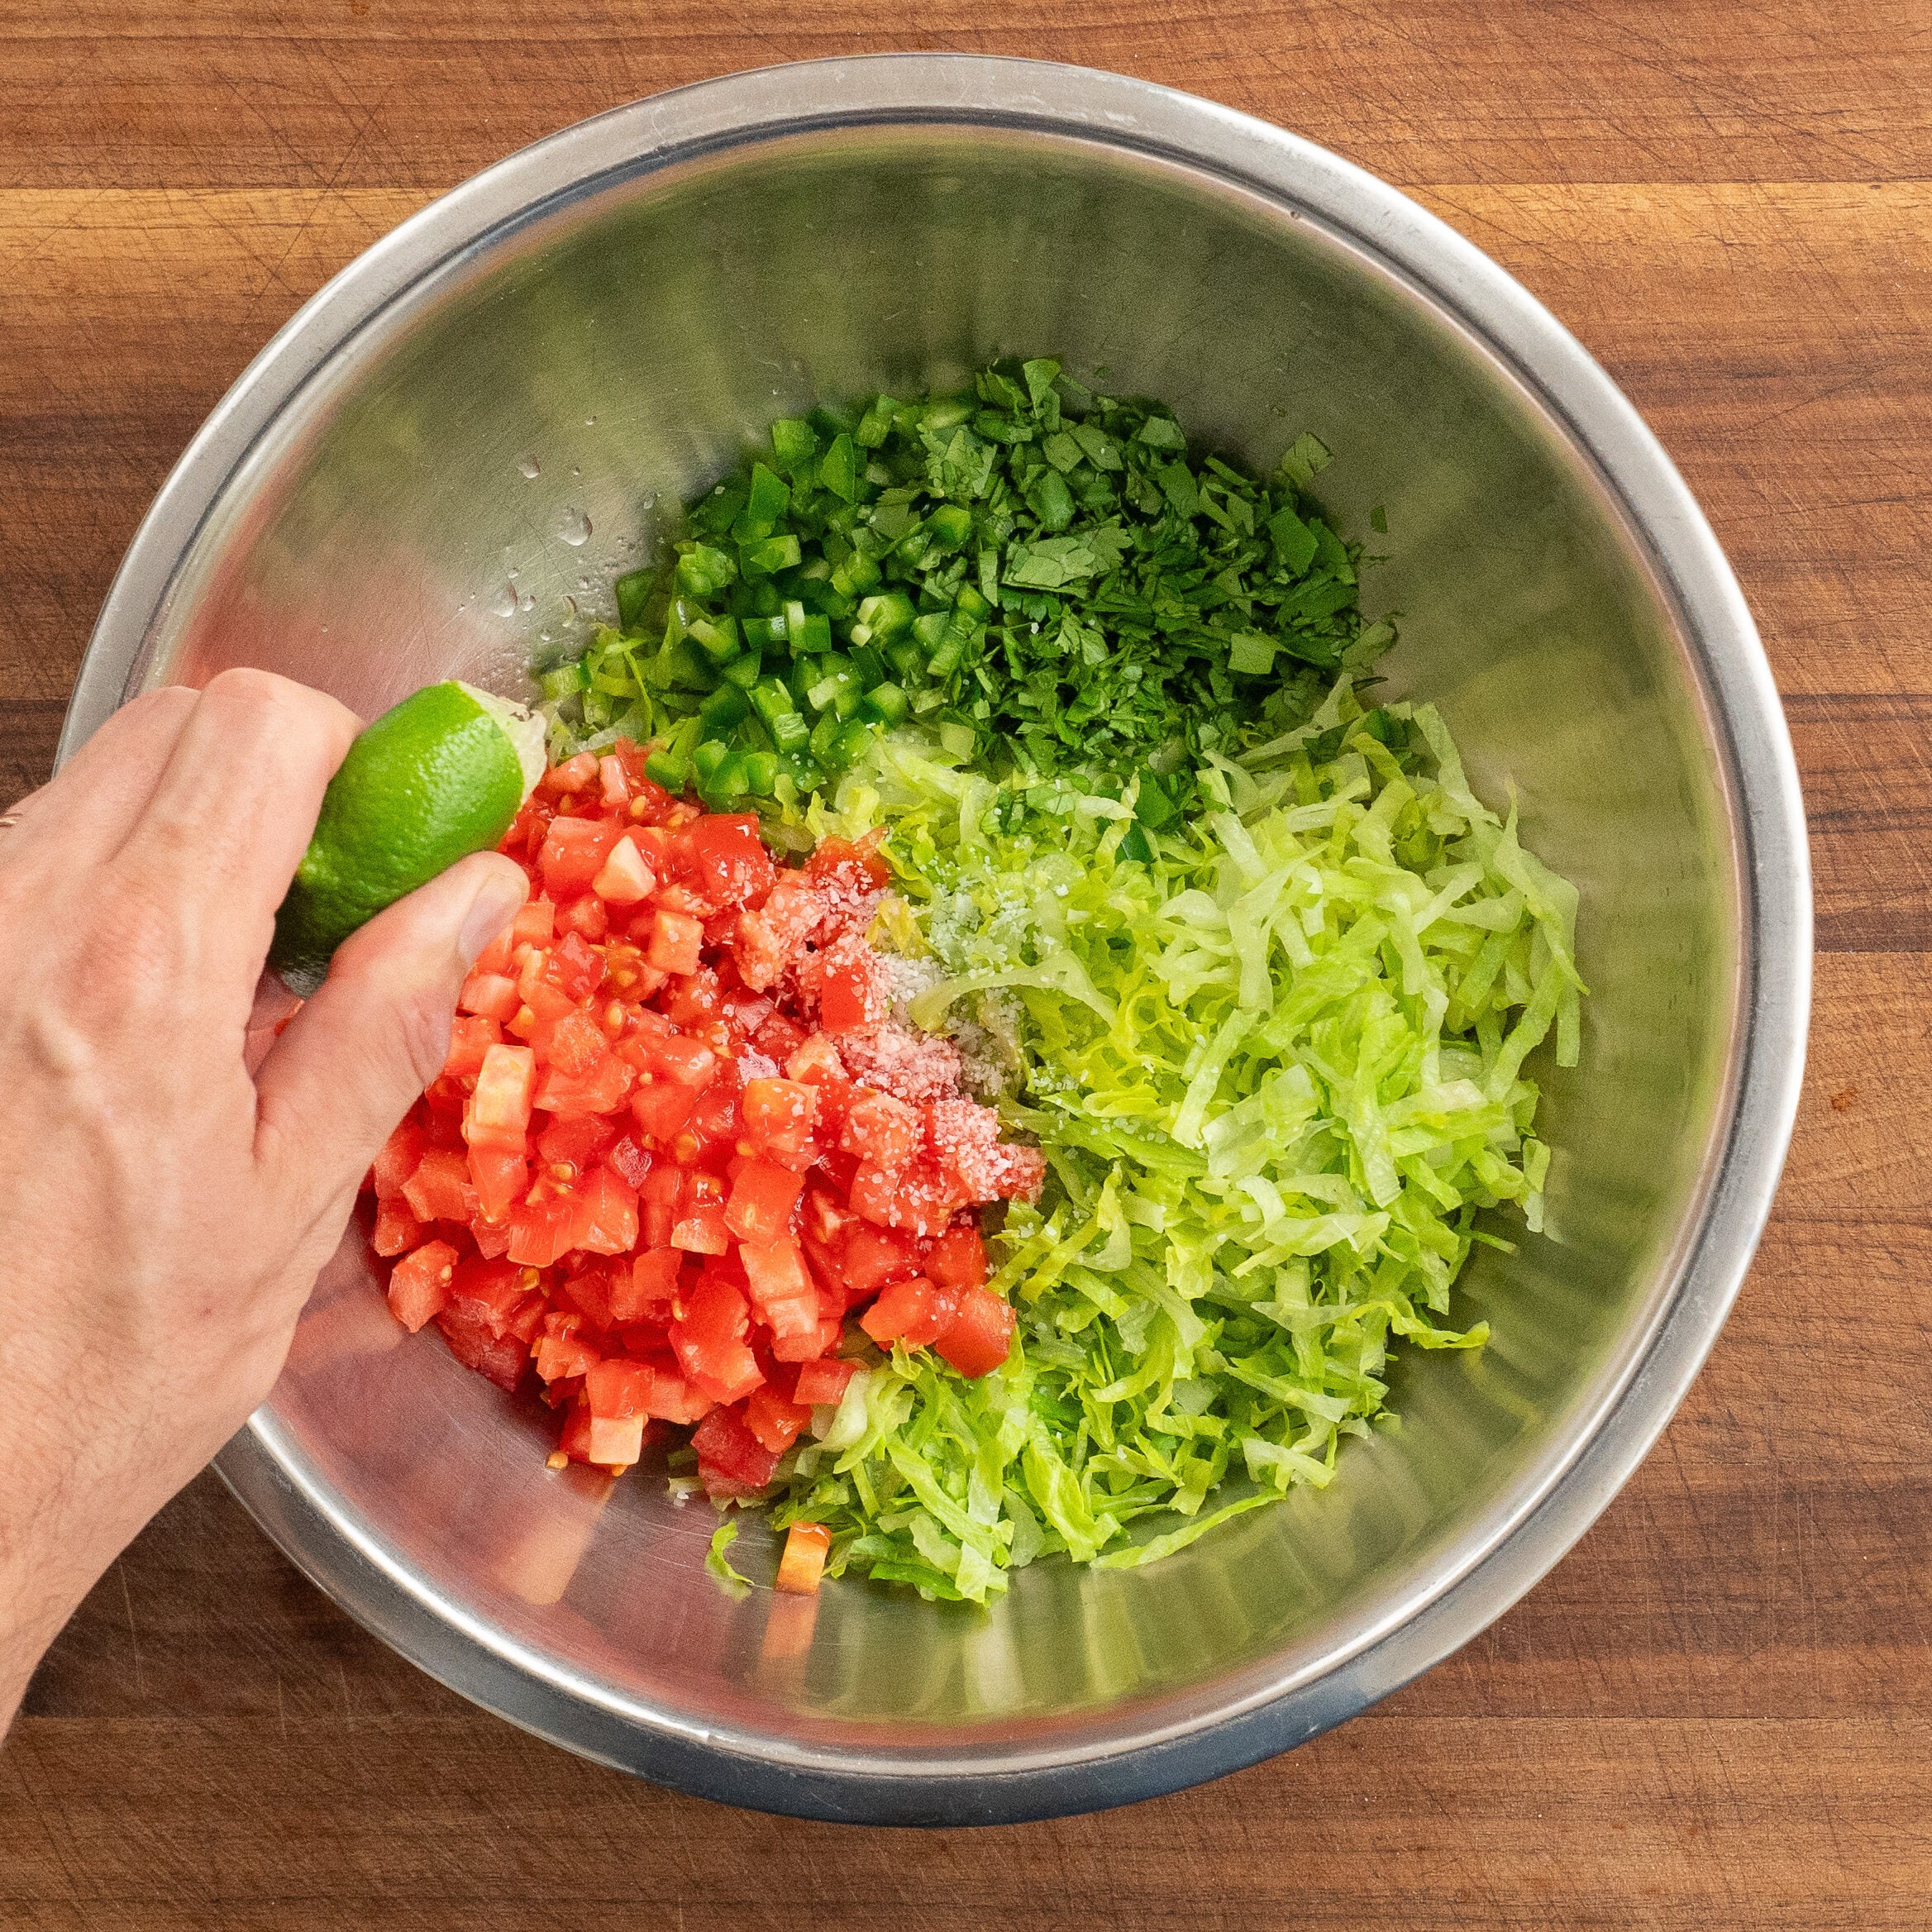
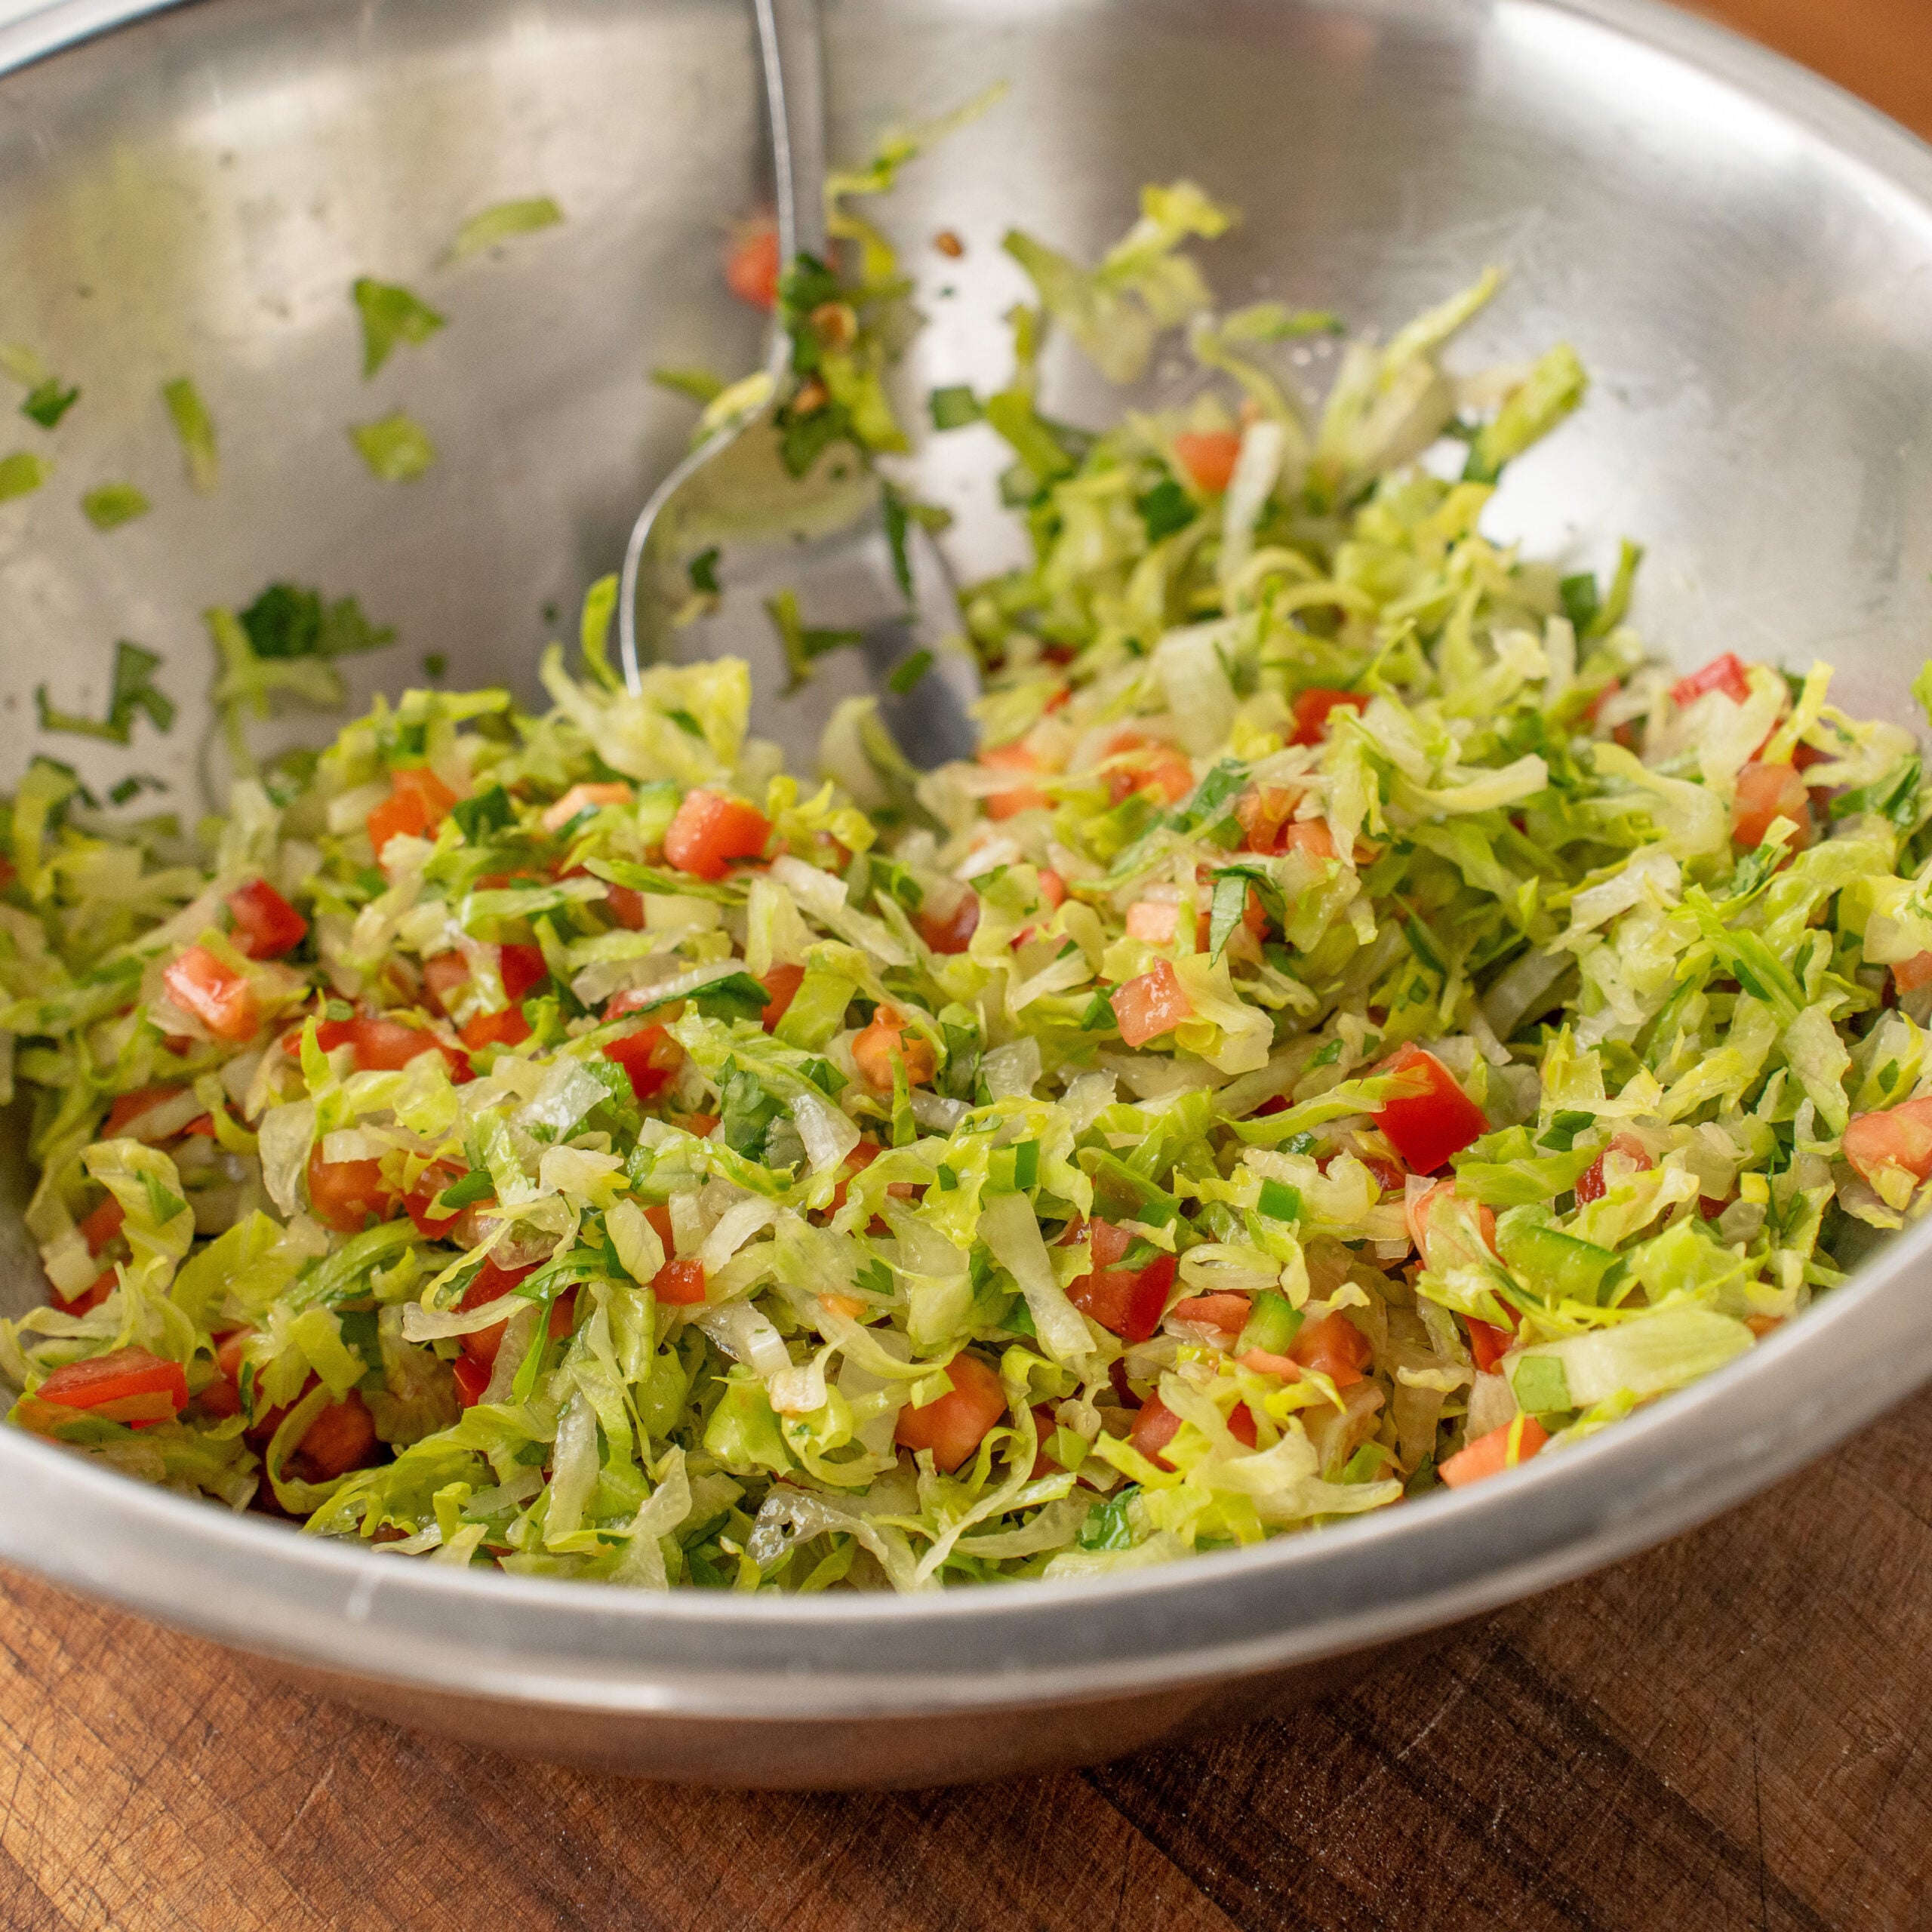
5. Prep the Slaw, But Don’t Dress It. Cut 200 grams of Little Gem or romaine lettuce into 1/2-inch lengths, then turn it 90 degrees and slice it into thin strips. Keeping the pieces short helps them mix more evenly with the diced tomato.
Cut 200 grams of tomato into a small dice, keeping the juice and seed pulp. Chop 10 grams of cilantro, and finely dice the jalapeño if you’re using it.
Keep everything separate until the final 10 minutes. Combine and season the salad slaw while the fish is frying.
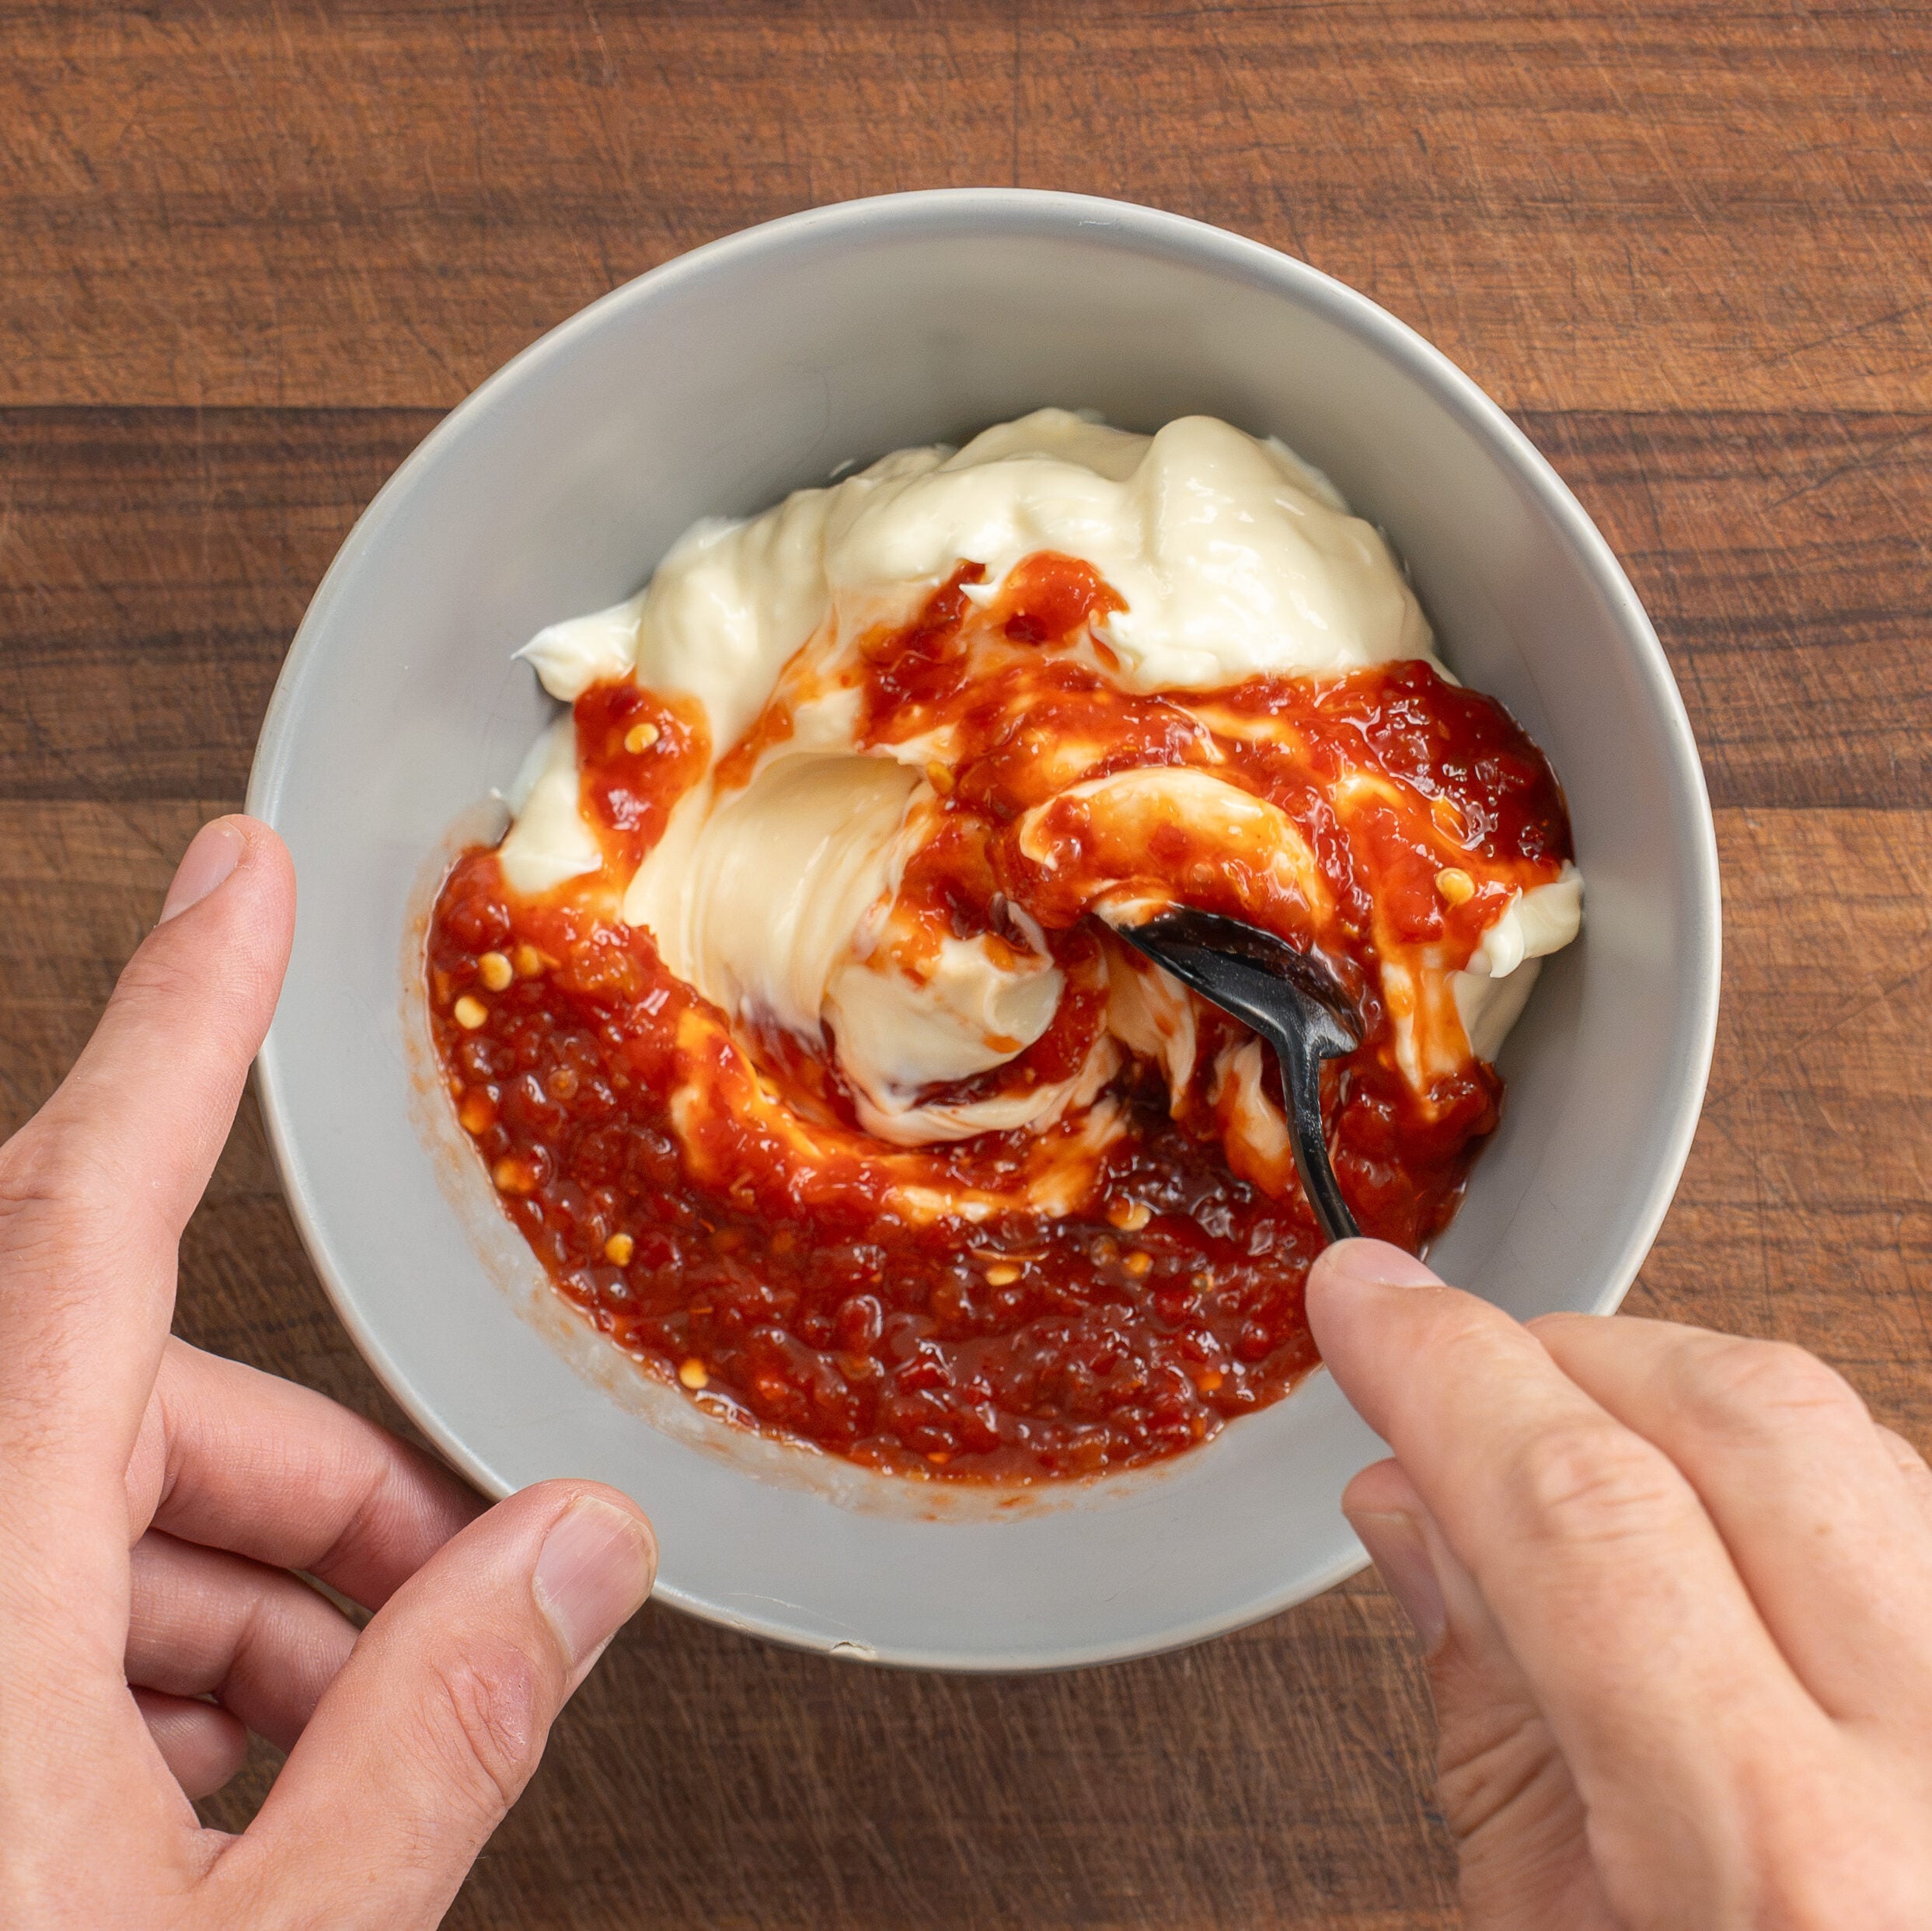
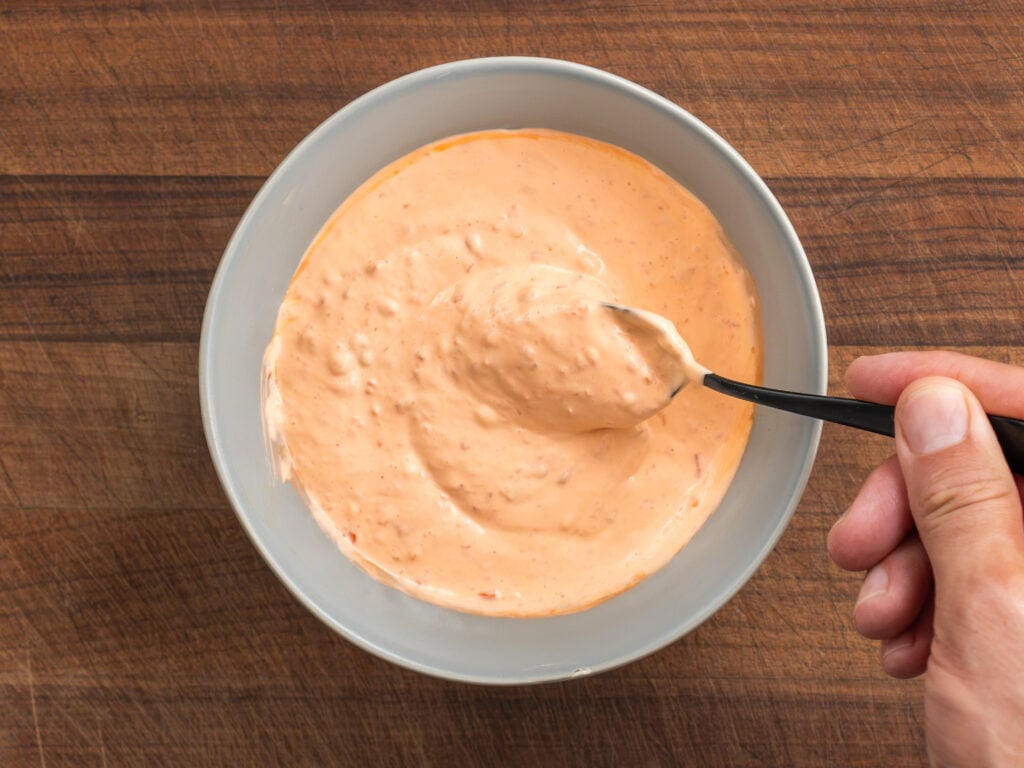
6. Mix the Spicy Mayo. Stir together 100 g mayonnaise and 30 g sambal.
7. Set Up the Fry Station. Fill a large, heavy-bottomed pot no more than halfway with neutral oil. Before turning on the burner, set up everything you’ll need…a thermometer, a wire rack over a sheet tray for draining off the fish, a spider to move the fish around in the oil, and a fork for lowering the fish.
Heat the oil to 375°F. This is a little hotter than the actual frying temperature because the cold fish will cool it down.
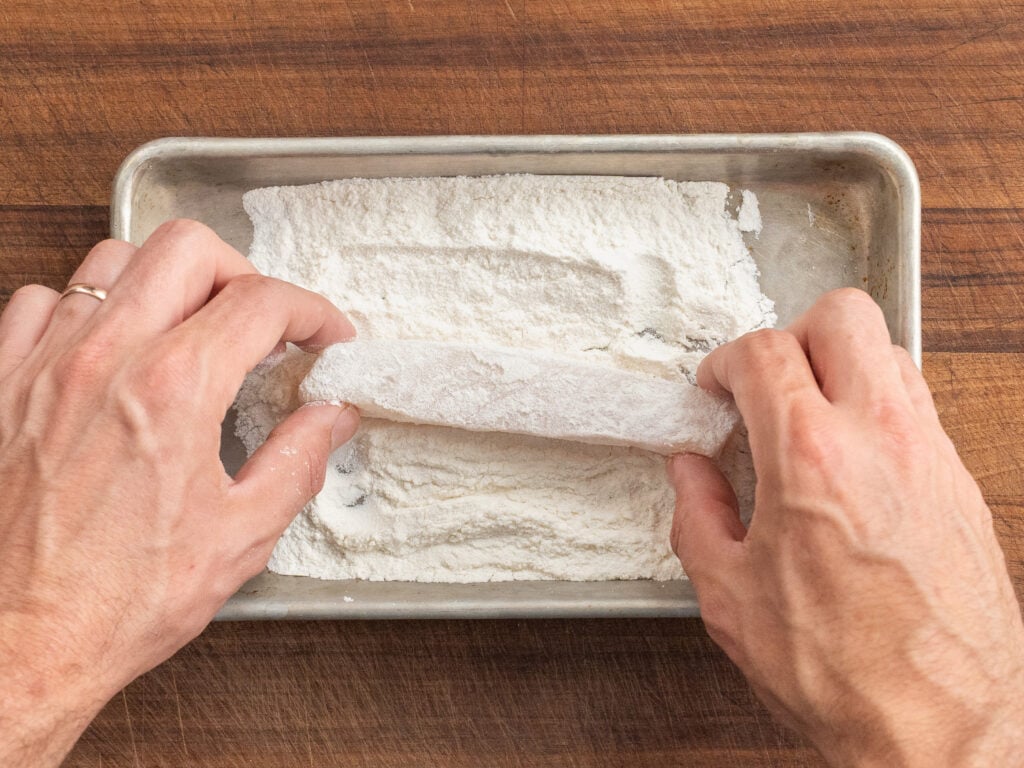
While the oil heats, mix 25 grams of all-purpose flour and 25 grams of rice flour on a tray for the dredge.
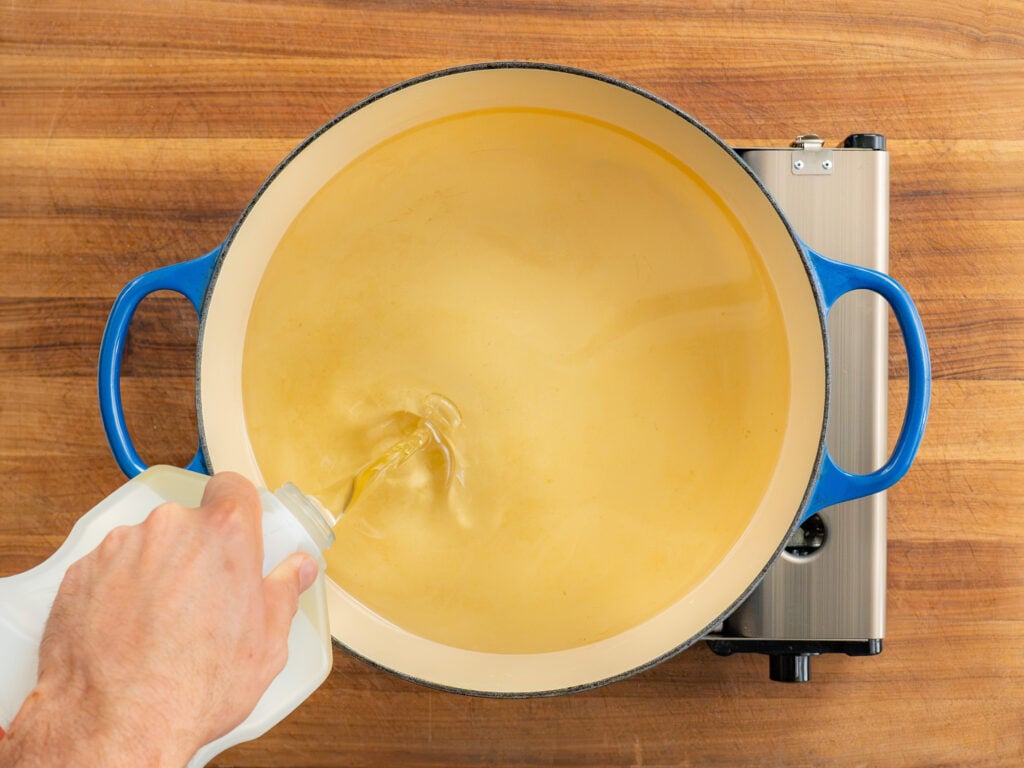
Let everyone in the house know you’re frying. Keep kids and pets out of the room, and do not walk away from a pot of hot oil. Stay frosty.
8. Dredge the Cod Pull the fish and batter from the fridge. Give each piece of cod a light pass through the 50/50 dry dredge, then shake off any visible excess.
I like to dredge all 16–20 pieces before I start frying. That way, I have less to do once the fish starts going into the oil, and I can get each batch into the pot quickly. If you dredge each piece one at a time, the first piece may be nearly done by the time the last one goes in.
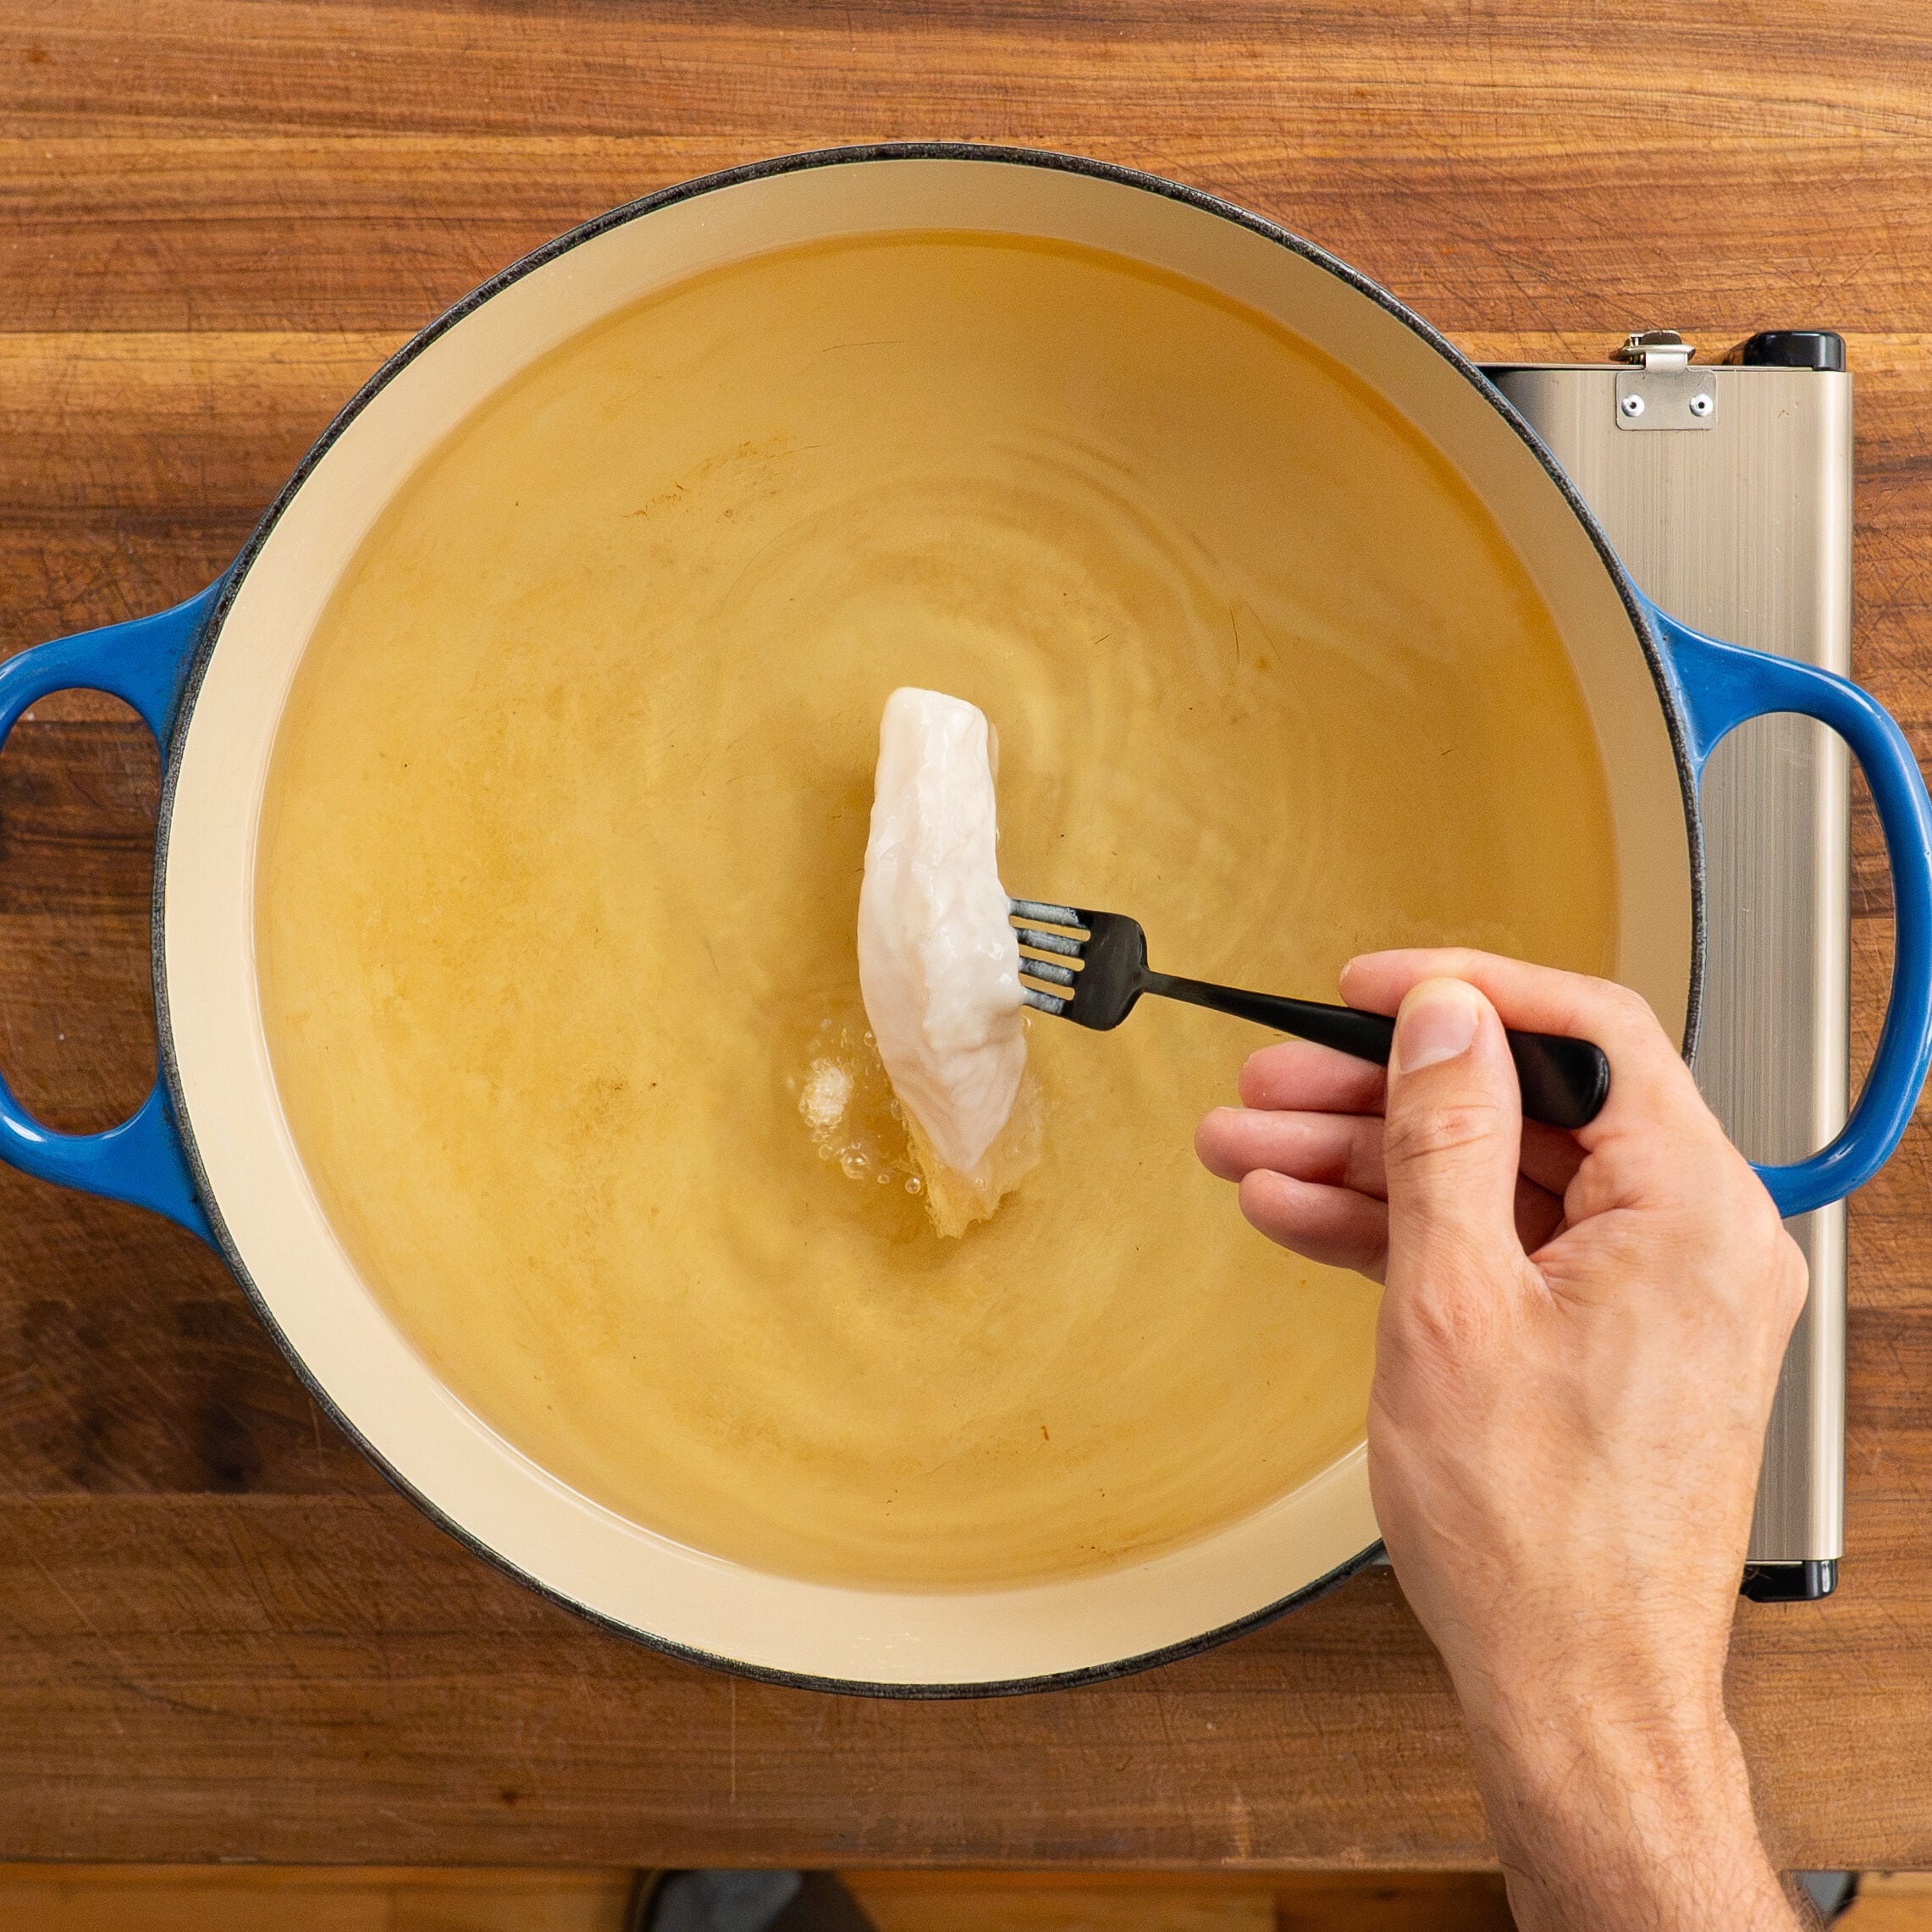
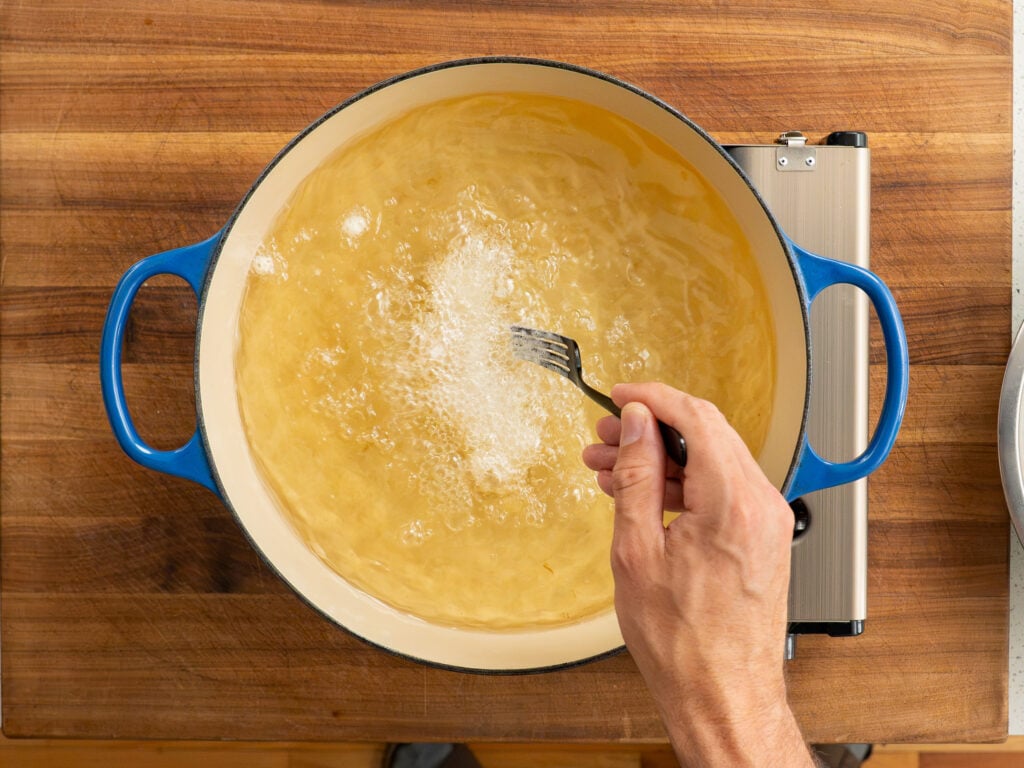
9. Batter and Fry. Coat each piece well in batter and let the excess drip off. Lower one end into the oil, moving away from your body. Hold it near the surface for a second so the batter starts to set, then release it. I use a fork under the fish instead of piercing it, which helps lower it slowly and keeps it from sticking to the bottom.
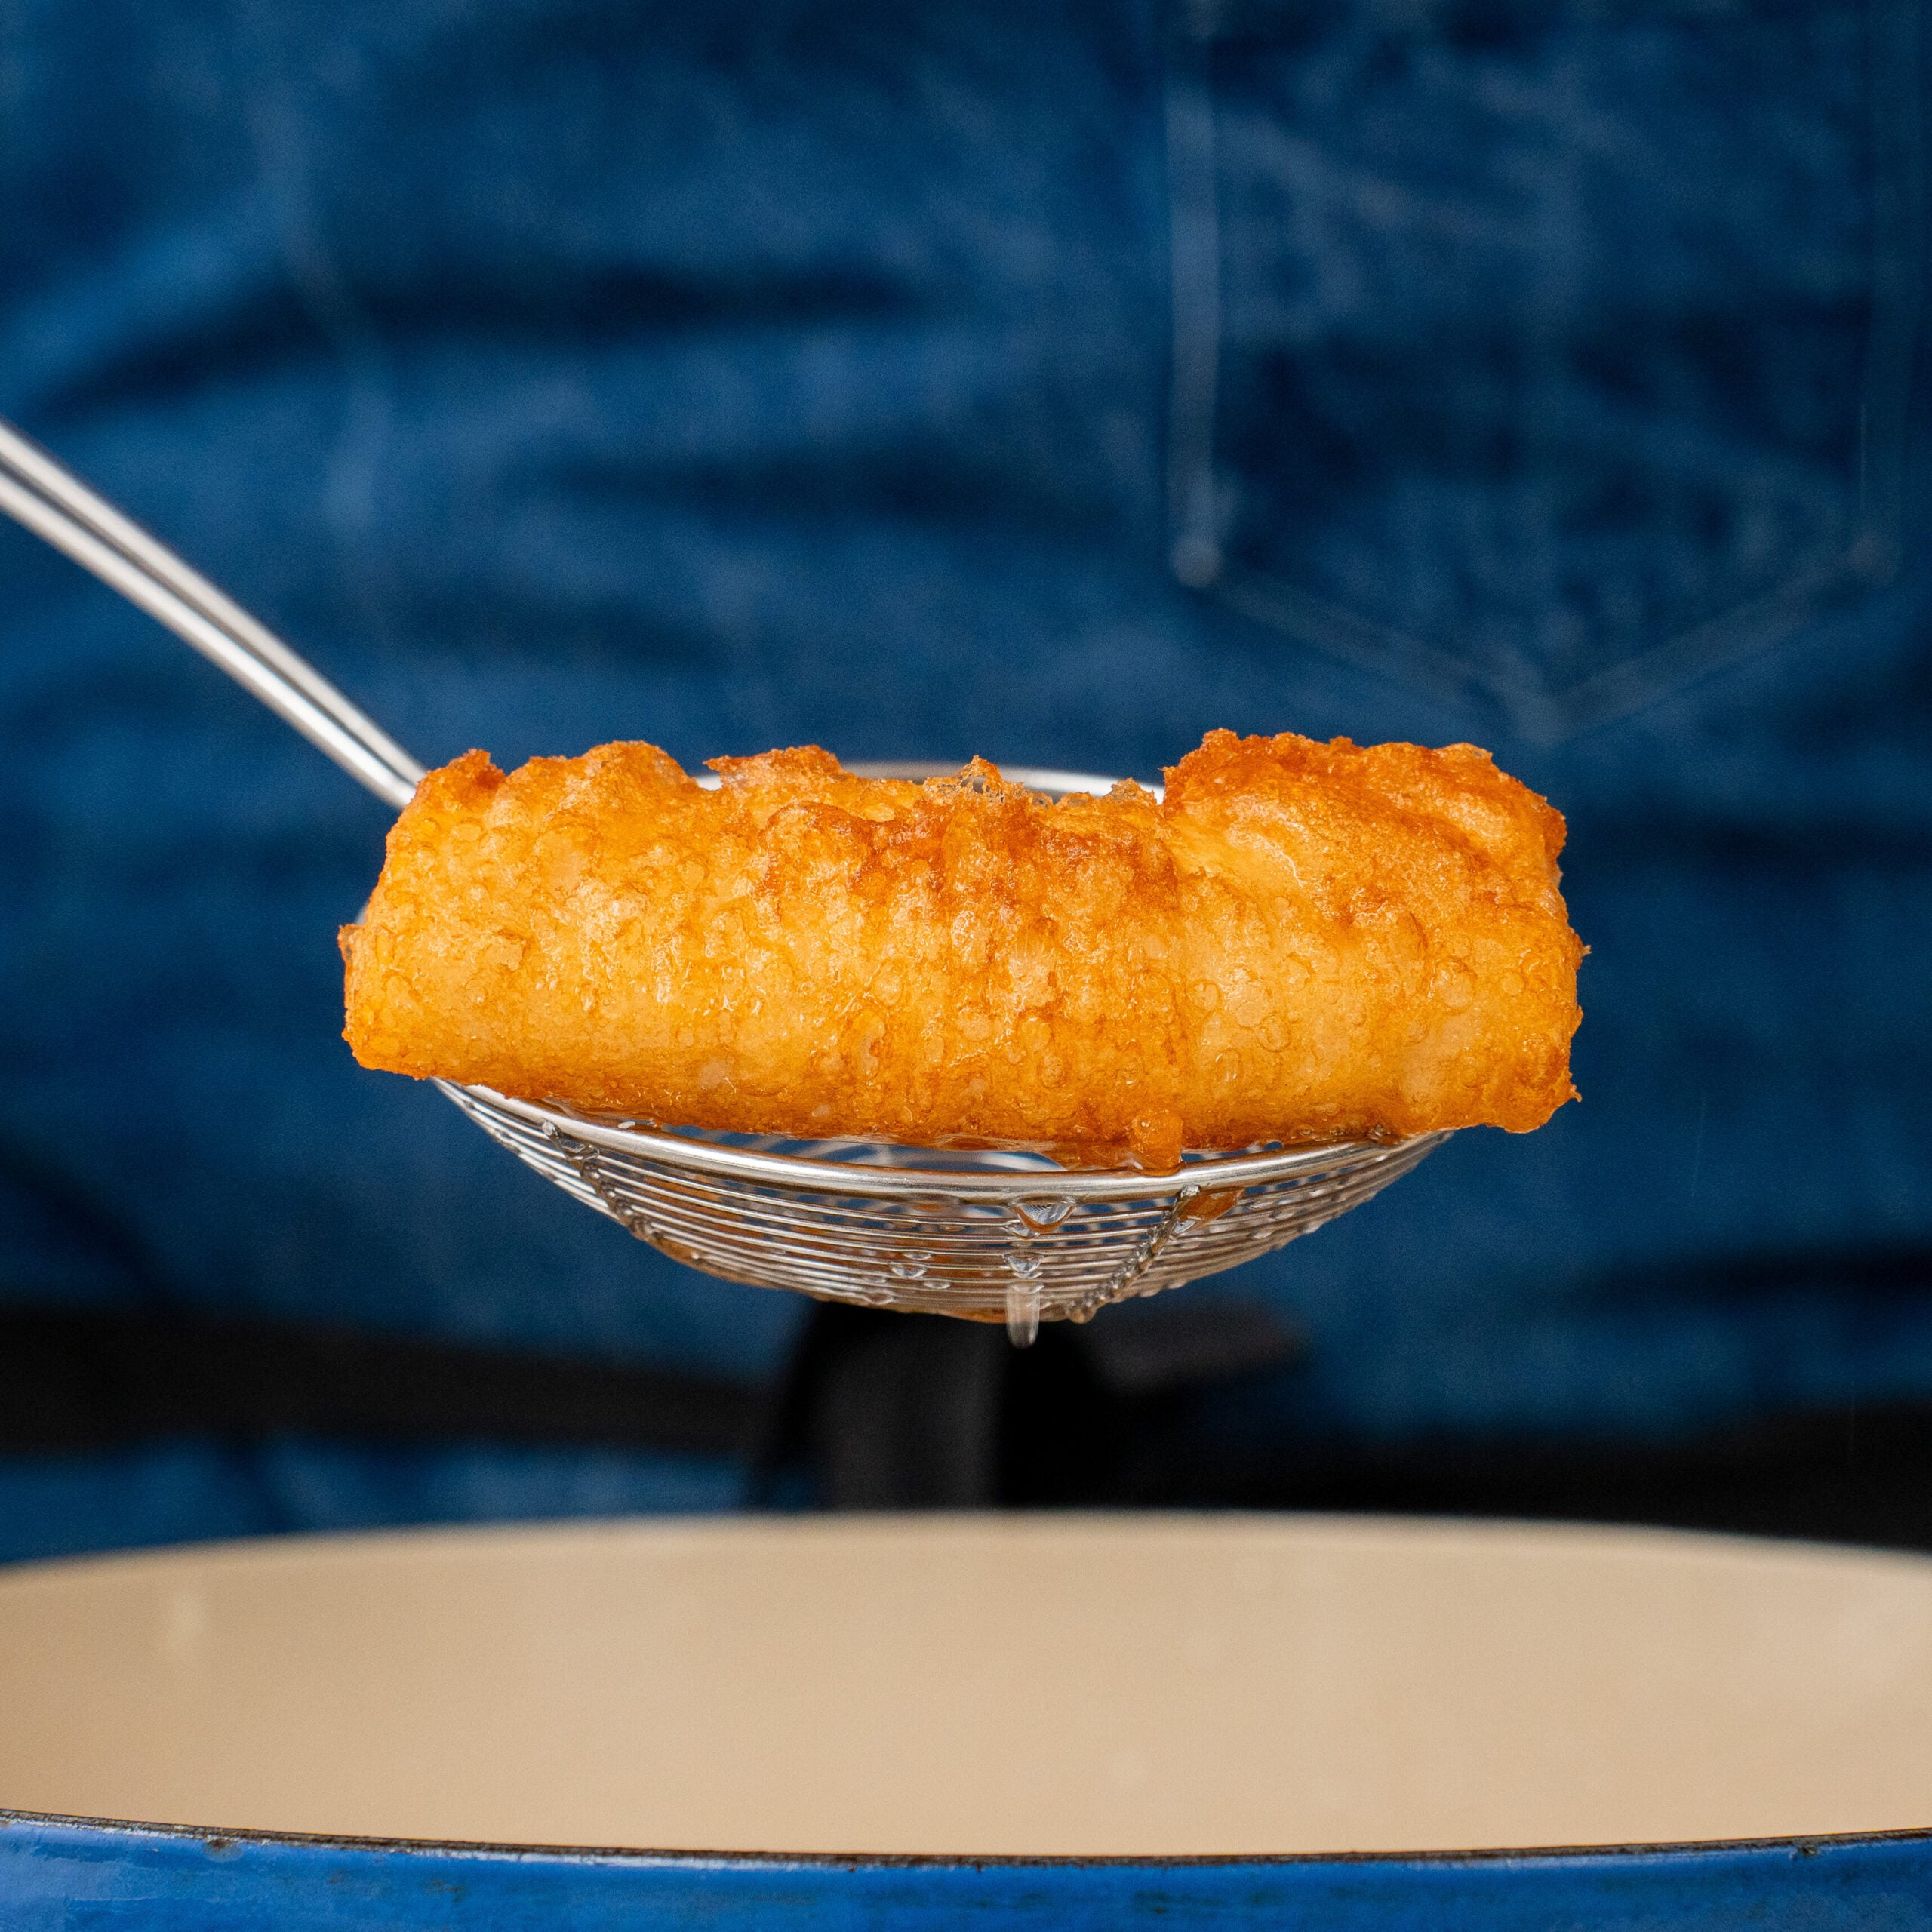
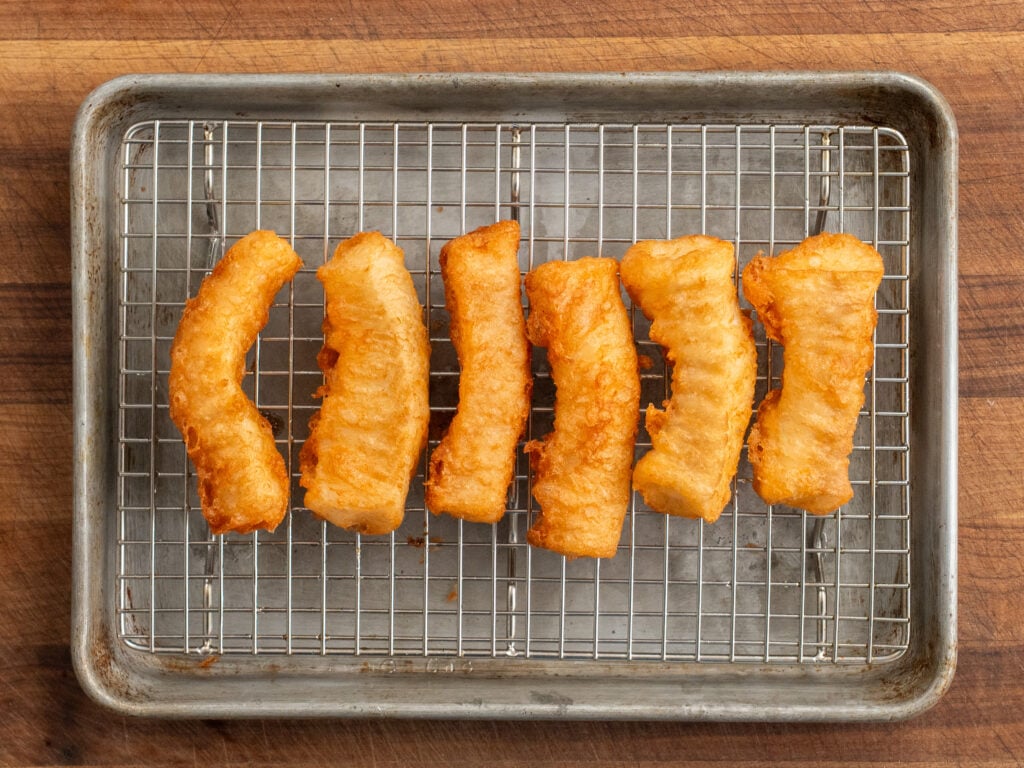
Fry only as many pieces as your pot can hold without touching…that’s about six for me. The oil should settle between 350°F (190°C) and 365°F (185°C). Fry for 3–5 minutes until deeply golden and crisp. Watch for any pieces that stick to the pan and gently dislodge them. When golden, gently lift and transfer to the wire rack with a spider strainer.
To check doneness, look for a deep golden crust, an opaque center and fish that flakes under gentle pressure. The thickest piece should reach 145°F (63°C). Let the oil return to 375°F before adding the next batch.
Tip: Check one piece from the first batch, then use that timing for the rest.
While the second batch fries, combine the lettuce, tomato and its juices, cilantro, jalapeño, juice of half a lime and 2 grams of salt.
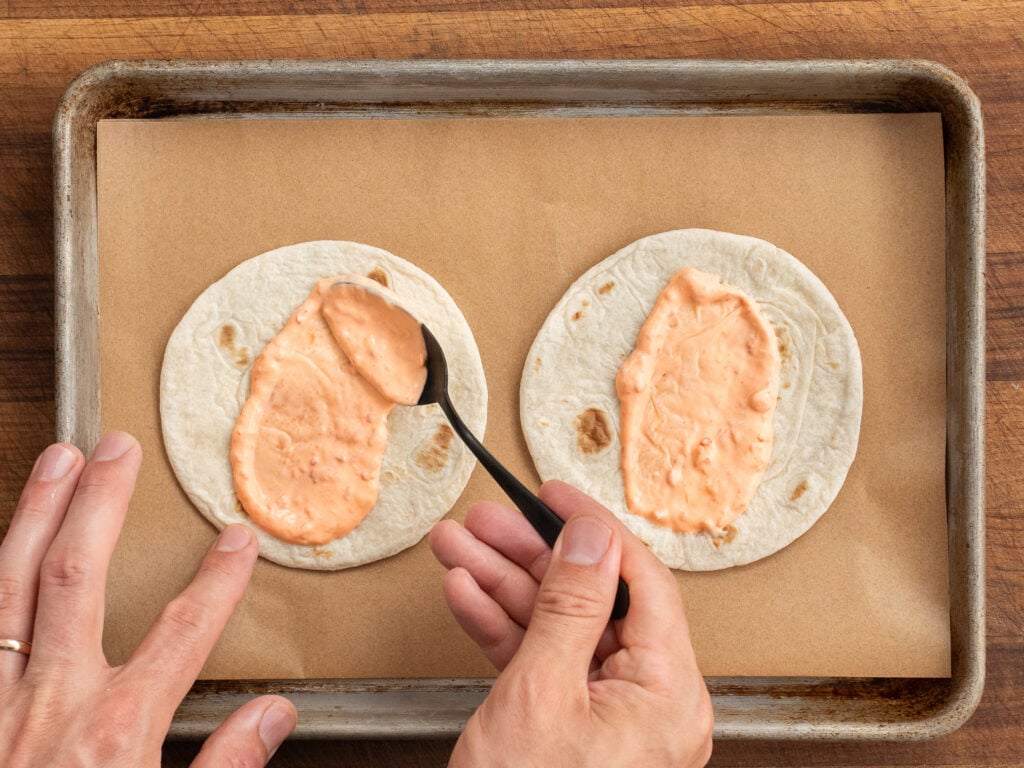
10. Build the Tacos. Warm the tortillas in a nonstick pan over medium heat until heated through on both sides, then spread on a thin layer of spicy mayo. This anchors the fish so it doesn’t fall out as it flakes.
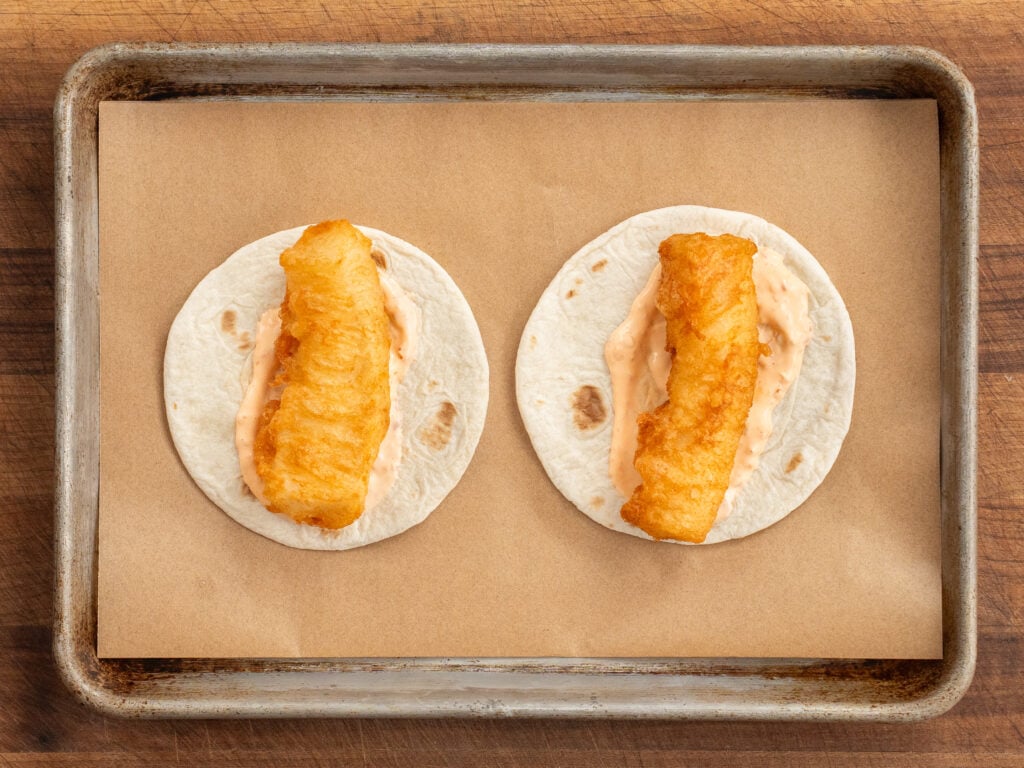
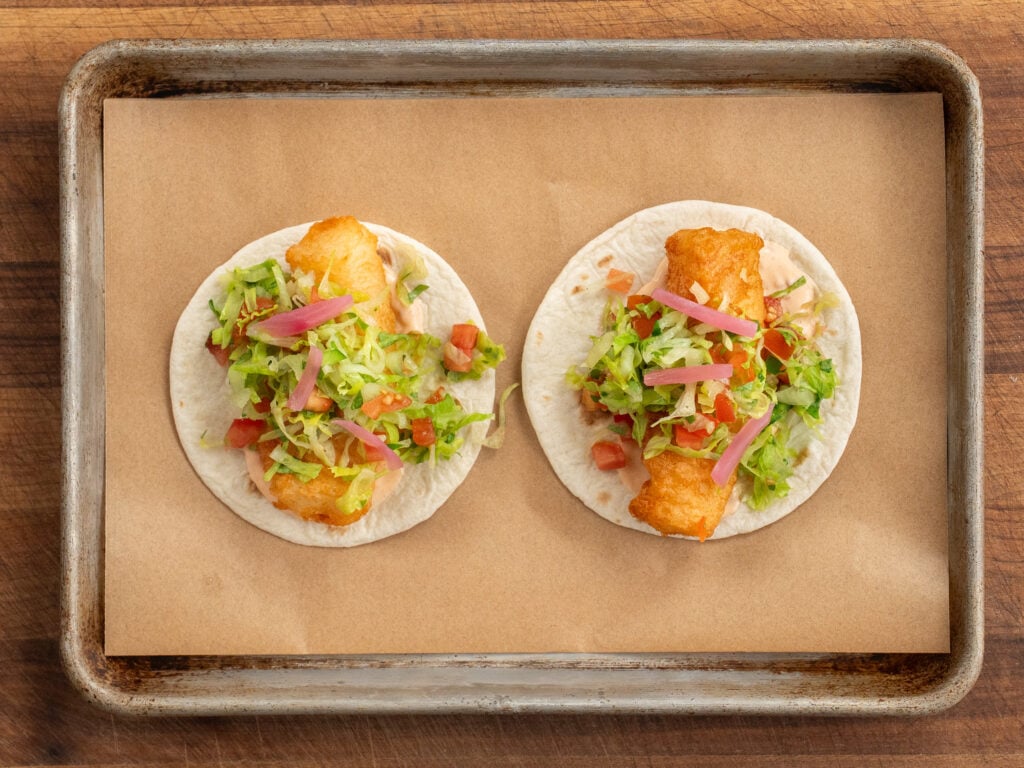
Add the fried fish, spoon the salad slaw over the top, then finish with pickled red onions so they stay visible. Eat immediately, while the crust is still crackly and the fish is hot.
TIP: If you’re making tacos for a group, I like to use a tortilla warmer or plate covered with a towel to hold the heated tortillas while I warm the rest. This not only keeps them warm, but adds a steam element to keep them nice and soft.
Baja Fried Fish Tacos Recipe
Ingredients
Salad Slaw
- 200 g little gem or romaine lettuce, shaved thin
- 200 g tomato, small diced
- 10 g cilantro, chopped
- 10 g jalapeno, small diced
- 2 g salt
- ½ lime, juiced
Spicy Mayo
- 200 g mayonnaise
- 60 g sambal , or sriracha
For the Fish Tacos
- 2 lbs fresh Atlantic cod, or haddock
- salt
- neutral oil, canola, avocado, etc
- 20 flour tortillas, small
For the Dredge
- 25 g all-purpose flour
- 25 g white rice flour
For the Batter
- 75 g all-purpose flour
- 75 g white rice flour
- 2 g salt
- 2 g baking powder
- 12 oz beer, basic lager or pilsner
Pickled Red Onions
- 1 red onion, peeled and sliced thin
- 200 g white distilled vinegar
- 200 g water
- 40 g sugar
- 4 g salt
Instructions
- If you're making your own pickled red onions, bring all ingredients aside from onions to a boil, pour over onions, and let cool to room temperature. Best made the day before.
- Cut fish into 16–20 evenly thick planks that are approximately 1.5 ounces each, 4 inches long and 1–1½ inches wide. Season all sides lightly with salt and refrigerate uncovered.
- Whisk together 75 grams all-purpose flour, 75 grams rice flour, 2 grams salt and 2 grams baking powder. Slowly whisk in most of the beer until smooth and about the consistency of thin pancake batter. Add more beer if needed, then refrigerate until ready to fry.
- Cut the lettuce into short, thin strips. Small-dice the tomato, keeping its juice and seed pulp. Chop the cilantro and finely dice the jalapeño, if using. Keep everything separate for now. You'll combine later.
- Stir together the mayonnaise and sambal.
- To prep for frying, fill a large, heavy-bottomed pot no more than halfway with neutral oil. Set up a thermometer, a wire rack over a sheet tray, a spider and a fork next to the fry pot. Heat the oil to 375°F (190℃). Mix 25 grams all-purpose flour and 25 grams rice flour on a tray for the dredge.
- Remove the fish and batter from the refrigerator. Lightly dredge all the fish, shaking off any visible excess.
- Coat each piece of fish in batter, letting excess drip off. Using a fork to support the fish from below, slowly lower one end into the oil away from your body. Hold it near the surface for a second so the batter begins to set, then release into the oil.
- Fry about six pieces at a time without letting them touch. Keep the oil temperature between 350℉ (176℃) and 365℉ (185℃) and fry for 3-5 minutes until deeply golden and crisp. When cooked, fish should be opaque, flake easily and reach 145℉ (63℃) in the thickest part. Carefully lift fish with spider or slotted spoon and drain on a wire rack. Allow oil to return to 375°F (190℃) before frying the next batch.
- While second batch fries, make the salad slaw by combining lettuce, tomato and its juices, cilantro jalapeno, lime juice, and 2 g salt.
- Warm the tortillas to heat through in a nonstick pan. Spread each with a thin layer of spicy mayo, then add the fried fish, salad, slaw, and pickled red onions. Serve immediately.
 Like this? Leave a comment below!
My Go-To Gear
Below are the tools I actually use when making this recipe. Some of these are affiliate links, which means I may earn a small commission if you purchase through them—at no extra cost to you.
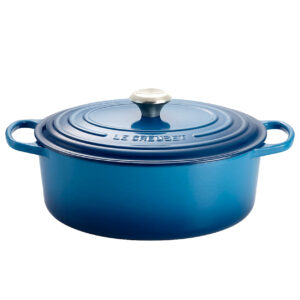
Heavy Dutch Oven — Thick walls hold heat so the temperature doesn’t crater when the fish goes in, and the tall sides keep bubbling oil where it belongs. Fill it no more than halfway.
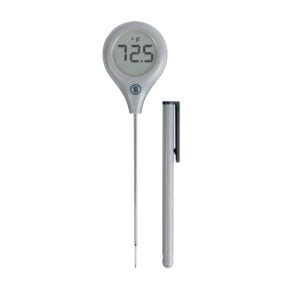
Instant-Read Thermometer – This whole recipe runs on oil temperature. Guessing is how crusts turn pale or greasy. It also confirms 145°F in the fish.
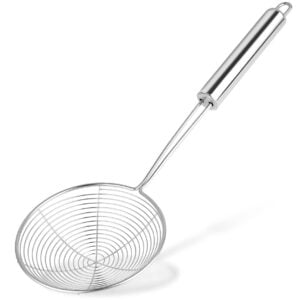
Spider Strainer – The fastest way to move fish out of hot oil without tearing the crust or fishing around with tongs.
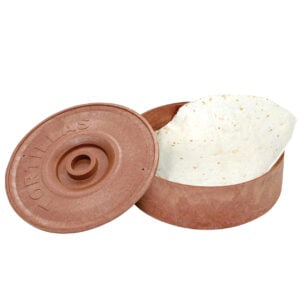
Tortilla Warmer – A one use kitchen tool that I get a surprising amount of use out of. I pull mine out every time I make tacos (which is a LOT).
Frequently Asked Questions
Not at all. Wet batter drips through an air-fryer basket before it sets, so you never get that enclosed, crackly shell. What you CAN do is air-fry your favorite breaded fish stick and serve it with the same spicy mayo, salad slaw, and pickled onions. I won’t shame you for doing this. It would be a fun weeknight meal.
Yes. Swap the all-purpose flour for a one-to-one gluten-free blend in both the batter and the dredge. Then just swap in a gluten-free tortilla and beer. Gluten-free flour blends vary a lot, so add enough liquid until you hit that same thin pancake-batter consistency.
It gets recommended constantly, but it’s a no for me. Mahi is low fat and low moisture so it dries out easily. Plus it just isn’t good cooked well done which is what deep-frying does to fish. In my area it’s also only available frozen, which also isn’t a very good version of that fish.
Use any neutral oil that can comfortably handle frying temperatures. I usually use peanut, avocado or refined olive oil, but all three cost considerably more than canola or vegetable oil.
And this should go without saying, but don’t use extra-virgin olive oil here. It will degrade and start to smoke that 375F and it will make the food taste like olive oil.