
Peanut Butter Cookies with Brown Butter and Miso

Updated Sep 08, 2026, Published Apr 11, 2026
This post contains affiliate links. Please see our disclosure policy.
A dense, fudgy texture, and ridiculously savory — the only peanut butter cookie recipe you’ll ever need.
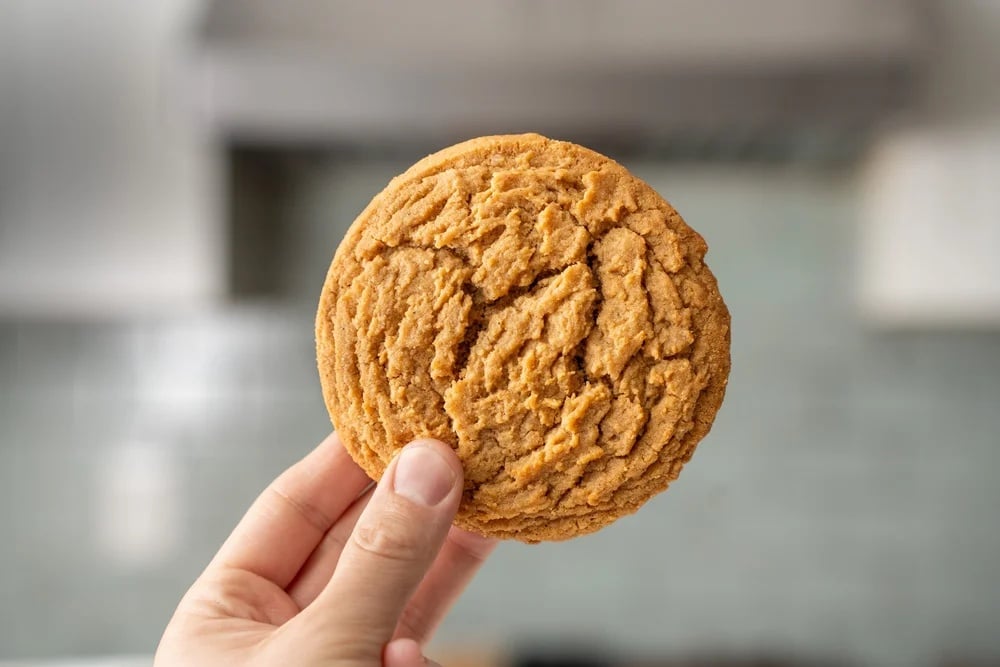
Table of Contents
What Makes This Recipe Special
With this recipe I set out to prove to myself that a peanut butter cookie could be AS GOOD as a top tier chocolate chip cookie. After over 10 attempts, I can say confidently that it can. This cookie is dense, chewy, deeply savory, and packed with tons of toasty nutty peanut butter flavor. Most importantly, THIS COOKIE IS NOT DRY AT ALL. Quite the opposite. It’s super moist while also maintaining a crispy, almost crunchy exterior. This textural combo is the holy grail of peanut butter cookies. I didn’t even know that was possible…UNTIL NOW haha.
Brian’s Pro Tips
Brown Butter — Standard butter is about 15% water. Browning sizzles all of that off, which means less water to hydrate the flour. That produces less gluten, which leads to a denser, chewier cookie with a more satisfying bite instead of a cakey, puffy one. On top of that, toasting the milk solids in the butter creates a deep, nutty profile that significantly amplifies the roasty toasty flavors of the peanut butter.
50/50 Butter Split – Half brown butter, half softened. The brown butter brings flavor and density. The softened butter can actually trap air during creaming, giving the cookie just enough structural lift to hold its massive fat content gracefully without turning it into a cake.
Miso – A big spoonful of white miso gives this cookie a subtle undercurrent of umami that wakes up your taste bud .Its literally natural MSG and it makes the peanut butter taste even more peanut buttery and complex. Plus it brings a little salty edge that makes the cookie pop on your tongue.
Low Flour, High Sugar – I’m using very little flour relative to the fat and sugar in this recipe. This means minimal gluten development — which gives this cookie a dense satisfying chew that other PB cookies lack.
Big Cookies (120g each) – More mass equals dual texture. A massive cookie takes longer for heat to reach the center. This allows the edges to get deeply caramelized and crispy while the inside stays thick, gooey, and soft. Small cookies not only dry out faster in the oven, but they have a uniform crunch that makes the cookie a little boring to eat.
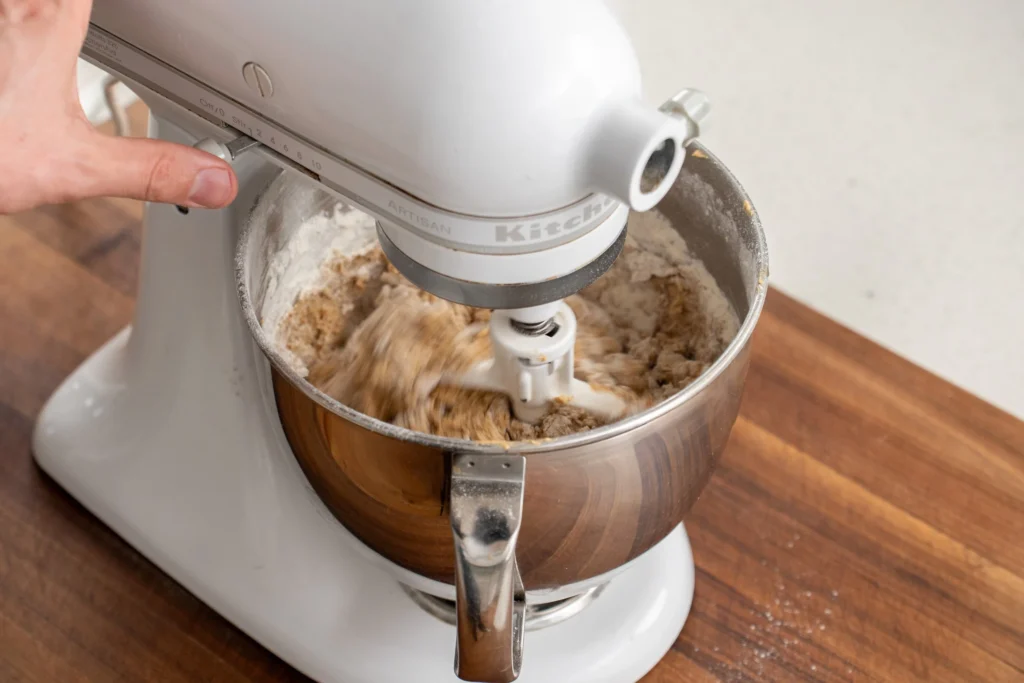
No over-mixing – After adding the dry ingredients to the wet ingredients in the mixer, stop mixing as soon as you no longer see dry flour. The moment AP flour hydrates, gluten starts forming. If you continue mixing, the cookie will become tough and have a bread-like chew instead of a tender bite. The starch in the flour is just here to bind things together. The moment AP flour hydrates, gluten starts forming, and if you continue mixing, the cookie will become tough and have a bread-like chew instead of a tender bite. The starch in the flour is just here to bind things together.
Key Ingredient Notes& Substitutions
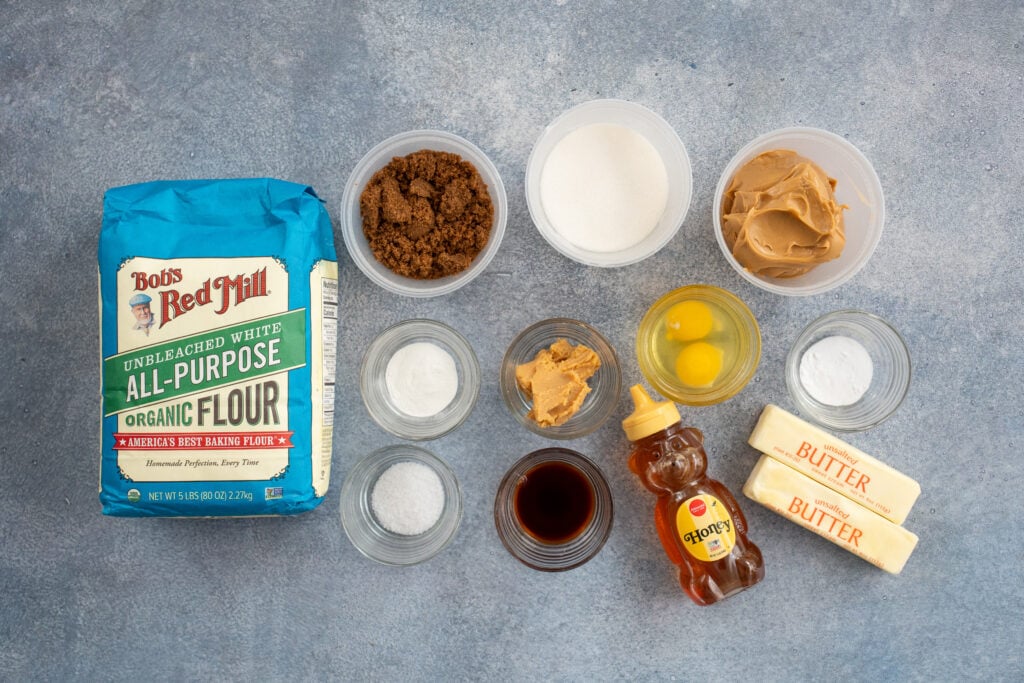
- Brown Butter: You need 115 g browned, cooled butter in addition to 115 g softened butter. Brown more butter than you need, since some water cooks off and reduces the yield.The butter is ready when the milk solids turn from khaki to a deep hazelnut brown. It’s harder to burn than most people think, so take it a little further than feels comfortable. Pour the browned butter into a bowl and refrigerate, stirring every 5 minutes, until it just starts to solidify. Re-emulsifying it this way keeps the cookies lighter; fully melted butter can make them spread too much and turn the crumb dense.
- Peanut Butter Consistency: Use a standard commercial peanut butter with some added palm oil and salt (like Jif or Skippy). Natural peanut butters have waaaay too much variation in texture and fat content. This cookie is super PB heavy and if the peanut butter part is off, the results will be unpredictable.
- White Miso: White (shiro) miso is the one you want here. Despite the name, it’s actually light brown. It’s milder and sweeter than darker, more aged misos, so it blends in without making the cookies taste fermented. You won’t taste miso outright. You’ll taste a deeper, more savory, more complete version of peanut butter. Most grocery stores carry shiro miso in the refrigerated section near tofu. If you can’t find it there, check an international market. It keeps for months in the fridge and even longer in the freezer, so it’s worth having on hand.
See the recipe card below for a full list of ingredients and amounts
How to Make Brown Butter Miso Peanut Butter Cookies
- Brown the butter. Melt 145g butter in a small saucepan over medium heat and cook, stirring frequently, until the bubbling subsides, the milk solids turn deep amber, and it smells incredibly nutty. Over medium low heat this should take 4-5 minutes.
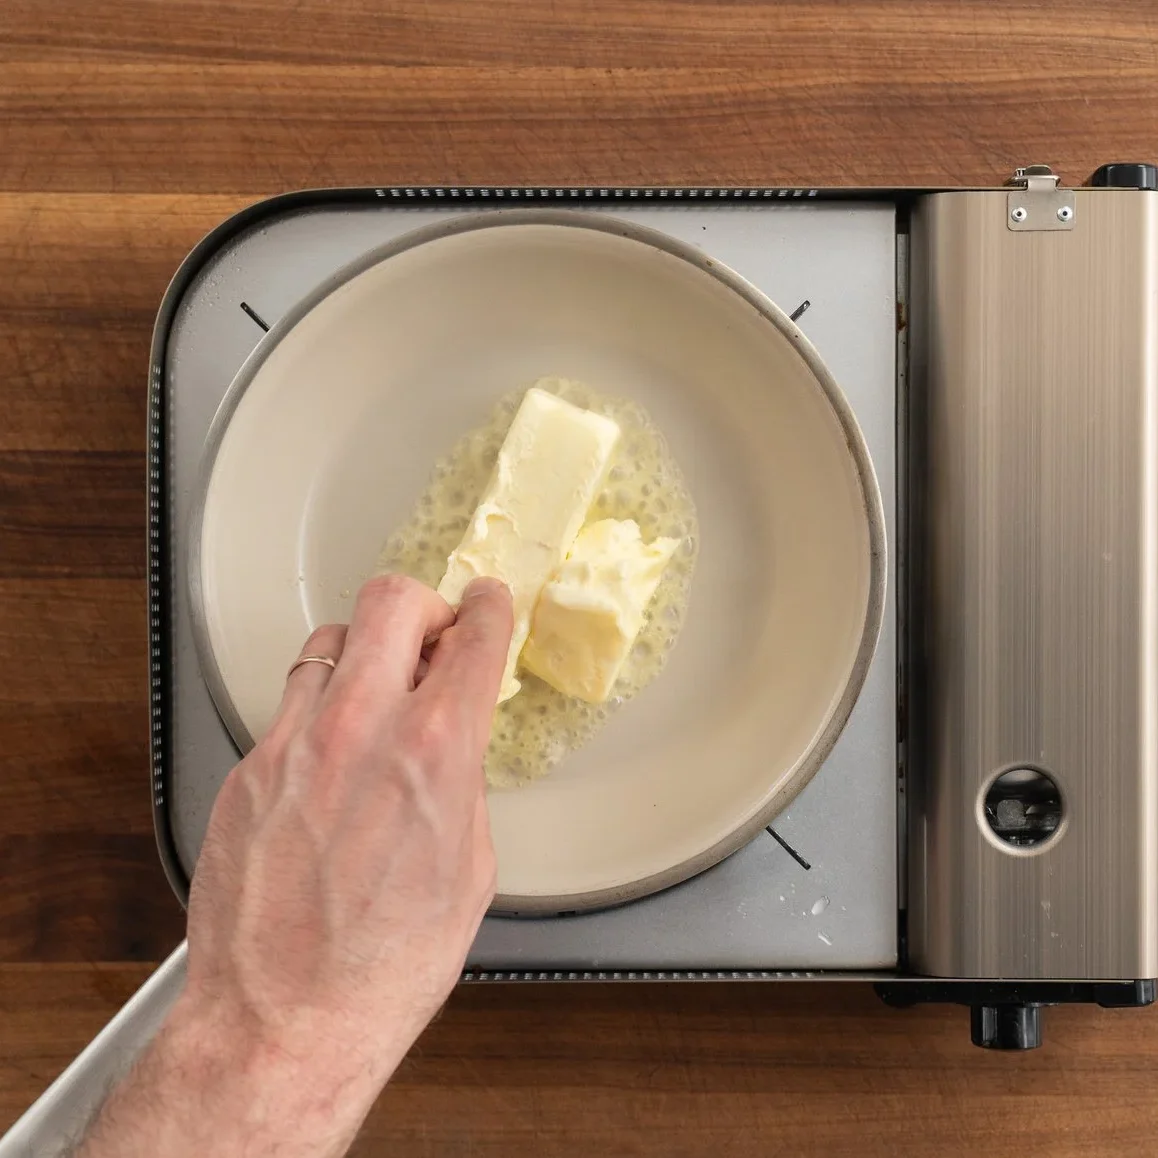
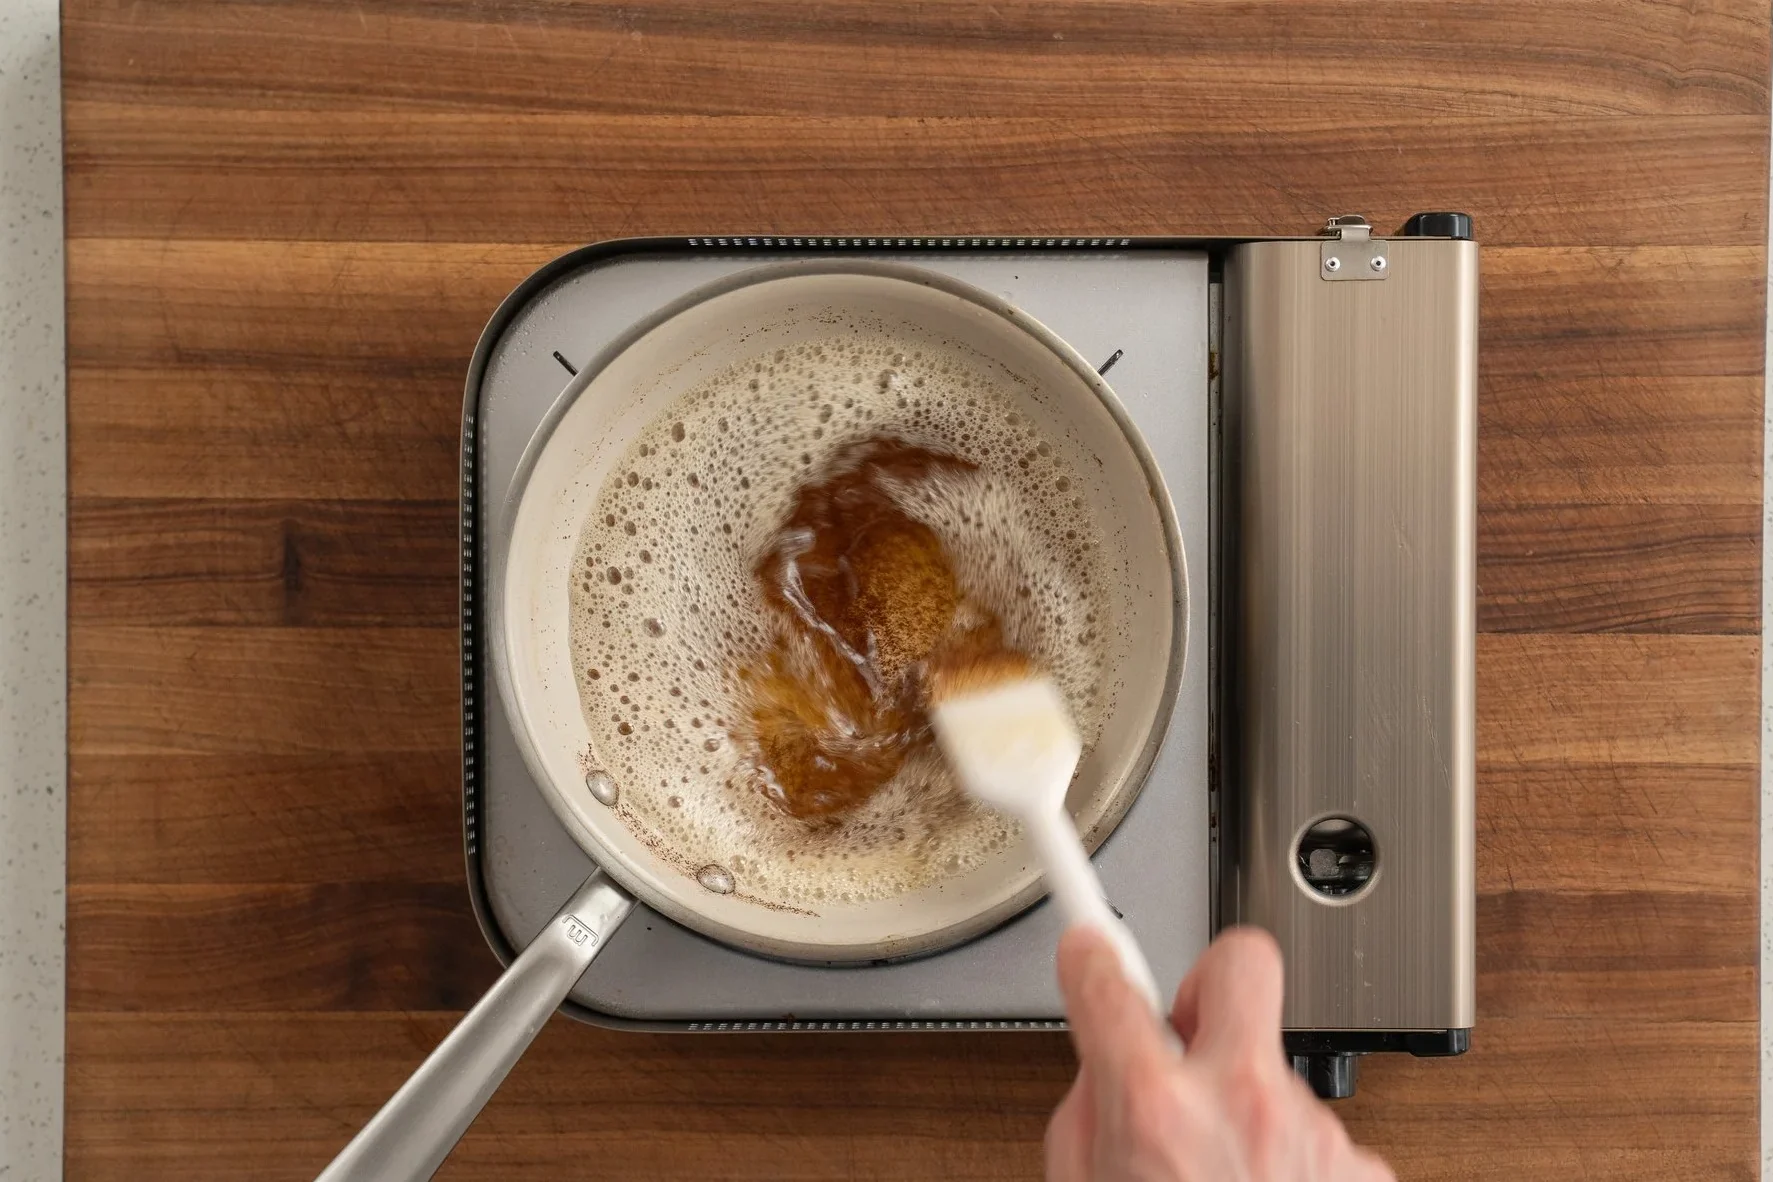
2. Pour the browned butter into a heatproof bowl (you should have about 115g remaining) and refrigerate, stirring every 5 minutes, until it’s just beginning to solidify. This takes about 15 minutes. Don’t let it harden into a puck. We want the texture of spreadable, softened butter.
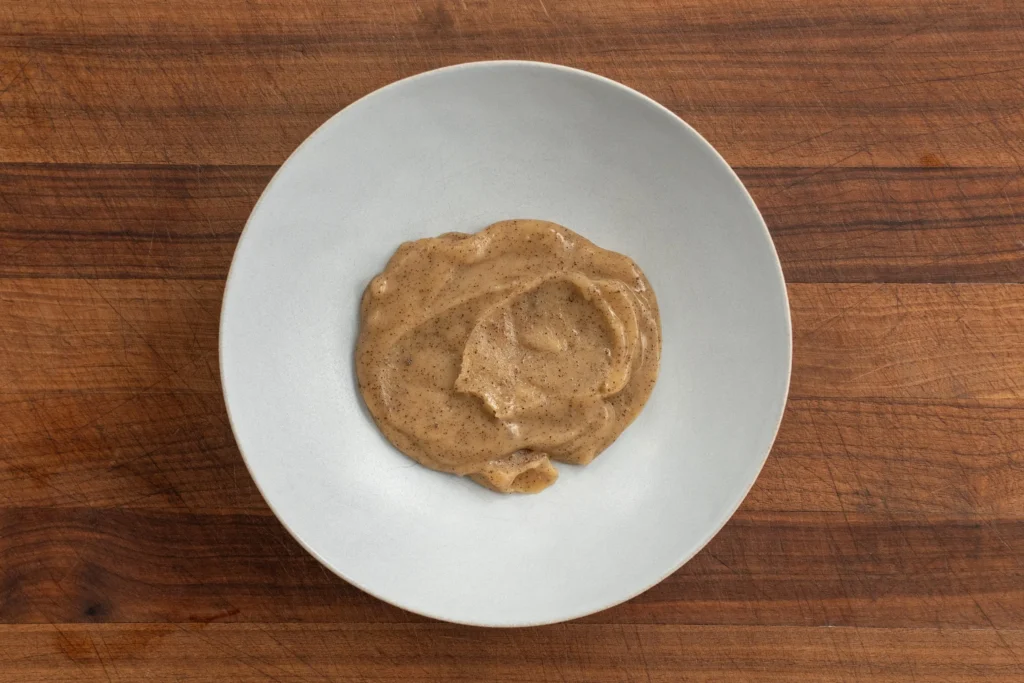
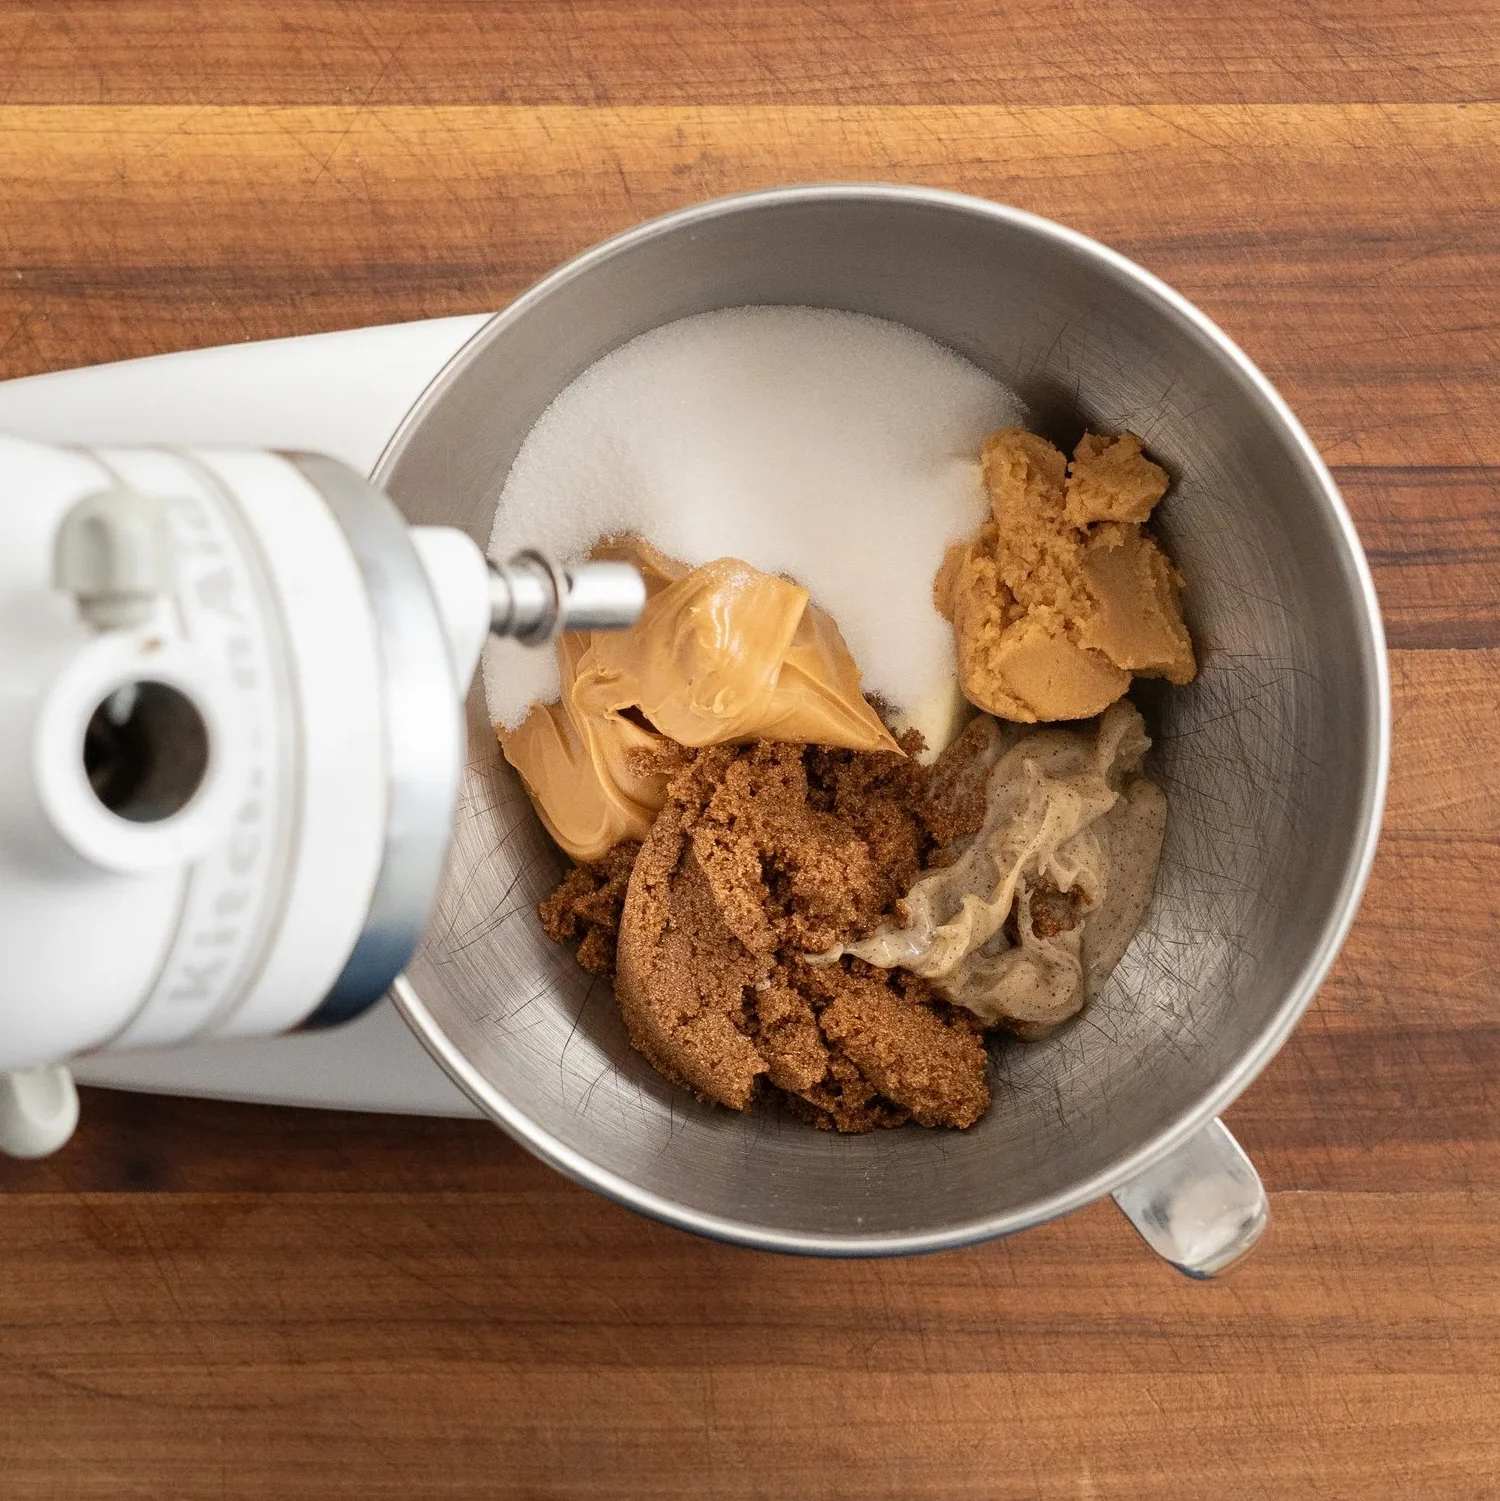
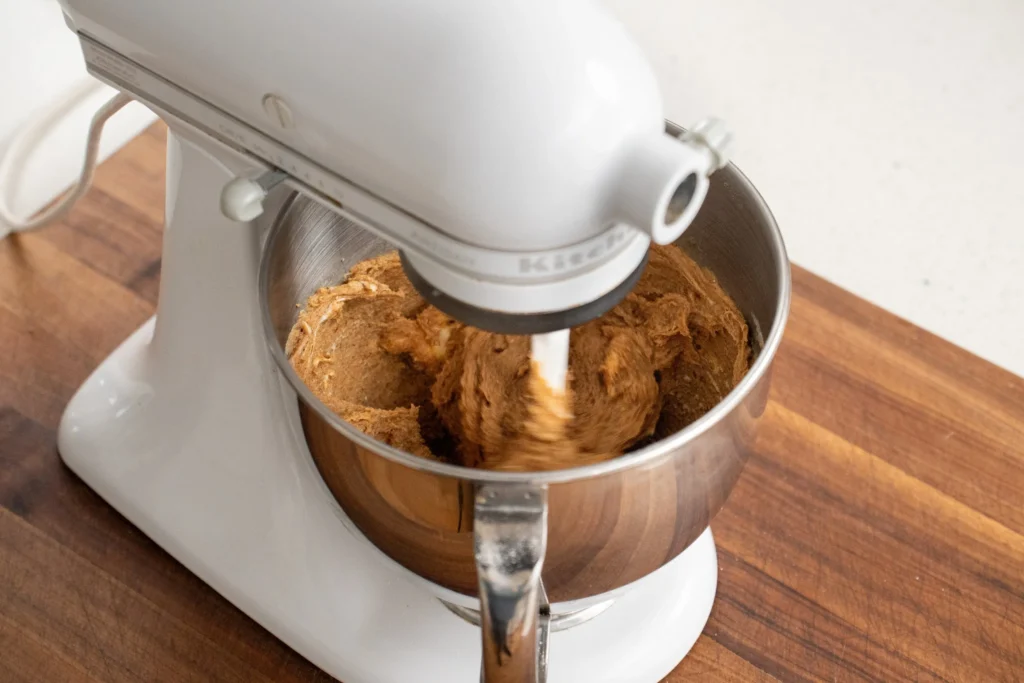
3. Cream the base. In the bowl of a stand mixer fitted with the paddle attachment, combine the cooled brown butter, softened butter, peanut butter, both sugars, miso, and honey. Cream on medium speed for about 5 minutes until the mixture is fully incorporated and slightly pale. Pause to scrape down the bowl thoroughly, making sure there’s no unmixed butter hiding on the bottom. Then mix for 10 more seconds.
Don’t over-cream because it will whip more air into this dough than we need resulting in a cookie will puff in the oven and collapse once cooled.
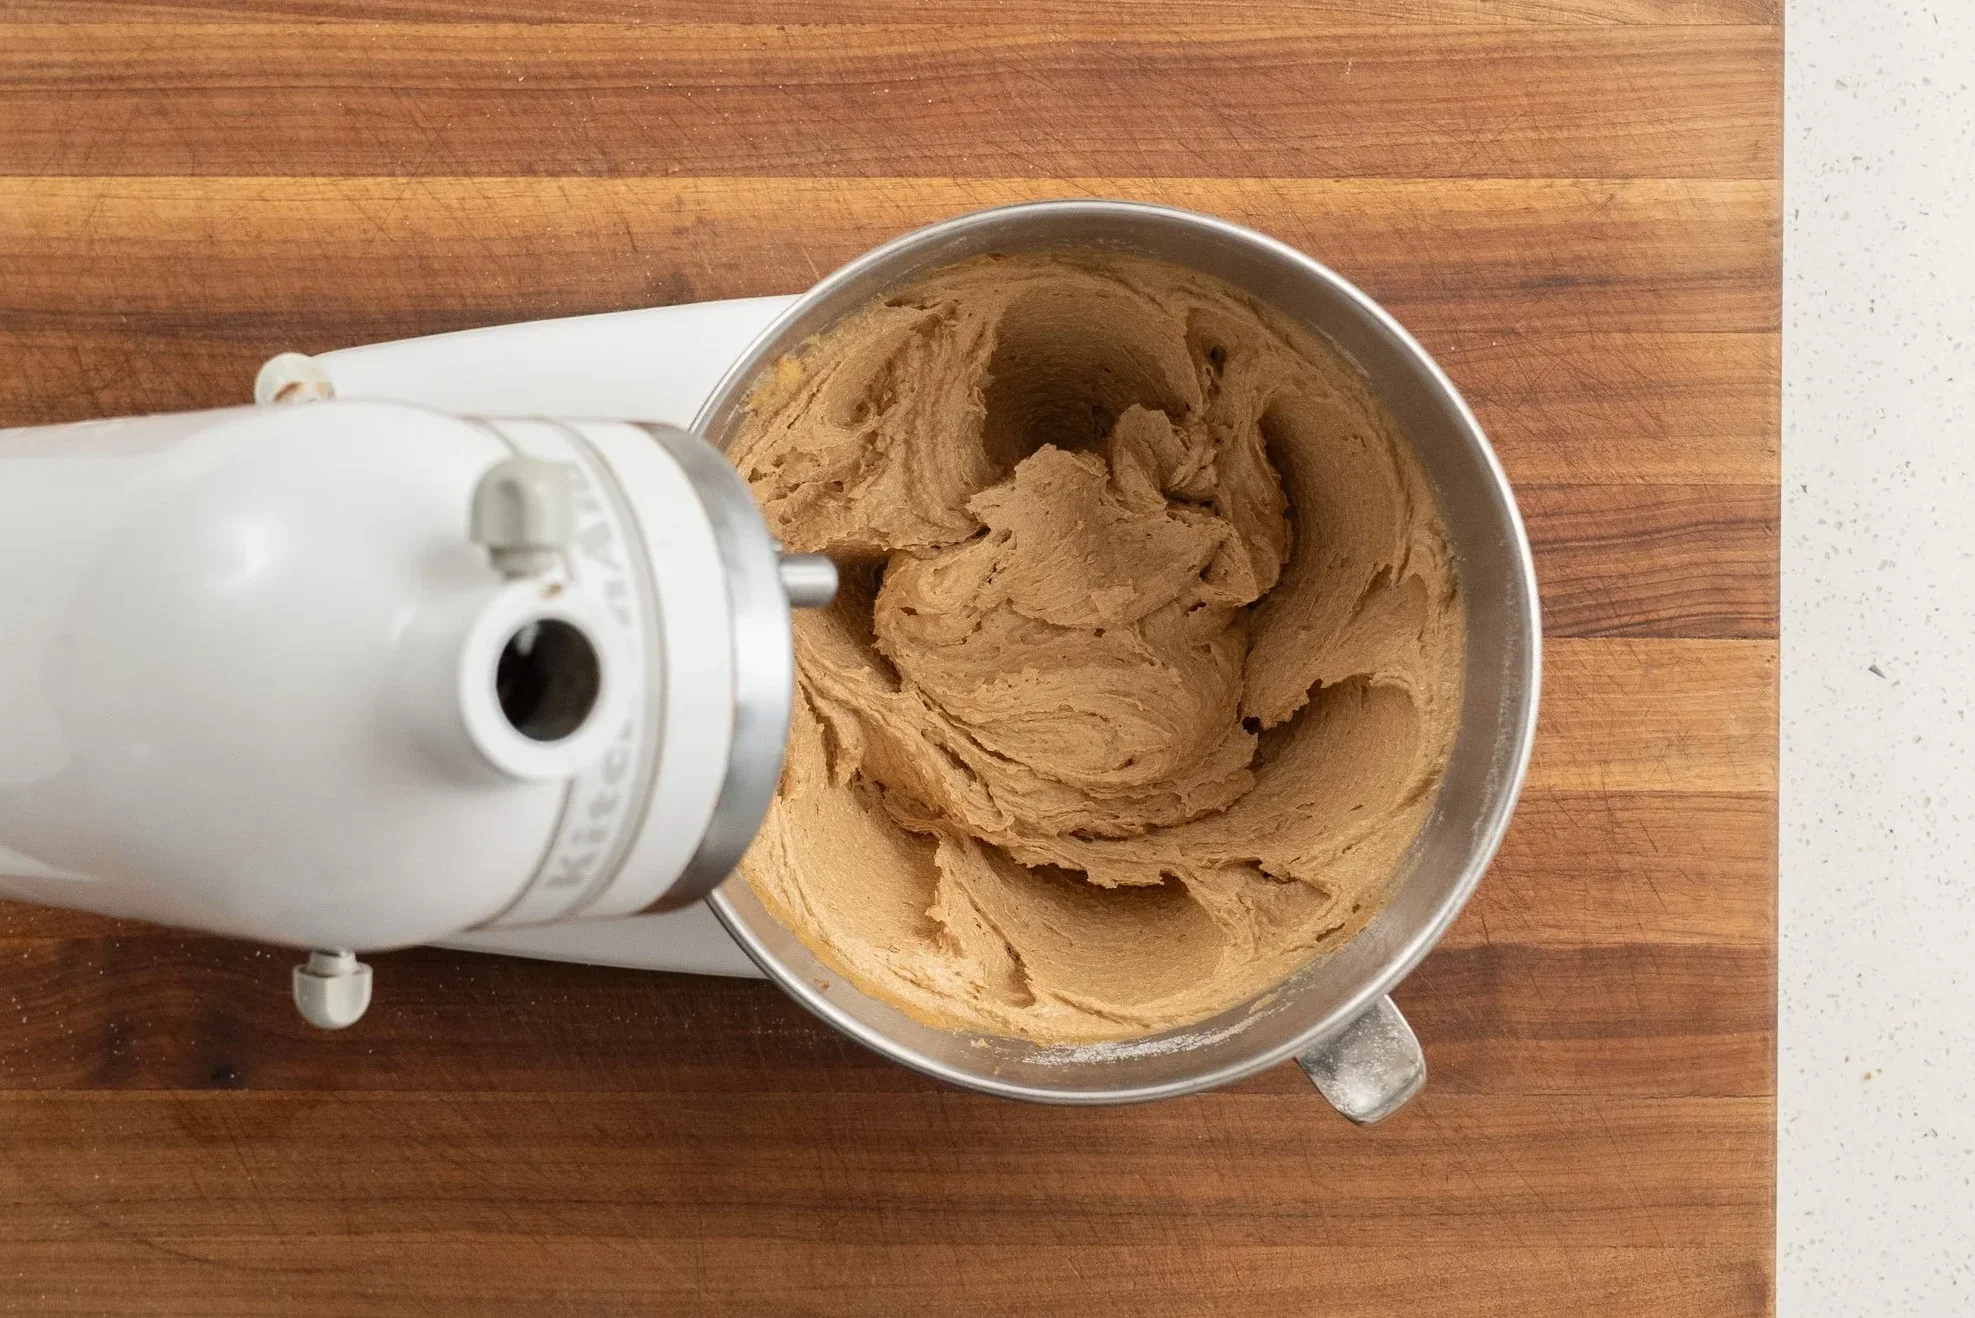
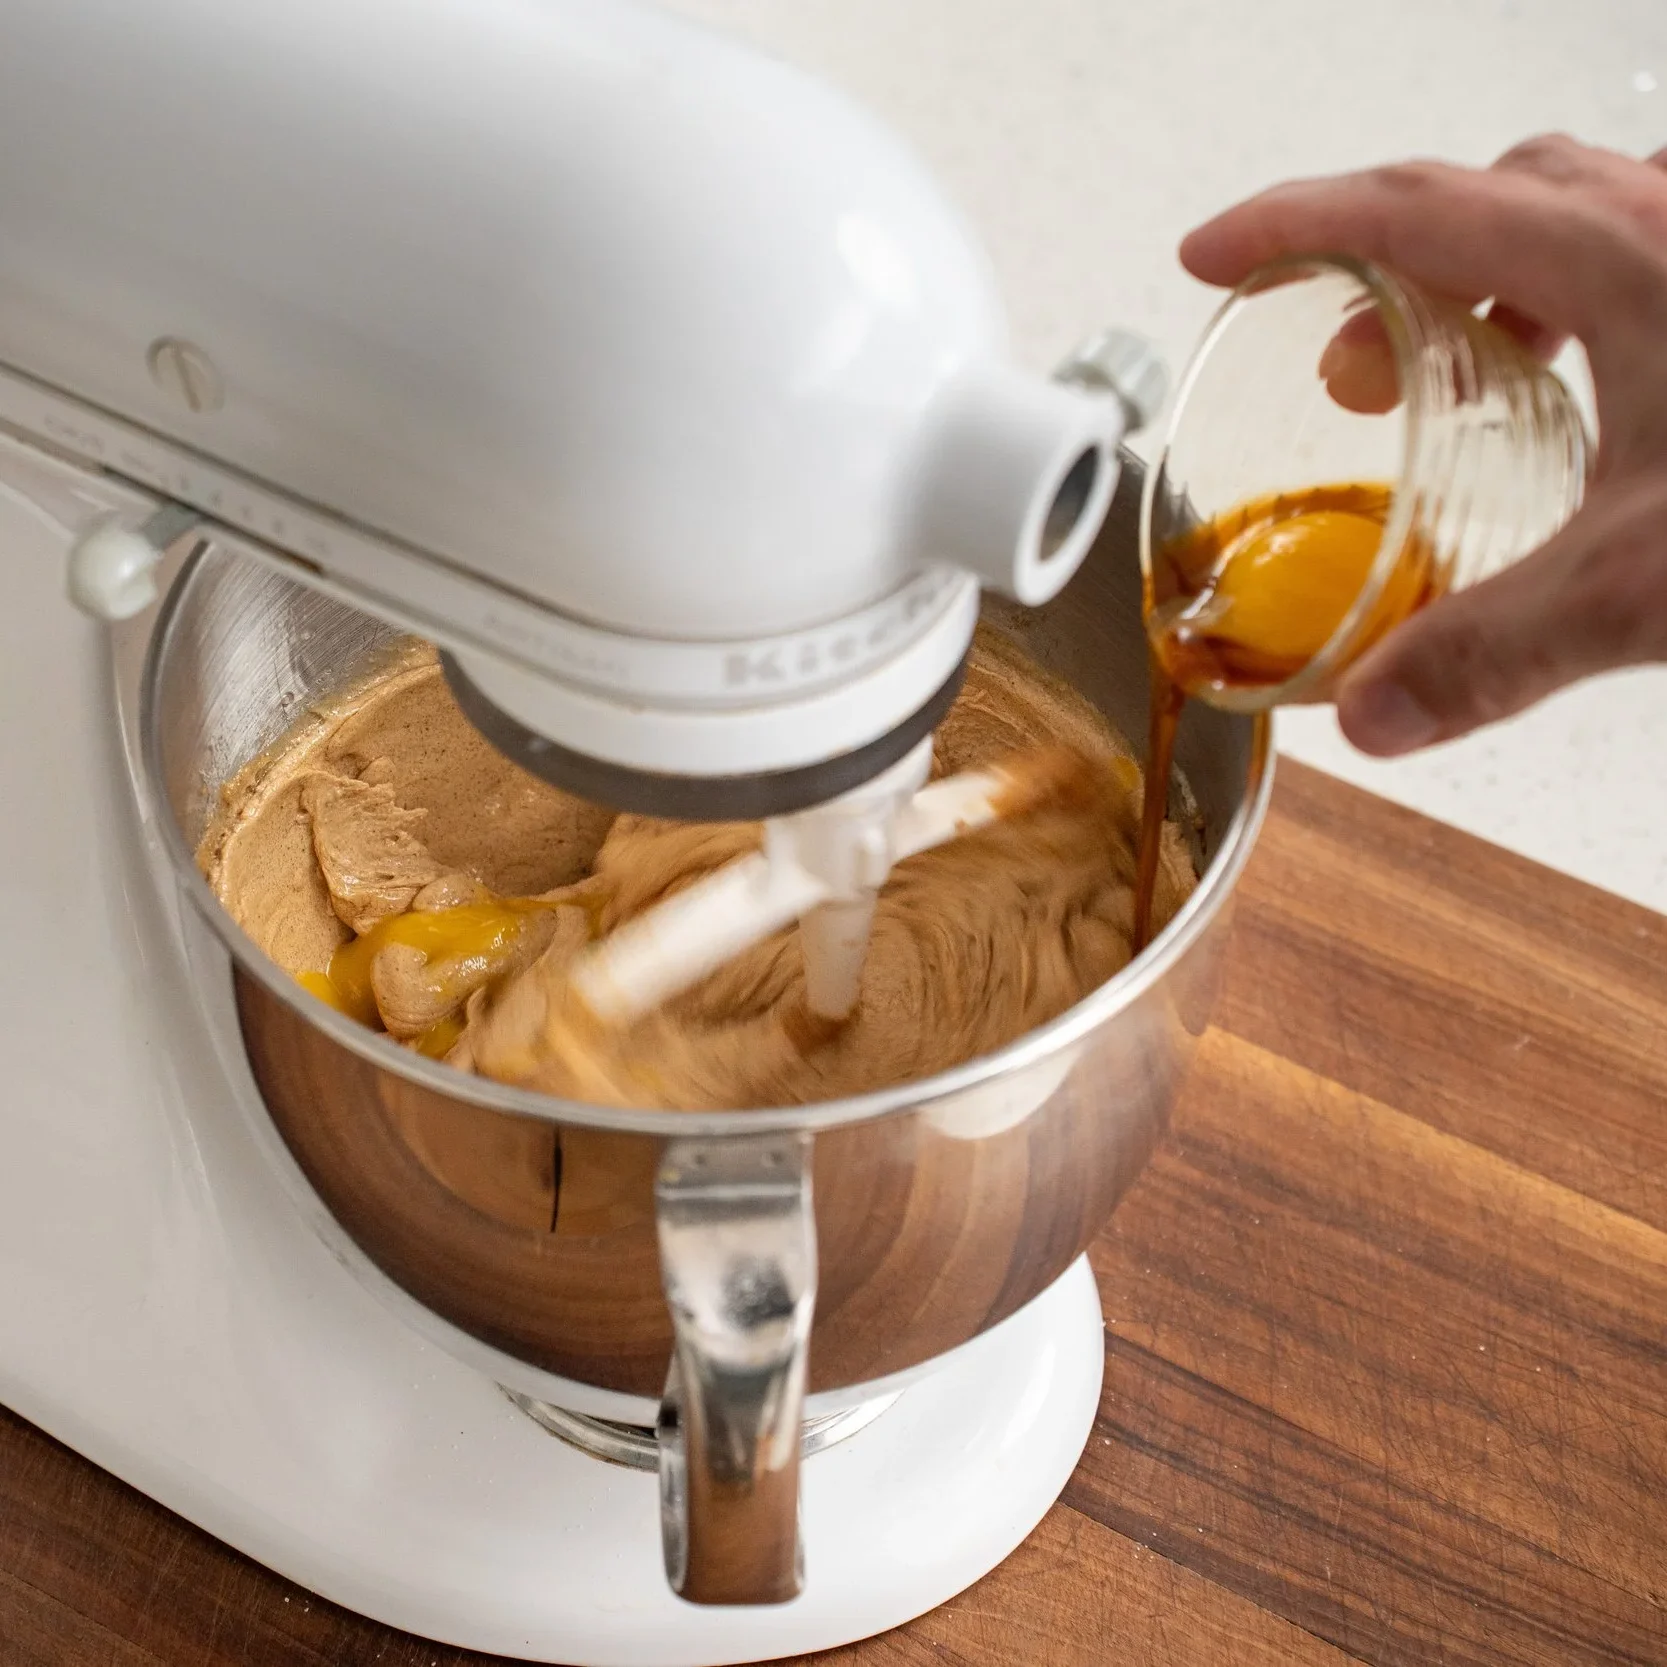
4. Once the dough is homogenous and has become a light brown color, stream in the eggs and vanilla while the paddle spins on low speed. Mix until things are just incorporated. Again we don’t want to overwhip the dough, and once the eggs are in the whites will start to hold a lot of air.
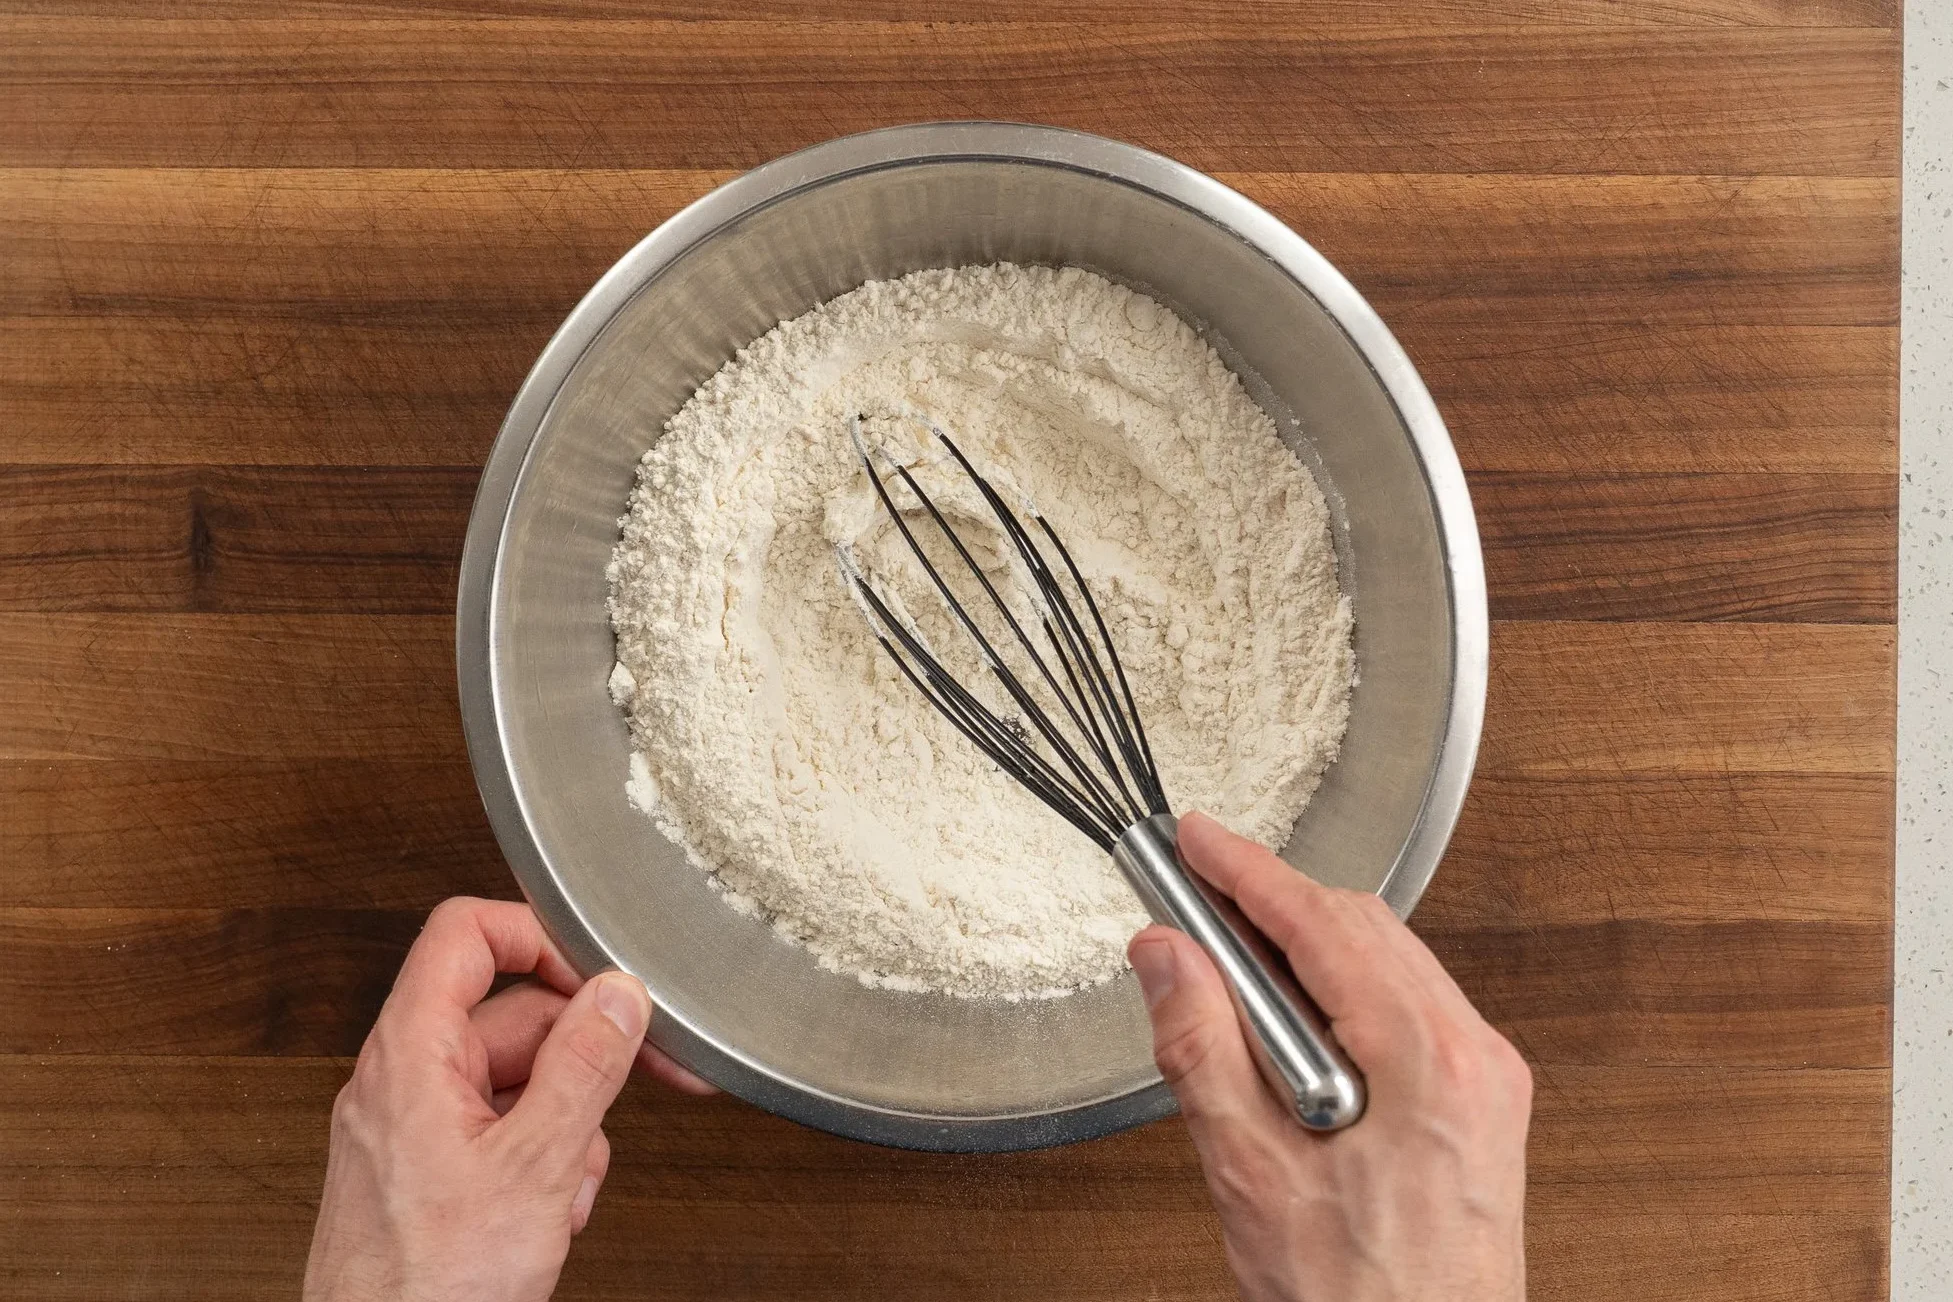
5. In a medium bowl, whisk together the flour, baking powder, baking soda, and salt. This ensures even distribution — a localized clump of unmixed baking soda or salt will ruin a cookie.
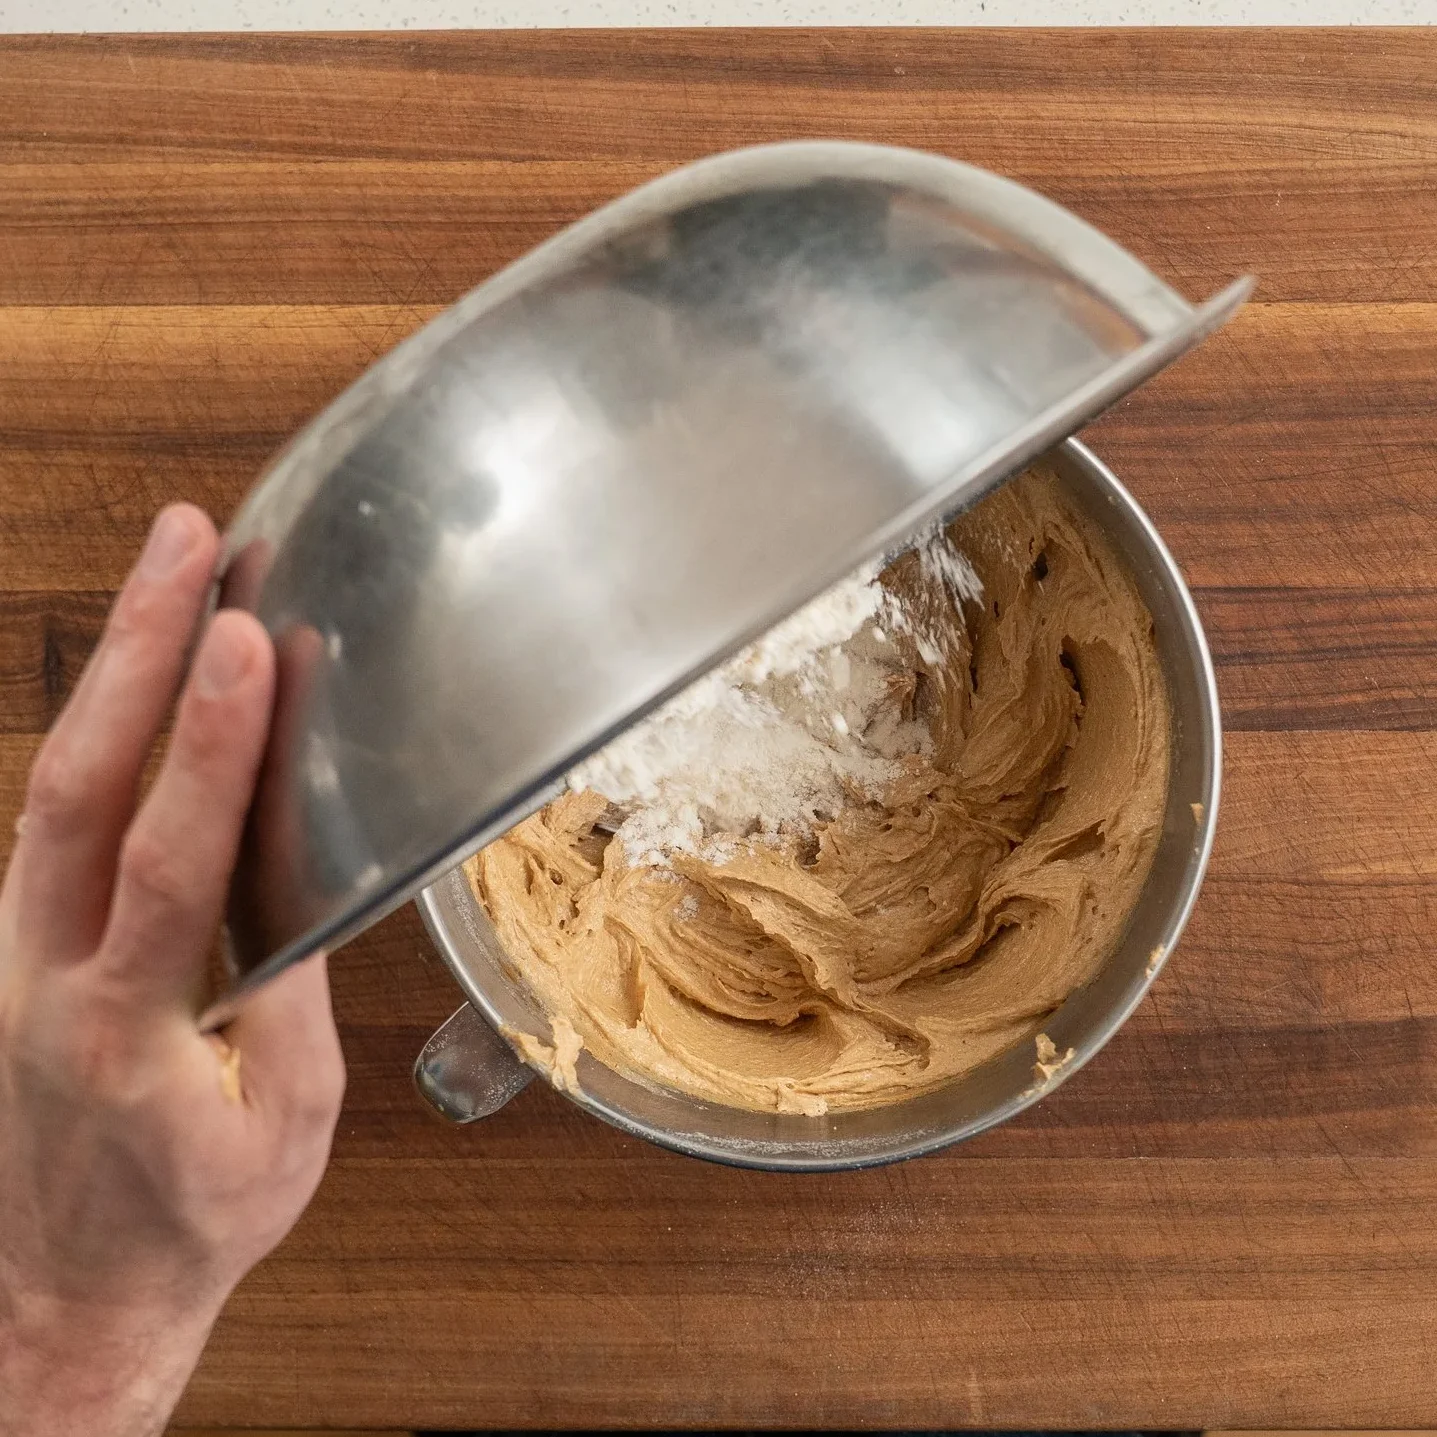
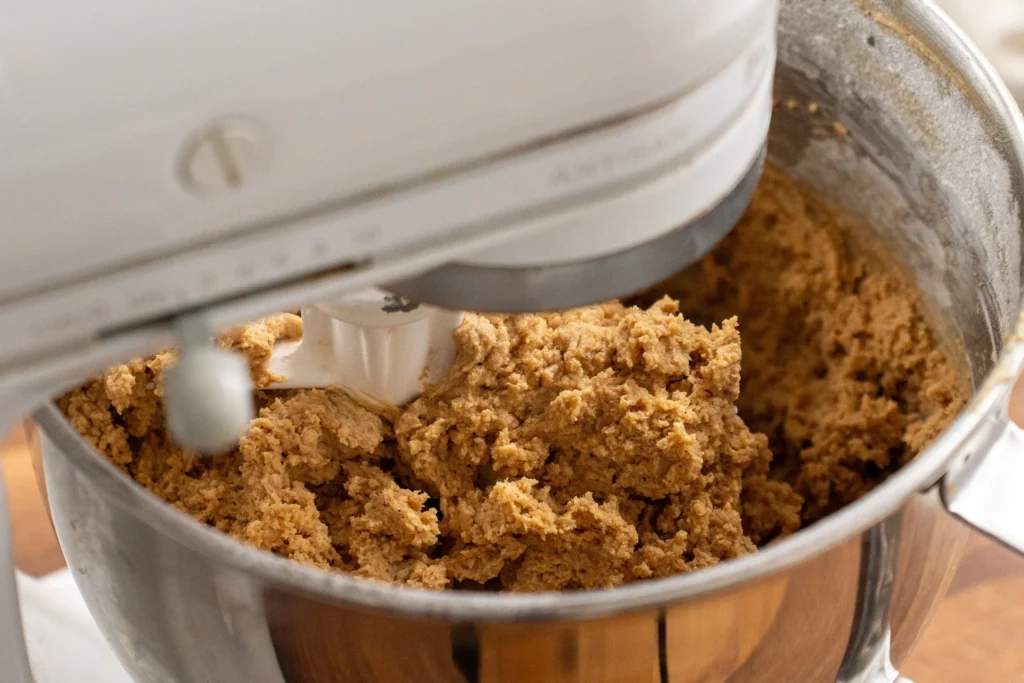
6. Add the dry ingredients to the mixer bowl and mix on the lowest speed and mix until the dough just comes together. Stop as soon as you no longer see dry flour. Really driving home the importance of not over-mixing here (see note at the beginning of this post).
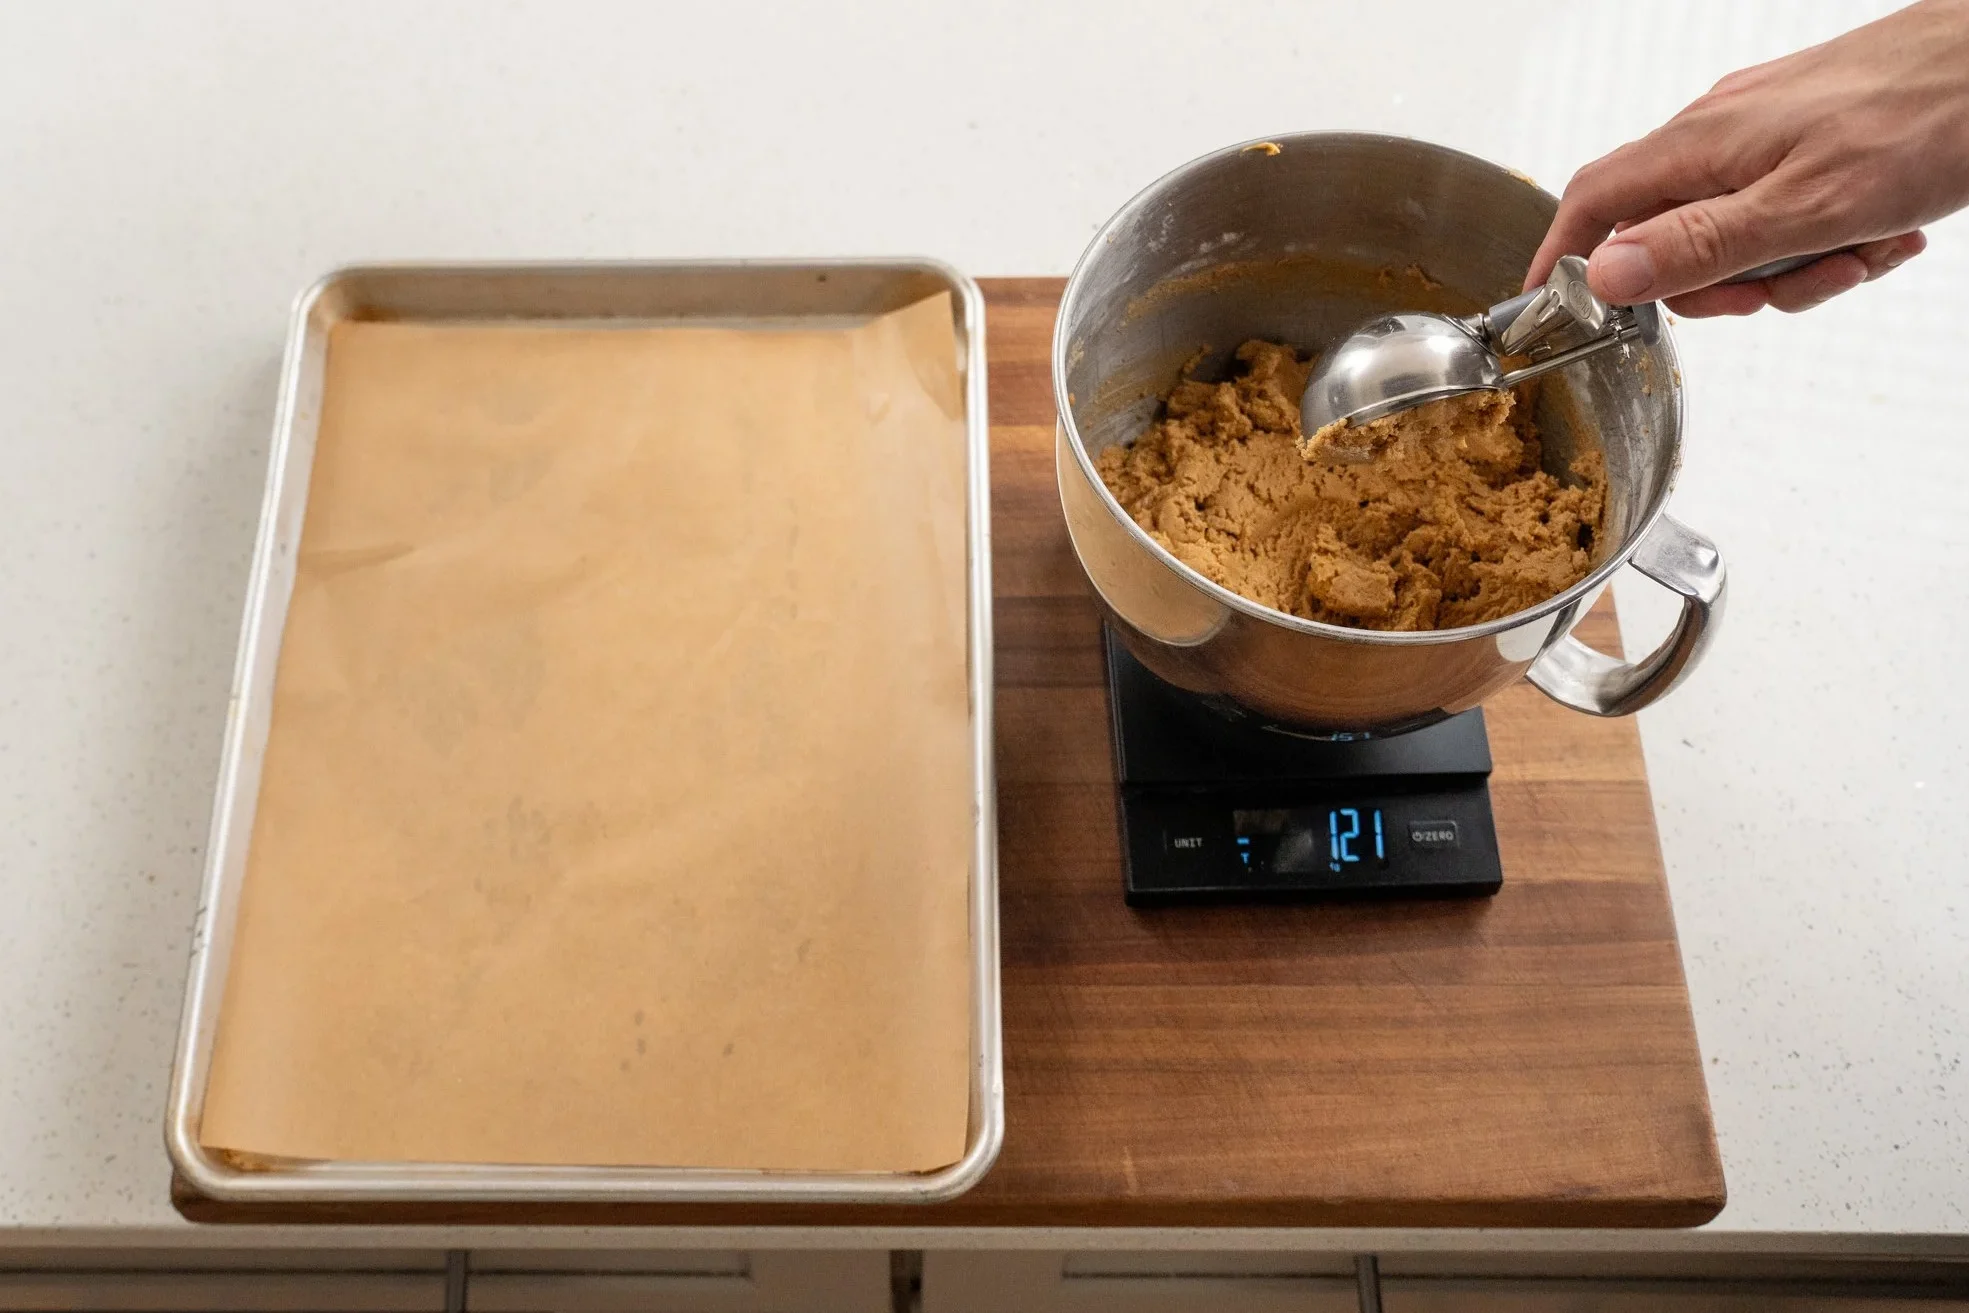
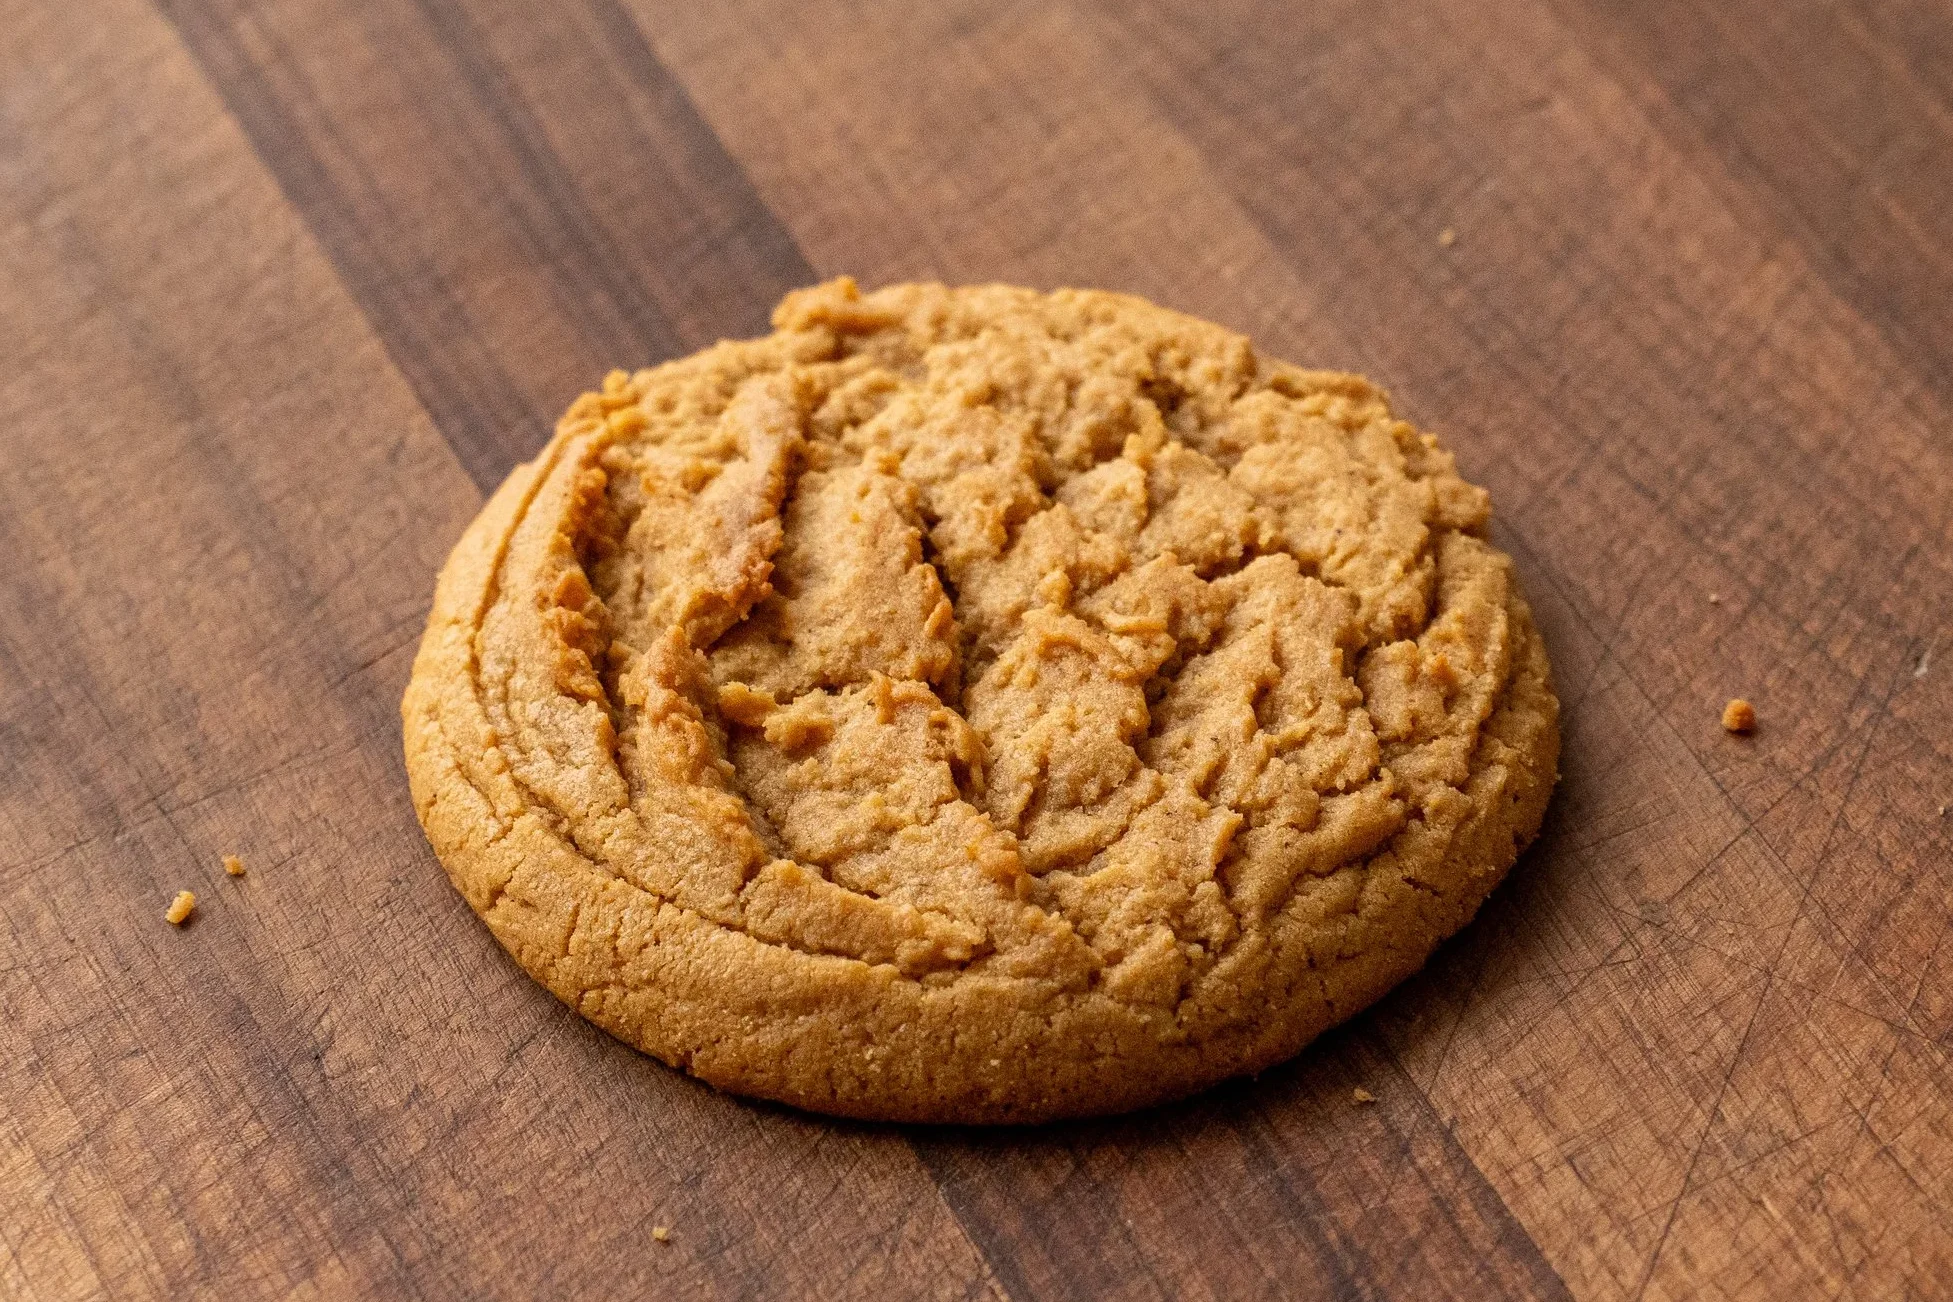
7. Using a large portion scoop and digital scale, portion the dough into 120g balls. Consistency matters here. If you have an 80g cookie and a 130g cookie on the same tray, the small one will burn before the large one sets. Try not to shape the cookie balls or excessively handle them, this will impact the natural craggly top you get from a portion scoop. This creates little ridges that turn crunchy in the oven and it’s really dope. Make sure you have some crags on top.
TIP: If you don’t have a scoop, use a scale and a pan sprayed ⅓ cup measuring cup.
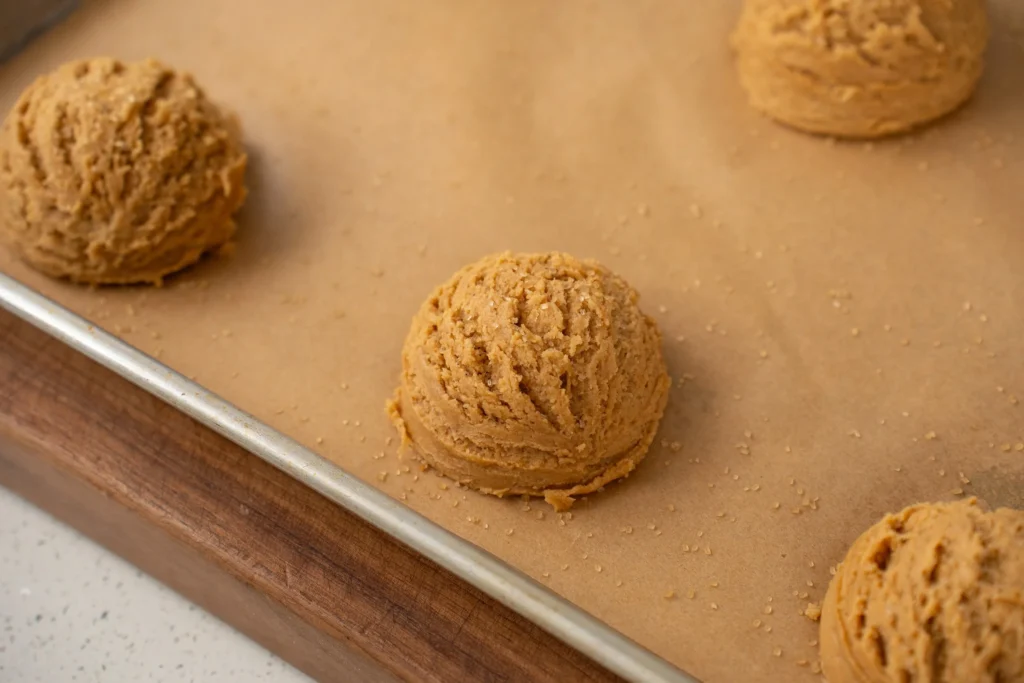
8. Place 6 dough balls on a parchment lined half sheet tray, leaving plenty of room between them. These are large, high-fat, high-sugar cookies and they will spread. If you crowd the tray, they will run into each other and fuse. Thats bad.
9. Sprinkle on a generous pinch of raw or demerara sugar into the top of each dough ball. This adds crunch and sparkle to the finished cookie. I did not say this in the video for this recipe but it’s a VERY nice touch. It turns up the volume just a little bit more. It’s like listening to Huey Lewis’s “I Want a New Drug” ….Louder is better.
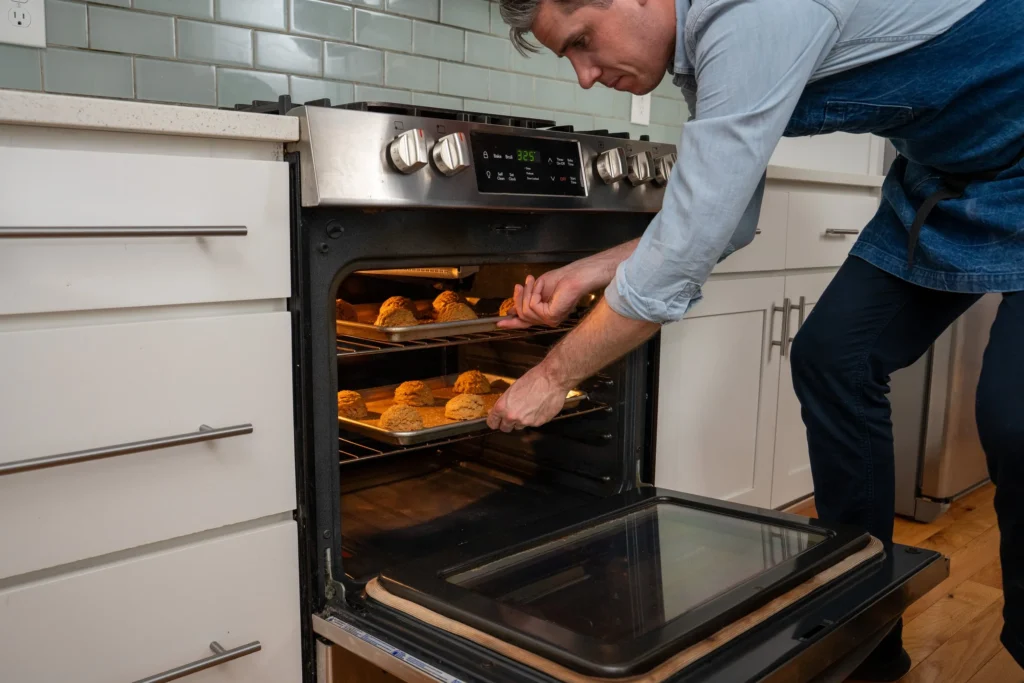
10. Bake at 325°F (160°C) for 20-22 minutes until the edges are golden brown and the top is just barely starting to set. They’ll look slightly underdone in the center and that’s exactly what you want at this stage. They firm up significantly as they cool.
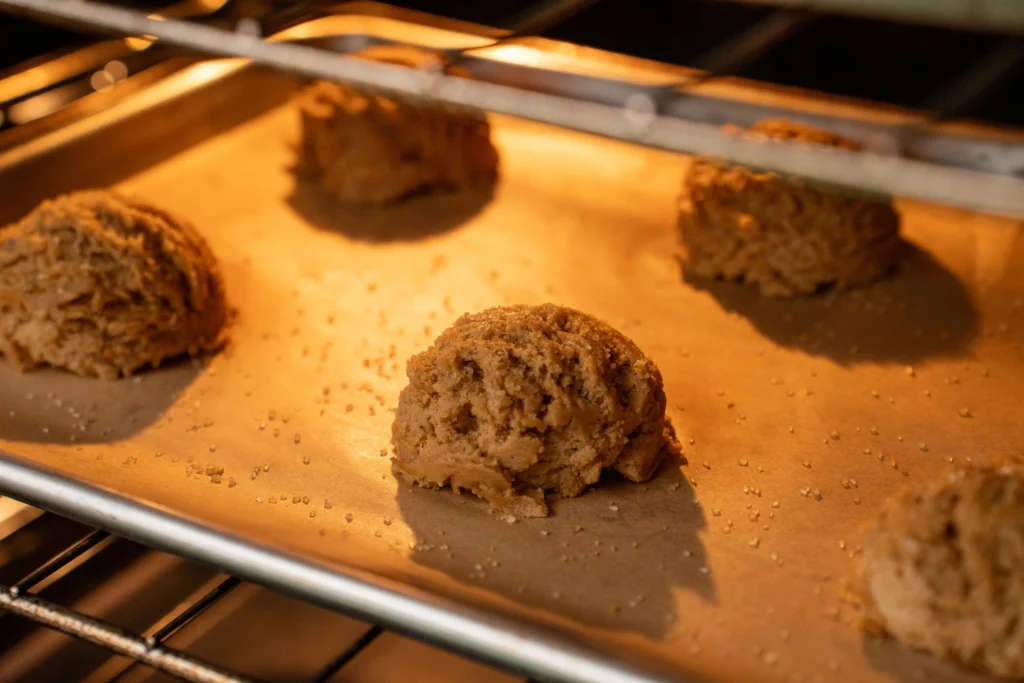
11. Cool completely on the sheet tray. This is non-negotiable. These cookies are delicate when hot and will crumble if you try to move them. The low flour-to-fat ratio means they need a full hour to set up. I know it’s hard. Walk away. They’re worth the wait.
Storage & Make-Ahead
After Baking: These cookies keep well in an airtight container at room temperature for up to 4 days. They actually get slightly better on day 2 as the flavors meld and the chew intensifies. You lose peak crispness after day 1, but the cookie evolves into something more mature and just as special.
Freezing Baked Cookies: Layer cooled cookies between parchment in a freezer-safe container. They’ll keep for up to 3 months. Thaw at room temp for about 30 minutes, or bake in a 300°F oven for 5 minutes to refresh that crispy edge.
Freezing Dough: Portion the dough into 120g balls, freeze on a sheet tray until solid, then transfer to a zip-top bag. Bake straight from frozen — just add 2-3 minutes to the bake time. This is genuinely one of the best make-ahead cookie doughs because the high fat content means it freezes and thaws super well. Just don’t let it hang in the freezer too long. The high fat nature means it will absorb freezer taste quicker than other doughs. I’d say no longer than 4 months.
Pin this now to find it later
Pin It
Peanut Butter Cookies with Brown Butter and Miso
Ingredients
- 115 g butter, softened
- 115 g brown butter, cooled and semi-solid, start with ~145g to account for water loss
- 350 g peanut butter, standard commercial, like Jif or Skippy
- 185 g granulated sugar
- 185 g brown sugar
- 25 g honey
- 65 g white miso
- 90 g whole egg (about 1½ large eggs total), beaten
- 20 g vanilla extract
- 330 g all-purpose flour
- 7 g baking powder
- 7 g baking soda
- 12 g salt
- Raw sugar or demerara sugar, for topping
Instructions
- Melt 145g butter in a small saucepan over medium heat and cook, stirring frequently, until the bubbling subsides, the milk solids turn deep amber, and it smells nutty.
- Transfer to a heatproof bowl (you should have about 115g remaining) and refrigerate, stirring every 5 minutes, until the butter begins to thicken to a spreadable paste texture, which takes about 15 minutes.
- In the bowl of a stand mixer fitted with the paddle attachment, combine the cooled brown butter, softened butter, peanut butter, both sugars, miso, and honey. Cream on medium speed for about 5 minutes until the mixture is fully incorporated and slightly pale. Scrape down the bowl thoroughly then mix for 10 more seconds. Avoid over creaming.
- Once the dough is homogenous and a light brown color, stream in the eggs and vanilla while the paddle spins on low speed and mix until just incorporated.
- In a medium bowl, whisk together flour, baking powder, baking soda, and salt.
- Add the dry ingredients to the mixer bowl and mix on the lowest speed until the dough just comes together. Stop as soon as you no longer see dry flour.
- Using a large portion scoop and digital scale, portion the dough into 120g balls. Don't shape or over-handle the balls to be sure you're left with plenty of texture on top of the dough balls.
- Place 6 dough balls per half sheet tray, leaving plenty of room between them to allow for spreading.
- Sprinkle on a generous pinch of raw or demerara sugar on the top of each dough ball. This adds crunch to the finished cookie.
- Bake at 325°F (160°C) for 20-22 minutes until the edges are golden brown and the top is just barely starting to set. They'll look slightly underdone in the center, but they firm up as they cool.
- Cool completely on the sheet tray before enjoying.
 Like this? Leave a comment below!
My Go-To Gear For Peanut Butter Cookies
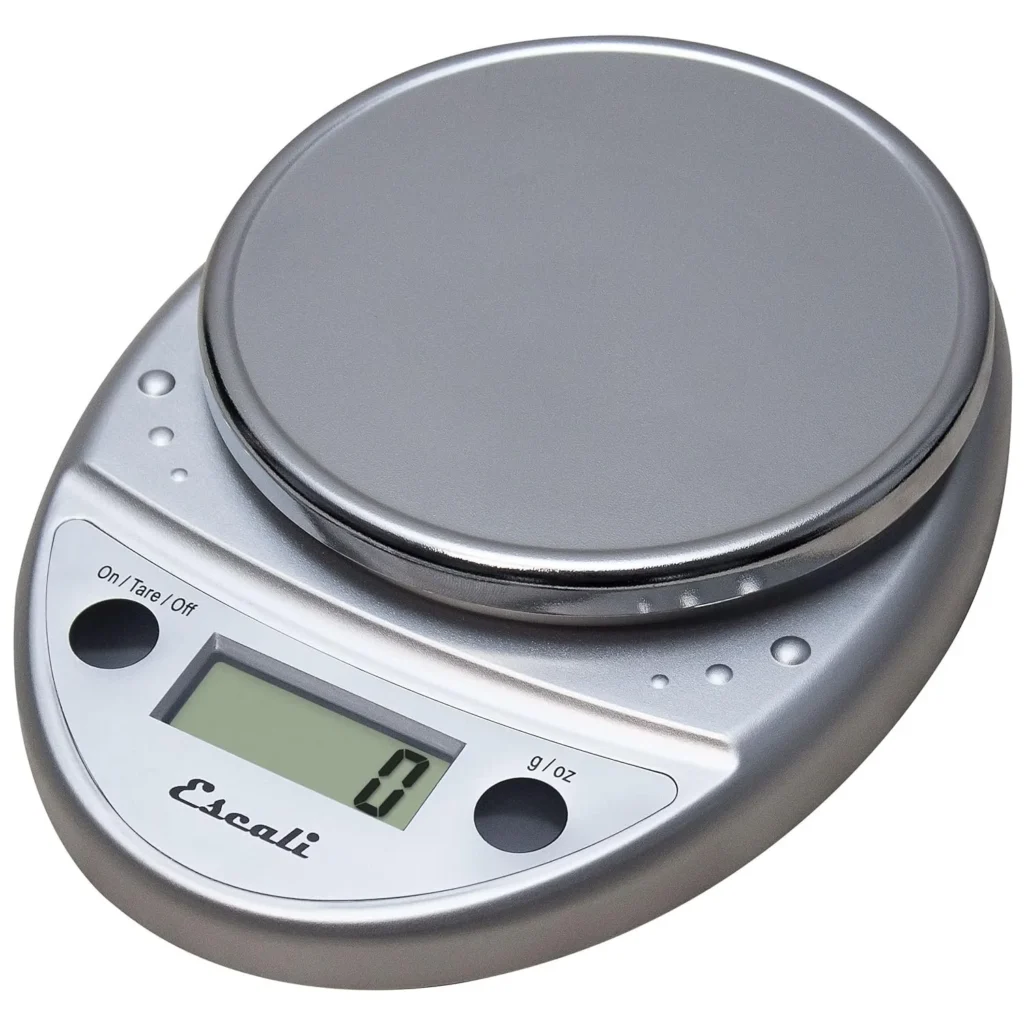
IMO, a digital scale is a non-negotiable item for this recipe. Weighing your ingredients is the single biggest thing you can do to improve baking consistency. Volume measurements for flour alone can vary by 30%!
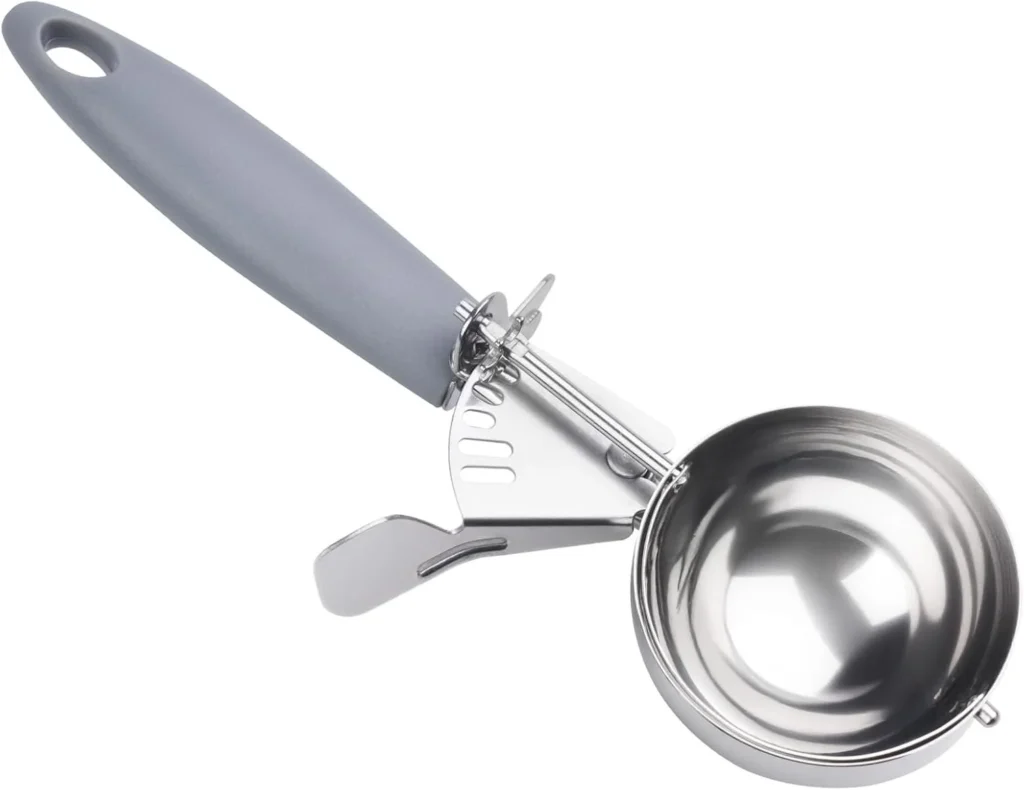
I also highly recommend a portion scoop for scaling and shaping these cookies. It’ll make a big impact on the outcome when you’re baking larger cookies…which most cookies should be in my opinion.
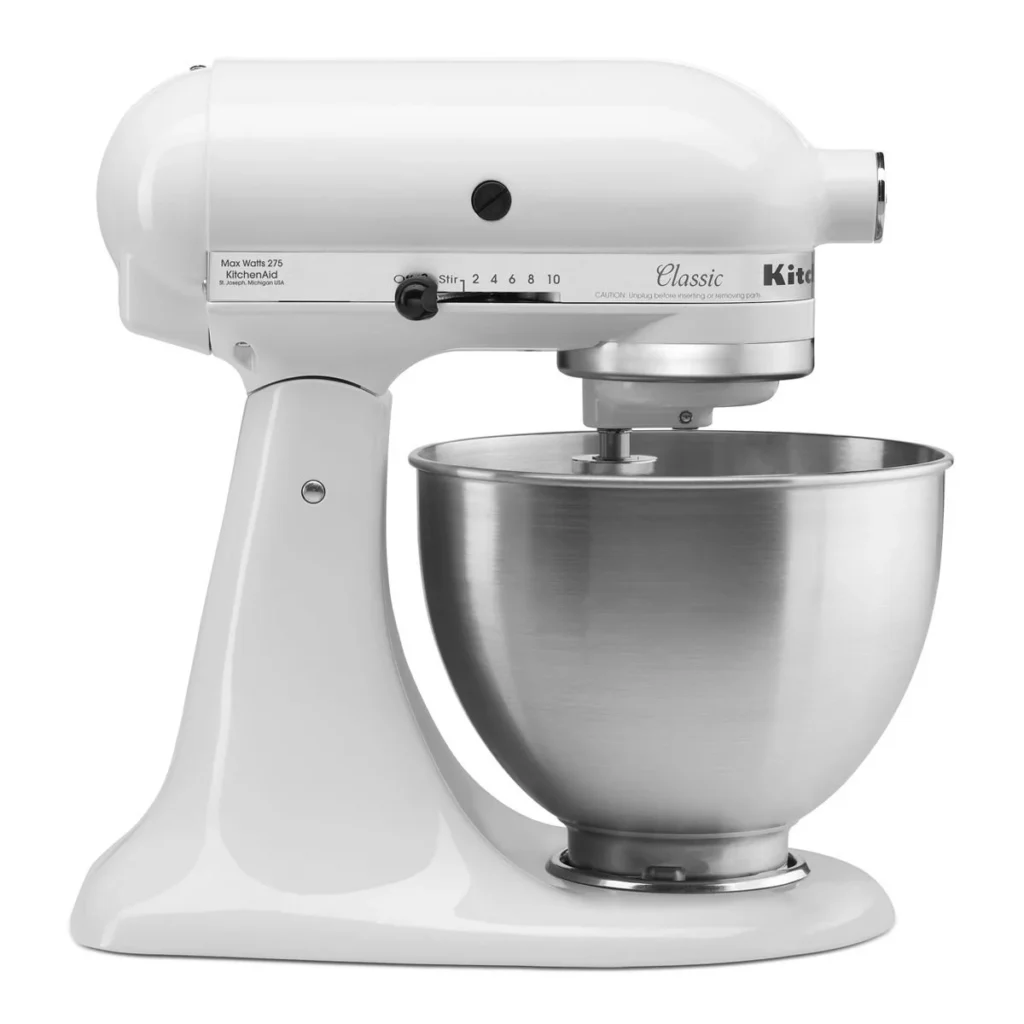
A stand mixer isn’t strictly necessary here — you can absolutely make these by hand — but a stand mixer is worth it for creaming the butter and sugar alone. My go-to is the KitchenAid.
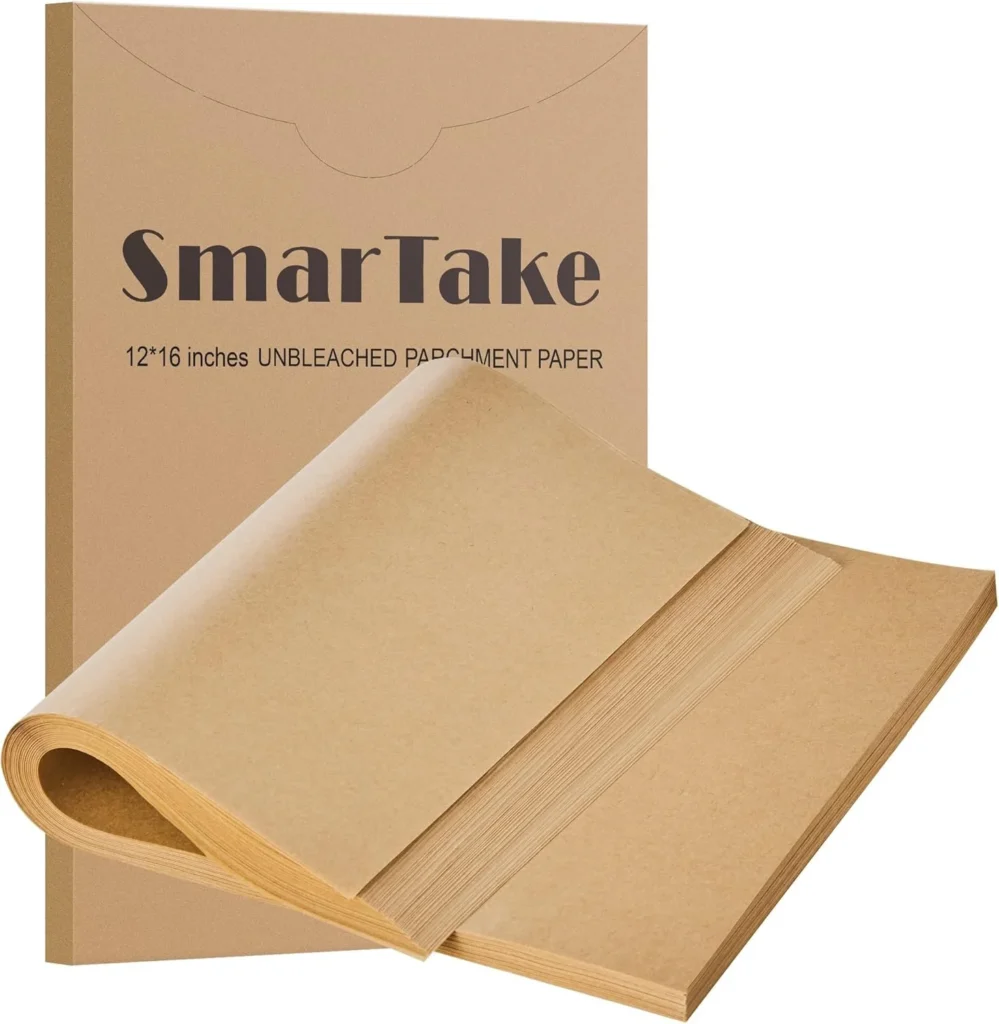
One of my all-time favorite kitchen hacks is using parchment sheets instead of rolls. I could write an entire post on this, but I’ll just say they’re a huge time saver and cost the same or less than an entire roll.
Frequently Asked Questions:
You can, but it works against the texture we’re after. Most store-bought peanut butter chips are waxy, overly sweet, and artificial-tasting, so they distract from the deeper peanut flavor instead of adding to it. Chopped peanuts do the same thing texturally. This cookie is built with relatively low flour and high sugar to create a seamless, fudgy chew. Crunchy nut pieces break that illusion. If you want an add-in, a handful of dark chocolate chunks would be the correct move.
You can use standard softened or melted butter, but you’ll introduce more water into the dough, which develops slightly more gluten. The result is a cakier cookie that lacks that intense, complex nutty backbone. Browning the butter takes 5 minutes and is the single biggest flavor upgrade in this recipe. It’s worth it.
You can skip it, but you’ll miss out on the depth that makes this cookie special. Miso adds umami and a subtle savory quality that makes the peanut butter taste more like itself. If you can’t find white miso at your grocery store, check the refrigerated section near the tofu. It keeps in the fridge for months and is worth picking up.
Yes! With such a low ratio of flour and no need for gratuitous gluten development in this cookie, just substitute the all purpose flour for your favorite 1:1 gluten free flour. You won’t be able to tell the difference in the final product. Our favorite gluten free flour blends are King Arthur and Bob’s Red Mill.
Yes. A hand mixer works perfectly. You can even do this entirely by hand with a stiff spatula or wooden spoon, but creaming cold brown butter and dense peanut butter is going to be a serious forearm workout. You can also make a fully melted-butter version — it’s great, just slightly less great than the main character version.







Love your recipes, Brian! I’m making about 60 of these, smaller in size, about 40g dough balls, for a celebration of life. Do ypu think they’ll still turn out if I’m baking from frozen?
Yes, but I haven’t tested baking from frozen so I’d recommend letting them come to fridge temp before baking.
They did indeed, turn out. Best Peanut Butter cookie I’ve ever had, hands down. I did cut the salt in half, since I think my brand ran a little high. I also tripled the recipe and had to sub in 350g PB powder made with a little avocado oil because I was short a little Pb.
These cookies are very delicious. However they spread out a lot, even on my second try and keeping mixing to a minimum. Living at fairly high altitude, I will try again and do the high altitude tweaking of: slight increase of flour and liquid, slight decrease of sugar and leavening. Maybe this will help them stay a little bit thicker. Here’s hoping, because they’re sooo good! Time consuming, but if you allow time for the butter process, it’s a relaxing project and the results are worth it for when you want something over-the-top special. (And your shortbread ~ and accompanying video ~ is my absolute favourite of the MANY recipes I’ve made, trying to find shortbread perfection!) I’m guessing my Scottish granny would also approve. ; )
The best Peanut Butter Cookies I’ve ever made or eaten.