
Easiest Actually Good Pizza Dough – No Mixer

Updated Aug 26, 2026, Published Aug 22, 2024
This post contains affiliate links. Please see our disclosure policy.
A hand-mixed dough (no-mixer required!) that uses standard AP flour and goes from bowl to oven in about 90 minutes. The result is a crusty, bready, legitimately great pizza.
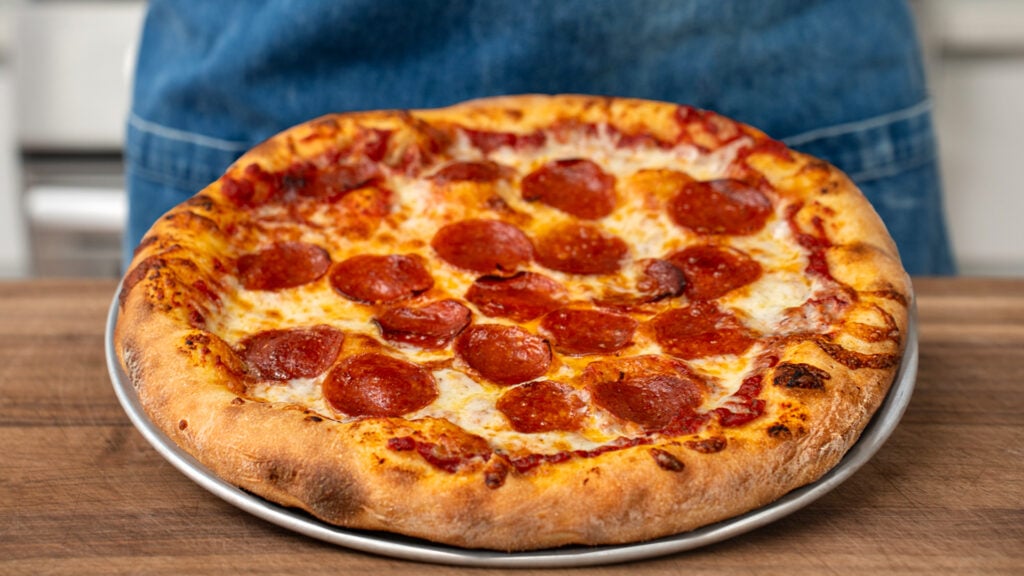
Table of Contents
Why This PIzza Dough Recipe Delivers
This is the recipe I reach for when I decide I want pizza at 4:30 p.m. and need to be cheese-pulling a hot slice by 6:15. No stand mixer, no bread flour, no overnight cold ferment. All it takes is warm water, a wet hand, and about 90 minutes on the counter. It’s shockingly good for how little work it takes, and if the idea of hand-stretching a dough still stresses you out, I’ve got a bulletproof cast iron version in here too so literally anyone can pull this off.
Brian’s Pro Tips
Soaking Wet Hand = The Best Tool – Before you jump into the bowl to finish mixing or do your folds, dunk your hand in water. Wet dough sticks to dry hands and slides off wet ones. This one trick makes the whole process feel 10x easier and keeps you from pulling half the dough off with your fingers every time you touch it.
Don’t Over-Flour Your Work Surface – When you turn the dough out to divide and shape, use just a light dusting of flour. Too much flour on the bench and you can’t build tension when you round the balls because the dough just slides around.
Stop Stretching at 10 Inches – When you hand-stretch, take the dough to about 10 inches, not 12. The toppings will add weight and gravity will help you finish the stretch to 12 inches on the peel. Try to go straight to 12 dry and you’ll tear a hole right in the middle. This is a classic home-cook mistake.
Semolina Under the Peel – Dust your pizza peel with semolina, not flour. Semolina acts like tiny ball bearings and the pizza will slide off cleanly onto the stone or steel. If you feel the dough sticking at the last second, lift an edge and throw a little more underneath before you commit to launching into the oven.
Key Ingredient Notes & Substitutions
These are some of the ingredients I want to call out in this recipe. The full list of ingredients and amounts can be found in the recipe card below.
All-Purpose Flour
I’m using Bob’s Red Mill unbleached AP here and I recommend you do the same. As of the time of posting this recipe, it’s one of the only widely available flours that delivers predictable, consistent results for home bakers. You don’t need bread flour for this recipe. In a 90-minute dough, the extra protein of bread flour doesn’t buy you enough strength to justify the trip to the store. AP gives you a crumb that’s bready, tender, and just chewy enough.
Instant Yeast
Instant yeast is non-negotiable for this recipe. It goes straight into the dry ingredients without blooming and it’s the mechanism that gets this dough from mix to oven in 90 minutes. Active dry will work in a pinch but you should bloom it in the warm water first and expect a slightly slower rise.
Warm Water (86°F / 30°C)
Warm, not hot. You want the water warm enough to wake the yeast up fast but nowhere near hot enough to kill it. If it feels like comfortable bath water on your wrist, you’re in the zone. Cold tap water will still work, it’ll just push the ferment out toward two hours.
Sugar
20g of sugar does two things: it gives the yeast a quick food source to get rolling, and it helps the crust brown deeper in a 550°F oven. This is not a sweet dough — you won’t taste it in the finished crust.
Olive Oil
20g of extra virgin olive oil in the dough adds a little fat for tenderness and flavor. It also makes the dough more extensible when you go to stretch it. Use real extra virgin for this.
How To Make The Easiest Pizza Dough
The following is a detailed list of instructions including common pitfalls and troubleshooting. For a more condensed version, see the recipe card below.
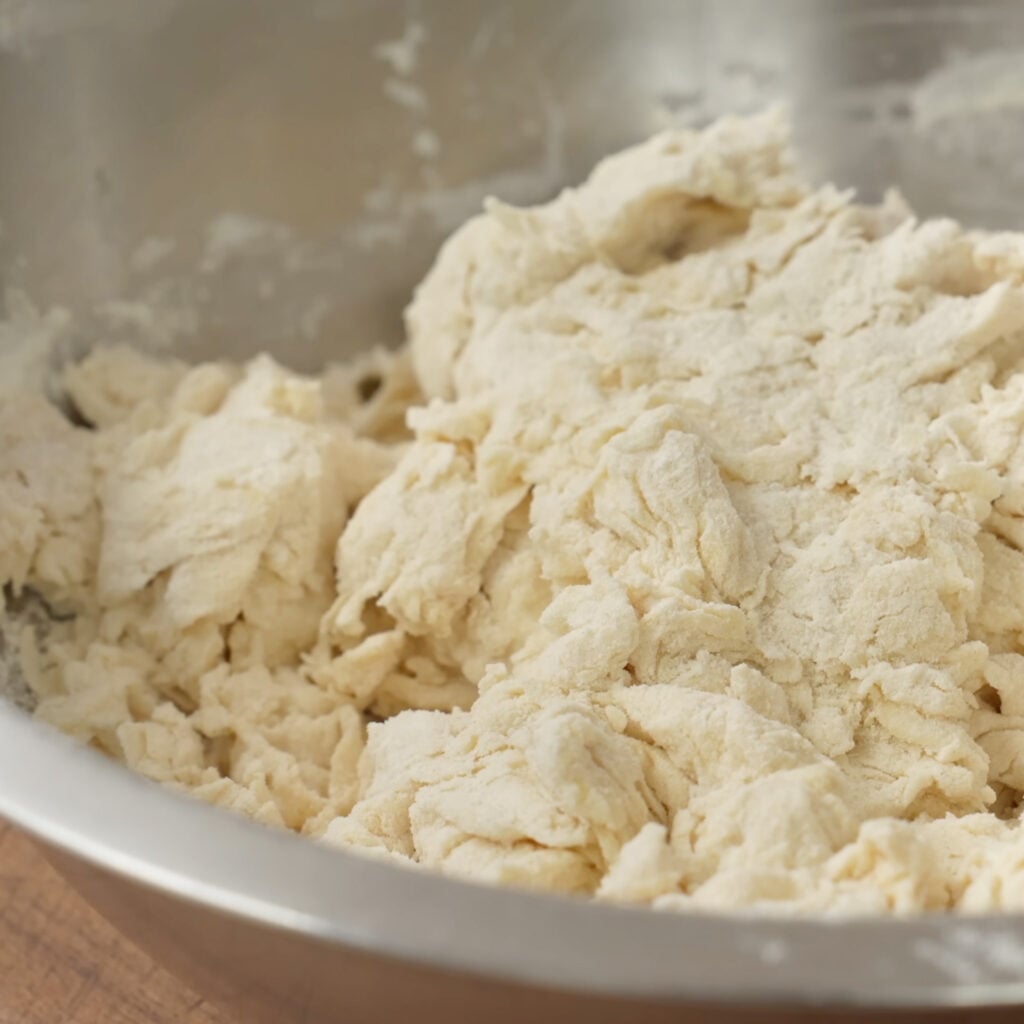
1. Combine the wet and dry. Grab a standard-issue medium mixing bowl. Add 400g warm water (86°F / 30°C), 20g olive oil, 7g instant yeast, 15g salt, and 20g sugar. Then add 680g all-purpose flour directly on top. Grab a sturdy spoon and stir for about 15 seconds. The flour will hydrate and immediately clump up. Keep stirring a few more times until most of the loose flour is picked up by the dough.
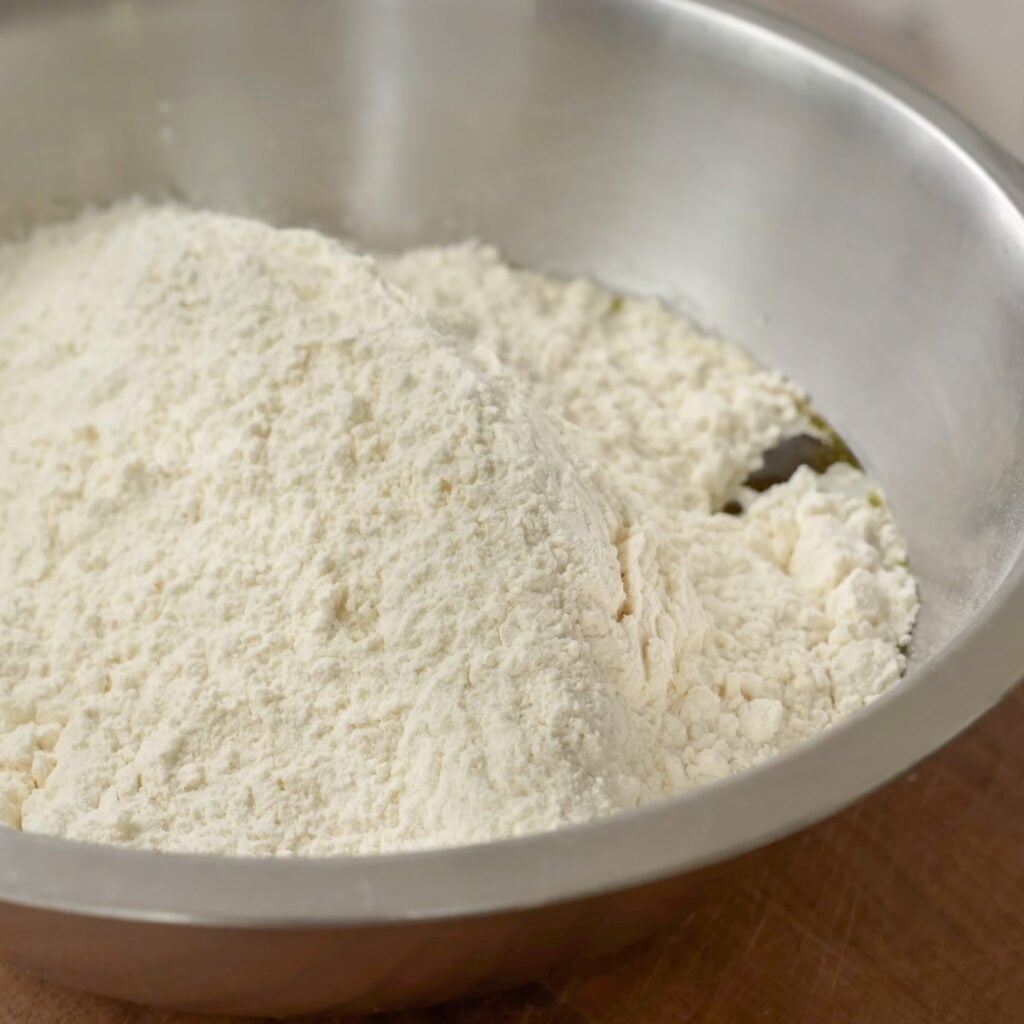
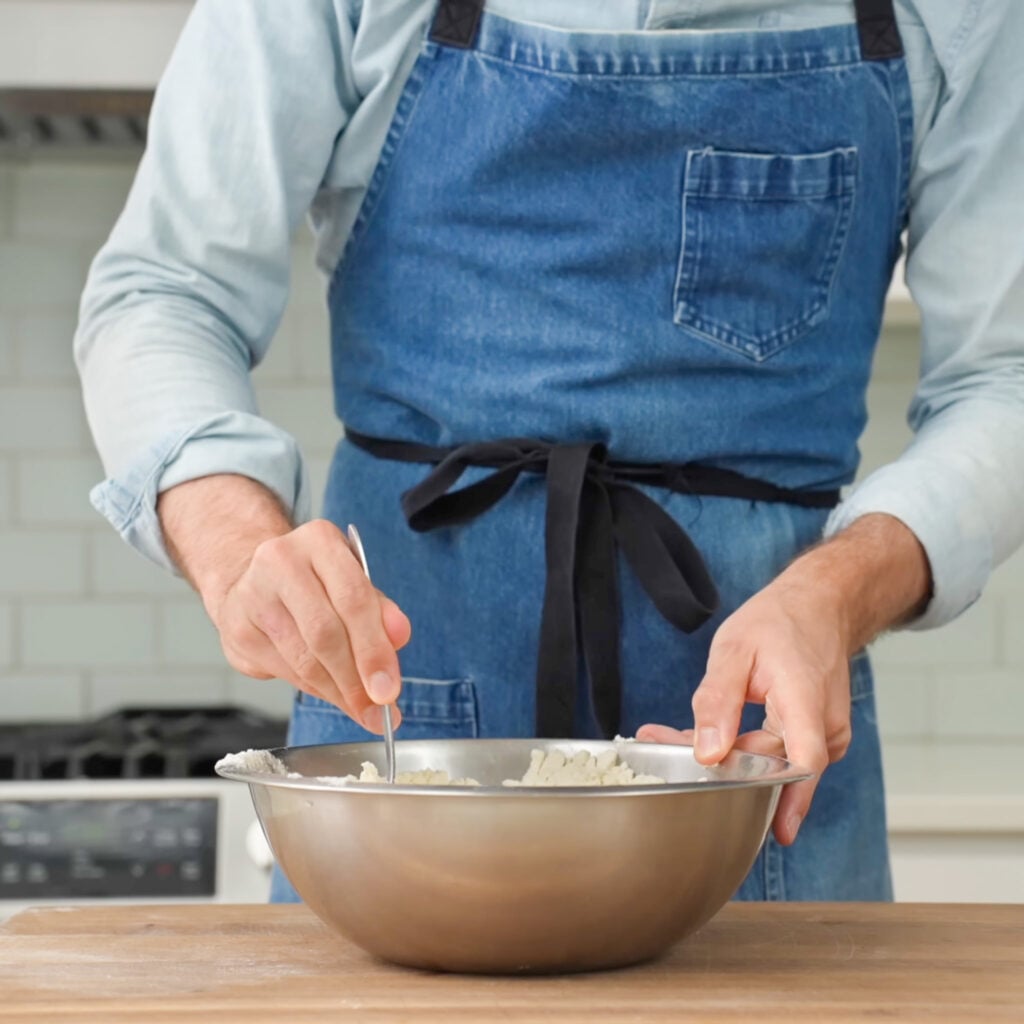
Do I need to bloom the yeast? No. Instant yeast goes straight into the dry without blooming. If you’re using active dry, whisk it into the warm water and let it sit for 5 minutes until foamy before adding anything else.
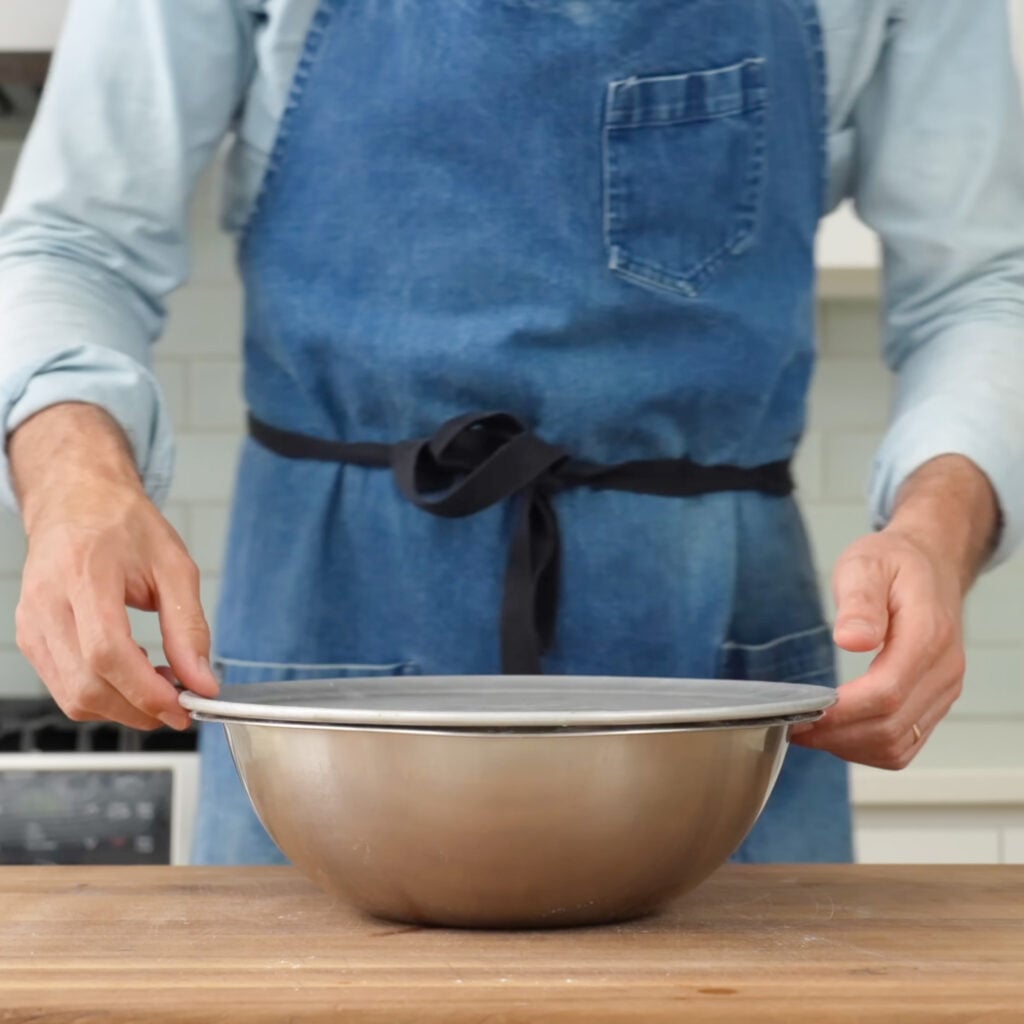
2. Finish mixing with a wet hand. Dip your mixing hand into water then jump into the bowl and start squeezing the shaggy, half-mixed dough through your fingers. Keep going until it looks homogeneous. That means no dry pockets of flour, no loose wet spots. This should take under a minute. The dough will be rough looking and that is 100% fine. Cover the bowl with a lid or a plate and let it ferment on the counter for 30 minutes.
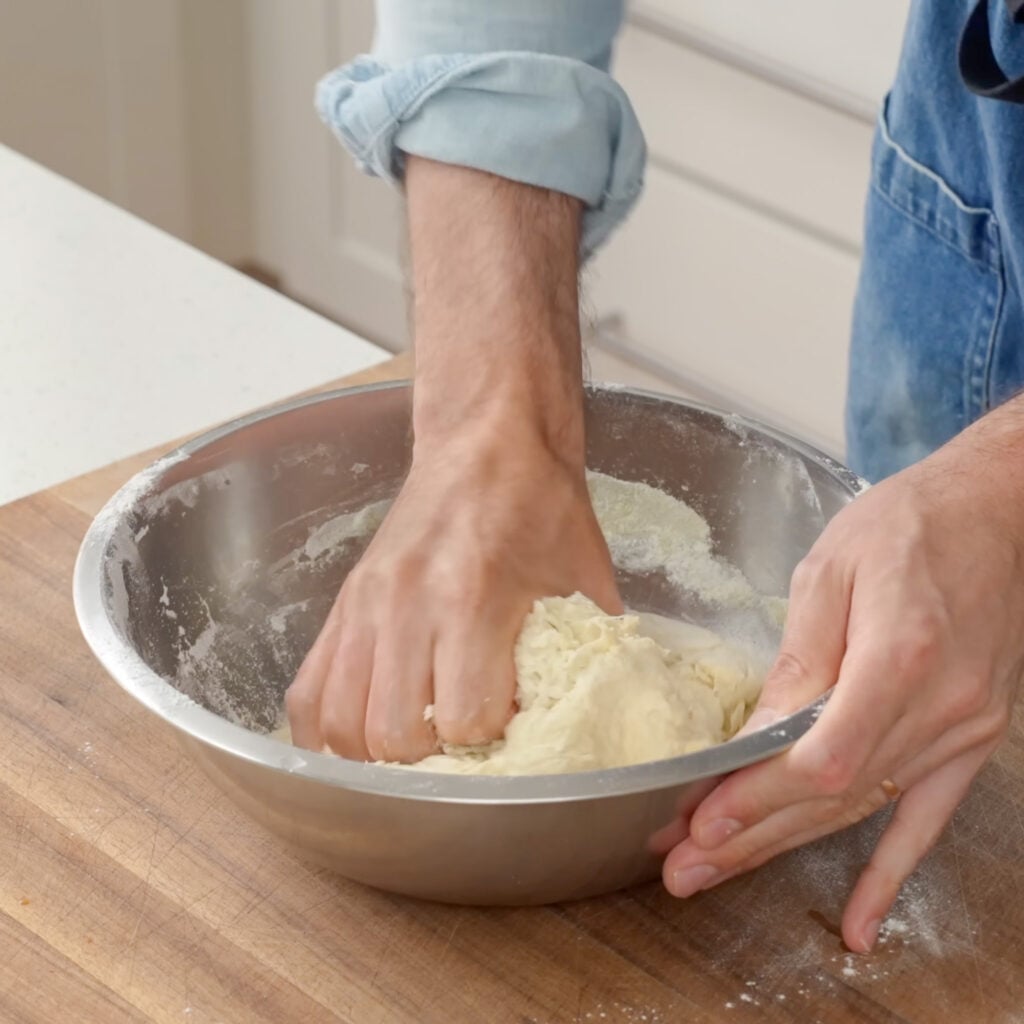
Why use a wet hand instead of a stand mixer? A stand mixer doesn’t give you anything here you can’t do yourself in 30 seconds so for me it’s not worth the work of dirtying the mixer for this particular recipe.
3. Stretch-and-fold to build strength. After the 30-minute rest, wet your hand again. Grab a corner of the dough, pull it out as far as you can without tearing, and fold it back over itself. Rotate the bowl 45 degrees and repeat four or five more times around the dough. Then, flip the dough over so the folded seams are underneath. Round the dough into a tight ball by tucking it under itself from 10 o’clock around to 3 o’clock as you rotate. Give it five or six tucks to create tension on the surface.
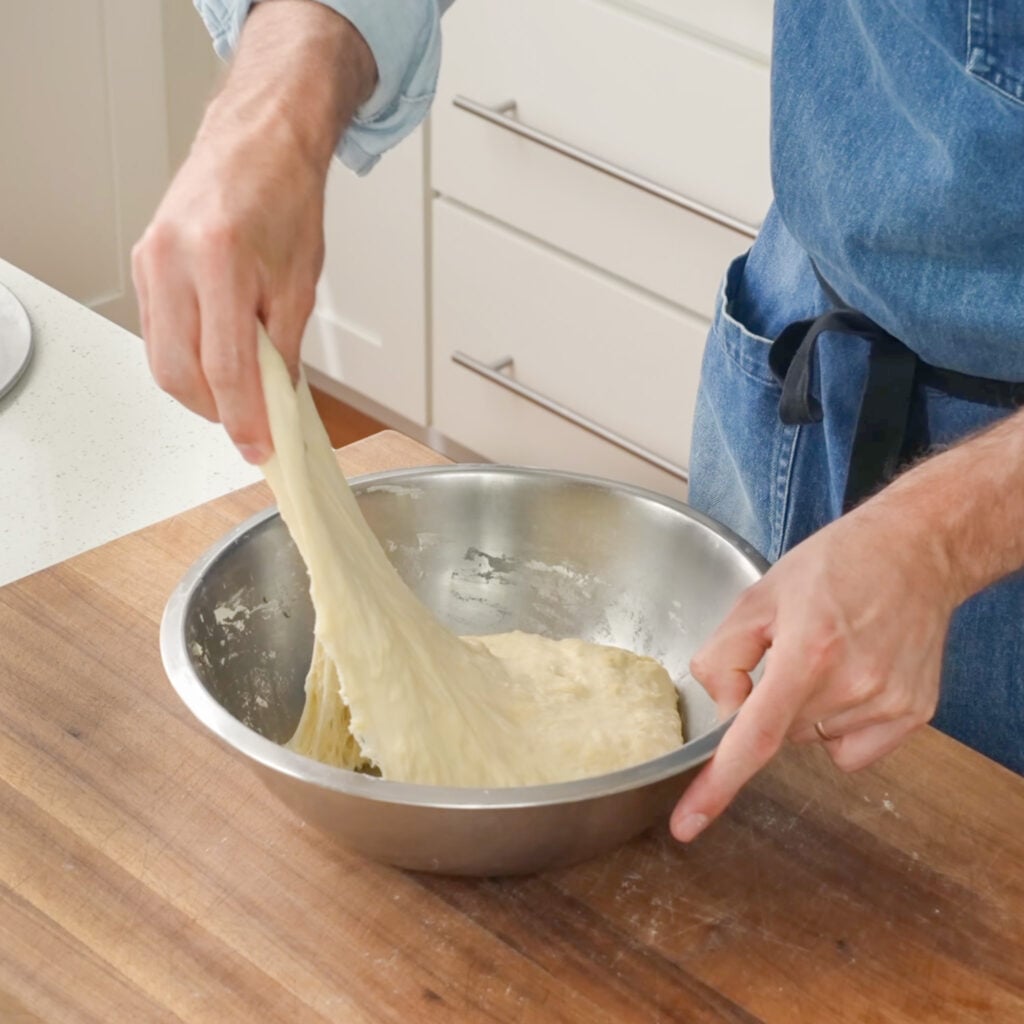
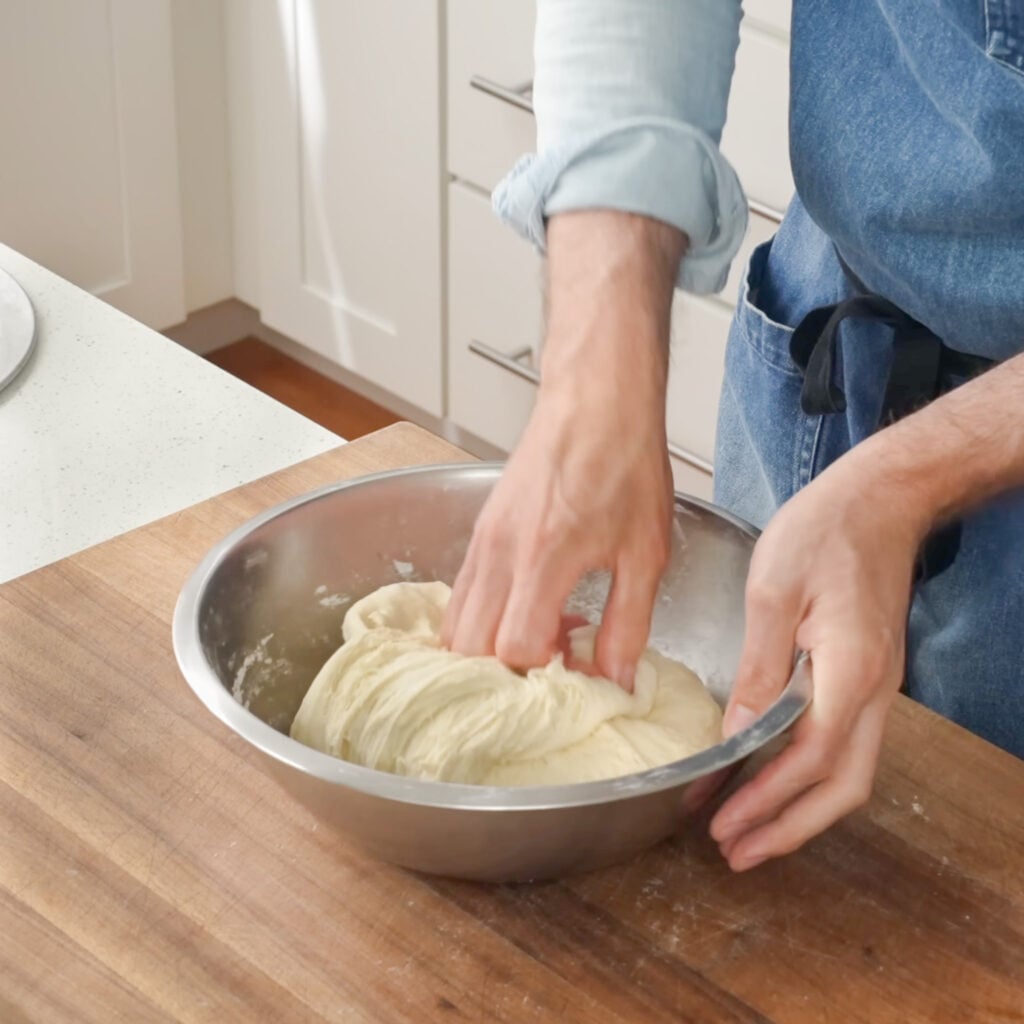
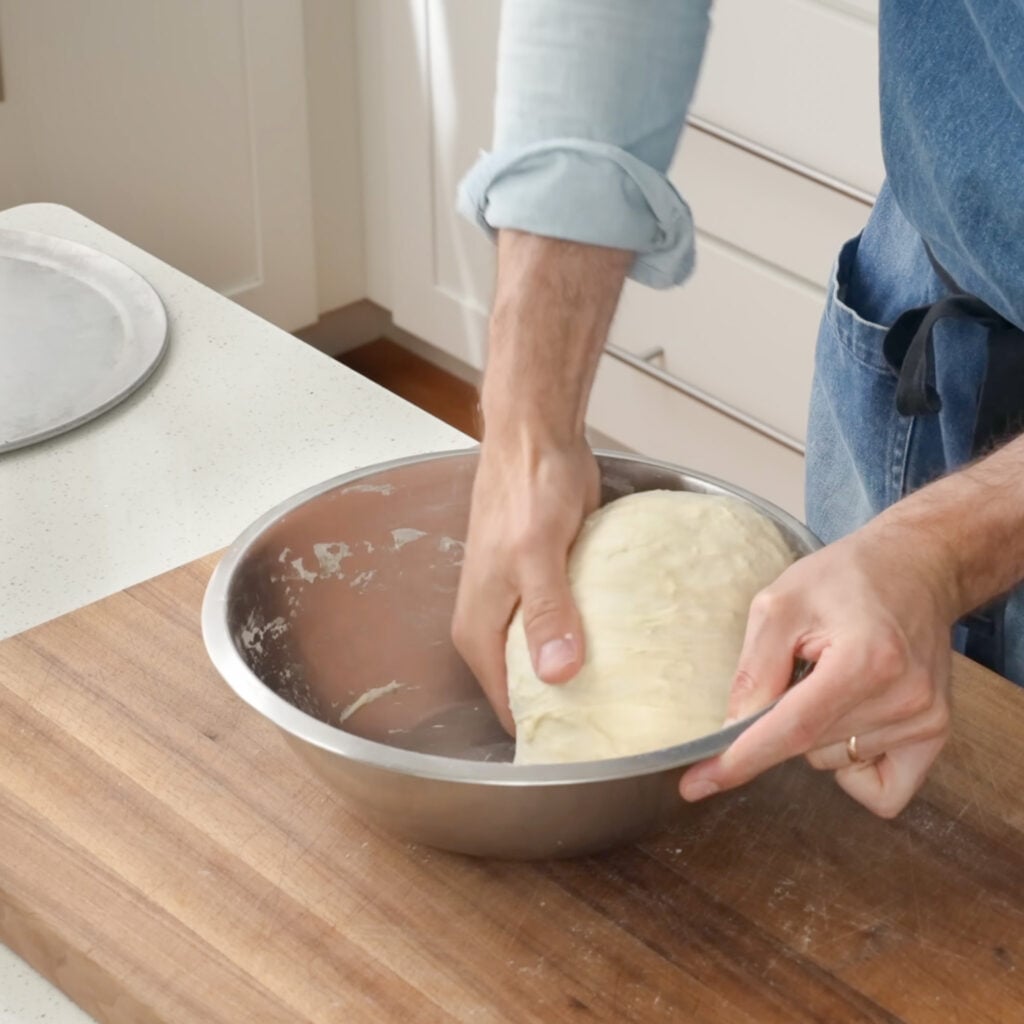
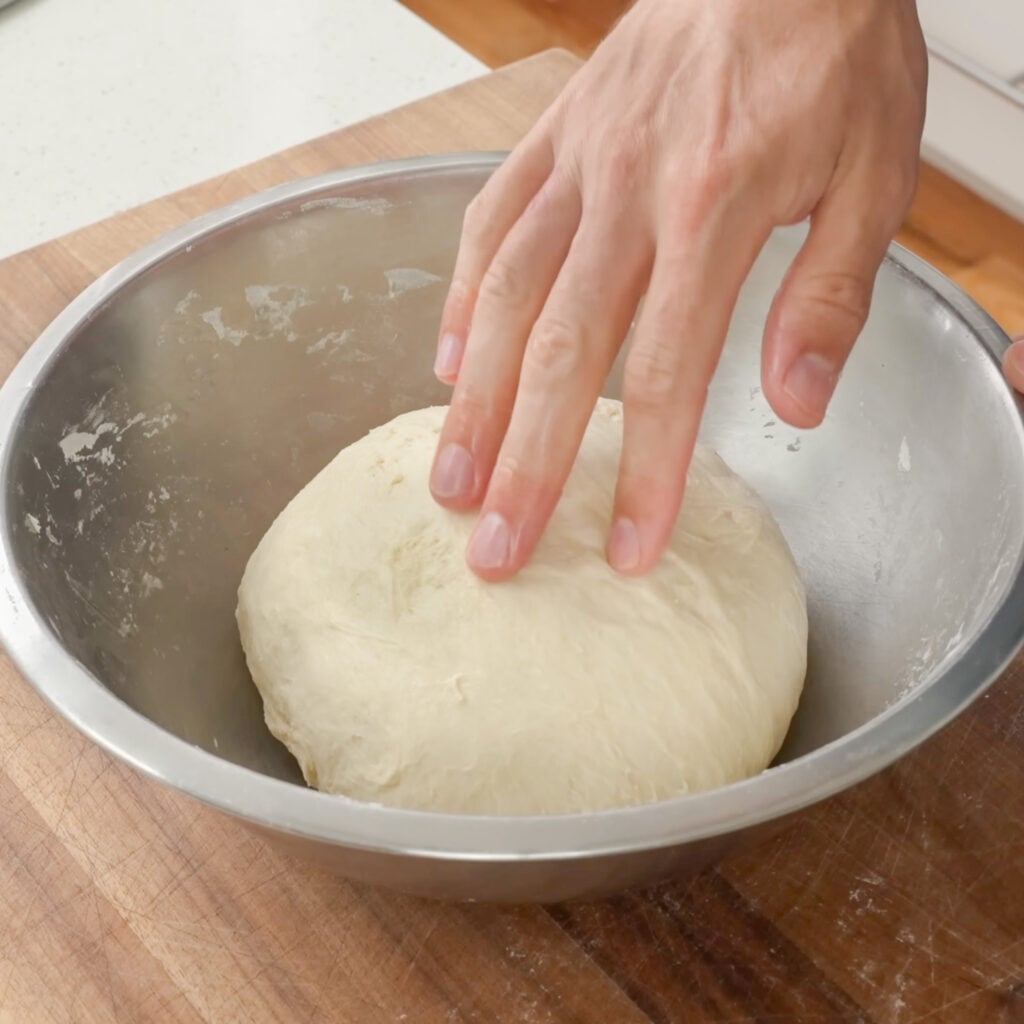
How do I know I did enough folds? Look for a smooth, taut surface on top of the dough ball. If it still looks lumpy and slack, give it a few more. You can’t really overdo this.
4. Ferment for another 60 minutes. Cover the bowl and leave it on the counter for 60 more minutes (90 minutes total fermentation from the initial mix). The dough should roughly double in size and feel pillowy and full of air when you gently prod it. If your kitchen is cold, give it a little extra time.
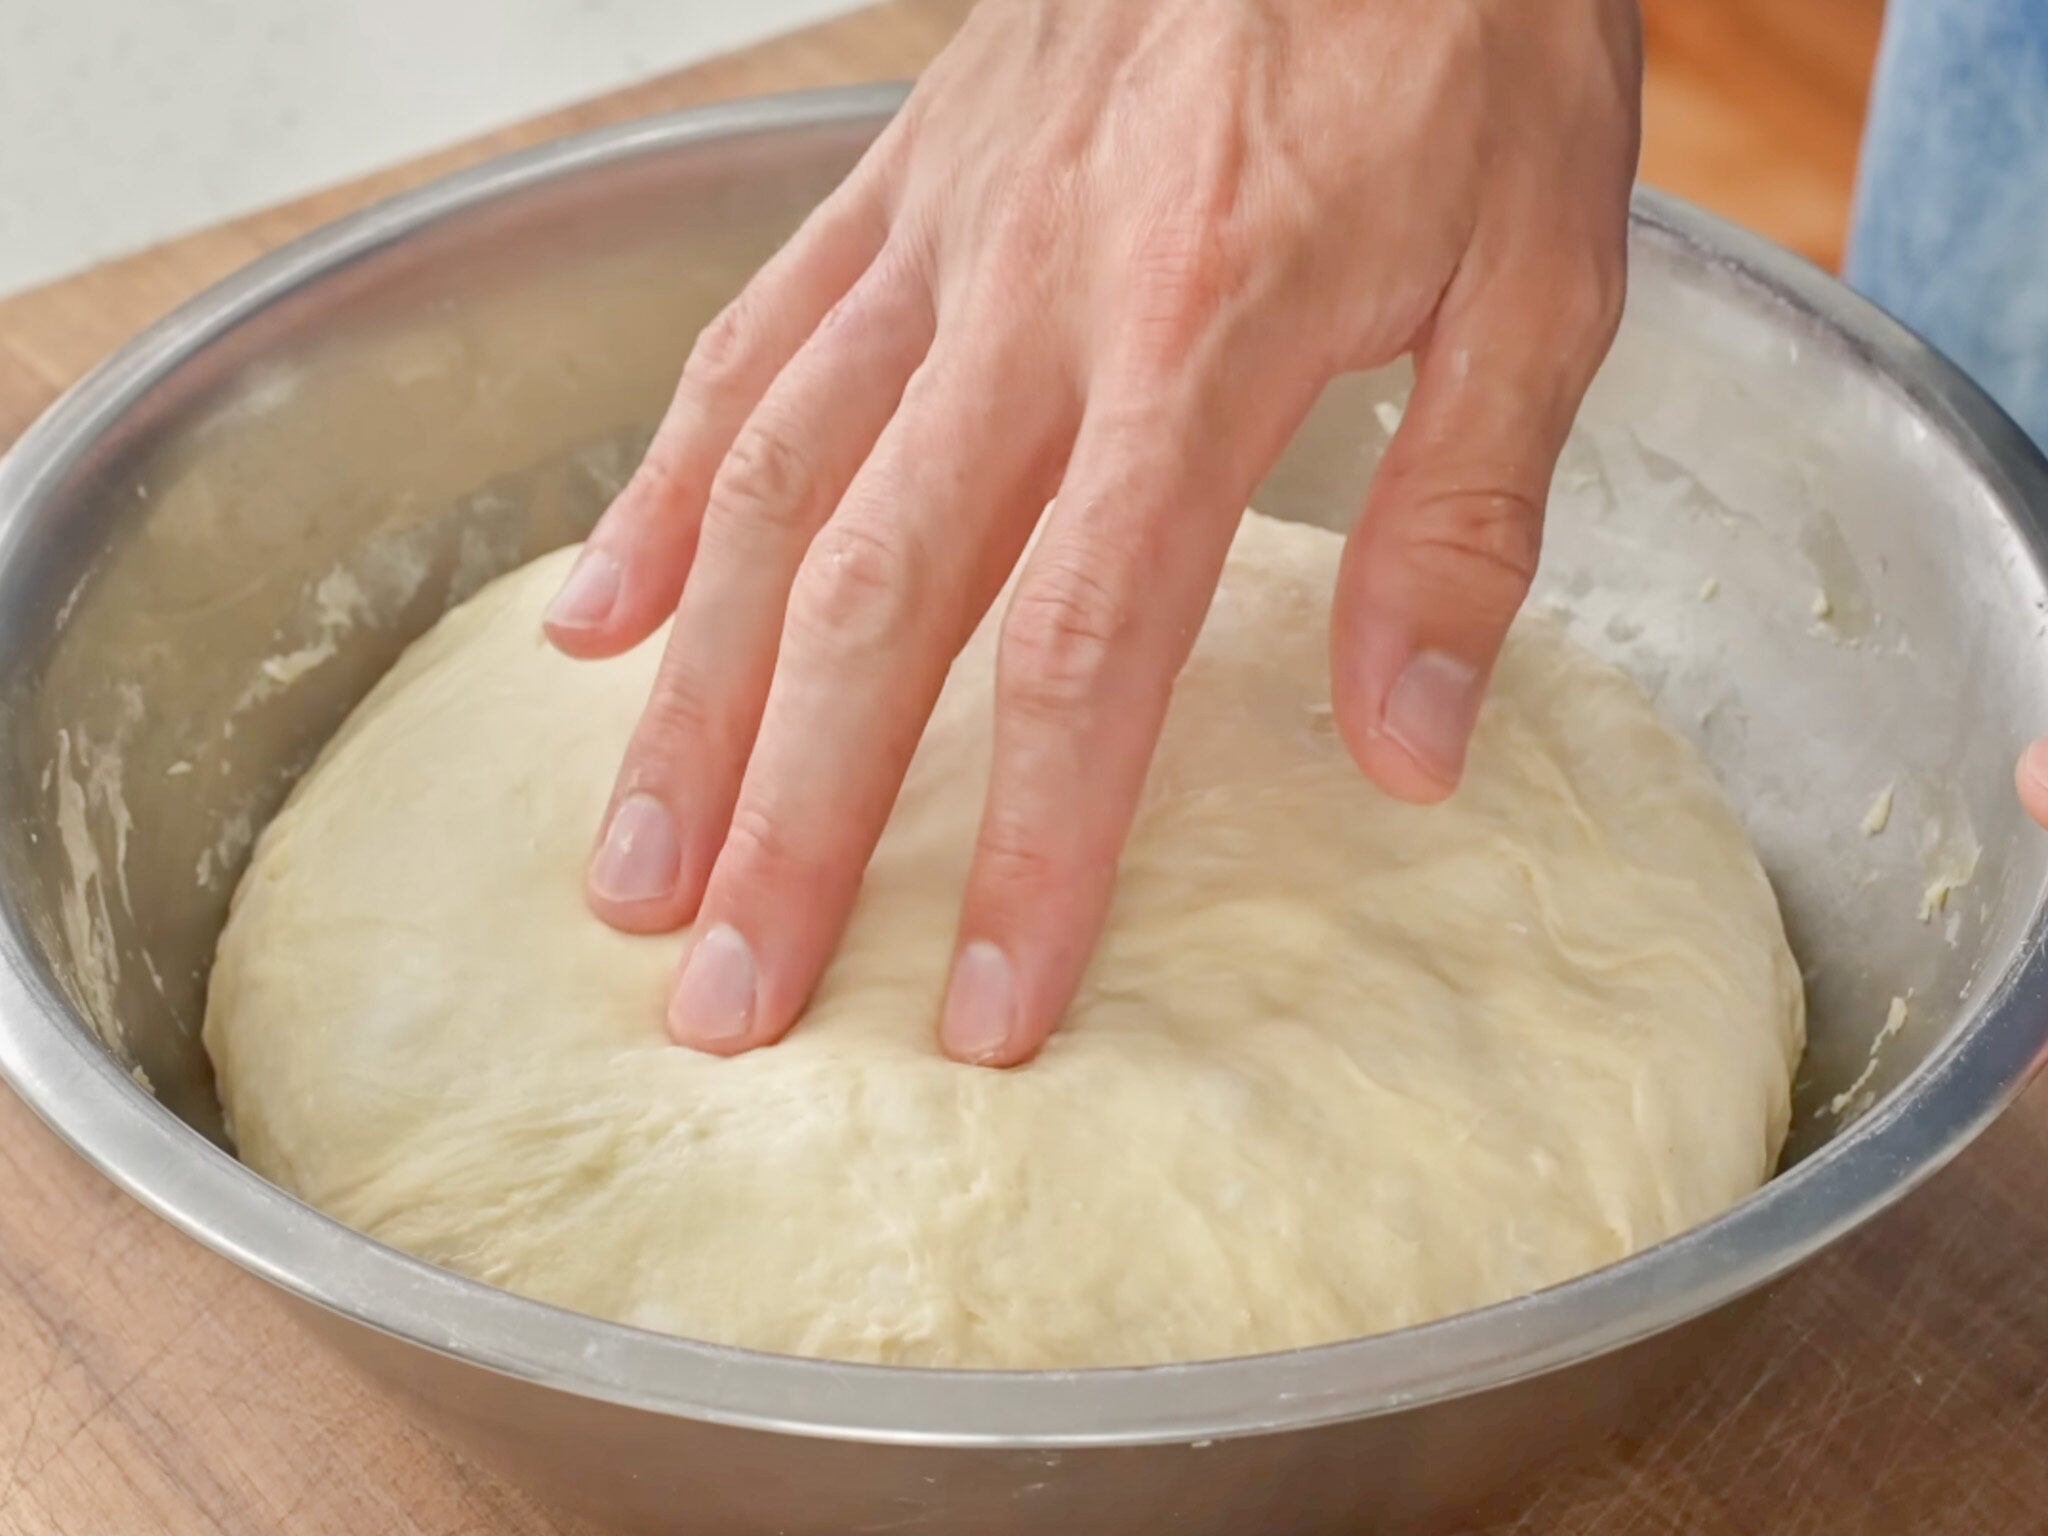
Can I refrigerate the dough overnight instead? Yes. After this 60-minute rest, pop the covered bowl in the fridge for up to 4–5 days. Pull it out 60 minutes before you want to shape and bake so it comes back to room temp.
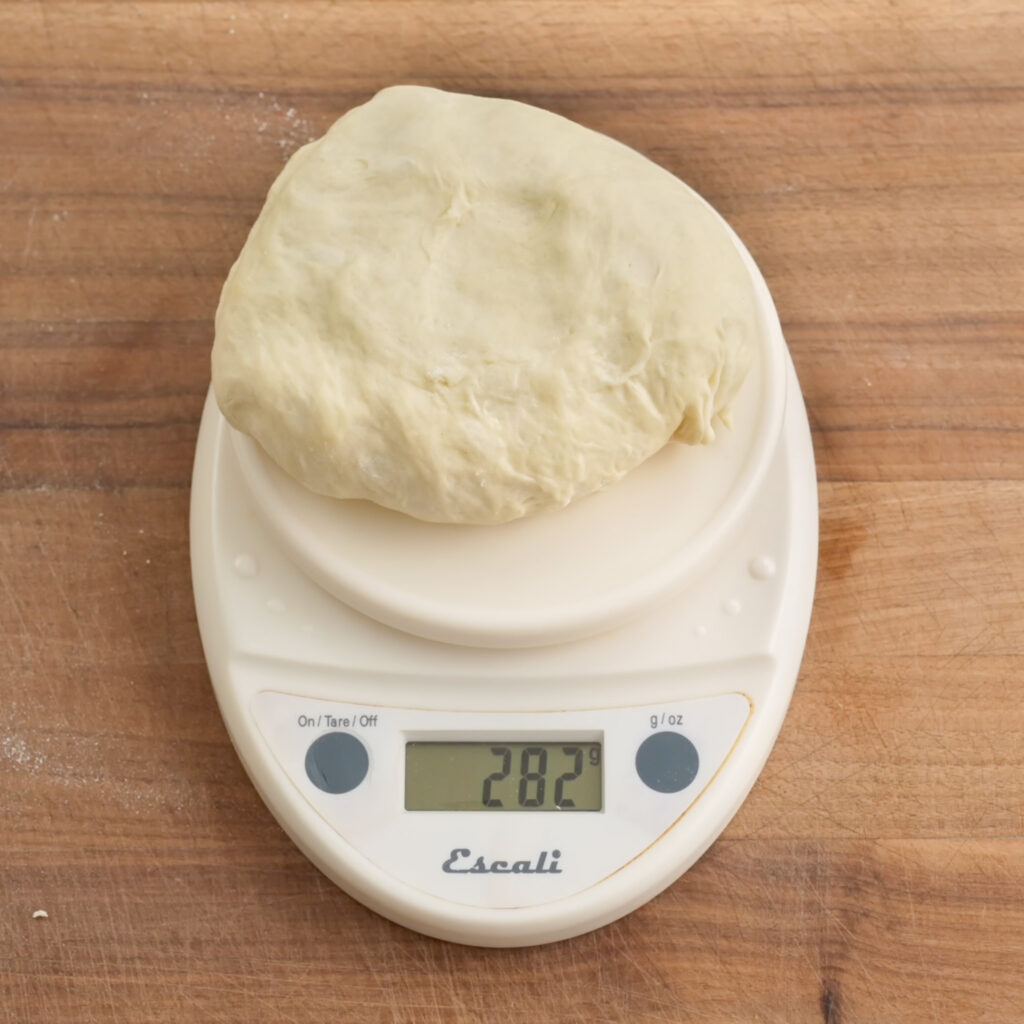
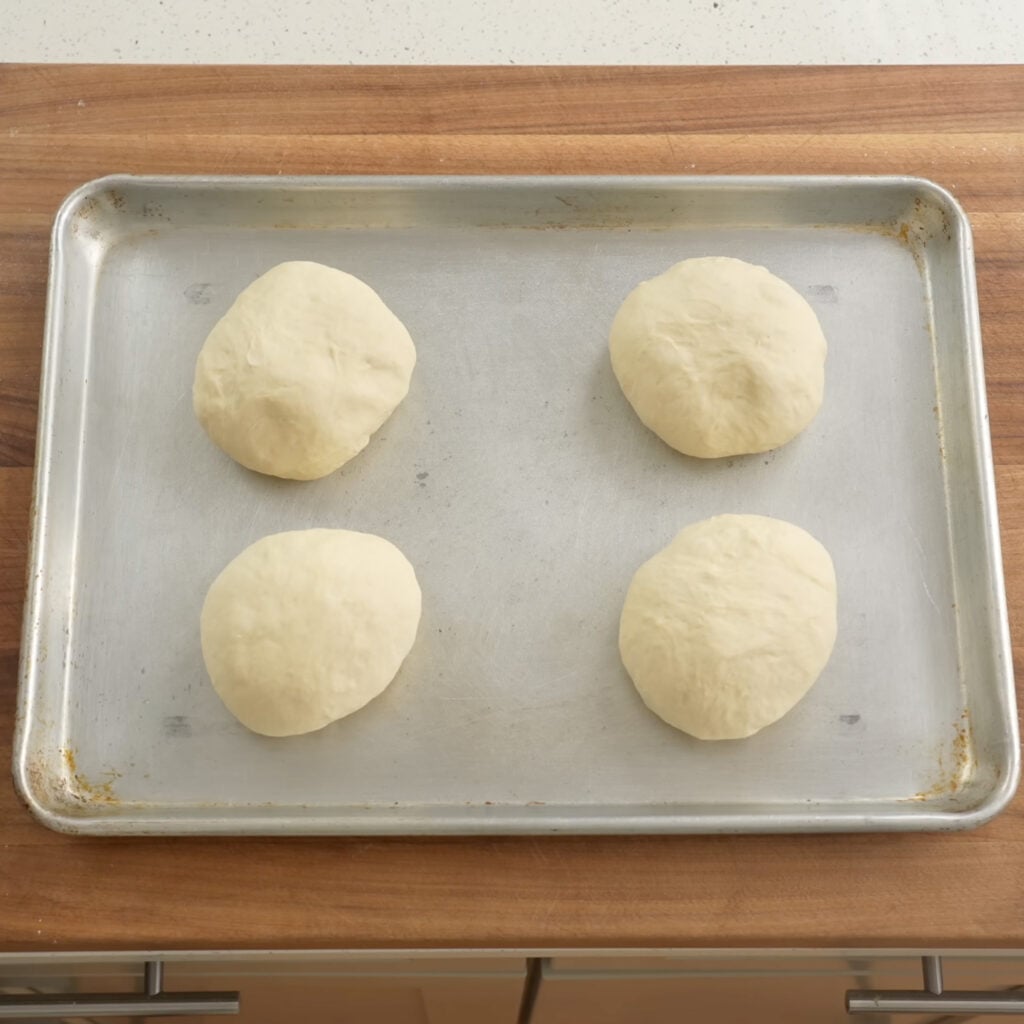
5. Divide and pre-shape into four balls. Turn the dough out onto a lightly floured work surface. Divide into four equal pieces, about 280g each. Take one piece, fold the left and right sides in over the middle, turn 90°, and fold the sides in again. Flip it seam-side-down and roll it under both hands using the tension you create against the work surface to tighten it into a ball. Repeat for the remaining balls. Spray a sheet tray with olive oil, drop all four balls on it, cover, and rest for 15 minutes.
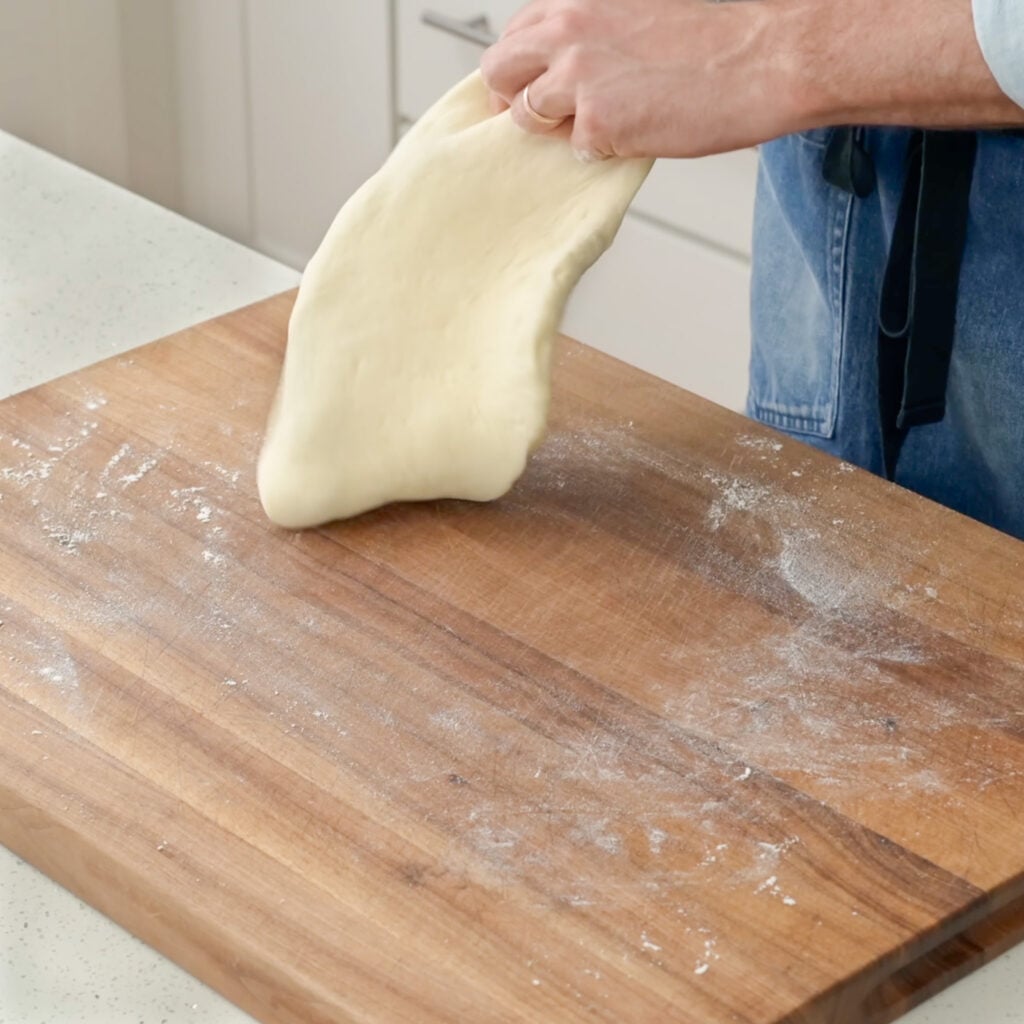
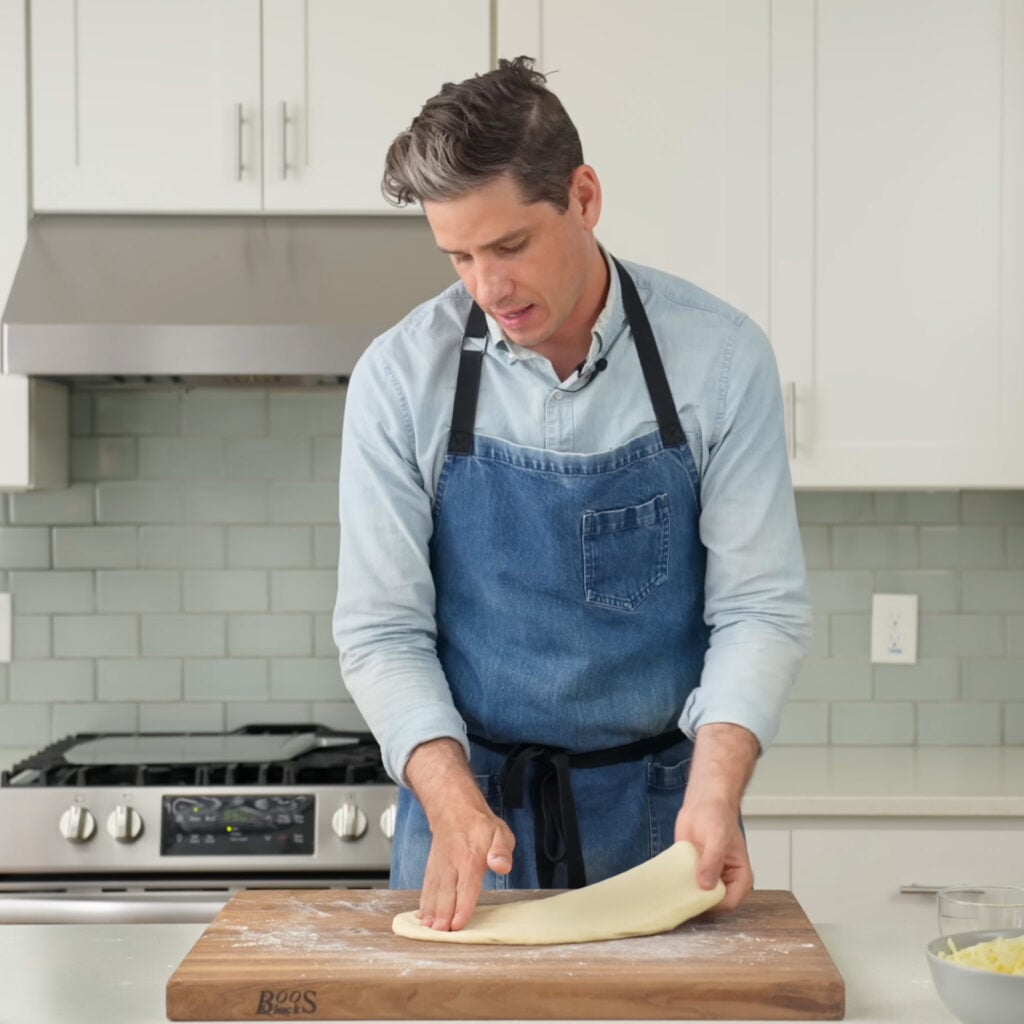
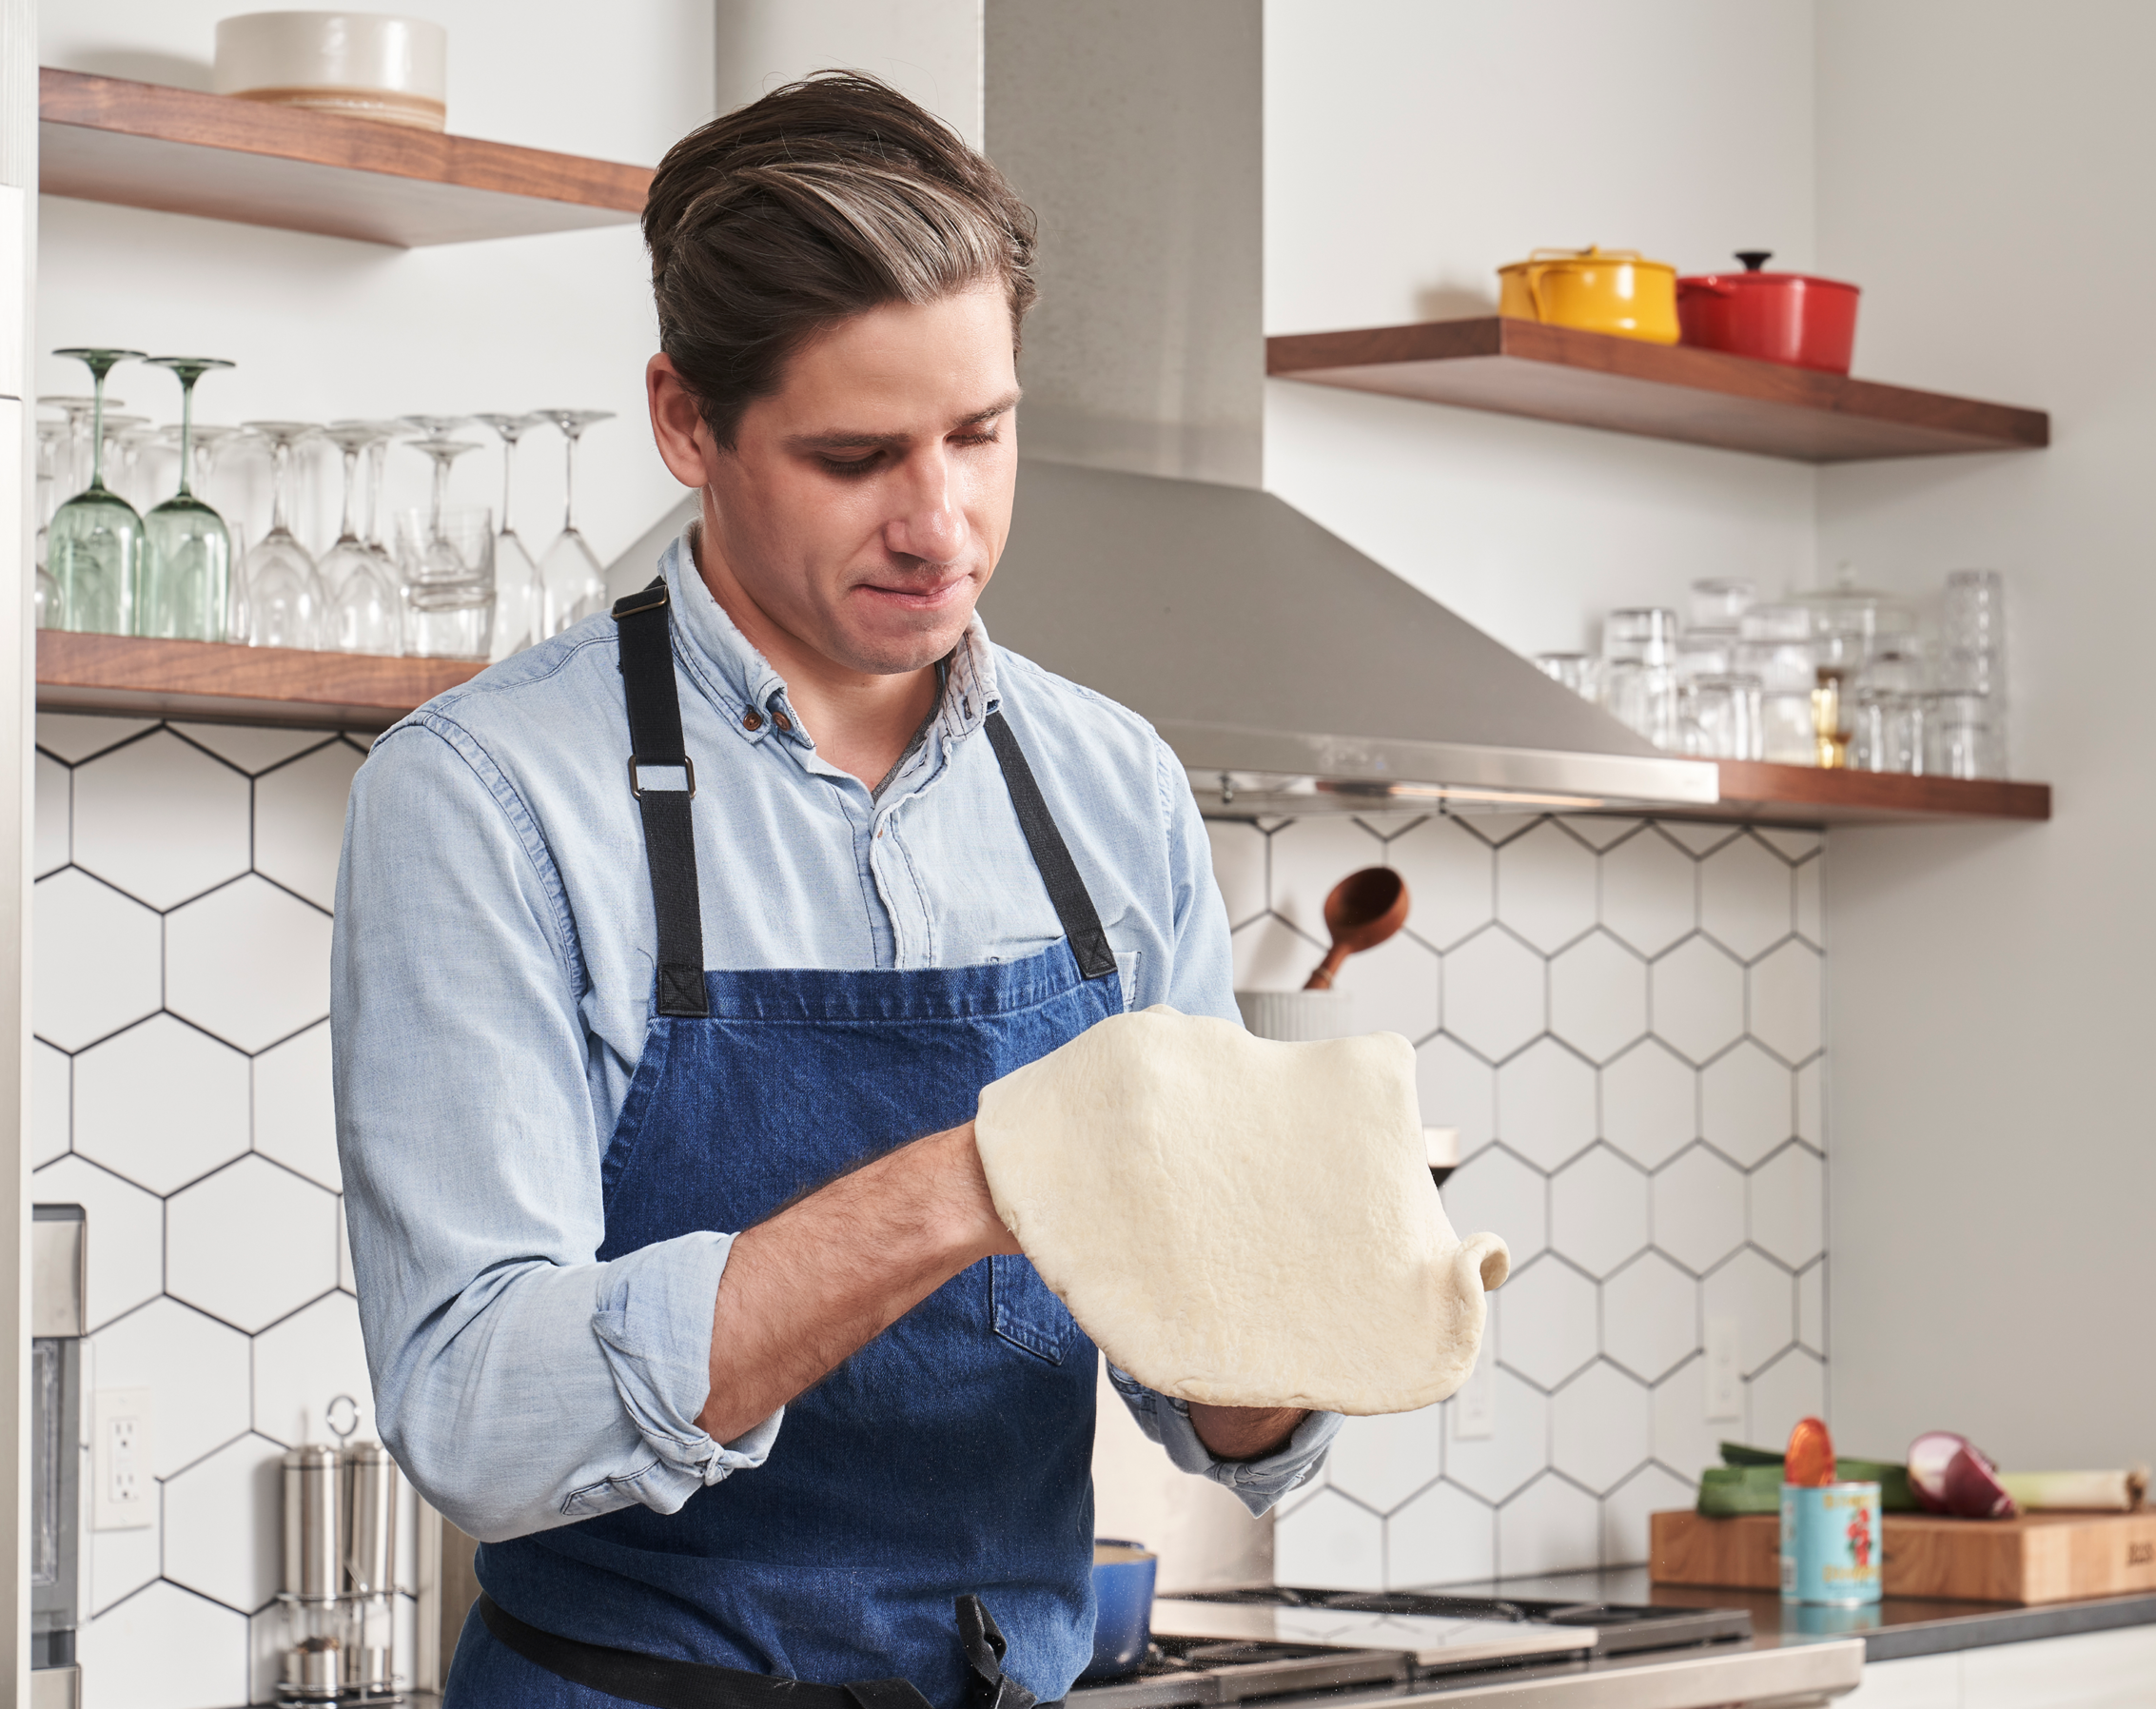
6. Hand-stretch. Dust your work surface lightly with flour. Pick up a dough ball with a bench scraper and press it flat with your palm into a 5–6 inch disc. Use the pads of your fingers to press out a crust about half an inch from the edge. Then pick it up, let gravity pull it down, and flip-and-turn it on the back of your knuckles until you hit about 10 inches (watch my YouTube video here to see this process step by step). Stop when you get to 10 inches (25cm). You’ll finish the stretch on the peel under the weight of the toppings.
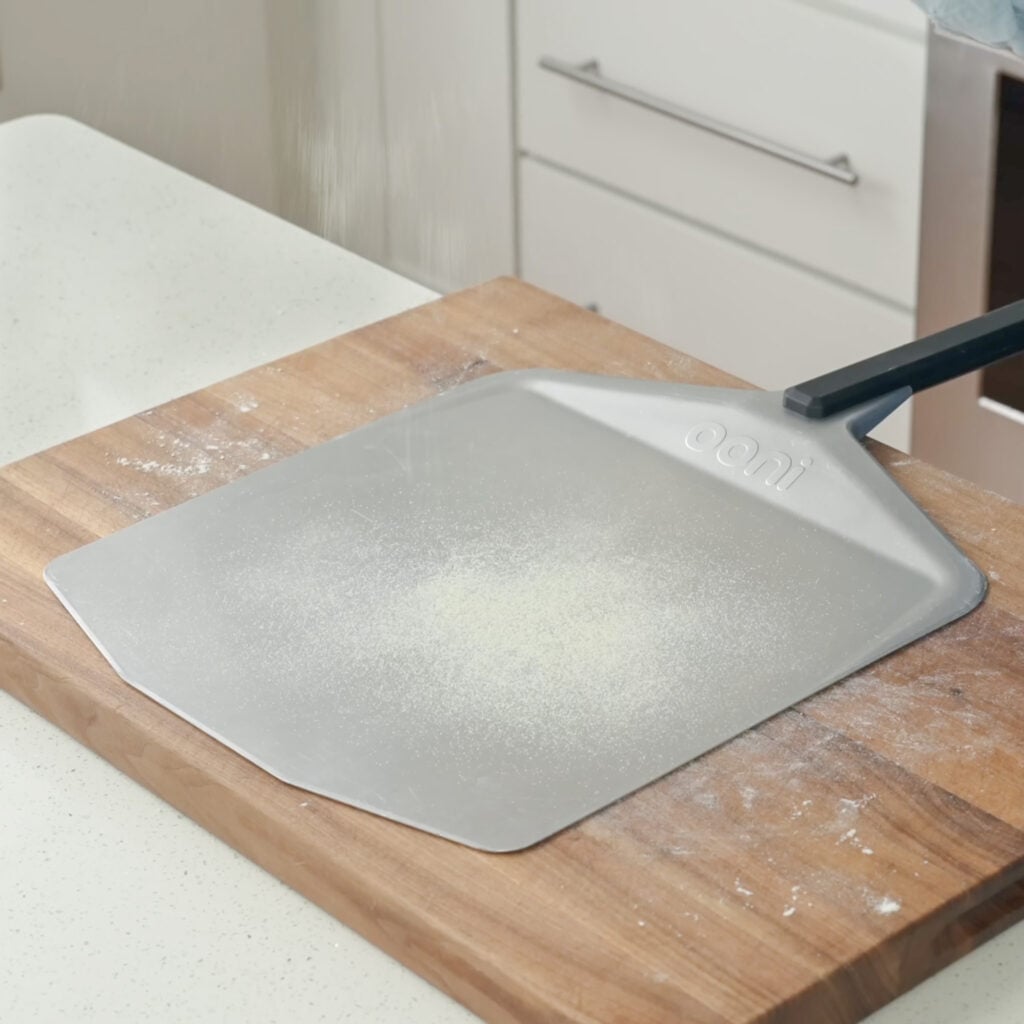
7. Dust the peel, top, and launch. Dust a pizza peel generously with semolina flour (bc semolina slides way better than AP flour). Lay the stretched dough on the peel. Sauce it with a ladle of your pizza sauce of choice, leaving a half-inch border for the crust. Add about half a cup of shredded full-fat mozzarella out to the edge, and any toppings you want. I go hard on pre-sliced pepperoni because ronies are sick. Gently stretch the pizza the last inch or two right on the peel with your fingertips. Give the peel a quick back-and-forth shake to make sure nothing is stuck. If it is, lift an edge and throw a little more semolina under.
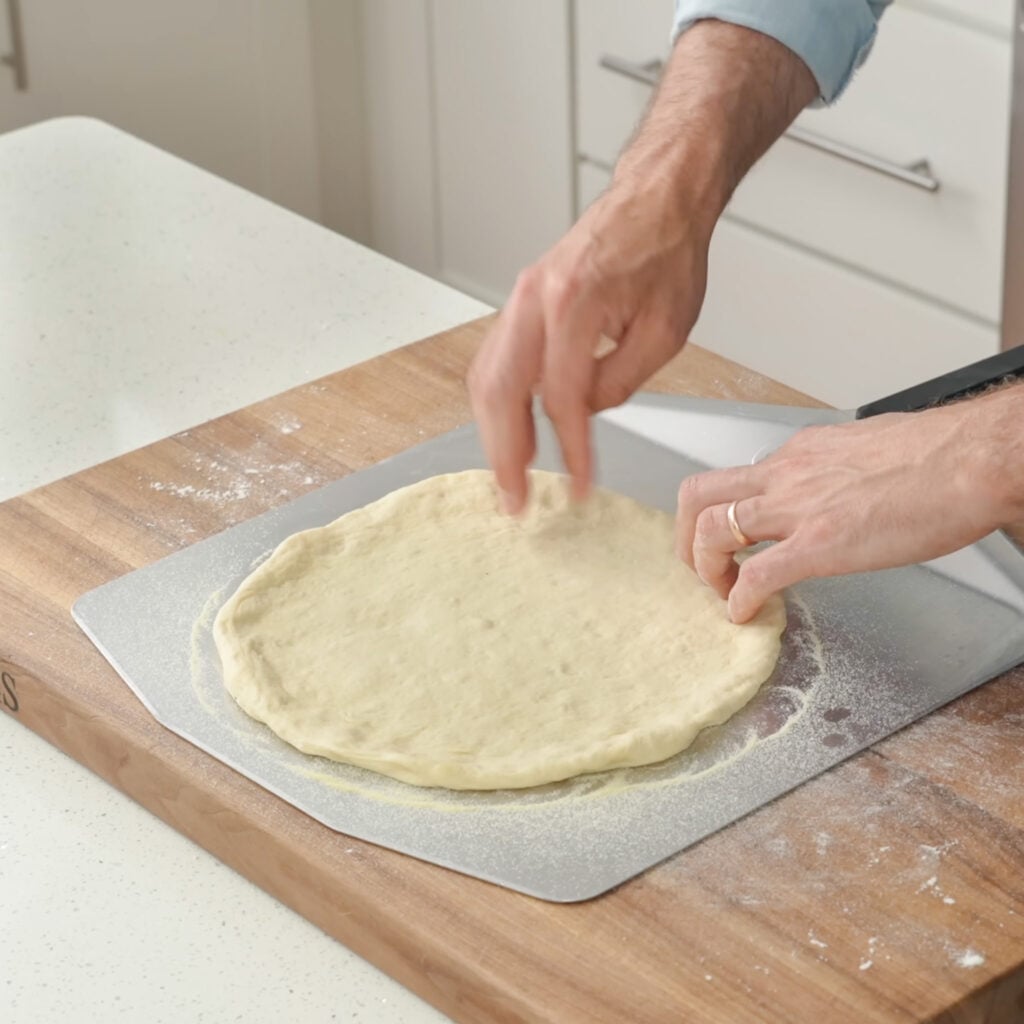
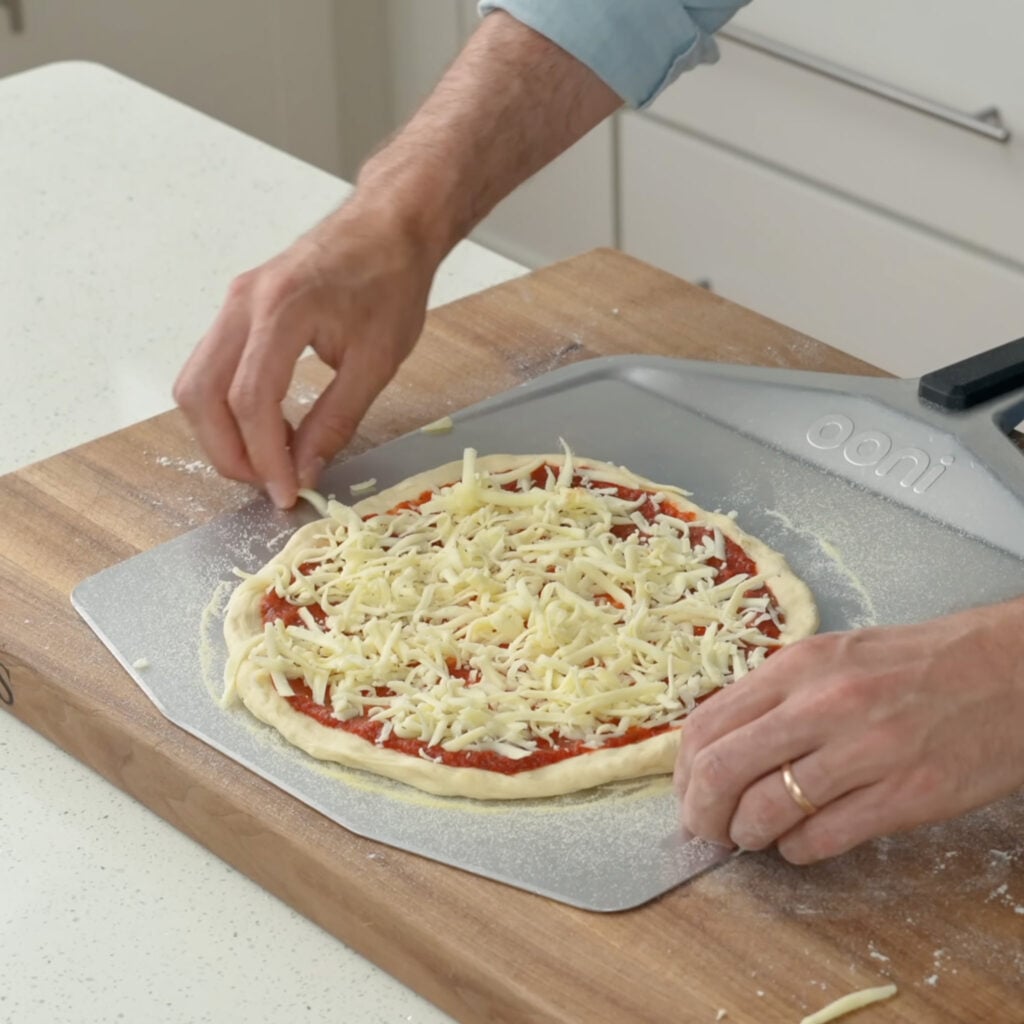
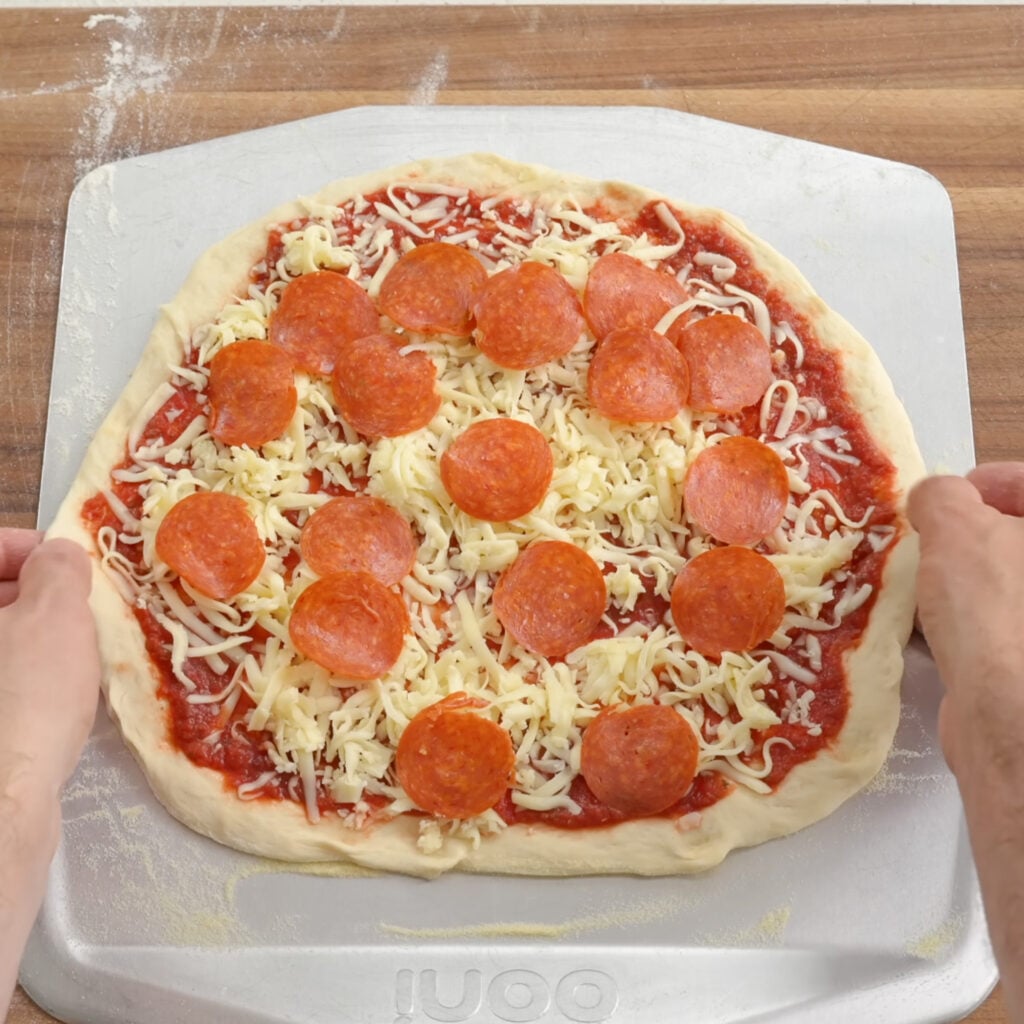
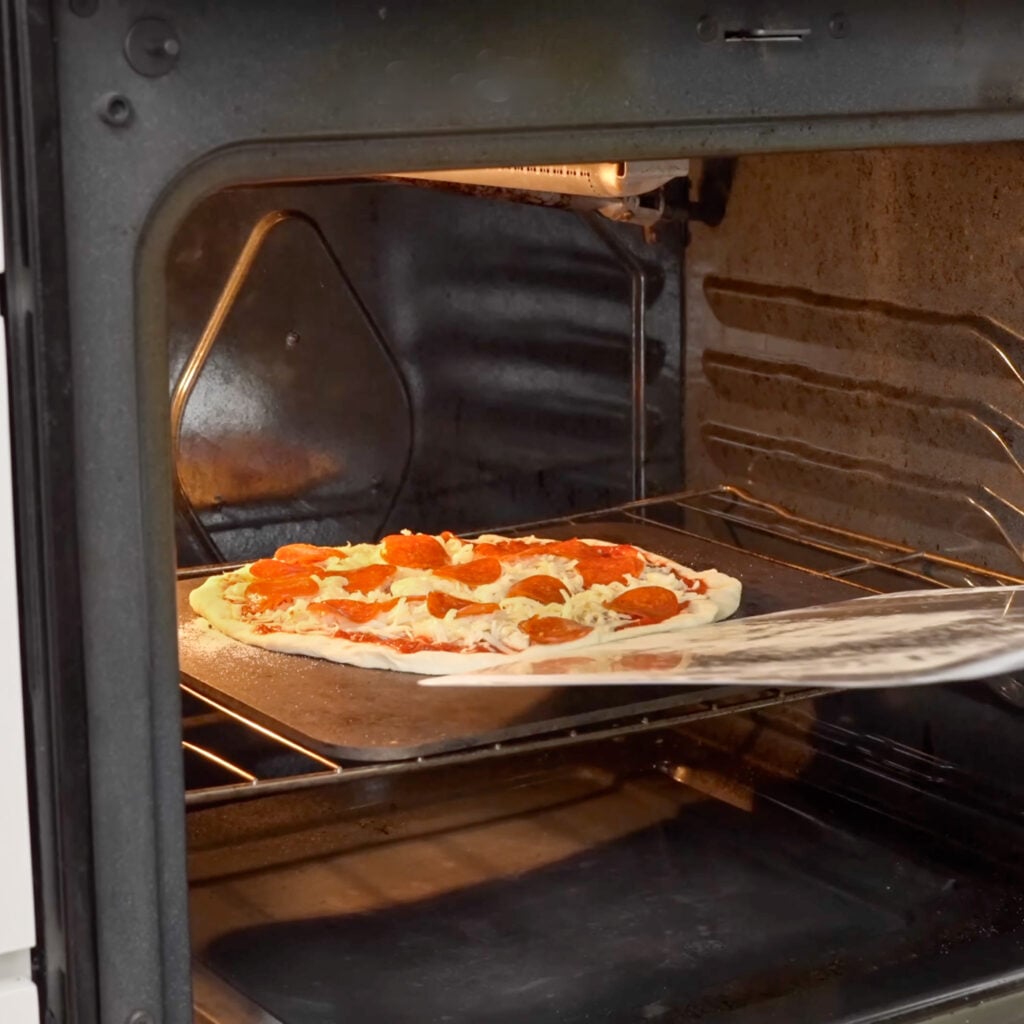
8. Bake it hot. Launch onto a preheated pizza stone or steel at 550°F (285°C) and bake for 9–10 minutes. You’re looking for a deeply browned crust, a crispy bottom, and cheese that’s bubbled and spotted dark in a few places. Let it rest for 60 seconds before cutting so the cheese sets up a little and the crust recrisps.
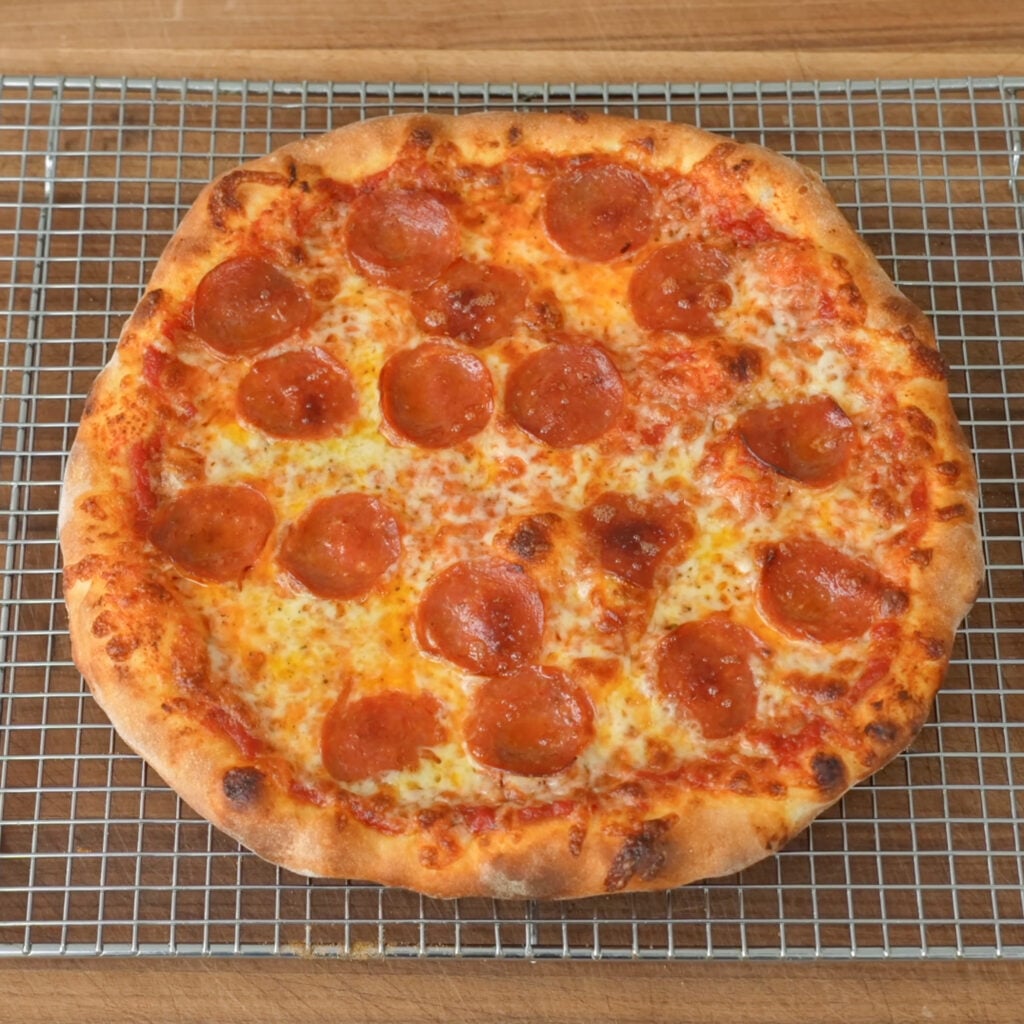
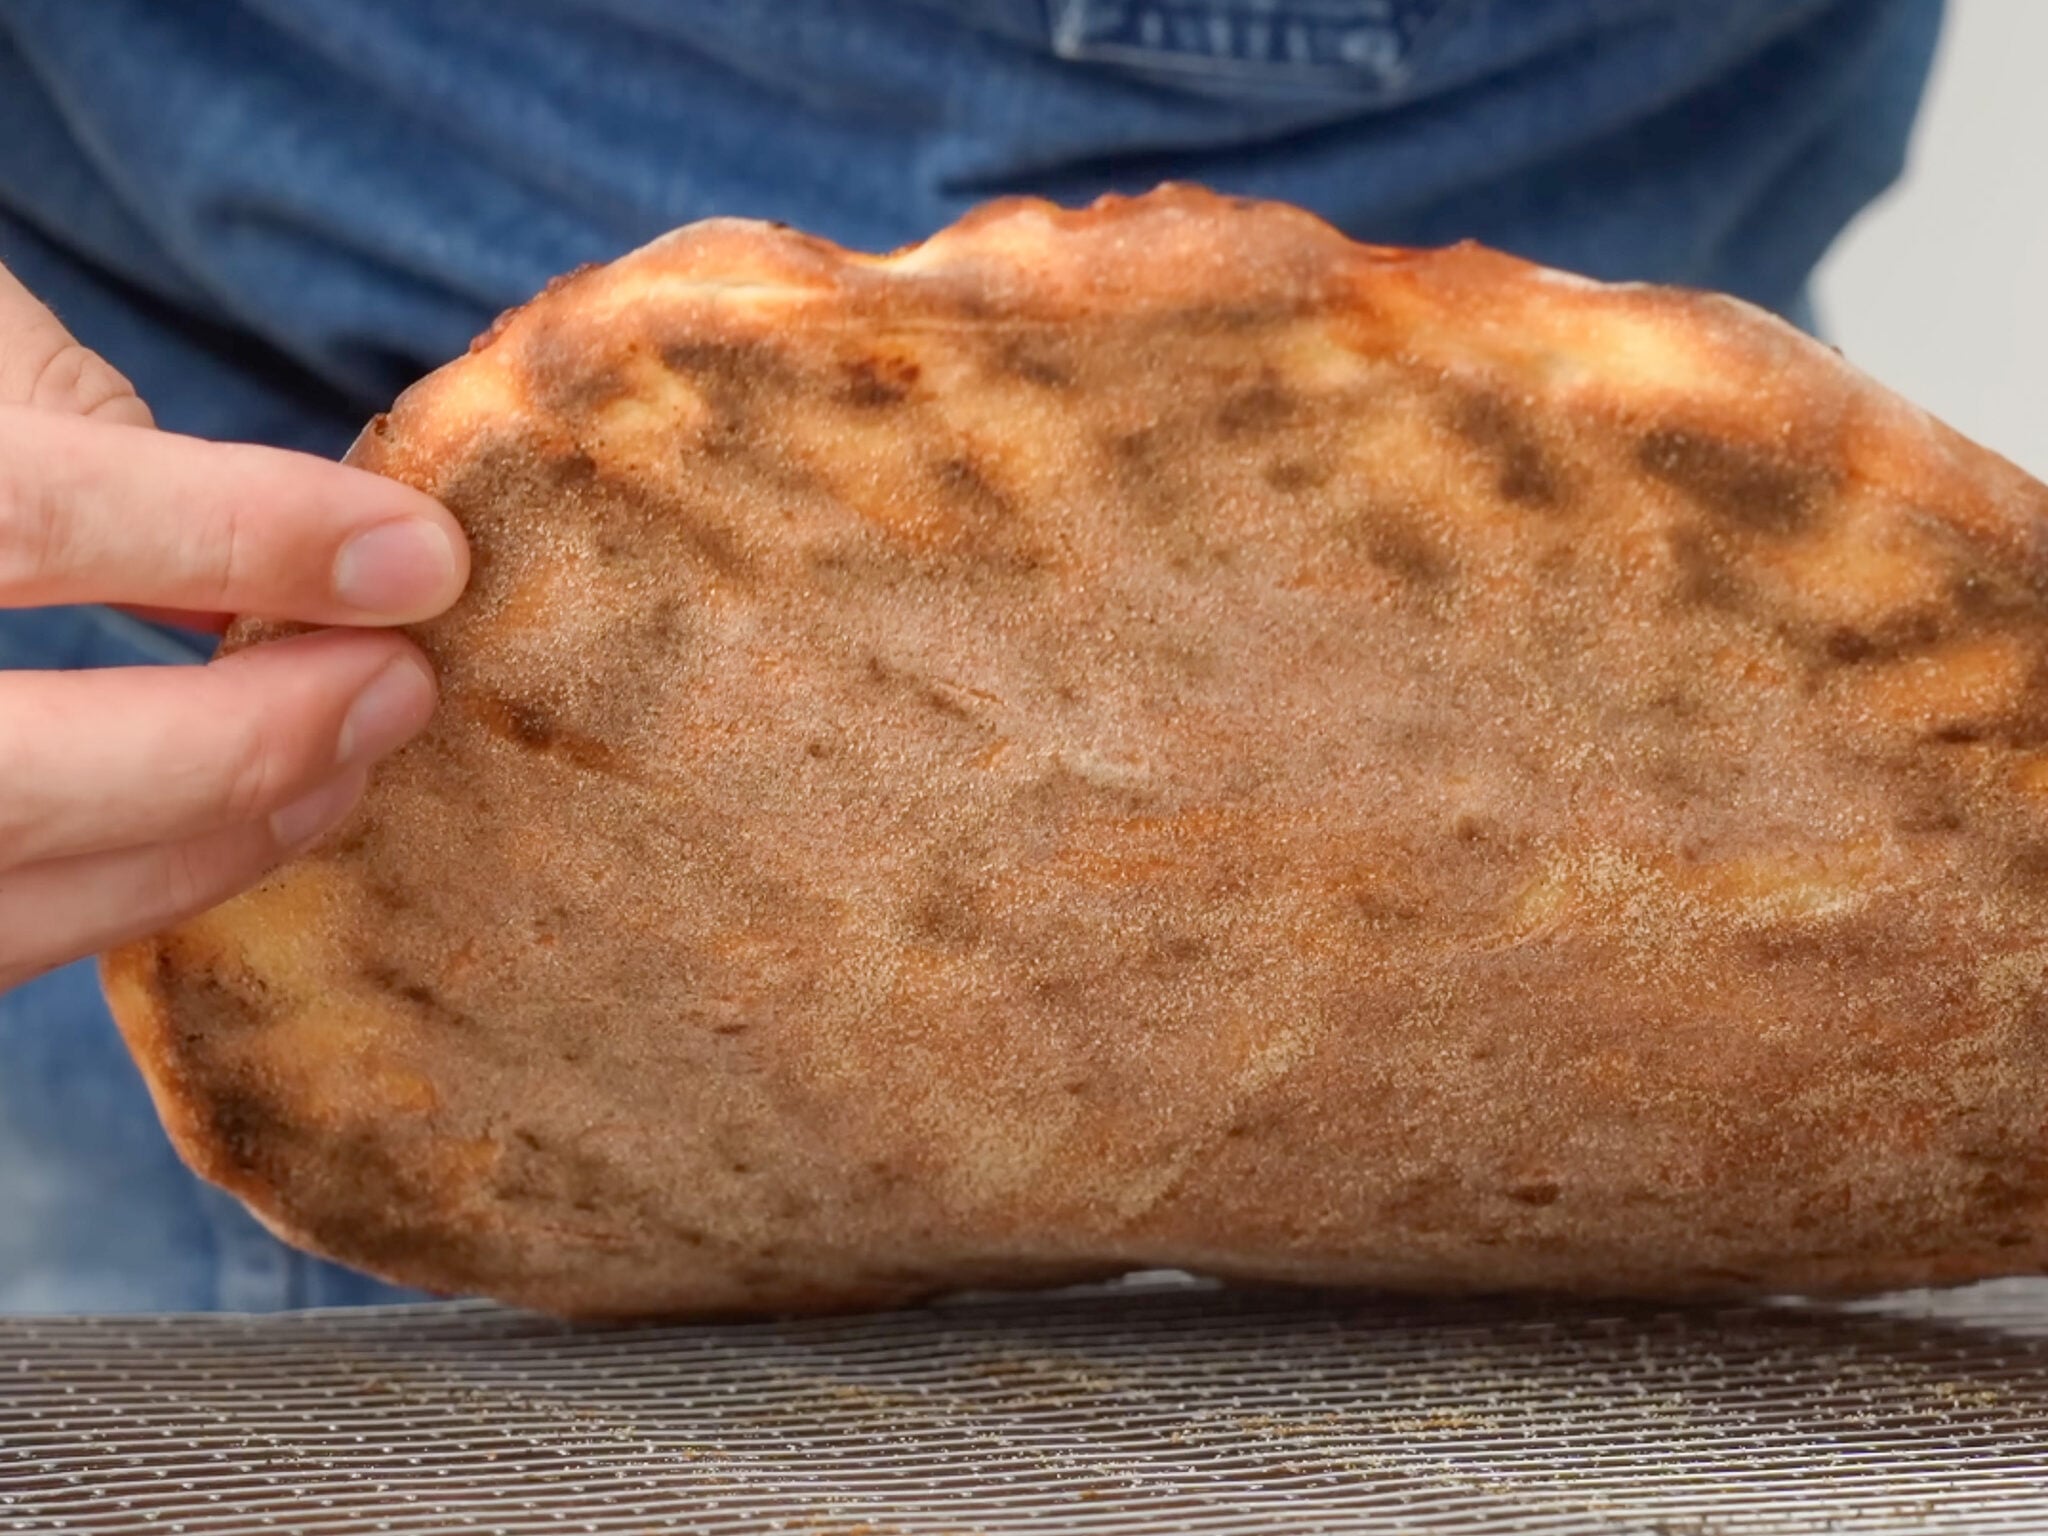
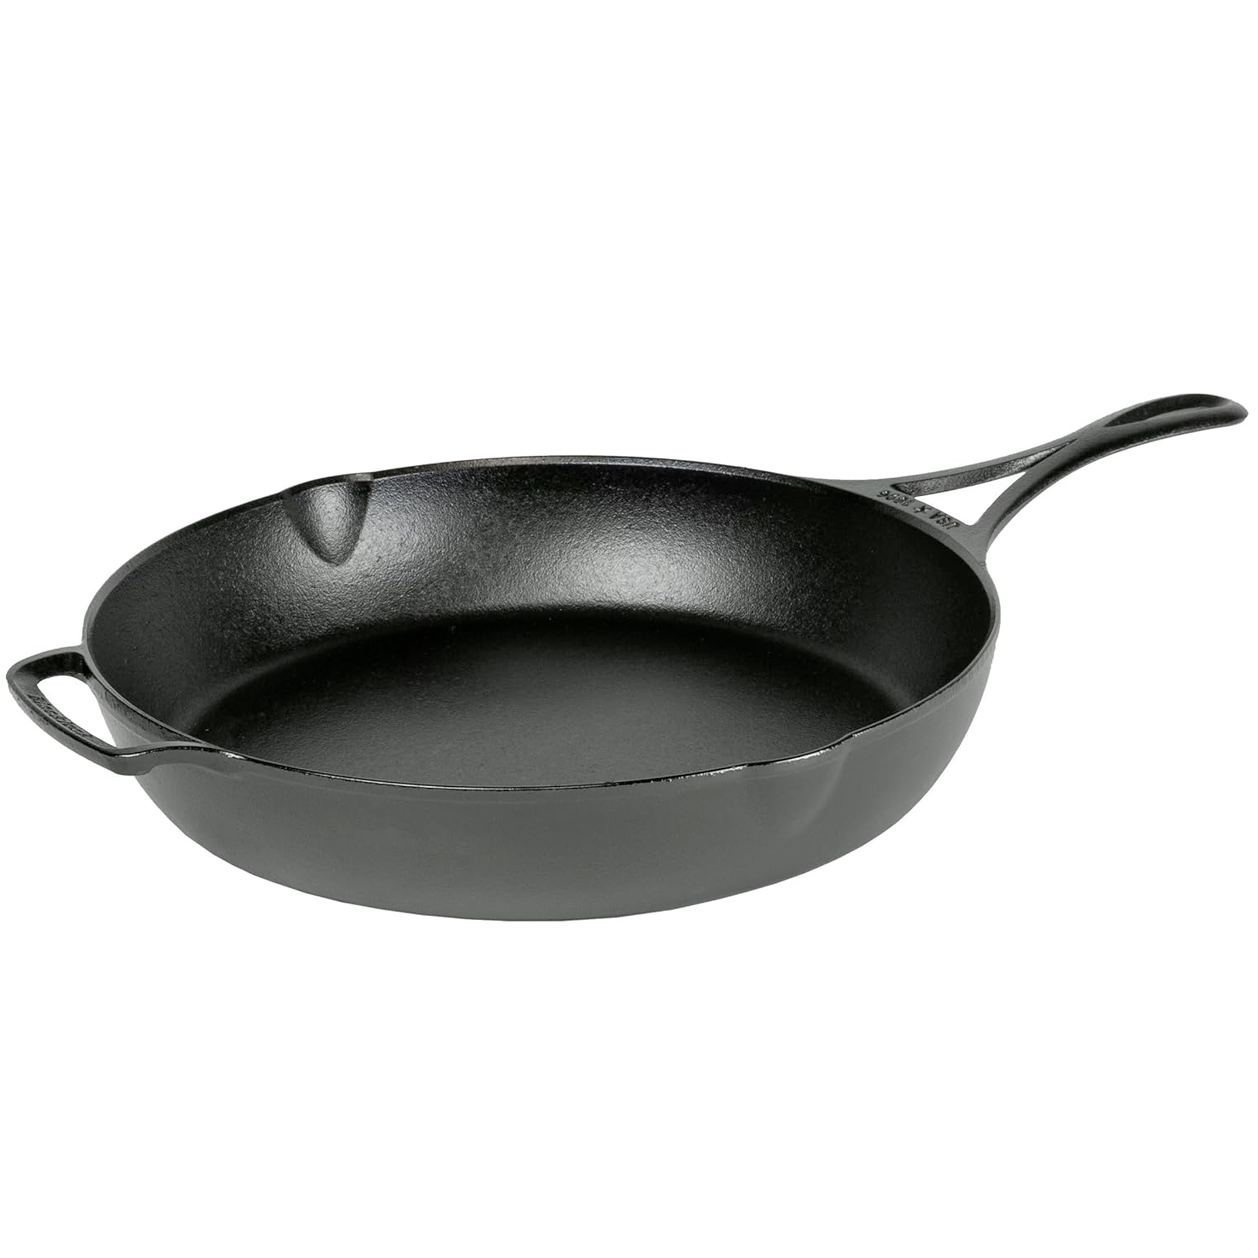
ALTERNATIVE CAST IRON METHOD: If hand-stretching feels too risky OR if you don’t have a pizza stone/steel, drop the ball into a well-oiled cast iron pan instead. Press it to 8 inches, cover and rest for 10 minutes, then finish pressing to the edges.
Bake at 550°F for 10–12 minutes. The bottom will fry in the oil and get shatteringly crispy, and the cheese around the edge will fry into a lacy, crunchy ring.
My oven only goes to 500°F. Is that a dealbreaker? Nope. Just add 1–2 minutes to the bake time and crank your broiler for the last 60 seconds to finish browning the cheese and crust.
Storage, Make-Ahead, & Leftovers
To make this dough ahead of time: After the second 60-minute rest, you can cover the bowl and refrigerate the whole dough (or the individual pre-shaped balls) for 4–5 days. The cold ferment actually deepens the flavor, so day-2 and day-3 dough often bakes up better than same-day. Pull it out of the fridge about 60 minutes before you want to shape so it can come back to room temperature.
If you don’t want to bake all four pizzas at once, freeze the extra dough balls after pre-shaping. Wrap them tightly and stash them in the freezer for up to a month. The morning of pizza day, move them to the fridge, or pull them straight onto the counter 1½ hours before you want to shape — keep them covered with a damp cloth so the surface doesn’t dry out and form a skin.
To heat leftover pizza: Reheat in a dry skillet over medium heat for 3–4 minutes with a lid on for the last minute to melt the cheese. The bottom re-crisps and the cheese softens back up. Alternatively reheat on a pizza steel in a preheated 400°F oven for 5–6 minutes.
Pin this now to find it later
Pin It
The Easiest Actually Good Pizza Dough – No Mixer
Ingredients
- 400 g warm water, 86F/30C
- 20 g extra virgin olive oil
- 7 g instant yeast
- 15 g salt
- 20 g granulated sugar
- 680 g all-purpose flour
PIZZA SAUCE RECIPE: (makes enough for 4+ pizzas)
- 800 g crushed tomatoes, canned
- 100 g tomato paste
- 12 g salt
- 20 g sugar
- 2 g dried basil
- 2 g dried oregano
- 1 g chili flake
- 2 g garlic powder
- 2 g onion powder
Instructions
- Mix warm water with olive oil, yeast, salt, and sugar then use a sturdy spoon to gradually add flour to the bowl and combine until flour has hydrated and has formed into a clump of dough.
- At this point, wet your hand and use it to continue mixing the dough. My preferred method is to grab and squeeze the dough repeatedly until ingredients are fully incorporated and dough is homogenous.
- Cover the bowl with a lid and let it ferment at room temperature for 30 minutes.
- Wet your hand again and perform a series of strength-building folds. To do this, grab a corner of the dough, stretch it out gently, and fold it back over itself. Repeat this process 4-5 times around the perimeter of the dough.
- After folding, flip the dough so the seams are underneath. Shape the dough into a tight ball by rounding and tucking the dough underneath to create surface tension on top. Cover and let sit at room temperature for 60 minutes.
- After the total fermentation time of 90 minutes, turn the dough out onto a lightly floured surface.
- Divide into four equal pieces, each weighing about 280g.
- Shape by folding the right and left sides into the center and pressing to create strength. Turn 90 degrees and repeat. Flip over onto those folds and roll into a ball to strengthen further.
- Spray a baking sheet tray with olive oil and place the pre-shaped dough balls on it. Cover and let them rest for 15 minutes.
- Preheat and pizza steel to 550℉ (285℃)
- To stretch the pizza, turn a dough ball out onto a lightly floured surface and stretch into a 10" round. Use your fingertips to press from the center out toward the edge. Then pick up the dough, letting gravity pull it down, flip and turn it on the back of your knuckles until you reach 10 inches.
- Dust a pizza peel with semolina then transfer the dough round to the peel. Sauce with a ladle of pizza sauce (leaving border for the crust), full fat mozzarella and toppings of your choice (I like pepperoni).
- Before loading pizza into the oven, gently stretch the pizza into approximately 12" on the peel. Shimmy the pizza to be sure it's not stuck to the peel. If it is, lift the edge where it's stuck and add more semolina to that spot.
- Bake on a pizza stone or steel in a preheated oven at 550°F (285°C) 9-10 minutes. Alternatively, bake for 10-12 minutes if baking in the cast iron.
- Pull pizza from the oven when the crust is golden brown and cheese is melted, bubbling, and beginning to brown. Cool on a wire rack for at least 60 seconds before cutting.
PIZZA SAUCE RECIPE:
- Into a high sided container add crushed tomatoes, tomato paste, salt, sugar, basil, oregano, chili flake, garlic powder, and onion powder. Spin with immersion blender to break down until it's smooth, but still has texture.
 Like this? Leave a comment below!
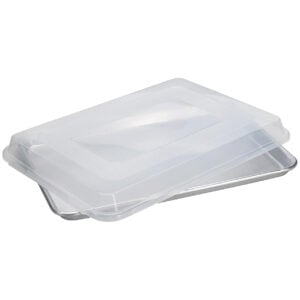
My Go-To Gear
Below are the tools I actually use when making this recipe. Some of these are affiliate links, which means I may earn a small commission if you purchase through them at no extra cost to you.

Frequently Asked questions
Yes, and it’ll work fine. You’ll get a slightly chewier, slightly stronger crust. But the whole pitch of this recipe is that you shouldn’t have to make a trip to the store, and AP flour gets you 95% of the way there in 90 minutes. If bread flour is what you have, use it. Just add a splash more water (maybe 10–15g) because it’s thirstier.
No. That’s what the cast iron method is for. A hot cast iron pan in a 550°F oven gives you a legitimately great pizza with a fried, crispy bottom and lace-crispy cheese edges.
Almost always one of two things: you didn’t rest the dough balls long enough (give them a full 15–20 minutes under cover so the gluten relaxes), or you tried to push it past 10 inches dry instead of letting gravity finish the job on the peel.
Check two things: your water temperature (anything above ~110°F will start to kill the yeast) and the age of your yeast. If your yeast has been open in the pantry for 6+ months, it’s probably weak. Use a fresh packet and try again.










Genuinely when someone doesn’t be aware of then its up to other
visitors that they will help, so here it occurs.
I was suggested this website by my cousin. I am not sure whether this post
is written by him as no one else know such detailed about my difficulty.
You’re amazing! Thanks!
I could not refrain from commenting. Well written!