Chicago Deep Dish Pizza (New & Improved Recipe)

Updated Sep 16, 2026, Published May 11, 2023
This post contains affiliate links. Please see our disclosure policy.
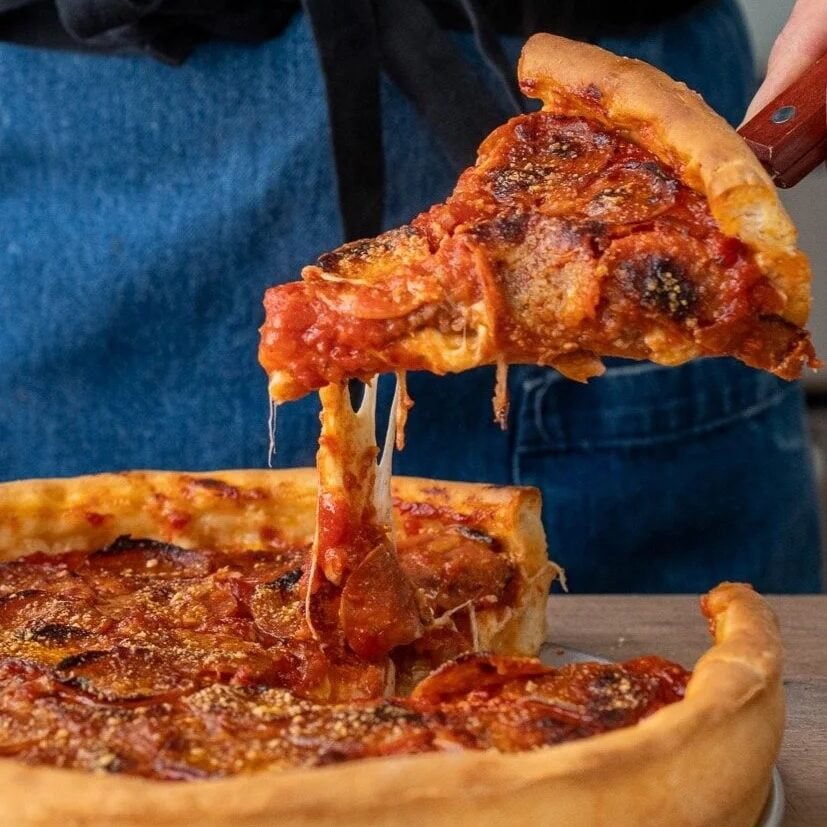
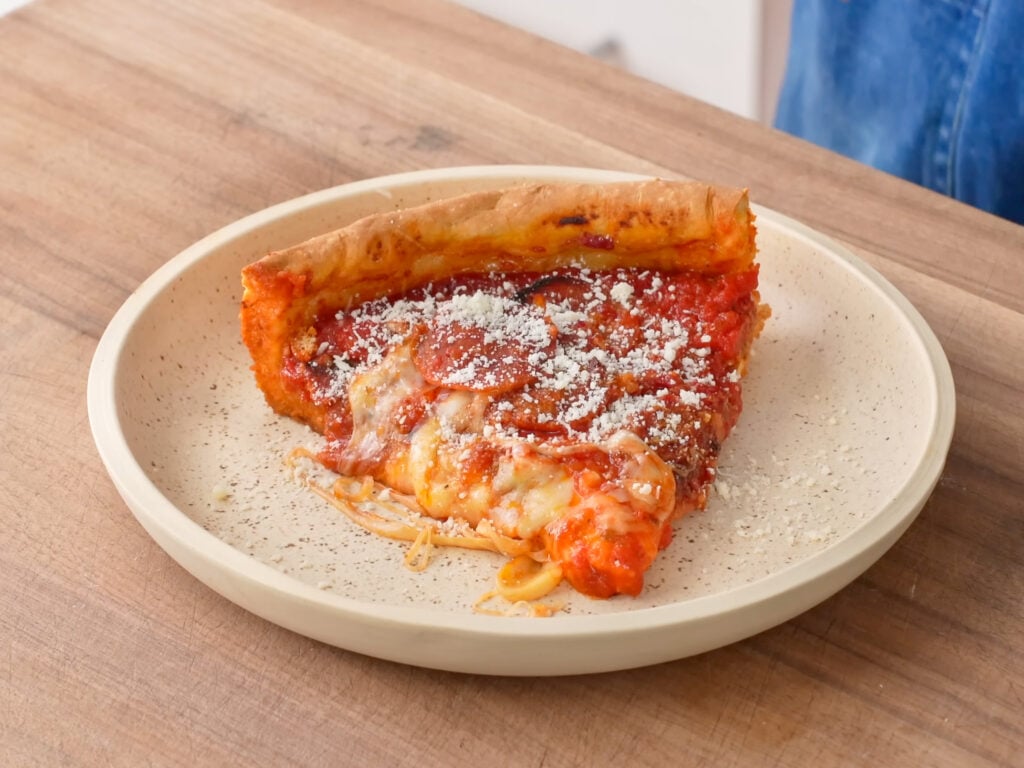
This is my second attempt at perfecting my hometown’s famous pizza style. With this recipe we get a crispier more buttery crust along with several pounds of melted cheese, chunky tomato sauce and a fast homemade Italian sausage that beats store bought.
Why This Chicago Deep Dish Recipe Delivers
For this updated recipe, I rebuilt the dough, changed the fermentation process and reworked the sauce to get to a version that echoes what you’d get at a GOOD deep dish pizzeria. Not the tourist slop you get in the loop or the viagra triangle.
The power moves are:
- A lower-butter, food-processor dough that ferments overnight for a crust that eats more like a pie shell than chewy pizza dough.
- There’s a thick sauce made with two kinds of tomato, so you get smooth body alongside meaty chunks.
- A generous layer of homemade hot Italian sausage that’s fresher, sharper, and heavier on the fennel than the bland store-bought stuff.
- We also focus on construction of the pie. When you get that right, the whole thing comes together into a monolith thats equal parts fatty, crunchy, saucy and sweet.
It’s insanely indulgent, heavy, and calorie dense. It’s midwestern sensibility summarized in one bite.
Brian’s Pro Tips
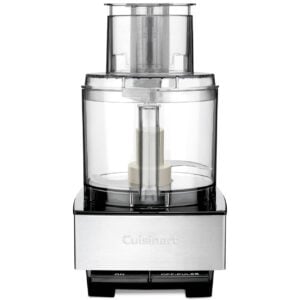
Use a Food Processor, Not a Mixer – Deep dish dough has more in common with a pie crust than a pizza dough. The food processor combines everything without developing excessive gluten. For his pizza we want enough gluten to hold things together, but not so much that the dough becomes chewy or bready. Less gluten helps maintain crispness.
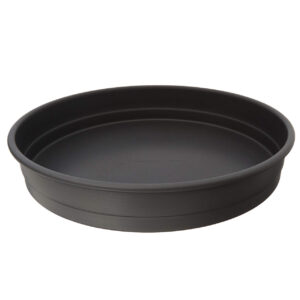
LLOYD Pan
These LloydPans are about as close as you can get to what Chicago deep dish pizzerias use. The anodized aluminum gives you great release, helps the dough hold its shape, and builds that crisp, golden, almost fried shell that makes deep dish work. A 12 inch cast iron pan will work, but if you want the closest possible result to a real Chicago deep dish place, this pan matters.
Half the Butter
My old version of this recipe used double the butter, but I realized too much fat makes the crust too “enriched” which softens the bite and gives you a bit more of a “brioche”-esque fluff. Some butter is essential though for that signature deep dish flavor. The butter also provides a little bit of flakiness.
Grated Onion
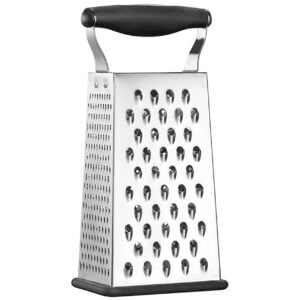
Run the onion across the big holes of a box grater so it breaks down into a pulp. This pulp melts right into the sauce and gives you a smooth, almost creamy base. Diced onion stays chunky and makes the whole thing taste too rustic and marinara-ey, which is not what we want from a Chicago deep dish sauce.
Two Tomato Products, Not One
The best deep dish sauces in my opinion have a sauce with a smooth and pasty base that has actual meaty chunks of tomato suspended in it. Use a can of crushed tomato for the smooth body. Use a can of whole peeled tomatoes that you squeeze into 1/2″ pieces by hand for the chunks. This gives you the best of both worlds: the smooth tomato base acts like a binder that helps glue the pizza together. The chunks add bite, texture, and those little bursts of sweet tomato flavor.
Make the Sausage Yourself
DIY hot Italian sausage for this pizza is too easy and too good to skip. It’s fresher, more garlicky, more fennel forward, and way more flavorful than 95 percent of the bulk stuff at the grocery store. The only acceptable substitute is fresh sausage from an actual Italian market
Cool on a Wire Rack, Cut on the Pan
After baking, slide the pizza onto a wire rack for at least 10 minutes. This prevents the bottom crust from steaming itself soft in the hot pan. THEN return it to the pan to cut because the pan keeps the inside hot and gooey while you slice. Best of both worlds: crisp bottom, molten middle.
Key Ingredient Notes & Substitutions
Cold Butter (in the Dough)
Were cutting cold cubed (unsalted) butter directly into the flour in the food processor. It’s closer to a pie crust technique than a pizza dough technique. The cold butter gives you little flecks of fat throughout the dough, which translates to texture and a slightly flaky bite in the finished crust. If your butter gets too warm or you over-process it, the dough turns pasty and you lose that effect. Keep it cold and keep the processor work short.
Full Fat Mozzarella (Sliced, Not Shredded)
Sliced full fat mozzarella melts into clean layers that improve structural integrity and it helps you avoid the step of grating the cheese. I would avoid the standard issue pre shredded mozz at the grocery store. It’s not very flavorful and melts unreliably due to the wide variety of shred sizes available.
Provolone
This is not traditional, but a thin layer of provolone on top of the mozzarella brings a sharp, piquant note that cuts through all the fatty mozz. It also gives you a great cheese pull when you go for that first slice.
How To Make Chicago Deep Dish Pizza
Mix the Dough in a Food Processor.
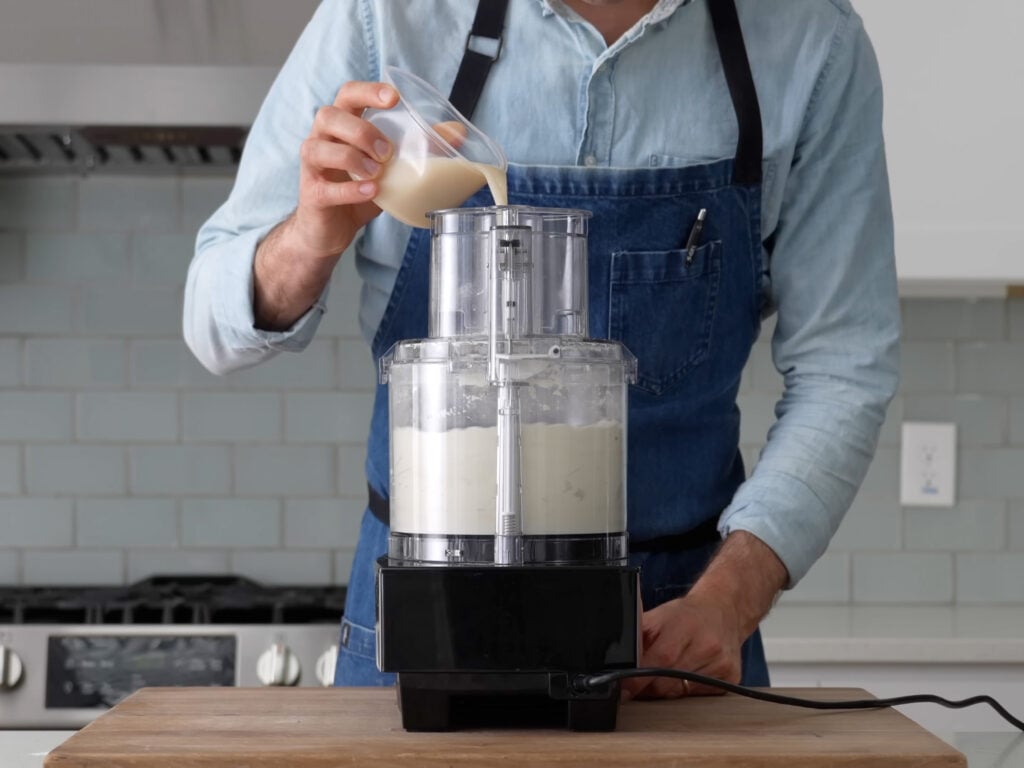
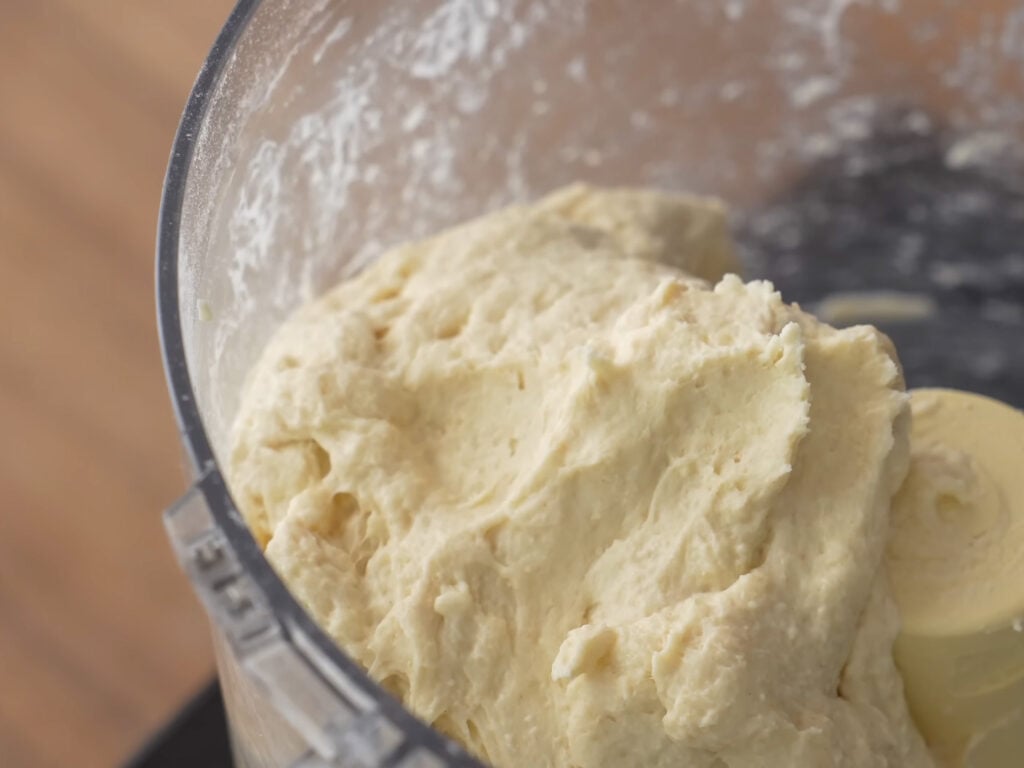
- Combine 375g all-purpose flour, 10g salt, and 40g cold cubed unsalted butter in the bowl of a food processor. Spin it for 15 seconds or until the butter is cut into the flour and the mixture looks gravelly and dry. Don’t go longer than that. If the butter gets pasty and smooth you’ve gone too far.
- Stir 6g of instant dry yeast into in 220g of 90°F (32°C) water. With the food processor running, stream the yeast-water in and let it spin for about 45-60 seconds. You’re looking for a mass that has come together until homogenous but is still shaggy.
Why a food processor instead of a stand mixer? A stand mixer builds gluten. A stronger gluten network gives you a chewier, breadier crust. For bready styles like Neapolitan or New York pizza this is optimal, BUT Chicago deep dish should not be chewy. Texturally, I want a semi-crispy shell that mostly exists to contain several pounds of meat, cheese, and sauce.
Round & Cold Ferment
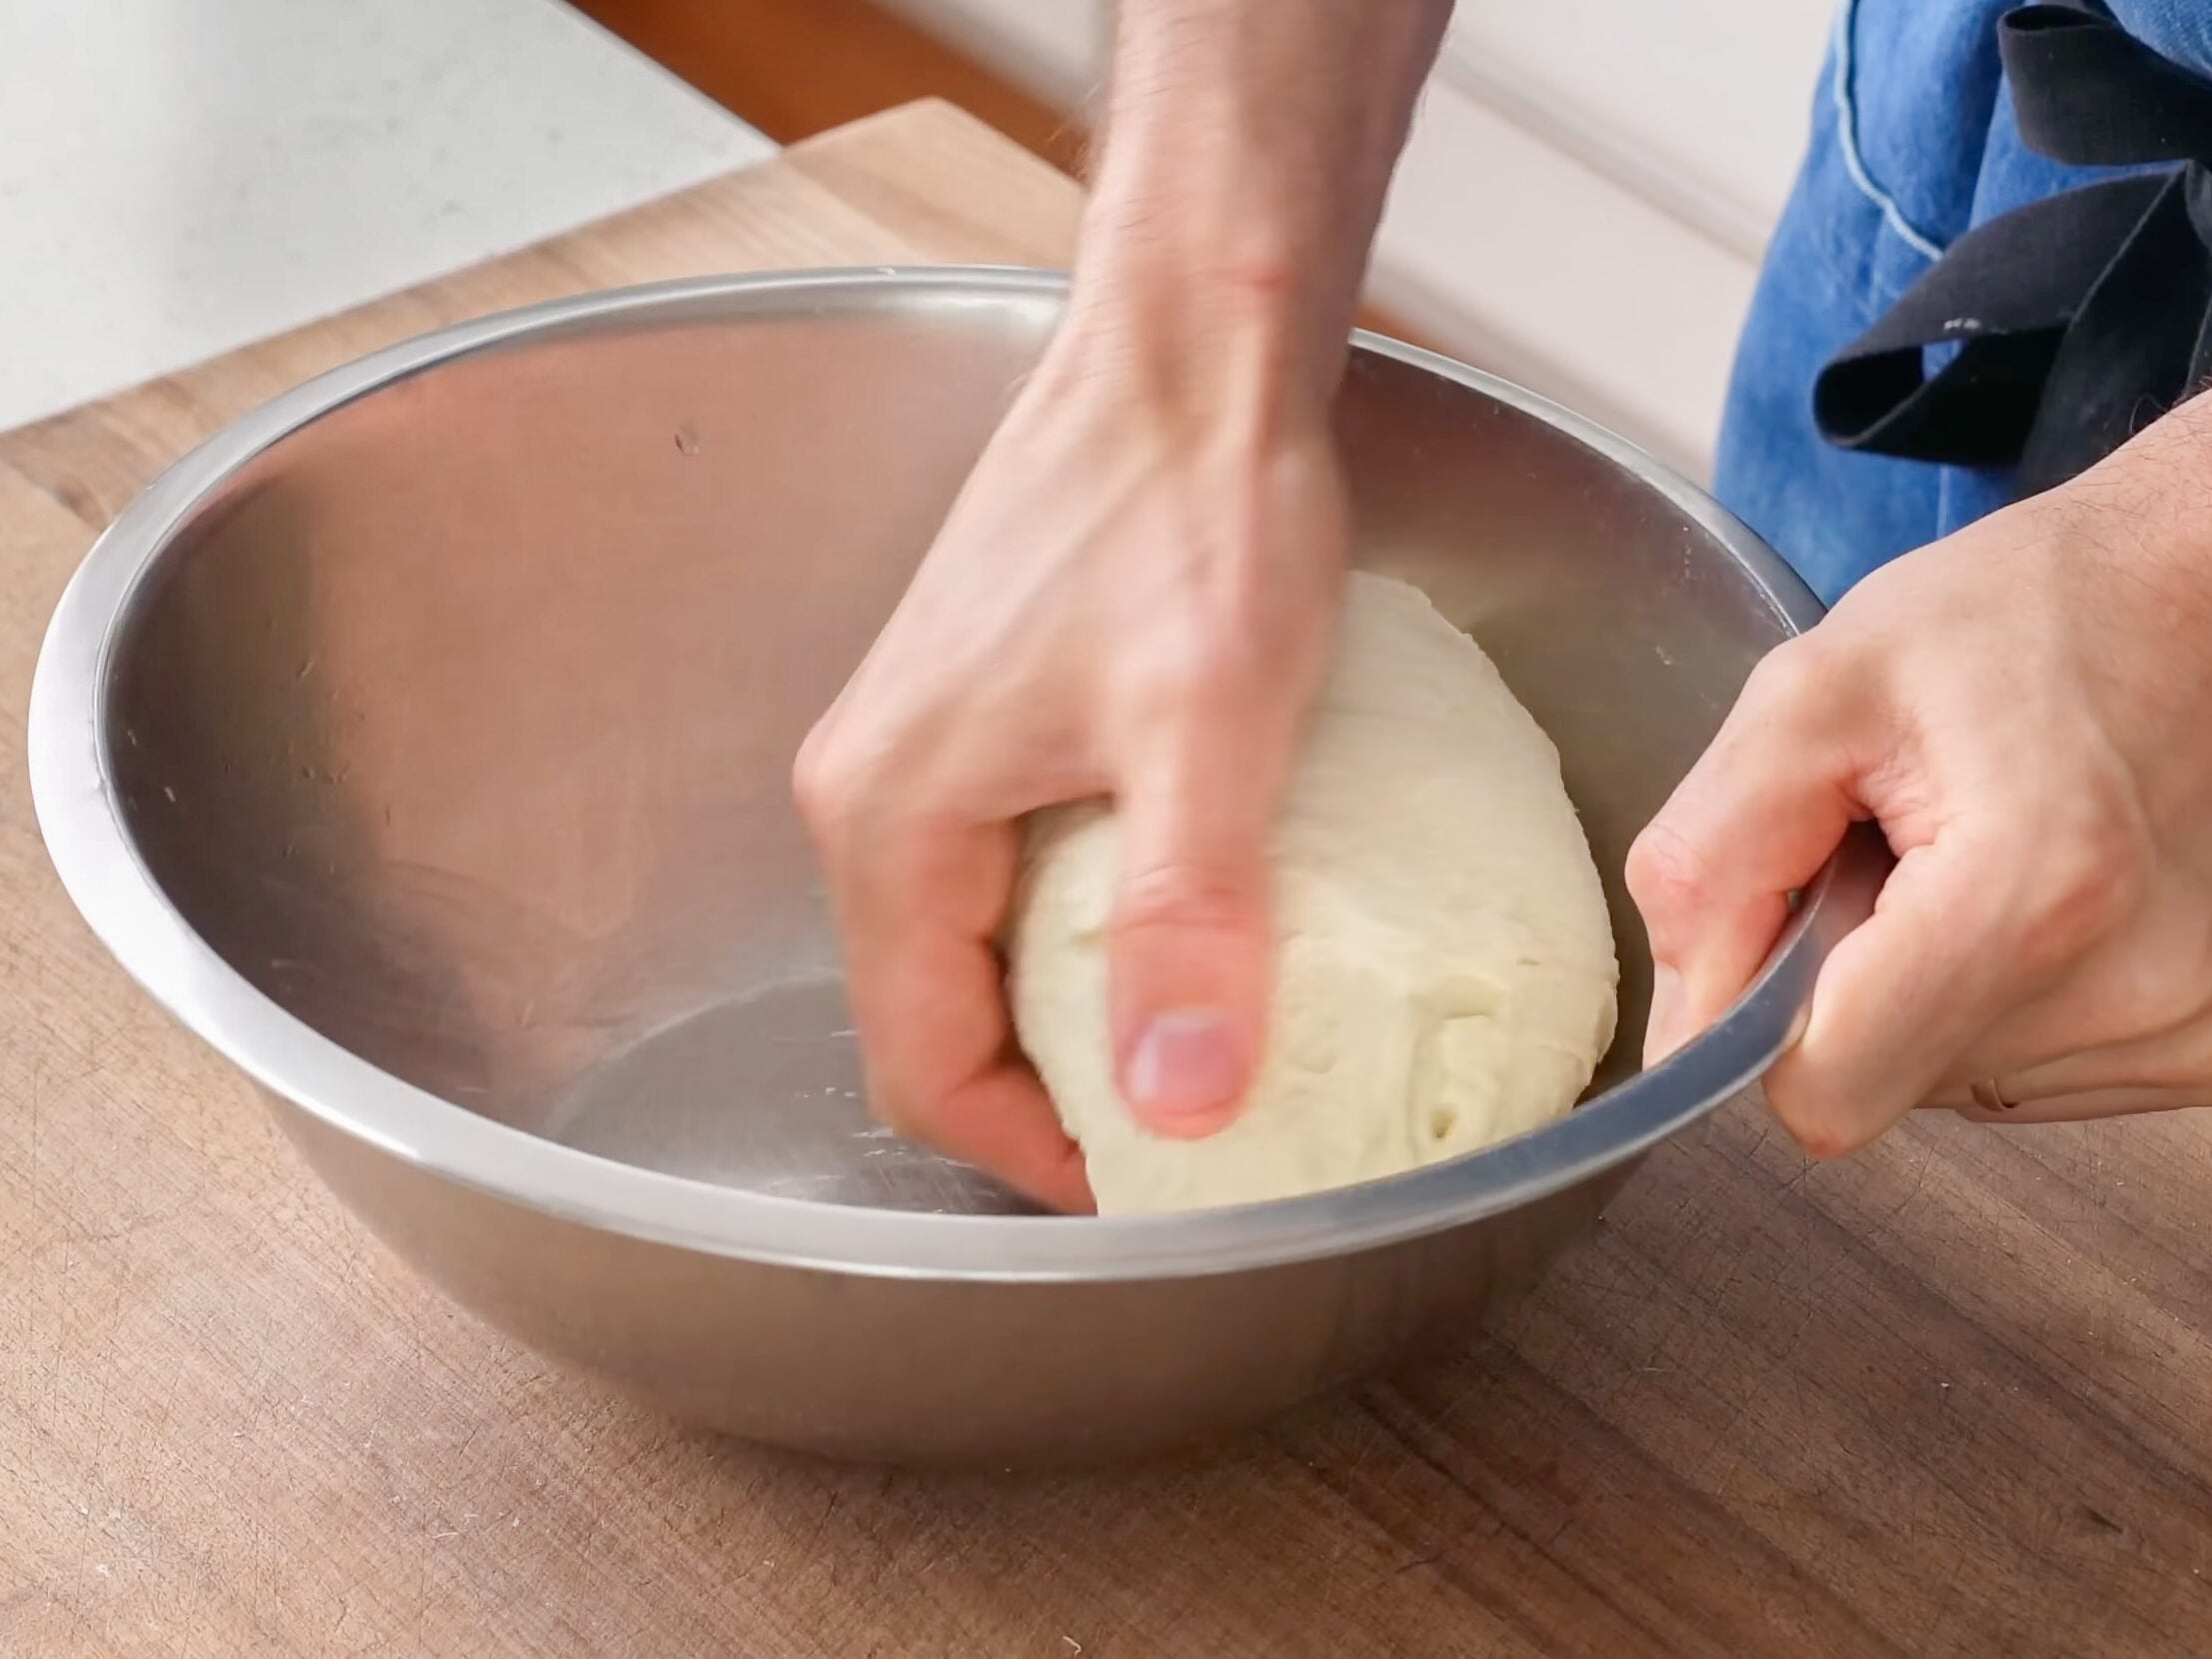
- Transfer the dough to a bowl and round it into a ball, tucking the ball up under itself a several times to create surface tension. That’s the only strength building I’m doing here. Just enough so the dough holds together when you roll it out later.
- Cover the bowl with a lid or plastic wrap. Ferment at room temperature for 30 minutes to let the yeast get some momentum. Then transfer it to the fridge for 12-24 hours.
How long should I really ferment? Twelve hours is the absolute minimum. Twenty-four to forty-eight hours is the sweet spot of flavor and texture. If you shortcut the fermentation, expect a softer duller crust with less crunch.
Make the Sauce
- At some point before you make the pizza, heat a medium saucepan over medium high heat. Add a generous knob of butter (3 tablespoons). Let it mostly melt, then add 100g of grated onion and 20g (5-6 cloves) of pressed or minced garlic. Stir to combine and cook for 4-5 minutes, stirring occasionally, until soft and fragrant with a little golden color.
- While the onions cook, combine a 28oz can of crushed tomatoes, 28oz can whole peeled tomatoes, & 75g tomato paste in a large container. Squish everything together until you get a rustic texture. I usually use my hands for this.
- Stir in 10g of salt, 20g of sugar, 2g each of dried basil , dried oregano, and chile flake.
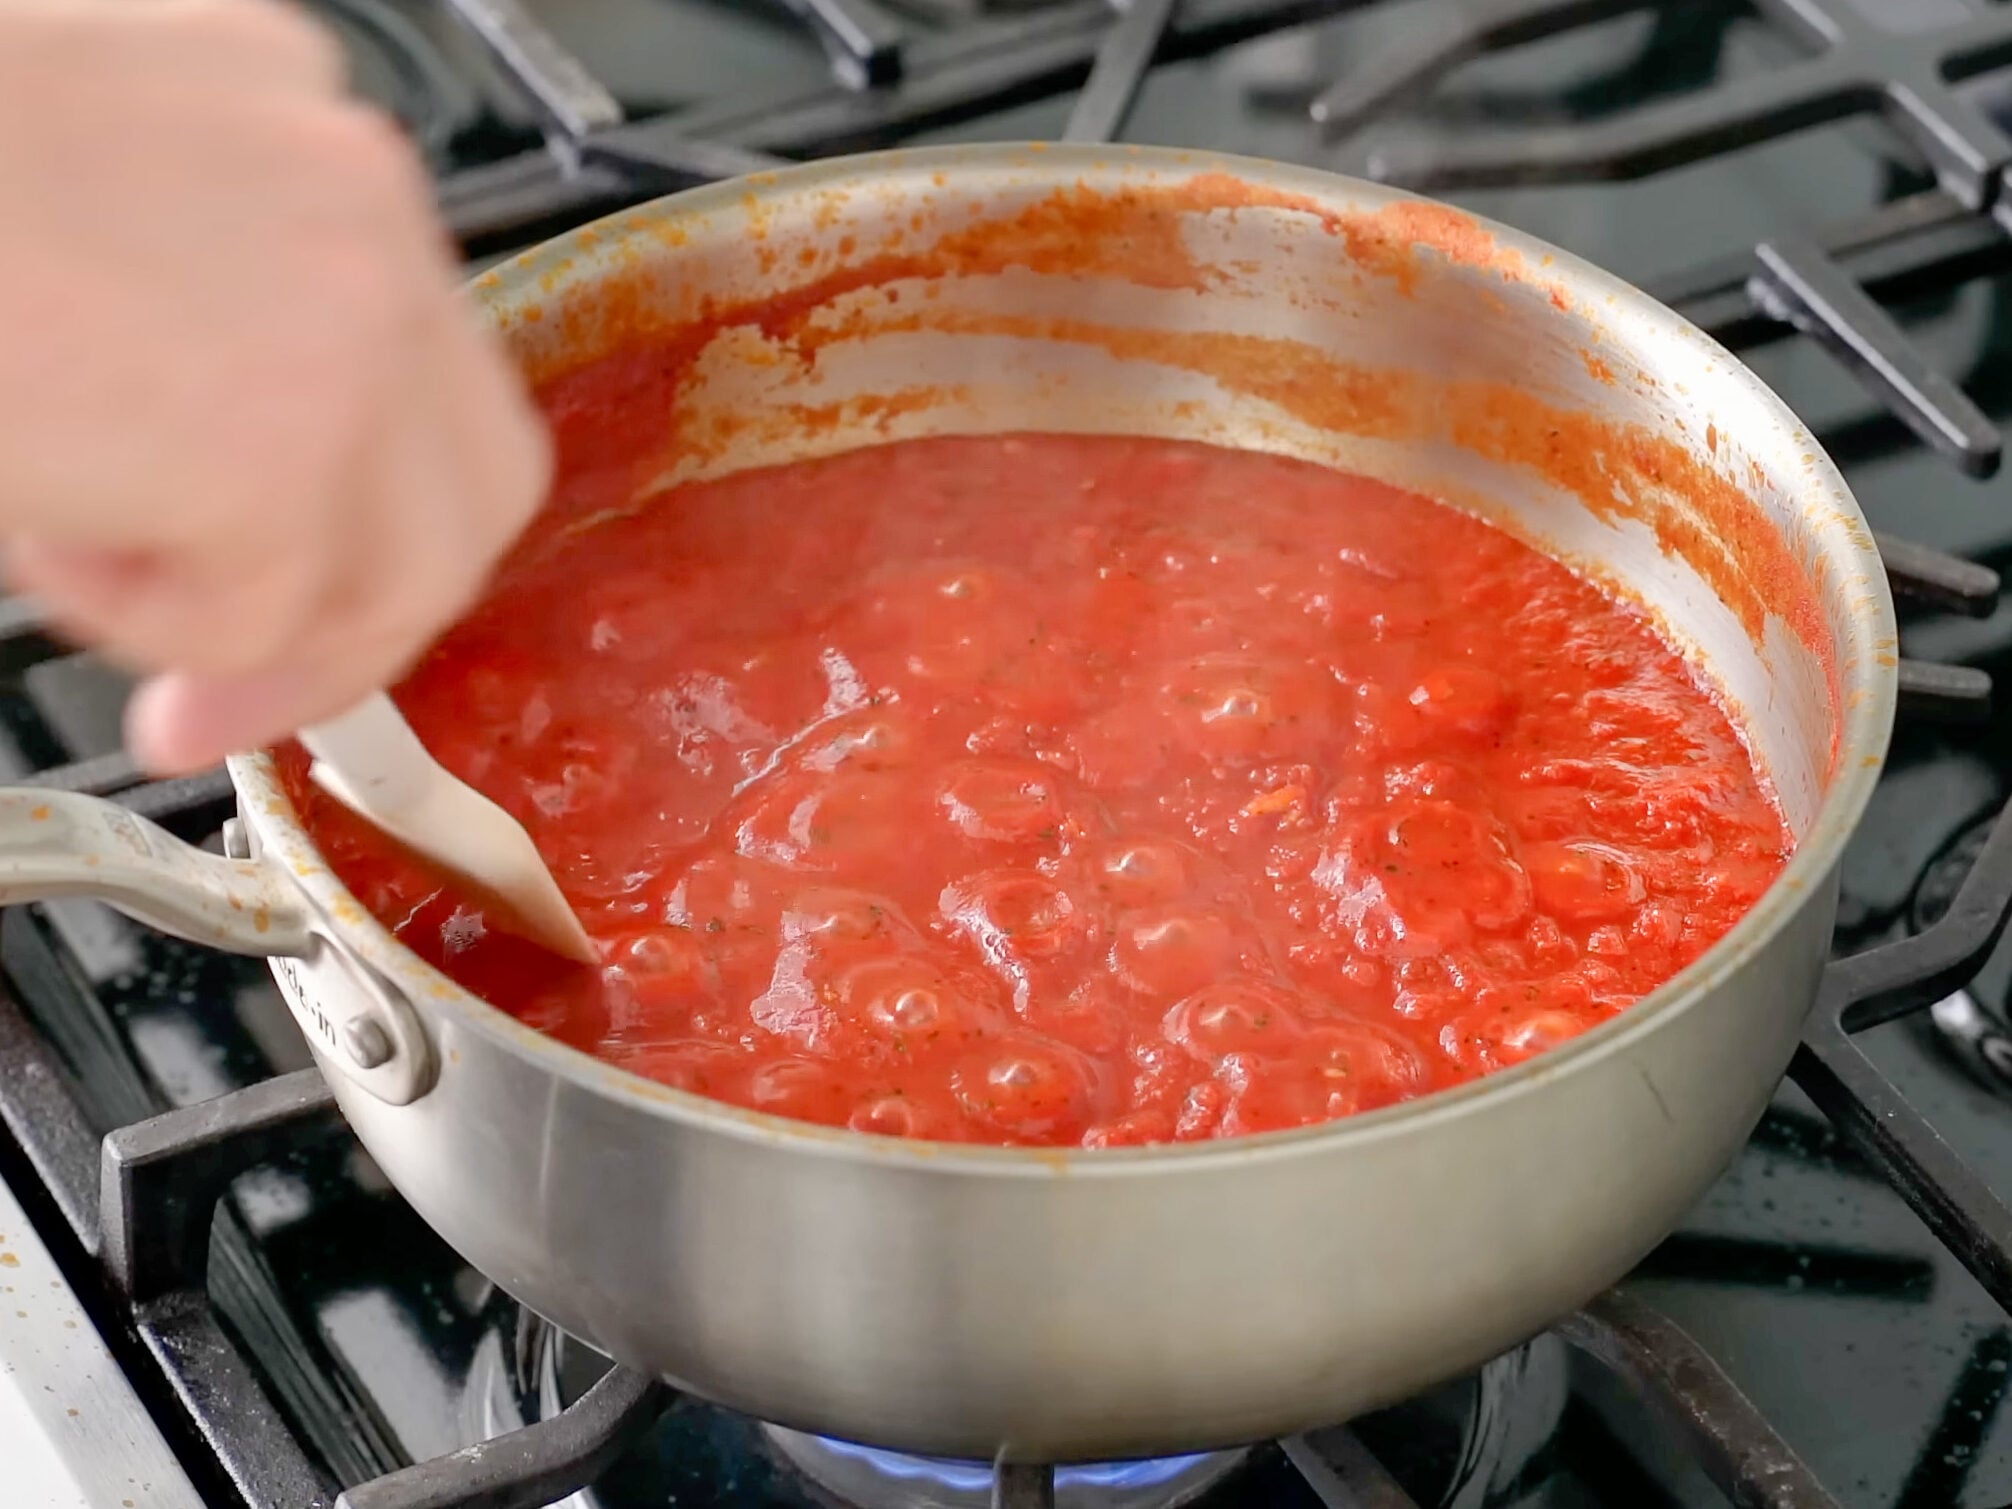
- Once the onions and garlic have softened and are looking translucent, add the squished tomato mixture to the saucepan. Drop the heat from medium-high to medium so the sauce doesn’t get too ploppy. Cook until the sauce has reduced by 40-50 percent, or for roughly 15-20 minutes.
How thick should the finished sauce be? The sauce is done when it’s quite thick and holds a clear trail when you drag a spatula through it. Since this is going on top of the cheese in the pan, it needs to border on pasty so it doesn’t run all over the place.
Temper the dough and preheat
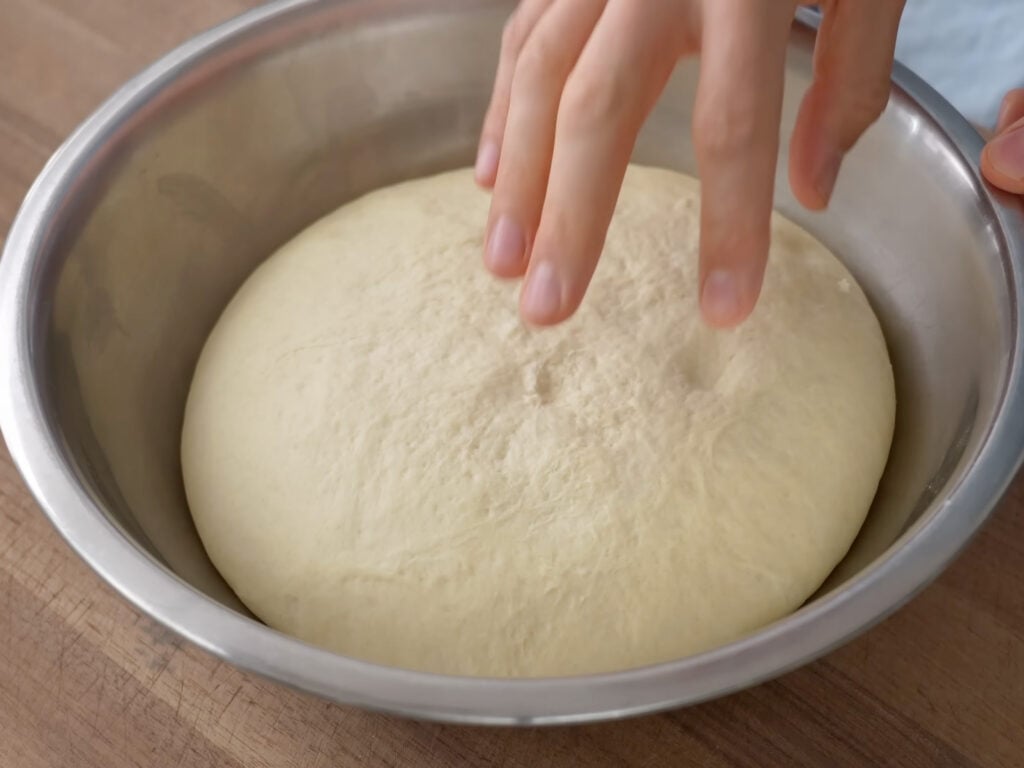
- After 12-48 hours of fridge fermentation let the dough come to room temp for 30-45 minutes before assembling the pie.The dough should have risen by about 30% at this point. If it hasn’t, proof a bit longer at room temperature before rolling out.
- In the meantime preheat your oven to 425°F (220°C).
Make the Sausage
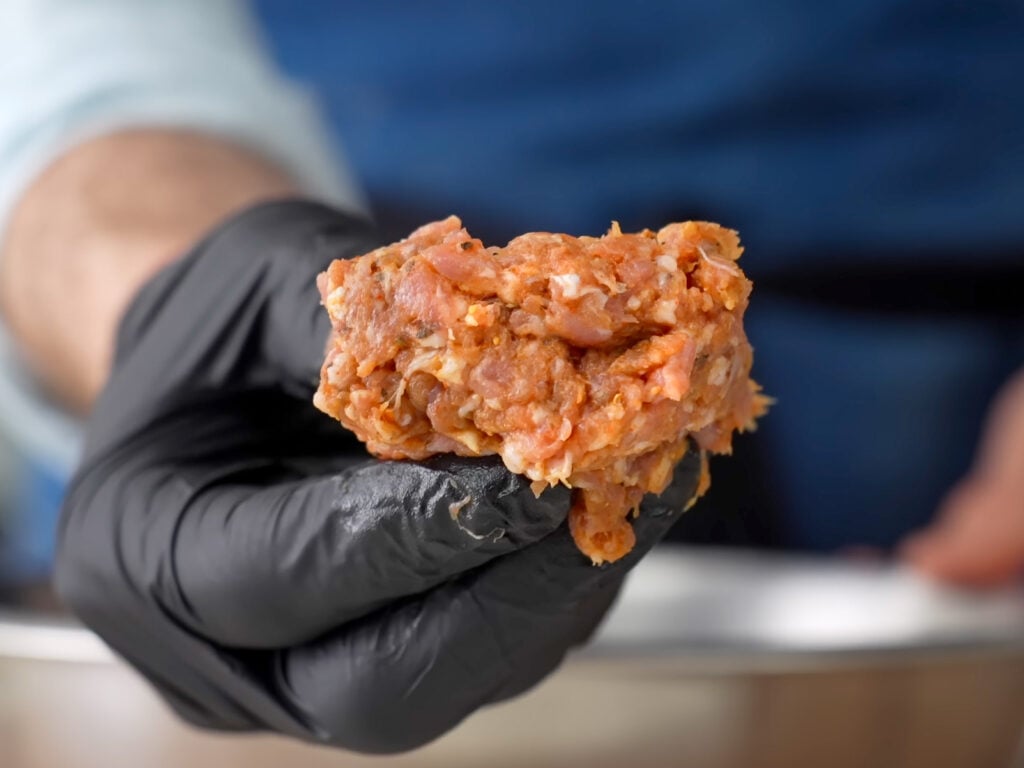
- In a medium bowl, combine 1 lb fatty ground pork (80/20 preferred), 7g salt, 10g sugar, 5g paprika, 3g dried sage, 2g pepper, 10g red wine vinegar, 1-2g chili flake, 2-3 cloves pressed/grated garlic, and 2-3g toasted crushed fennel seed.
- Mix well until everything is fully combined and the sausage feels slightly tacky.
Prep the Pan and Roll Dough, And Press Into the Pan
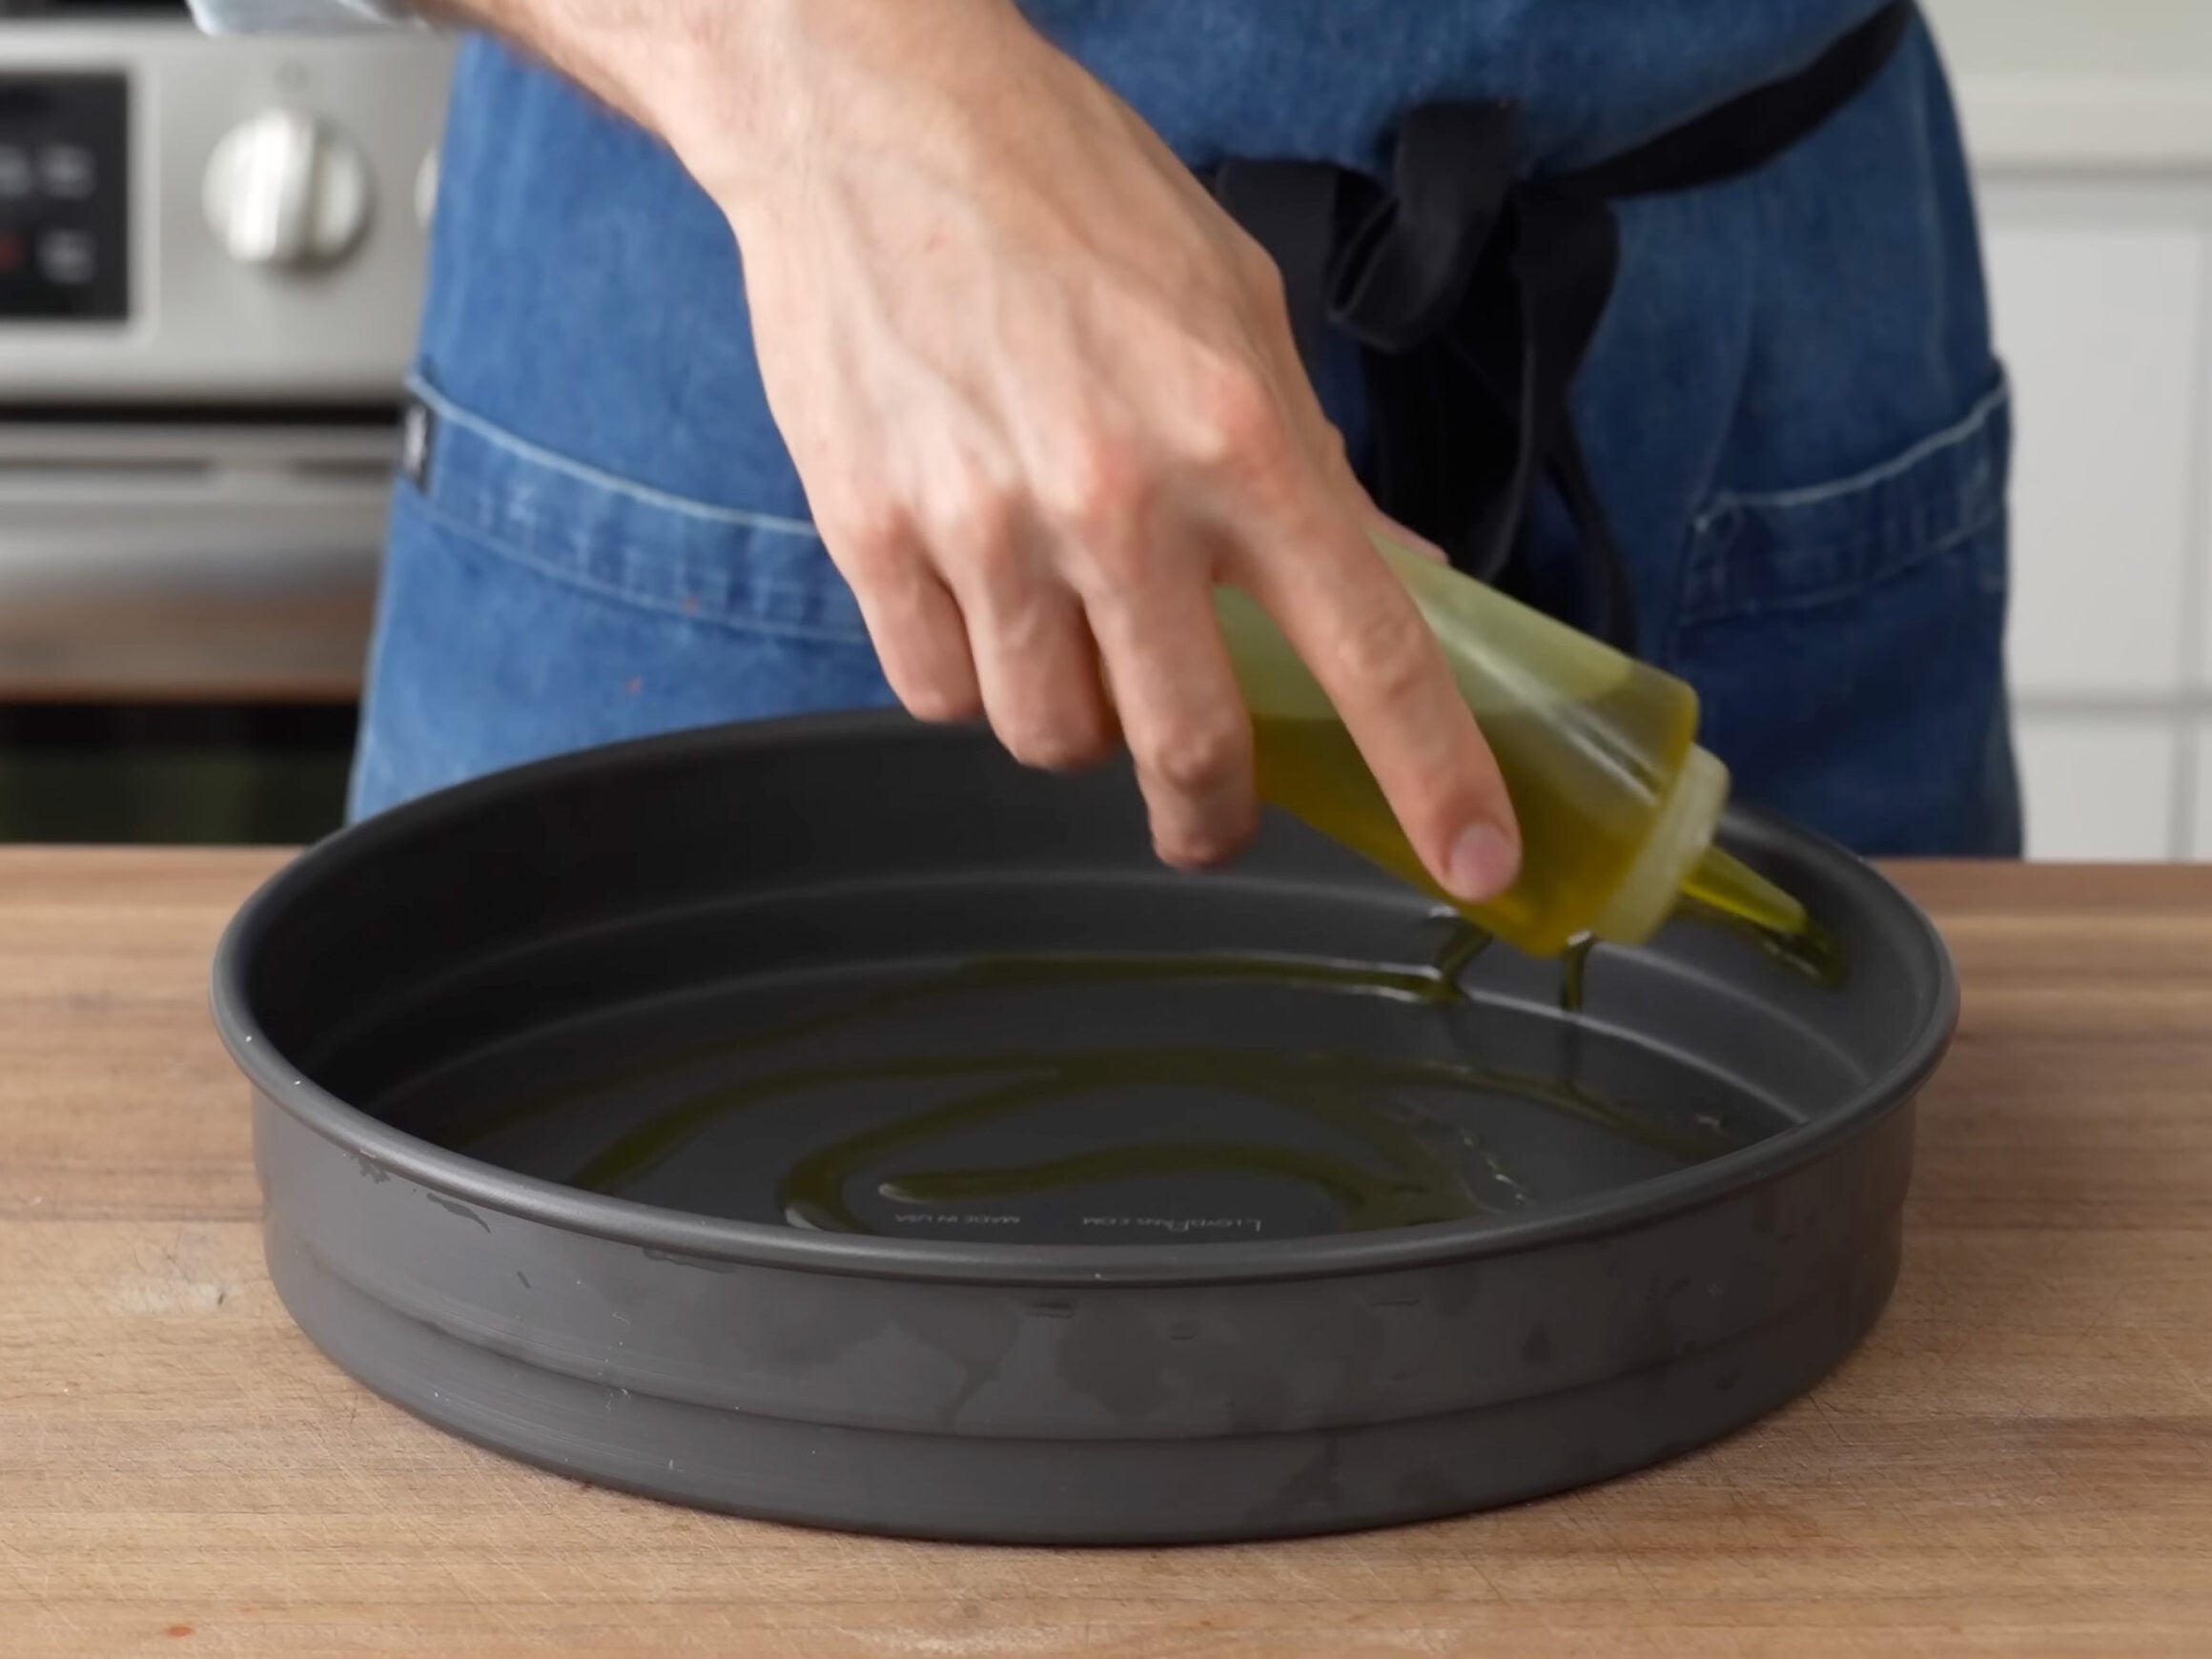
- Grab a 12″ deep dish pizza pan (I prefer a Lloyd pan, linked here) or a 12″ seasoned cast iron pan. Hit with a generous squeeze of olive oil, maybe 2 tablespoons. Use a paper towel to spread the oil over the bottom and all the way up the sides. Be generous. The oil is what transfers the pans heat into the dough and helps the crust set firmly without sticking.
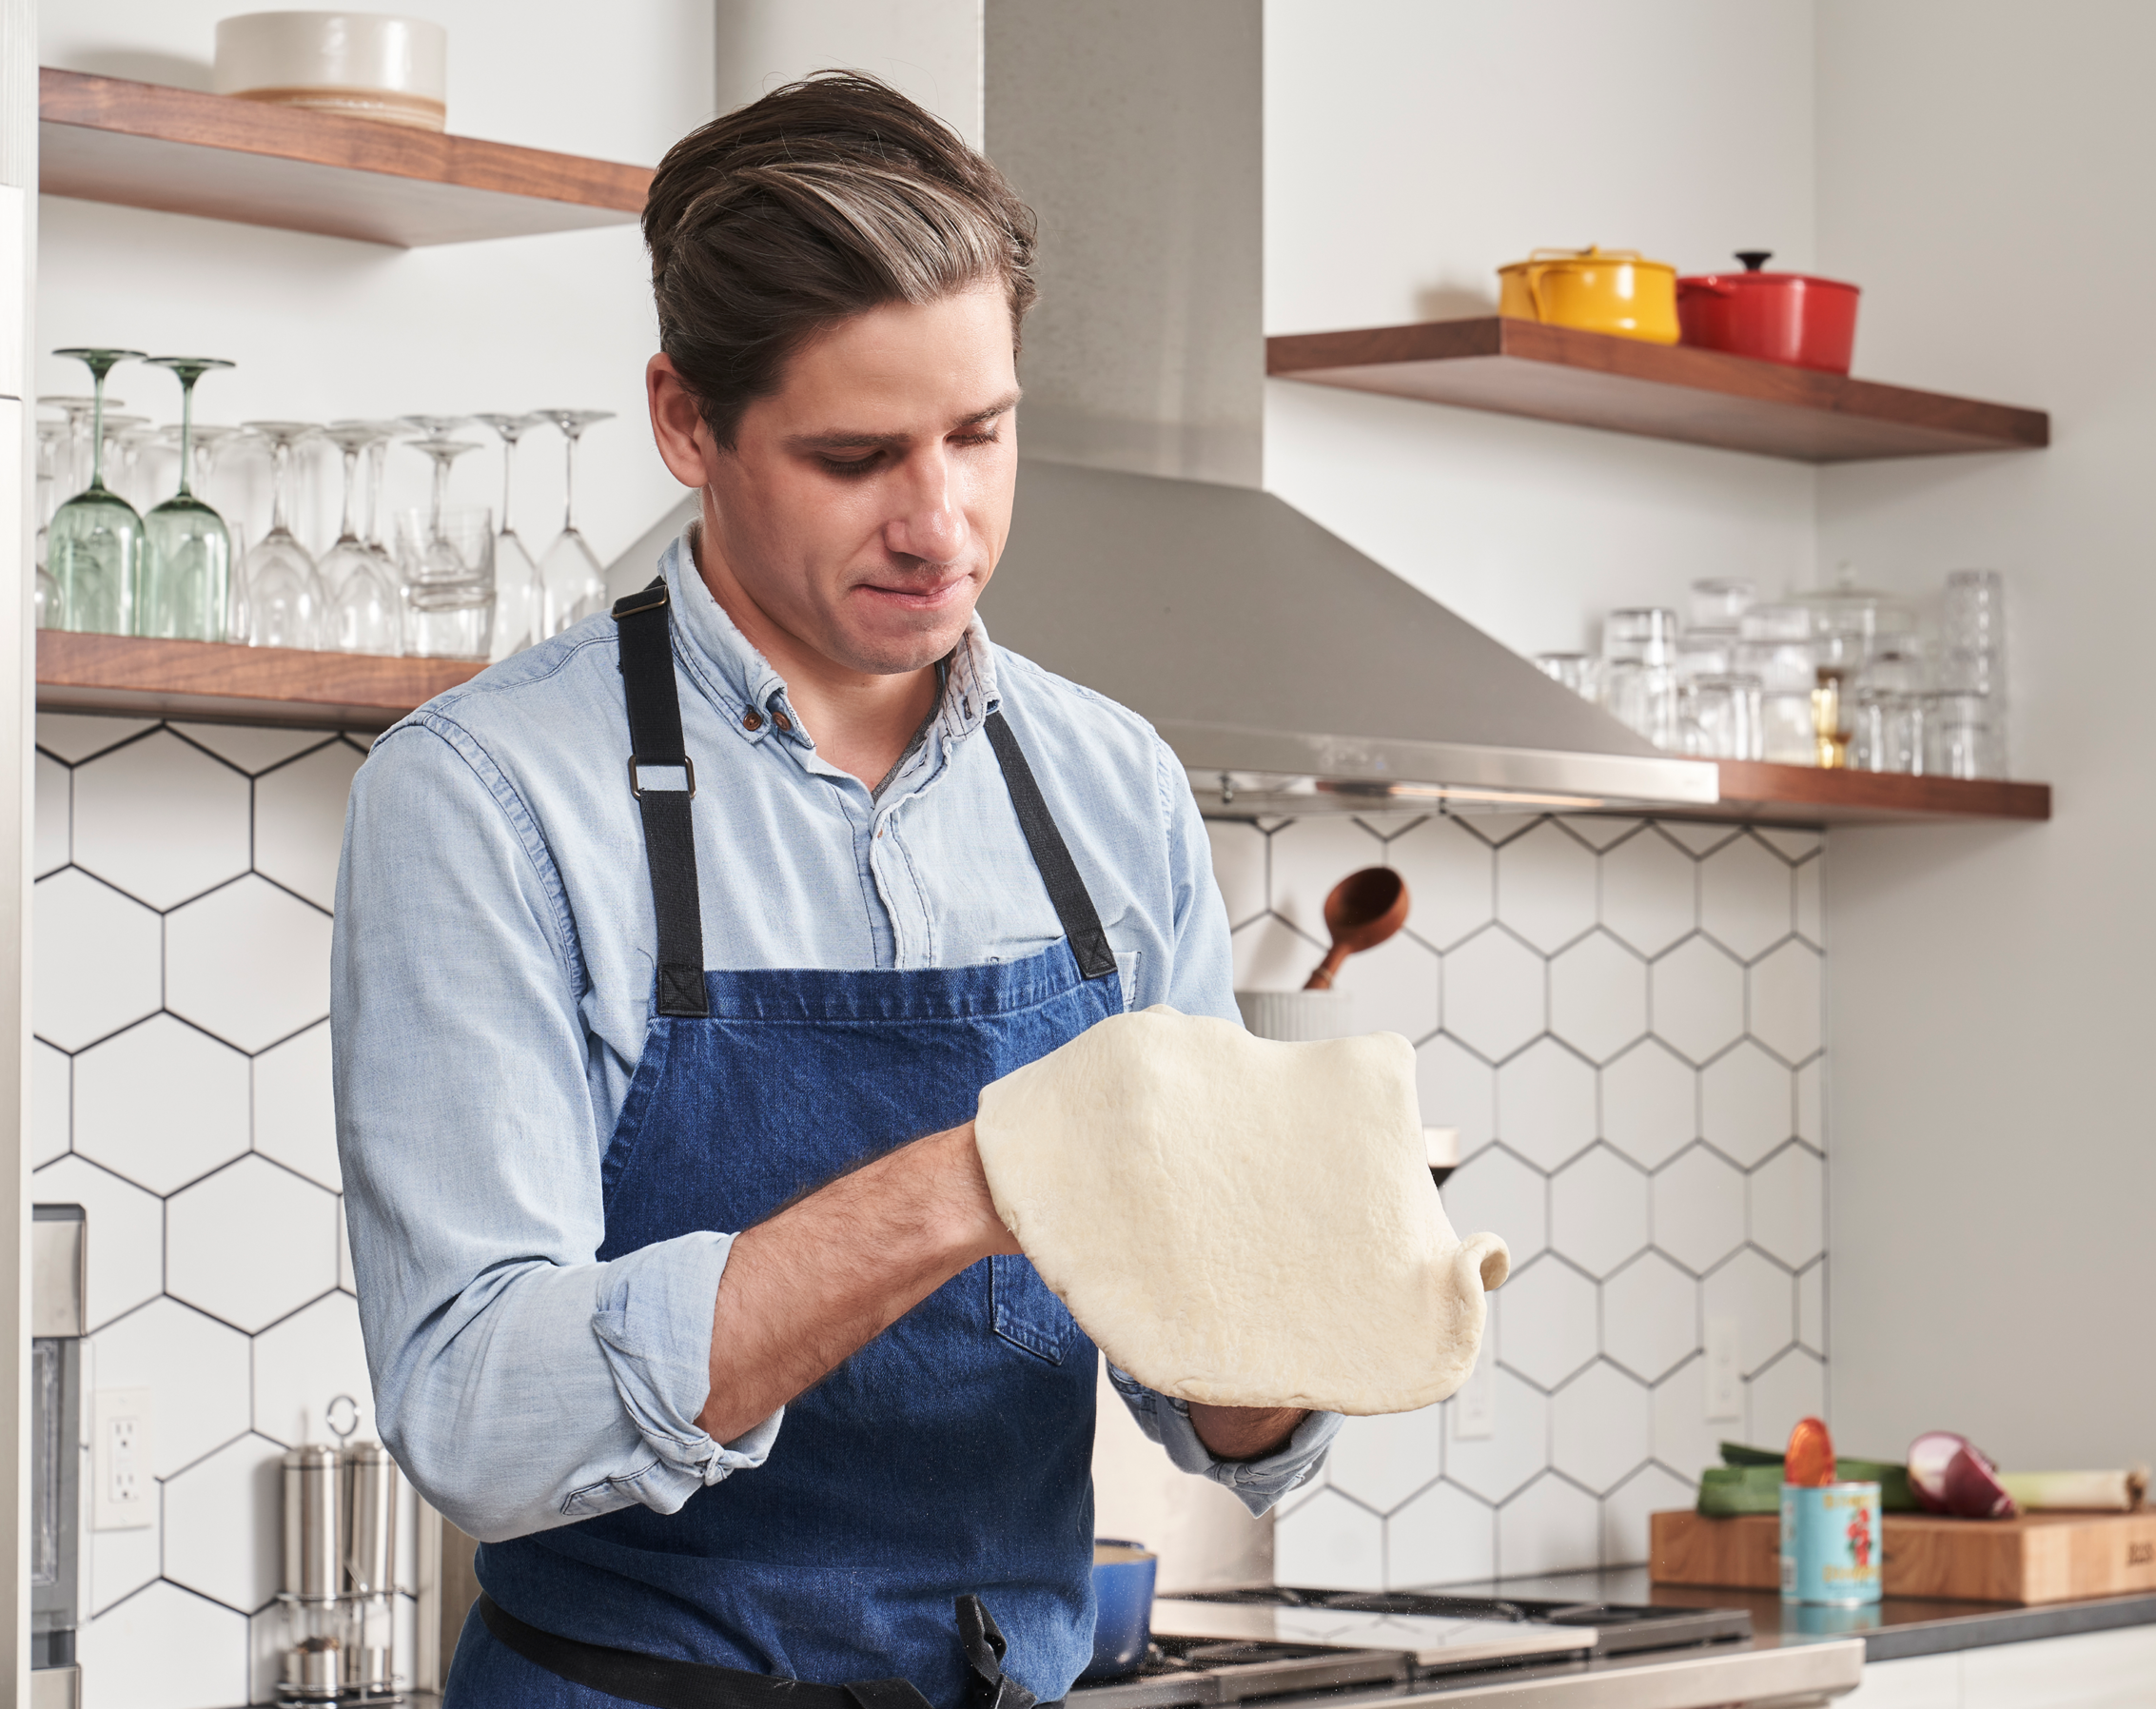
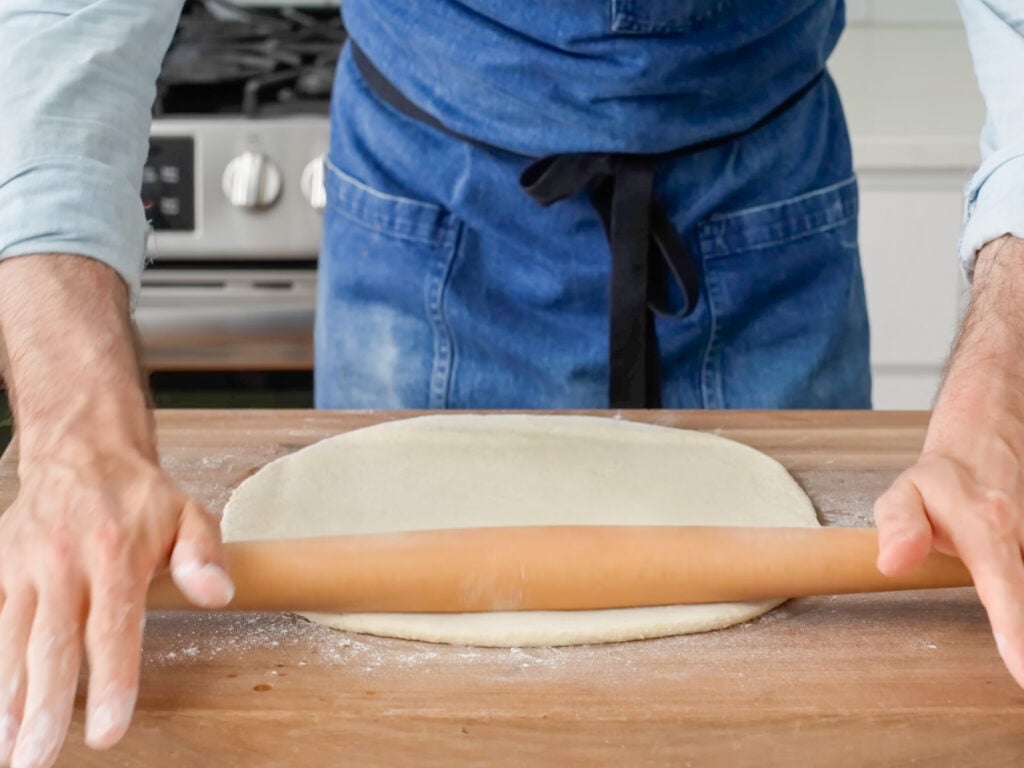
- Flour your work surface and turn the dough out onto it. Flour the top, give it a pat to degas, then roll it into an evenly round 14″/35cm piece. The dough has almost no snap-back so this should be easy.
TIP: If you hit a sticky butter spot, just dust with more flour and keep rolling. Some deep dish places press the dough into the pan by hand like focaccia, but I’ve found that overworks it and makes the crust chewy. Rolling is the move for the home cook.
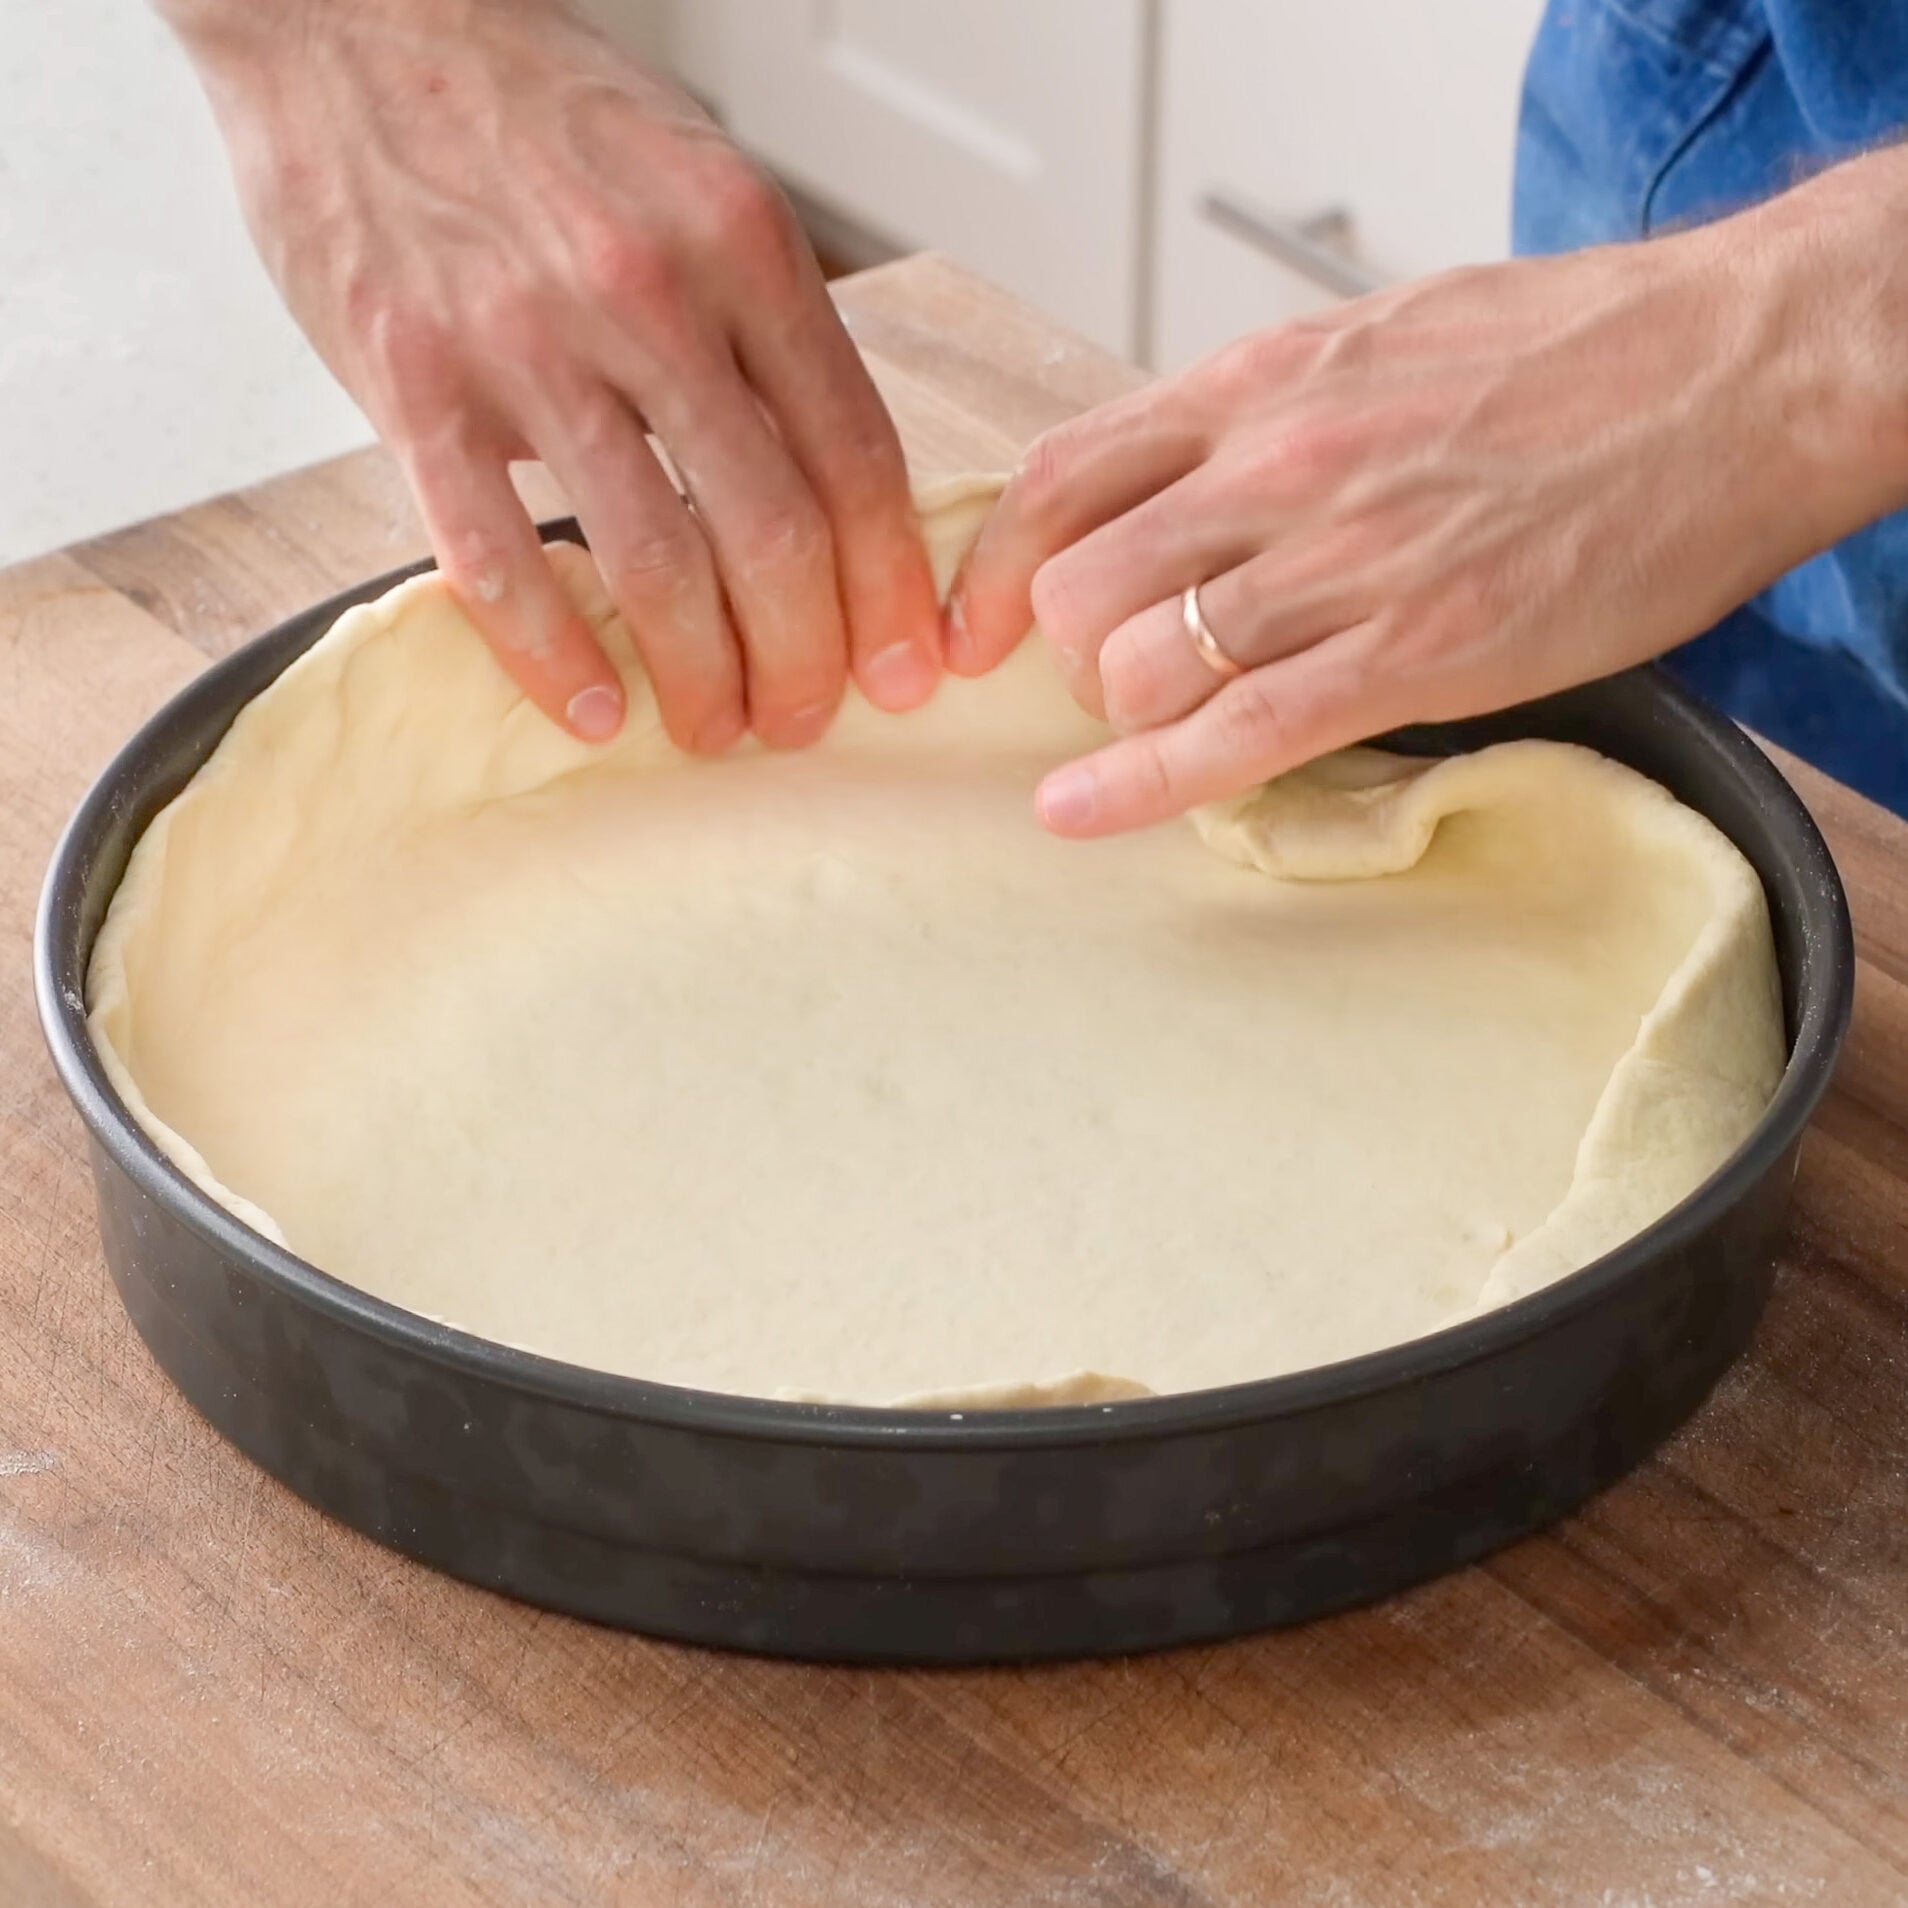
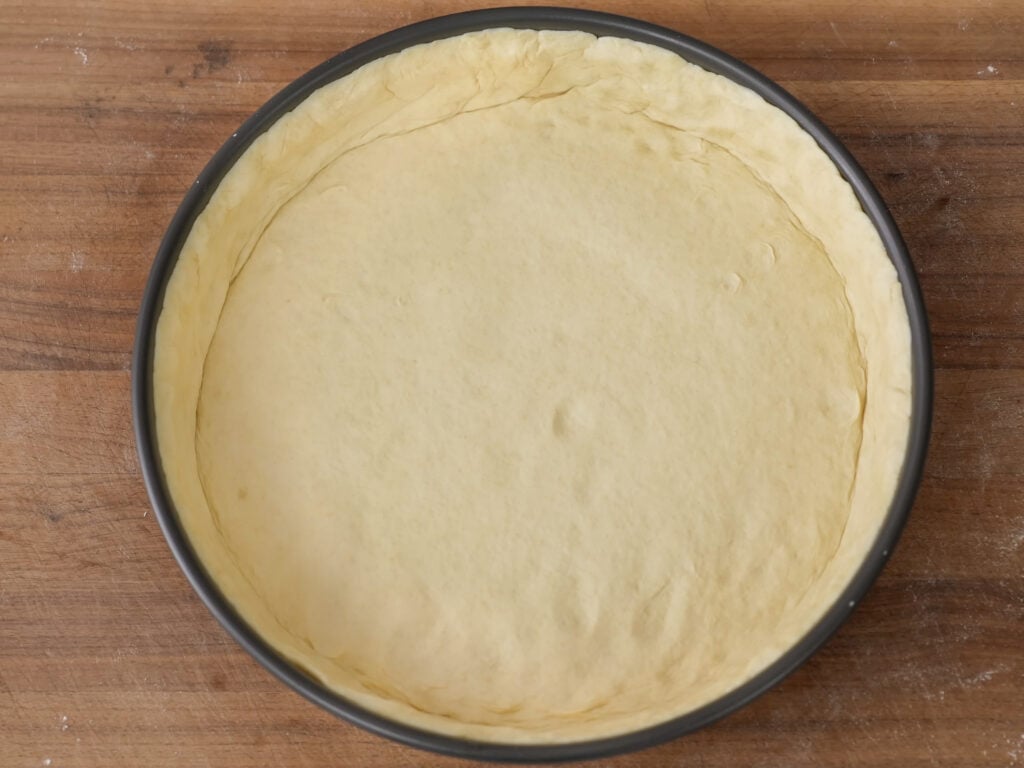
- Drape the rolled dough over your arm and lay it gently into the oiled pan. Press it into the bottom corner first to eliminate any air pockets (a steam bubble under the crust will soften it and deform the pizza). Then work the dough up the sides of the pan. Take a minute to even out the height around the perimeter. You can only fill the pizza as high as the lowest point of the crust, so a level edge means more toppings.
Assemble and Bake the Pizza
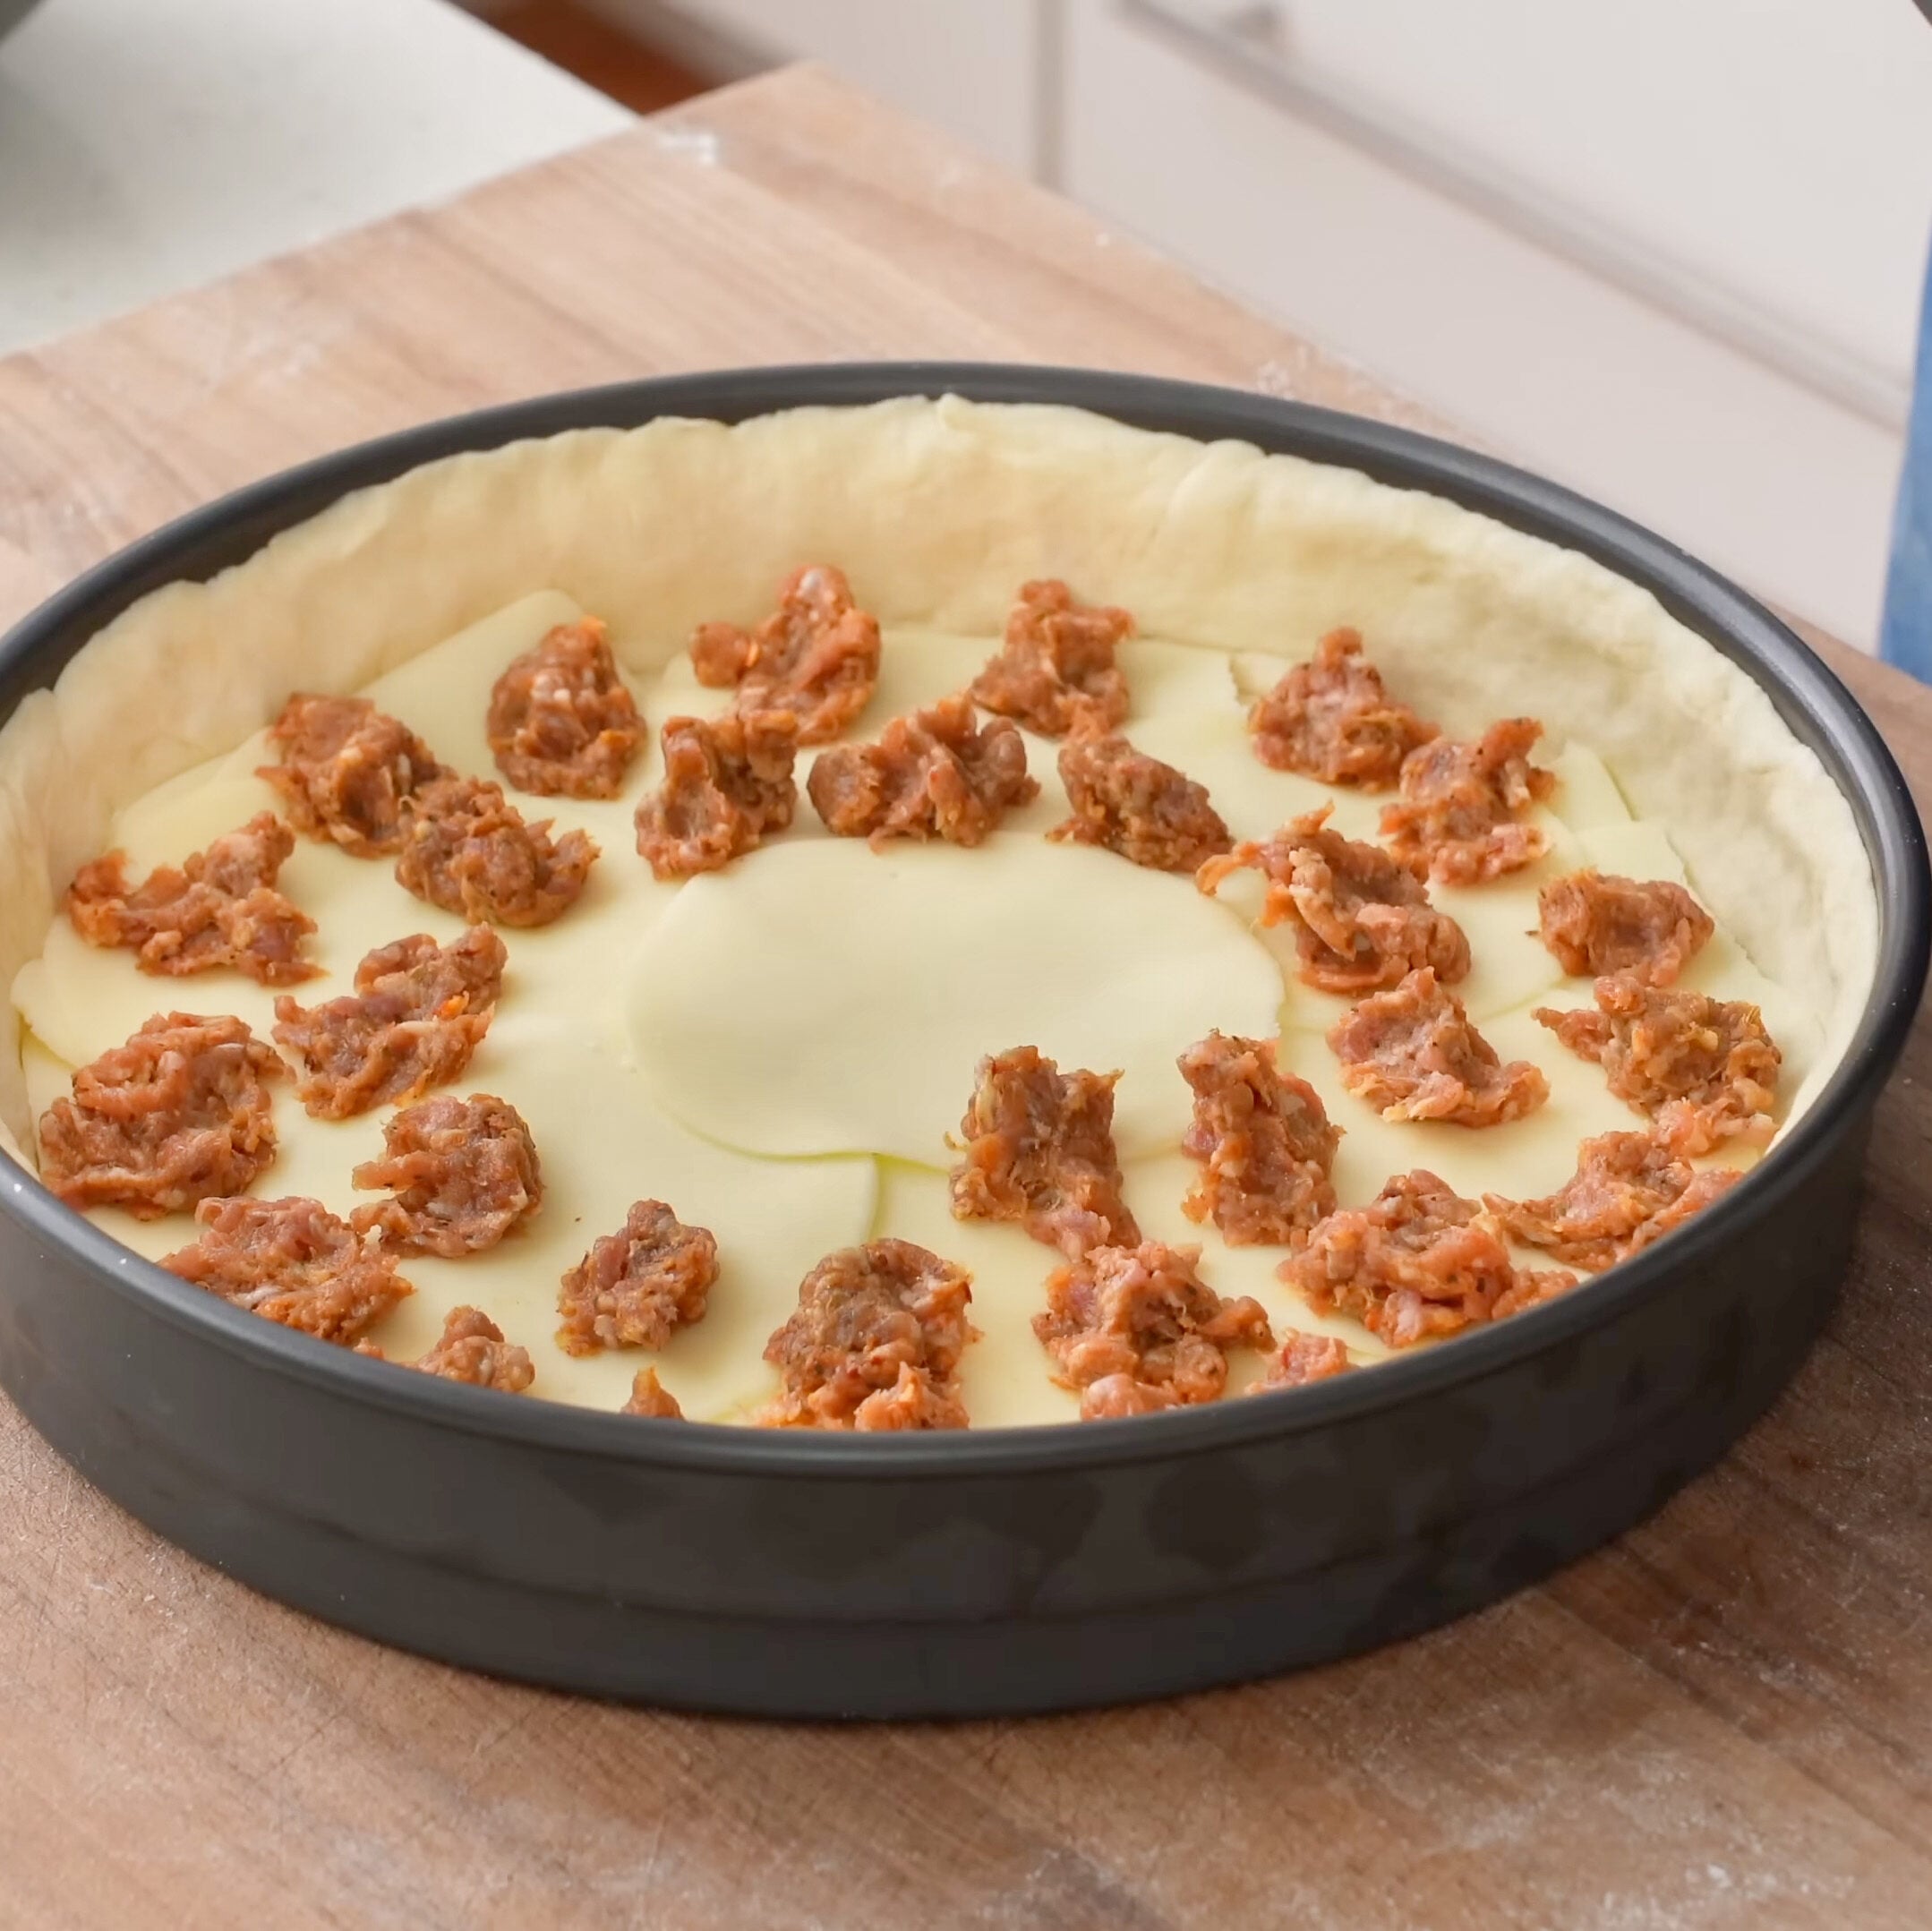
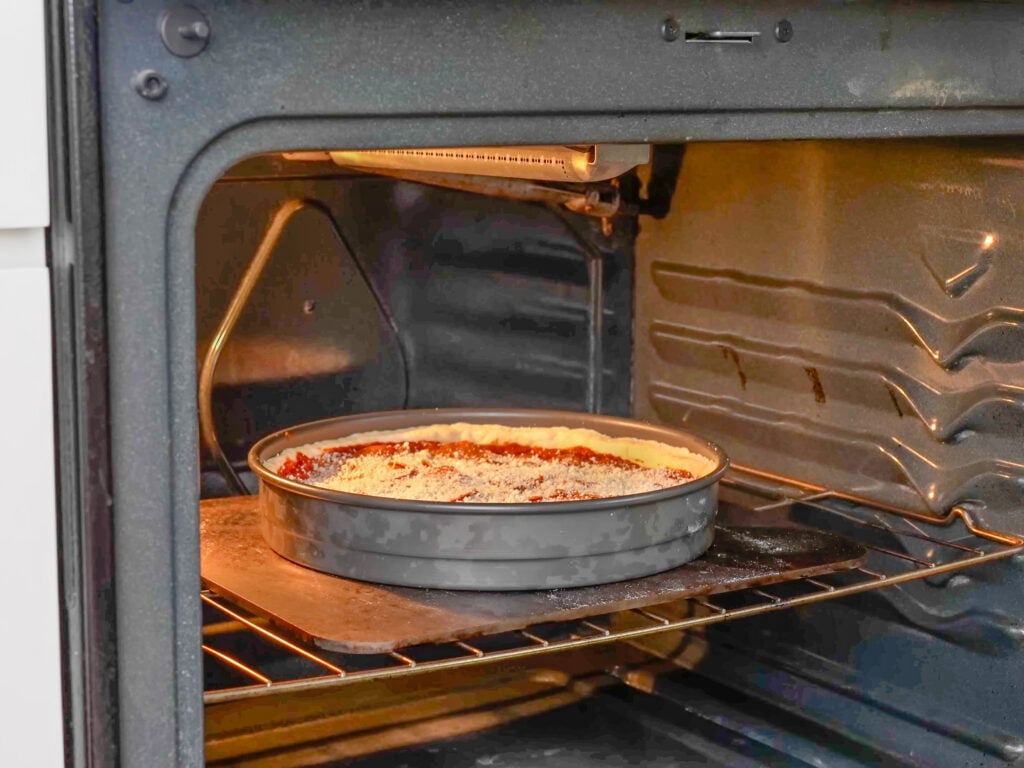
- Cheese: Shingle 12-15 slices of medium-thick full fat mozzarella across the bottom of the dough in two layers. Cover the whole surface. Then add 5-6 very thin slices of provolone on top of the mozz. Slices are easier than shredded here because they save you a prep step, and stay in cleaner layers as they melt.
- Sausage: Drop on the Italian sausage in quarter-sized pieces, spaced an inch or so apart. The full pound makes enough for two pizzas, so freeze half for the next time you want deep dish. Or go full Dad and use it all. More is more.
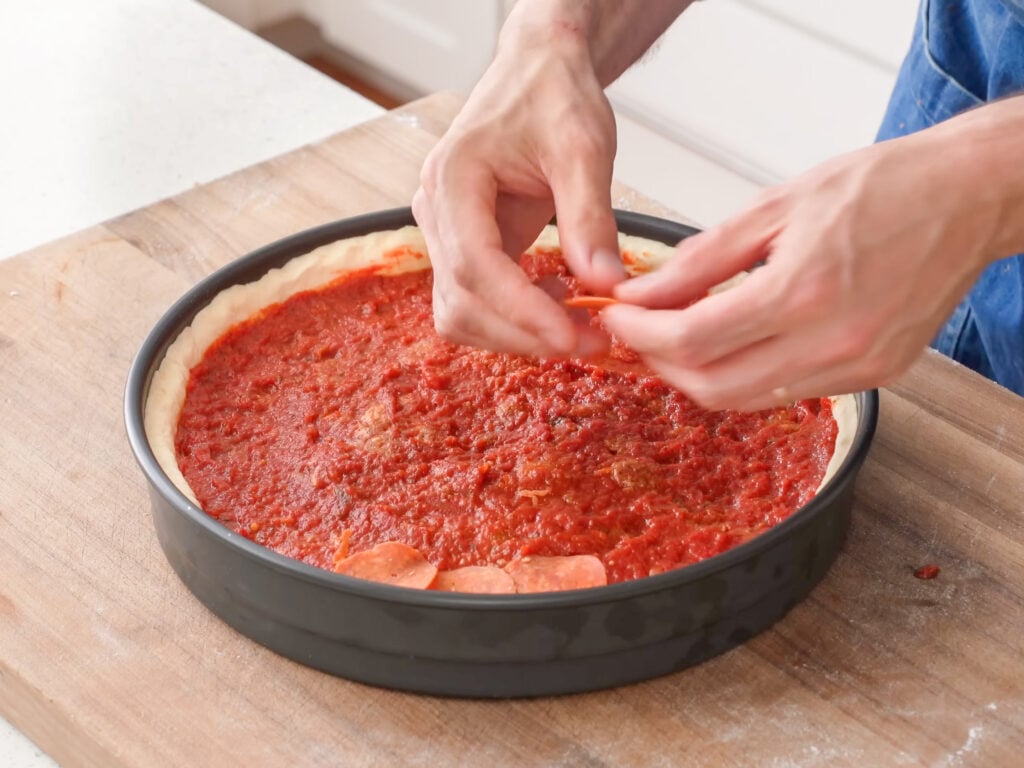
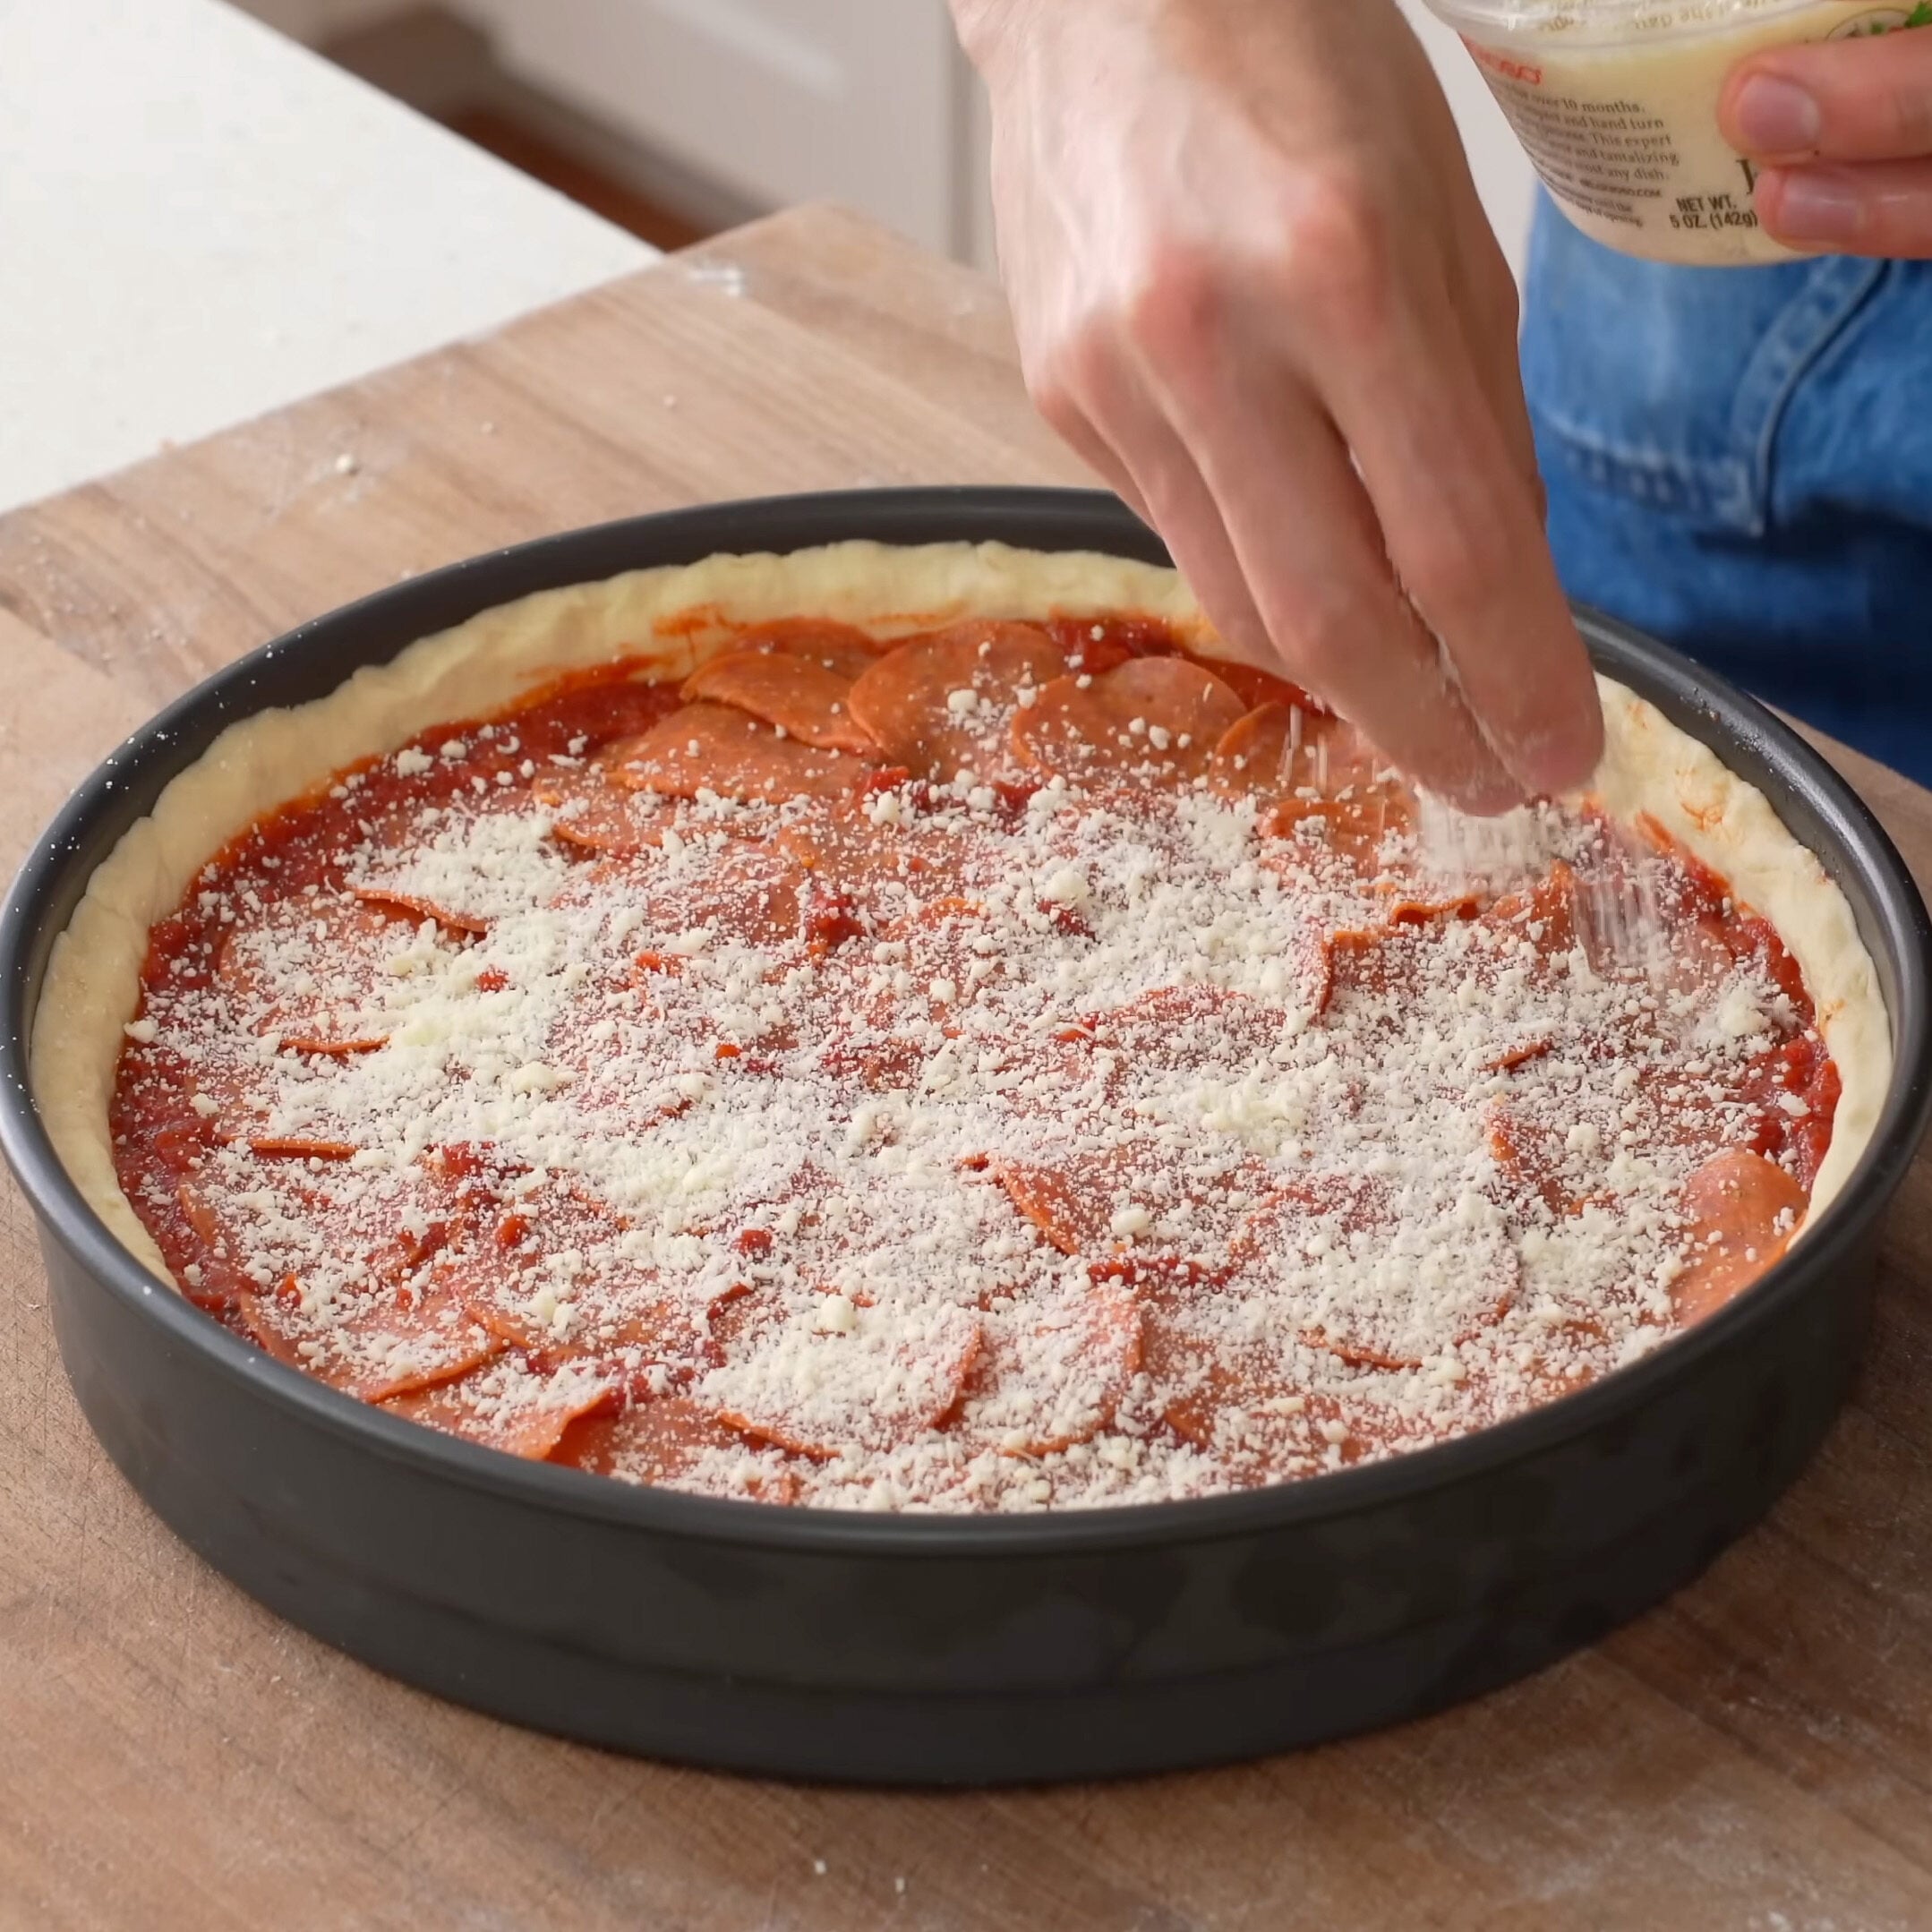
- Sauce: Spoon about half of the reduced pizza sauce on top of the sausage and spread it into an even layer about a half-inch thick. Don’t be shy. Finish with at least two generous handfuls of grated parmesan over the whole top.
- Bake: Load the pan into the preheated 425°F/220°C oven and bake for 40-45 minutes. The crust should be lightly golden brown around the edges, and the tomato/parm center should be reduced and roasty looking
Rest & Serve
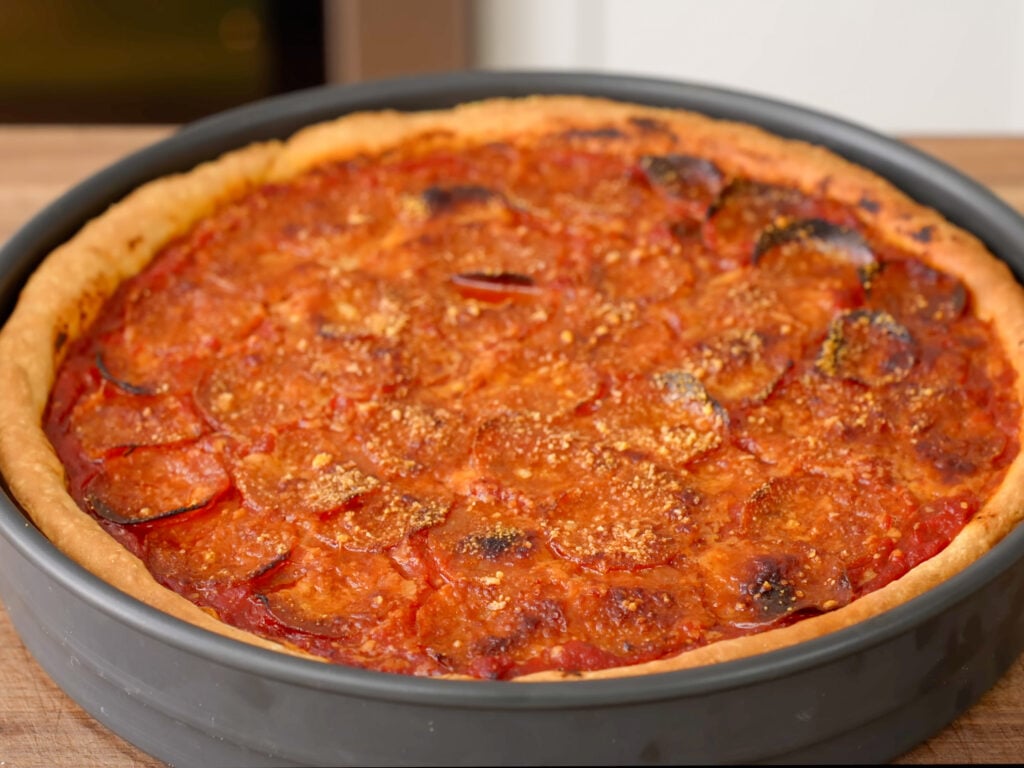
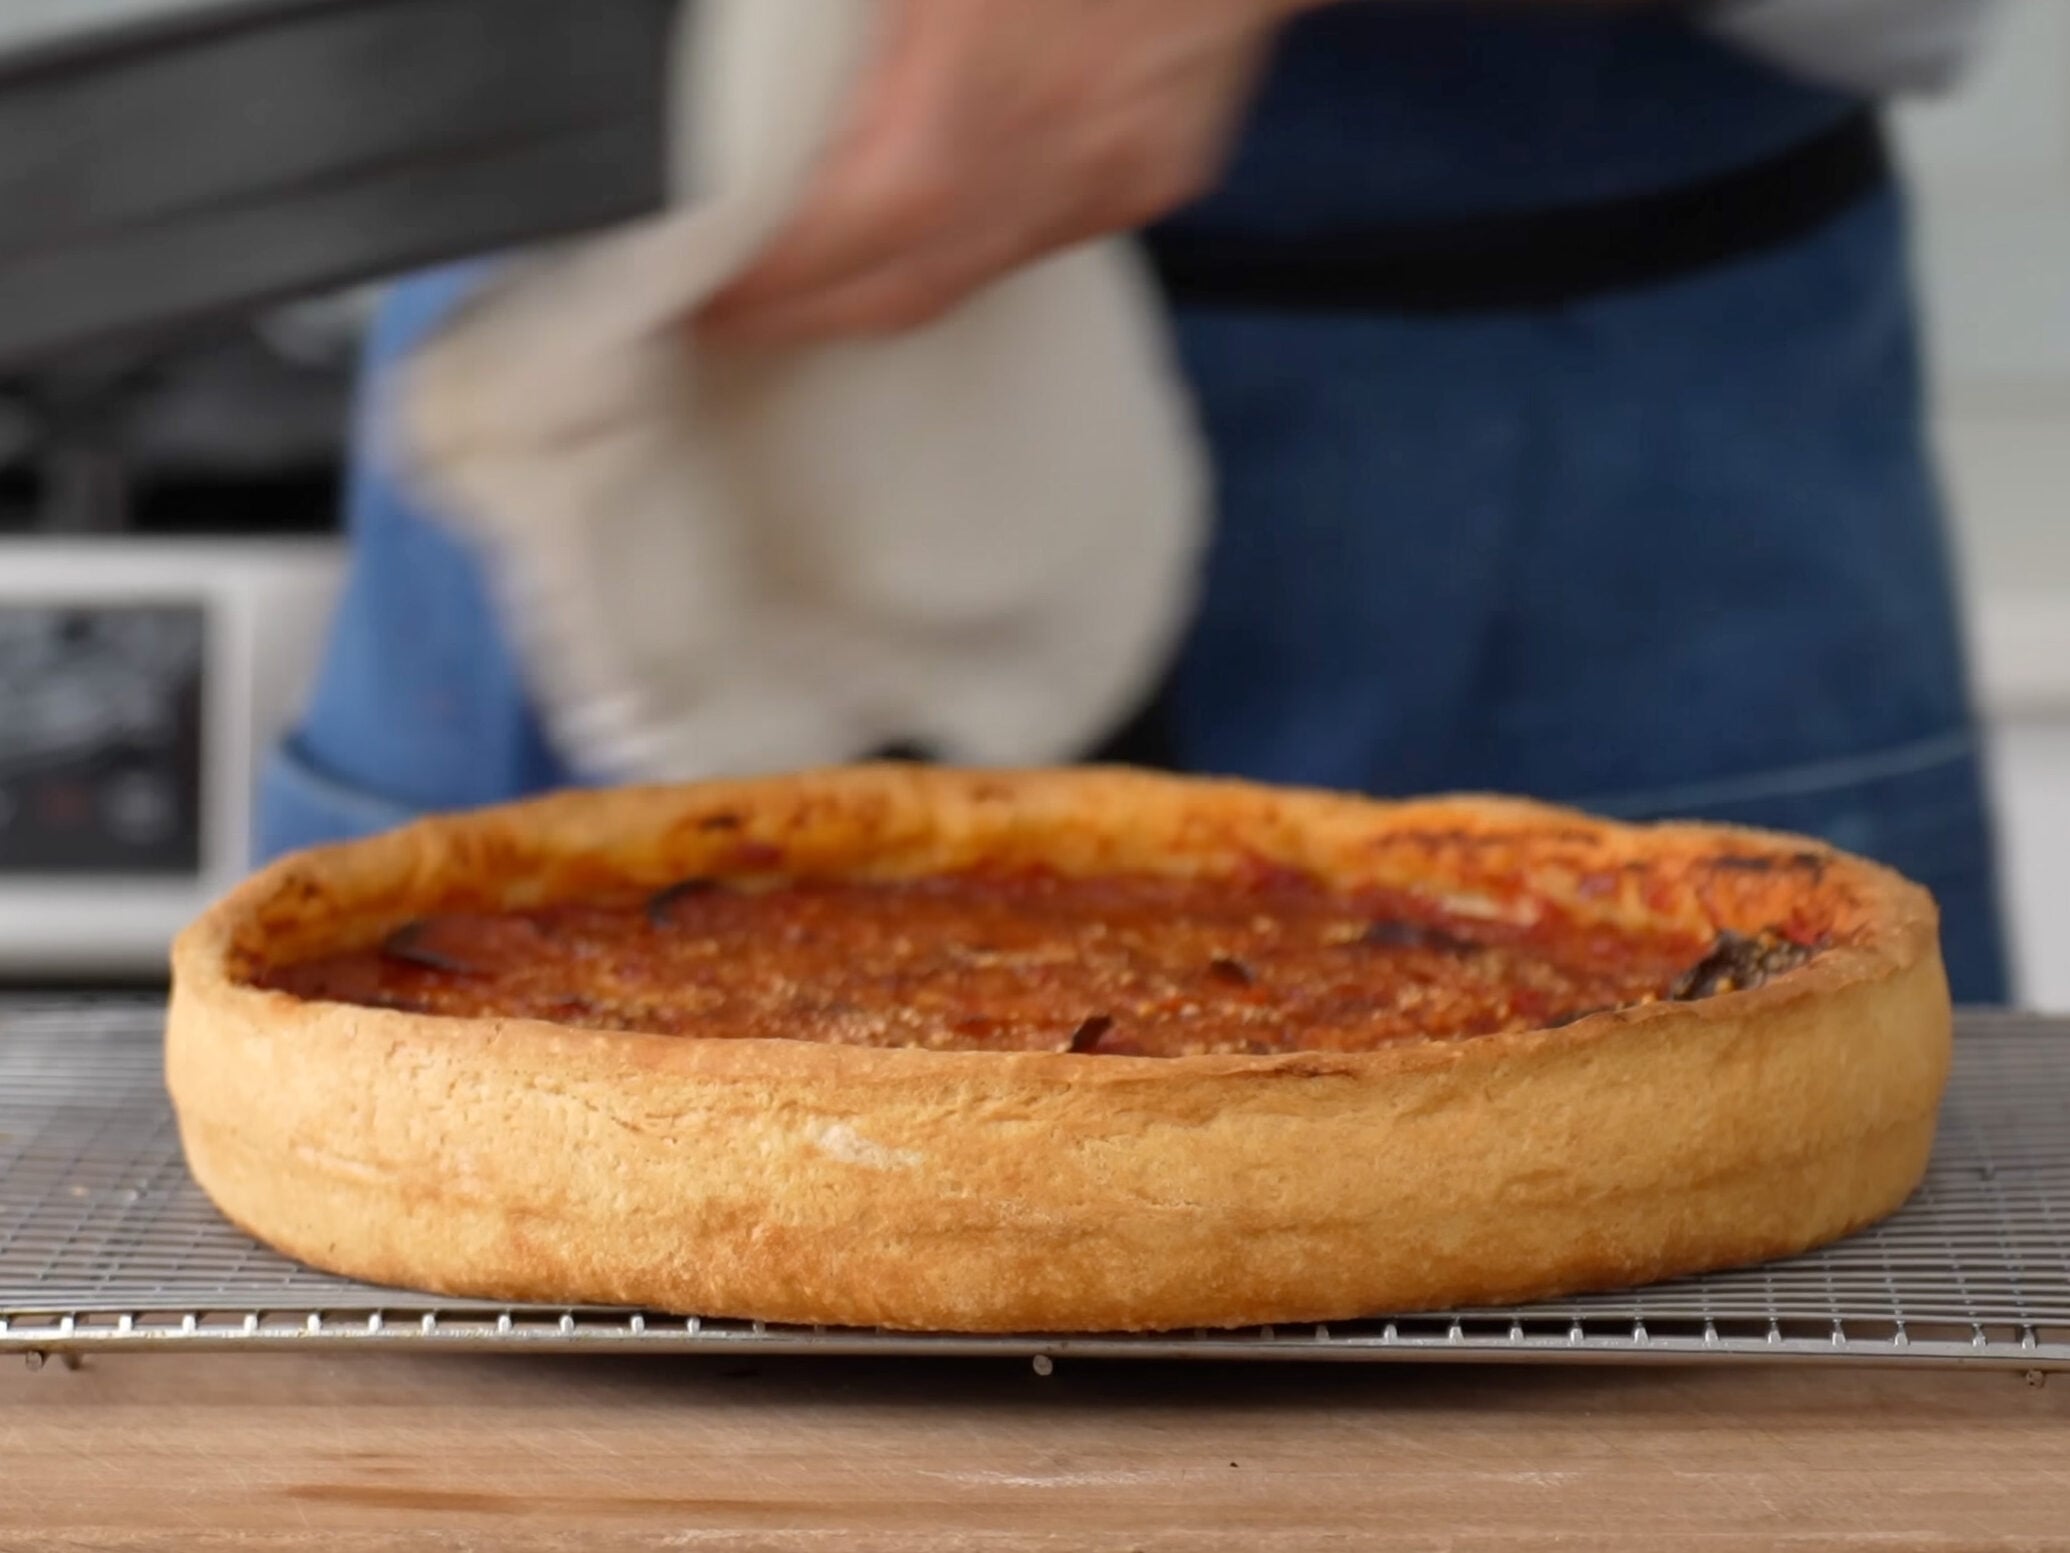
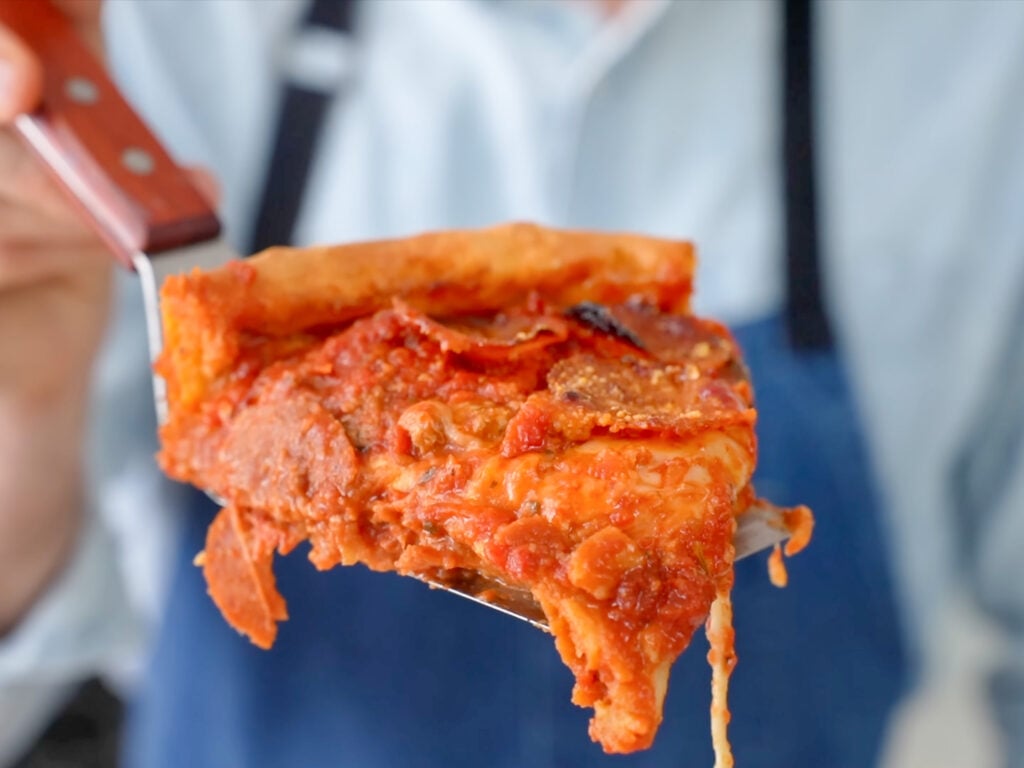
- VERY carefully slide the baked pizza out of the pan and onto a wire rack to cool for at least 10 minutes. This helps prevent the bottom crust from steaming itself soft in the hot pan.
- Plate a slice, hit it with even more grated parmesan, and eat it like a civilized son of the Midwest should…with a knife and a fork.
Storage & Make AheaD
The biggest make-ahead win is the dough. It actually NEEDS at least 12 hours of cold ferment and gets better up to 48 hours, so build that into your plan. The sauce and sausage can both be made up to 4 days ahead and held in the fridge, or frozen for 2-3 months. The recipe makes enough sauce and sausage for two pizzas, so freeze the spare half of each and your next deep dish becomes a dough-and-assembly job.
Leftover baked pizza keeps in the fridge 3-4 days.
Reheat it in a 375°F (190°C) oven for 10-12 minutes on a sheet pan. The microwave gives you a soft, sad crust.
MORE PIZZA RECIPES YOU’LL LIKE
- Chicago Thin Crust – Chicago’s REAL pizza. Thin crispy crust cut into squares.
- Detroit Pan Pizza – Crispy cheese edges and a bready crust
- New York Style Pizza – My closest at-home version of a chewy, foldable New York Slice
- 1 Hour Pan Pizza – A fast, cast iron pan pizza for nights when you need pizza NOW

Chicago Deep Dish Pizza (New and Improved Recipe)
Ingredients
DOUGH (makes 1 pizza):
- 375 g AP flour
- 10 g salt
- 40 g unsalted butter, cold, cubed
- 220 g warm water, 90°F/32°C
- 6 g instant yeast
SAUCE (makes enough for 2 pizzas):
- 50 g unsalted butter
- 100 g white onion, grated, 1 small or ½ large
- 20 g garlic, minced
- 28 oz crushed tomatoes, canned
- 28 oz whole peeled tomatoes, canned
- 75 g tomato paste
- 10 g salt
- 20 g sugar
- 2 g dried oregano
- 2 g dried basil
- 2 g crushed red pepper/chili flakes
HOT ITALIAN SAUSAGE (makes enough for 2 pizza):
- 1 lb 80/20 ground pork
- 7 g salt
- 10 g sugar
- 5 g paprika
- 3 g dried sage
- 2 g black pepper
- 2 g red chili flake
- 5 g garlic, grated or finely minced
- 3 g fennel seed, toasted, crushed
- 10 g red wine vinegar
BUILDING THE PIZZA:
- olive oil, extra virgin
- dough, recipe above
- 12-15 slices full fat mozzerella, sliced into a medium thickness
- 5-6 slices provolone, sliced thinly
- 225 g hot italian sausage, recipe above
- pepperoni, thinly sliced
- grated parmesan cheese
Instructions
DOUGH (makes 1 pizza dough):
- Dissolve the yeast into the warm water.
- Add flour, salt, and cold butter to a food processor and spin for about 15 seconds or just until butter is mixed into the flour then stream water/yeast mixture into the flour/butter in the food processor while it's spinning.
- Spin for 45-60 seconds until you have a mass that has come together into a mass that’s somewhere between dough and a pie crust.
- Transfer the dough into a bowl, then round it into a ball shape, tucking the ball up under itself several as you go to create some tension across the surface of the ball.
- Cover the dough with a lid or plastic wrap and allow it to ferment at room temperature for about 30 minutes.
- Refrigerate, covered, for 12-24 hours.
SAUCE (makes enough for 2 pizzas):
- Heat a sauce pan over medium high heat. Add in butter and allow to mostly melt, then add onion and garlic, cook for 4-5 minutes, stirring occasionally, until fragrant and soft.
- While the onions cook, in a large bowl or container, combine the tomato products and use your hands mix and squish the whole tomatoes into smaller ½"/1.5cm pieces. You could also blitz a few times with an immersion blender if you prefer, but the hand method gives you more control and creates a nice rustic texture.
- Into the tomato mixture, stir in salt, sugar, oregano, basil, and chili flakes.
- Back to the onions/garlic on the stove… When the onions and garlic have softened and have taken on some color, add the tomato mixture into the sauce pan. Lower heat to medium and reduce the sauce by 40-50% which should take 15-20 minutes, stirring occasionally. When done, the sauce should be quite thick and hold a bit of a trail when you pass a spoon through it.
HOT ITALIAN SAUSAGE (makes enough for 2 pizzas):
- Combine all ingredients and mix well until combined and slightly tacky.
BUILDING THE PIZZA:
- Remove dough from the refrigerator and allow to come to room temperature for about 30-45 minutes before rolling it out. When it's ready to roll it should have increased in size by about 30%. If it hasn't, proof a bit longer at room temperature before rolling out.
- Preheat oven to 425°F/220°C prep your ingredients.
- Add a very generous amount of olive oil to your pizza pan, spreading it around to coat the bottom and sides of the pan.
- Flour your work surface and flip dough out onto the work surface, flouring both sides of the dough. Pat a bit to degas, then use a rolling pin to roll it out into a 14"/35cm round, adding a bit more flour to any areas that are sticking to the rolling pin along the way.
- Flip the rolled out dough over one hand/arm then gently lay it into the oiled pizza pan, pressing the dough up the sides of the pan and into the corners, ensuring there aren't any air bubbles underneath.
- Shingle on 12-15 slices of the medium-thick full fat mozzarella, followed by 5-6 slices of provolone.
- Next add about half of the italian sausage (8oz) in quarter-sized pieces.
- Spoon on half of the sauce then spread into an even layer to cover.
- Top that with 25-30 slices of thin pepperoni.
- Finally, finish with a generous amount of grated parmesan.
- Bake at 425°F/220°C for 45 minutes.
- After baking, remove pizza from the pan and allow to cool on a wire rack for about 10 minutes to keep the crust crisp.
- Return to the pizza pan to cut (this keeps it warmer a little longer) or cut it on a cutting board for cleaner slices.
- Serve and garnish with more parmesan.
 Like this? Leave a comment below!
My Go-To Gear For Chicago Deep Dish
Frequently Asked Questions
You can, but you shouldn’t. Twelve hours in the fridge is the absolute minimum if you want the dough to actually taste like something and to crisp up properly. A same-day dough will bake into a soft, doughy crust thats more like a casserole shell than a real deep dish bottom. If you only have a few hours, do an extended room-temperature proof and accept that the final crust wont be quite there.
A 12″ cast iron pan will work great as long as its well seasoned. The Lloyd is my preference because its very close to what most actual Chicago pizzerias use or in some cases exactly what they use. But cast iron will get you 80 percent of the way there.
You can. I used shredded in my 1.0 deep dish recipe and it works. But avoid pre-shredded bagged mozzarella. The anti-caking coating keeps it from melting cleanly. Shred a block of full-fat mozz yourself if you go this route.
If you make this Chicago deep dish, Id love to see it. Tag me on social media or drop a comment below. Especially if you tried both versions and want to weigh in on 1.0 (which you can only find on YouTube here) vs this new and improved 2.0.