
One Pot Lasagna (No Boiling, No Baking Dish)

Updated Nov 04, 2026, Published Oct 25, 2026
This post contains affiliate links. Please see our disclosure policy.
This lasagna has all the payoff of the more laborious classic version but can be made in about half the time and half the effort. It shouldn’t work, but it somehow does.
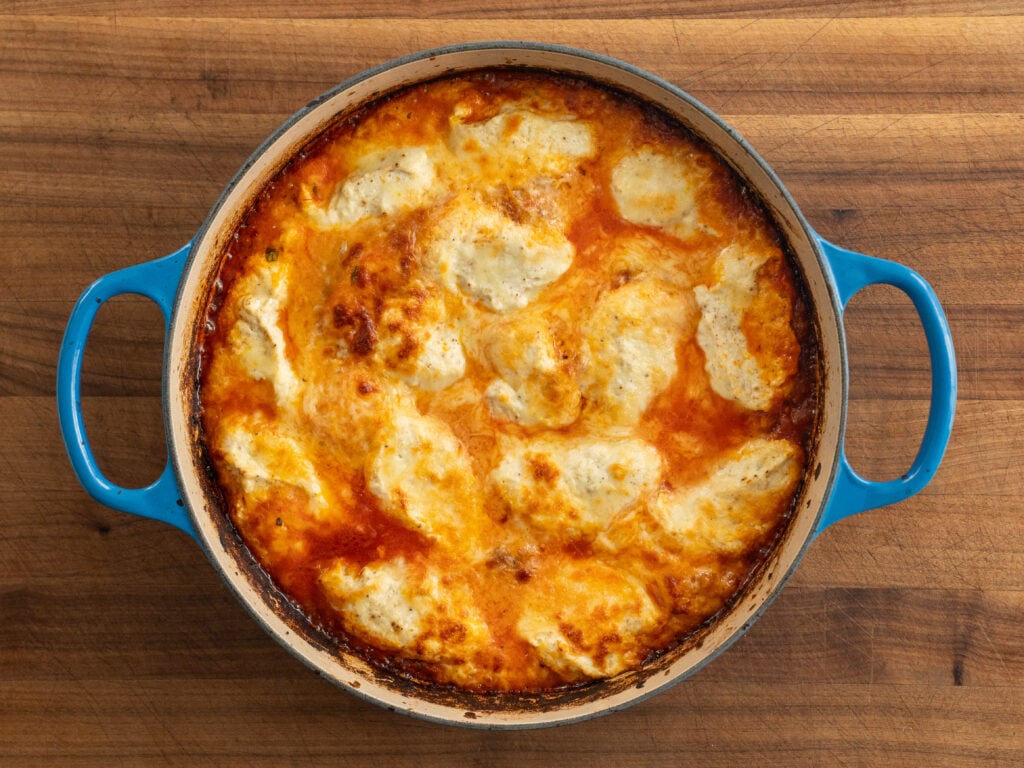
Why This One Pot Lasagna Recipe Delivers
Traditional lasagna is one of those foods I love eating but don’t love making because it takes forever and makes a huge mess. For that reason, I make it maybe once a year. Cooking the whole thing in one pot cuts about 60 minutes off the process and eliminates 3 or 4 steps and many dirty dishes.
Instead of boiling and carefully layering noodles, I break no-boil lasagna noodles into smaller pieces and tuck them into the meat sauce. Somehow as everything cooks, they settle into surprisingly clean layers with meat sauce in between. And instead of meticulously layering ricotta throughout the lasagna, I just put it on top. Honestly, it doesn’t change the eating experience much and because the ricotta is exposed, it gets some nice browning in the oven.
The whole thing is shockingly good. Usually, shortcuts like this come with some huge tradeoff in quality. This one really doesn’t.
Brian’s Pro Tips
Break Down The Ground Meat
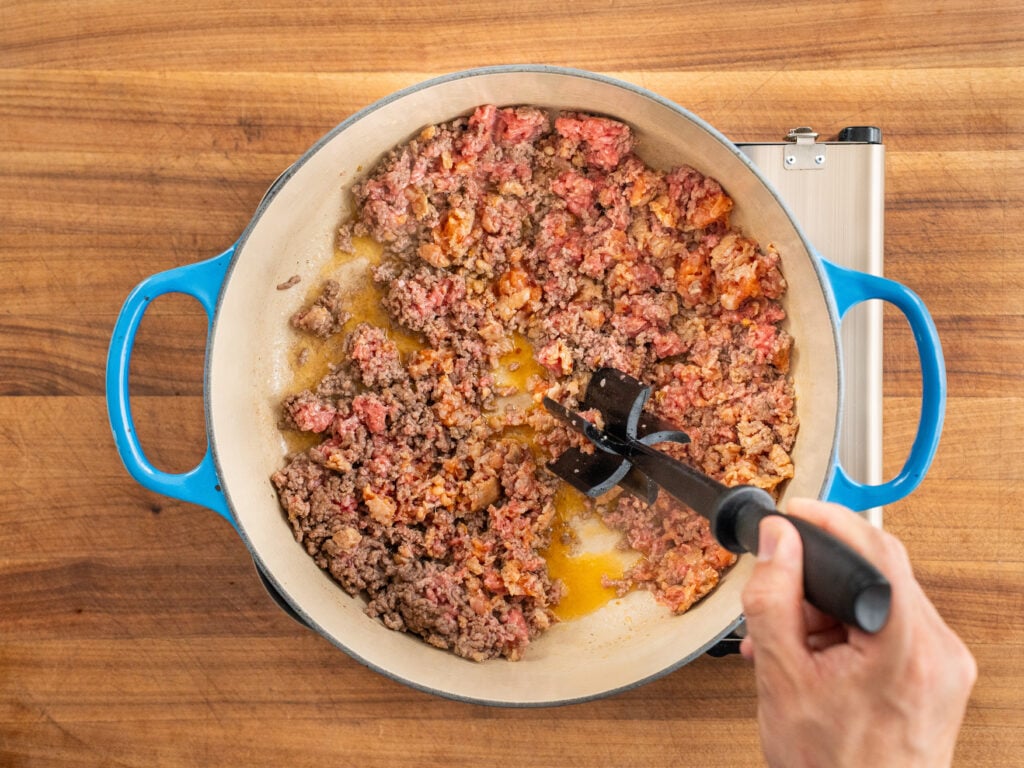
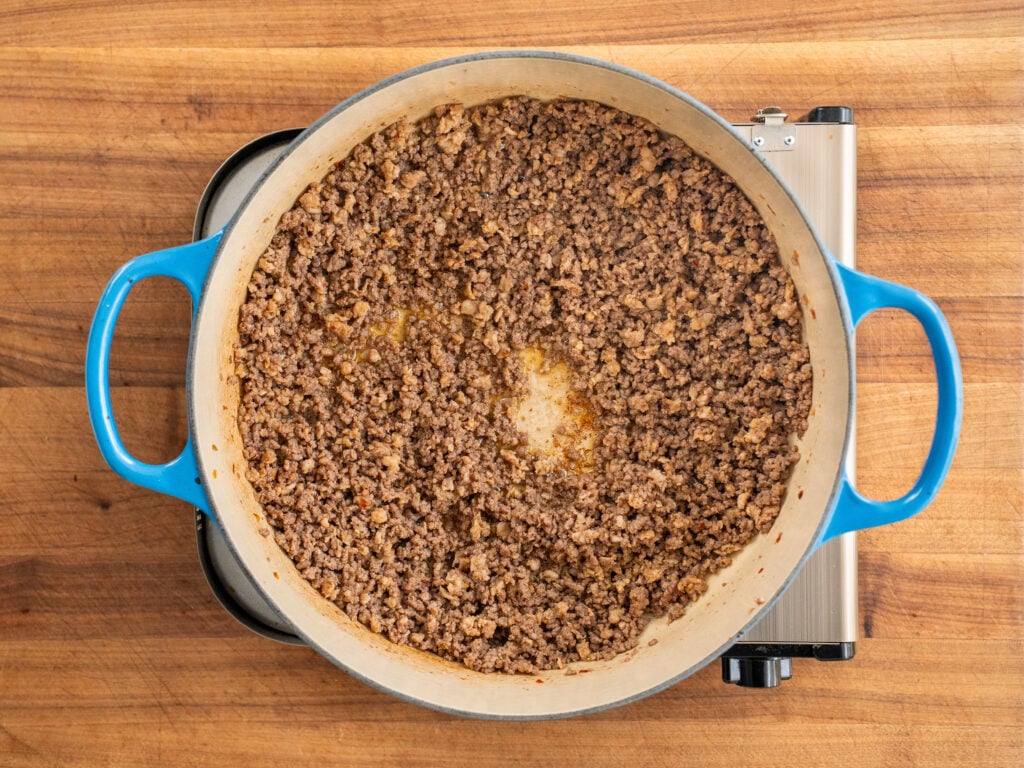
You want the meat broken down to about the size of a lentil or smaller. Most people stop way too early. Big chunks of ground meat can eat dry and tough. They also prop up the noodles which keeps the lasagna from settling into clean, sliceable layers. Small crumbles tuck in between the noodles, so you get meat in every bite and the slices hold together better.
Trust the Thin Sauce
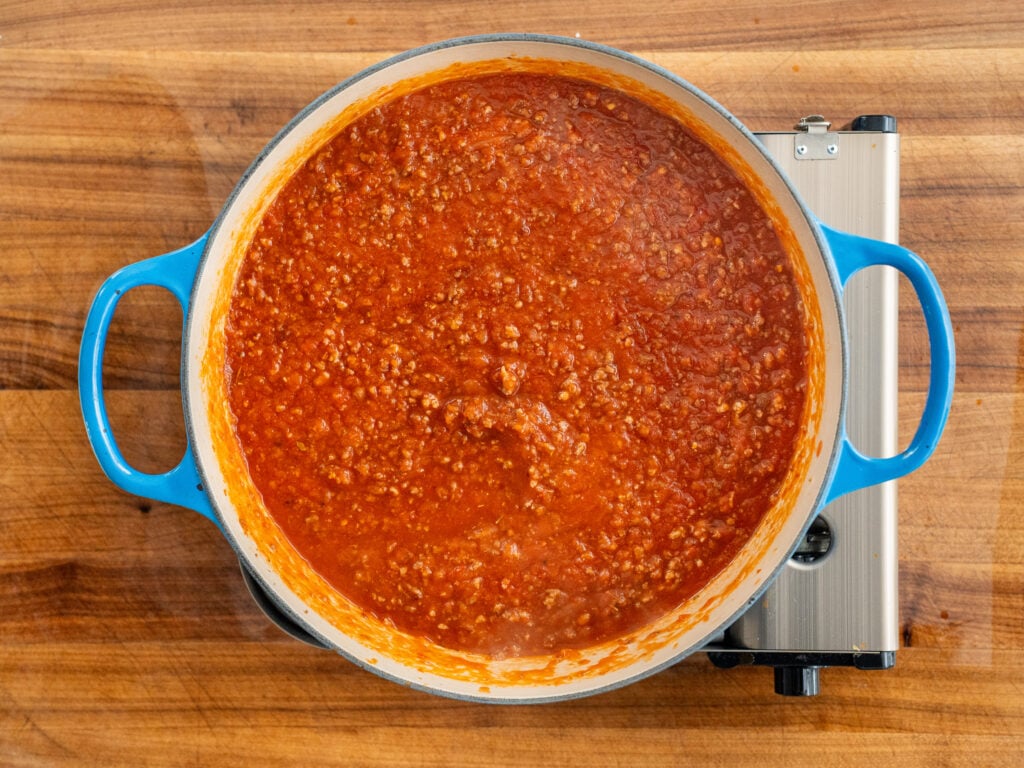
Once the tomatoes and water go in the sauce will look a little too loose. That’s correct. The no-boil noodles cook in this liquid and will soak up a lot of it over the 30 minute bake.
Rest It Longer Than You Want To
I would not touch this lasagna for AT LEAST 20 minutes. If you cut it when it’s still super hot, it’ll fall apart and turn into a pile of slop. That slop will not be very pleasurable to eat AND it will burn your mouth. I like to wait a solid 30 minutes personally, but I know people be hungry. Your patience will be rewarded.
Key Ingredient Notes & Substitutions
Find the full list of ingredients and amounts in the recipe card below.
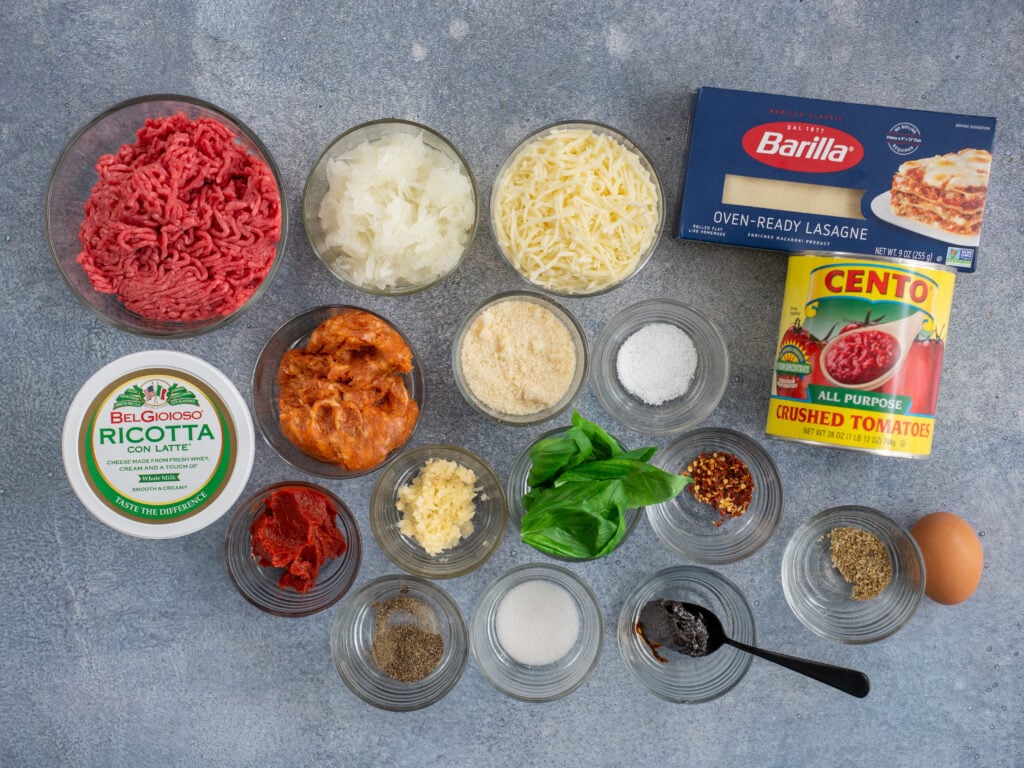
No-Boil Lasagna Noodles
Oven-ready lasagna noodles are thinner than the regular kind and designed to cook right in the sauce. They’re also way more forgiving than you’d think and pretty hard to overcook.
Whole Milk Ricotta
I prefer whole milk because part-skim ricotta can get a little grainy when baked at high heat. The best ricotta is either homemade or bought fresh from the deli counter at a good Italian market. But since this recipe is really optimized for ease, I think it’s totally fine to use regular grocery store ricotta here. I’m using BelGioioso.
If you want to make your own homemade ricotta, check out my recipe for it in my Classic Lasagna recipe post.
Better Than Bouillon – I like to sneak this into my Italian meat sauces to boost meatiness. It’s nice to have but not 100% necessary if you don’t have any.
If you want something close I would sub out the 550g water for boxed beef stock.
How To Make One Pot Lasagna
Below are my detailed, step-by-step instructions to make this recipe. A condensed version including volumetric measurements for all ingredients can be found in the recipe card below.
Preheat the Oven and Prep Everything
- Heat the oven to 400°F / 205°C with a rack set low enough to fit your Dutch oven with the lid on.
- To prep your ingredients, pull 225g (8 oz) of hot Italian sausage out of its casings (if needed). Grate 200g (1 medium) yellow onion on a box grater, mince or press 20g of garlic (about 5 cloves) and chop 10g of fresh basil. Crack 225g (8 oz) of oven-ready lasagna noodles into roughly 2-inch pieces.
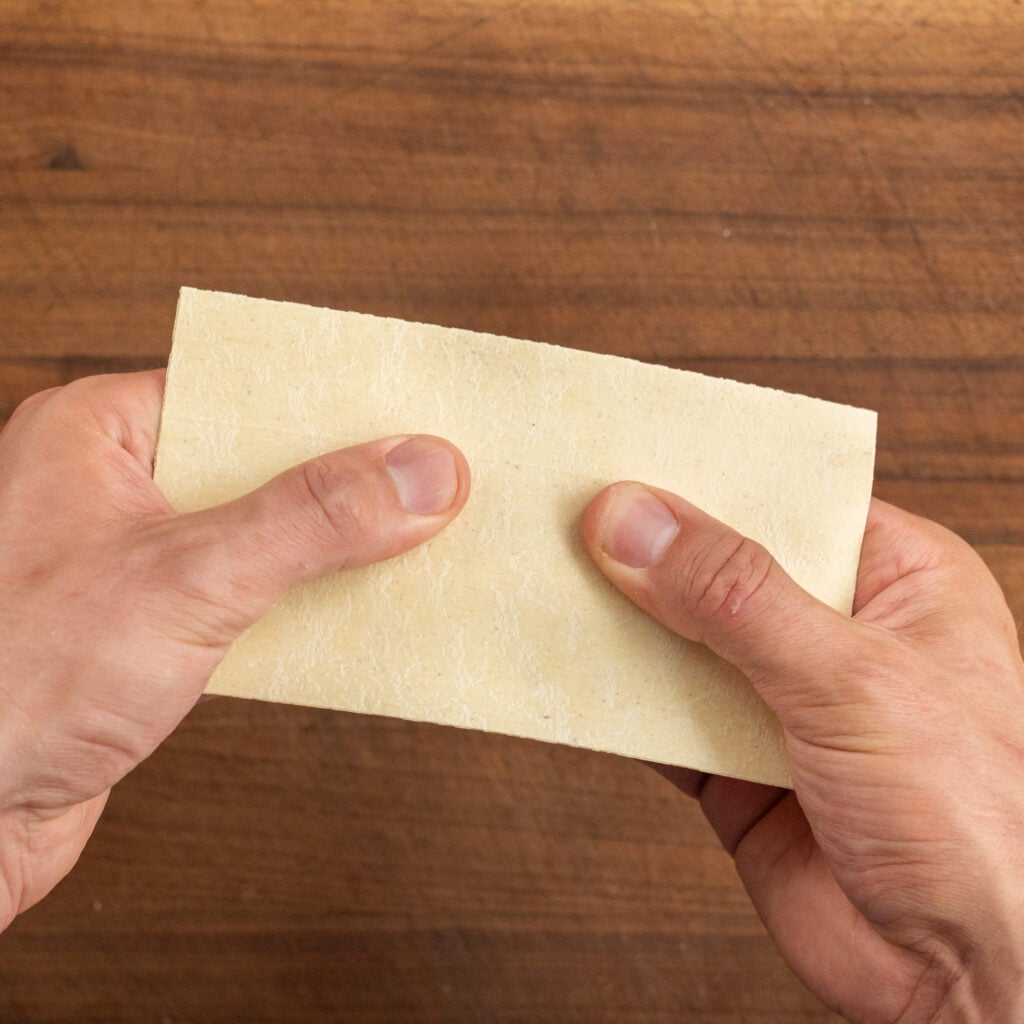
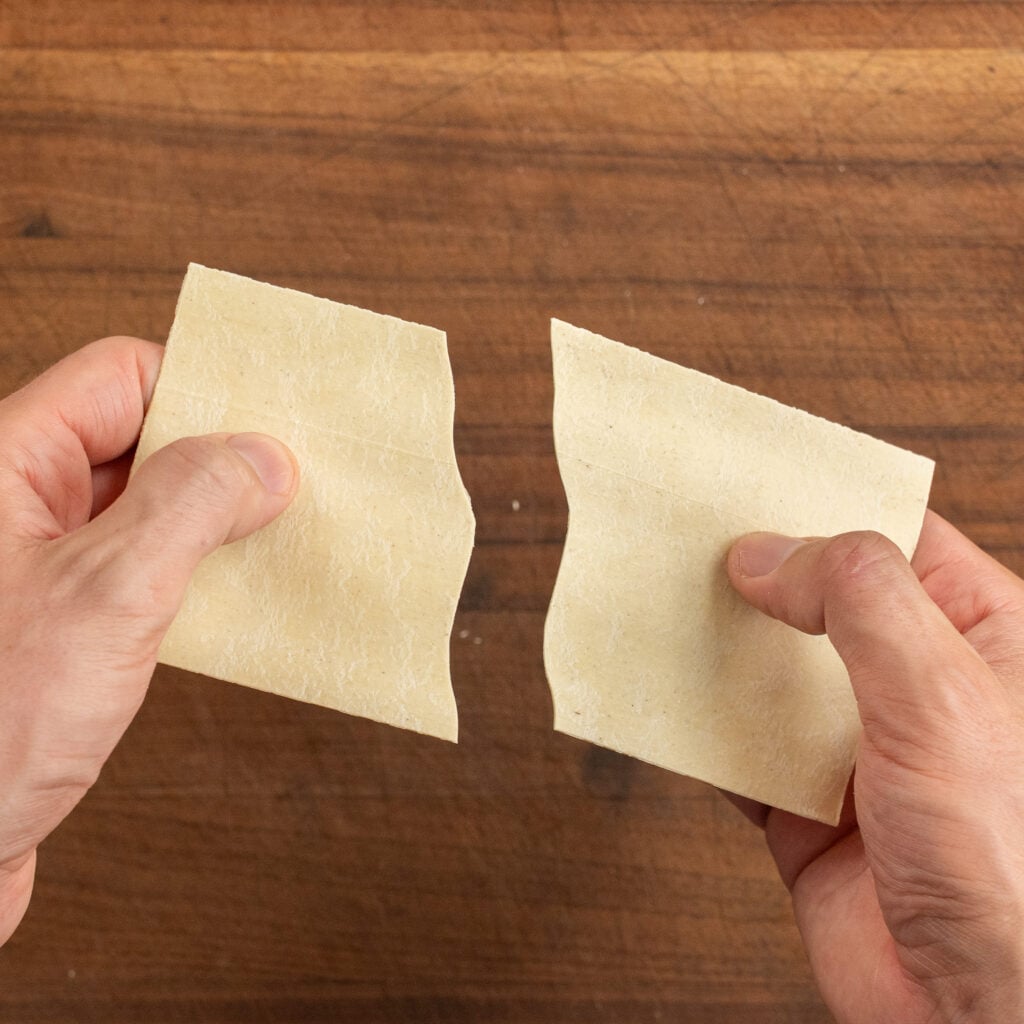
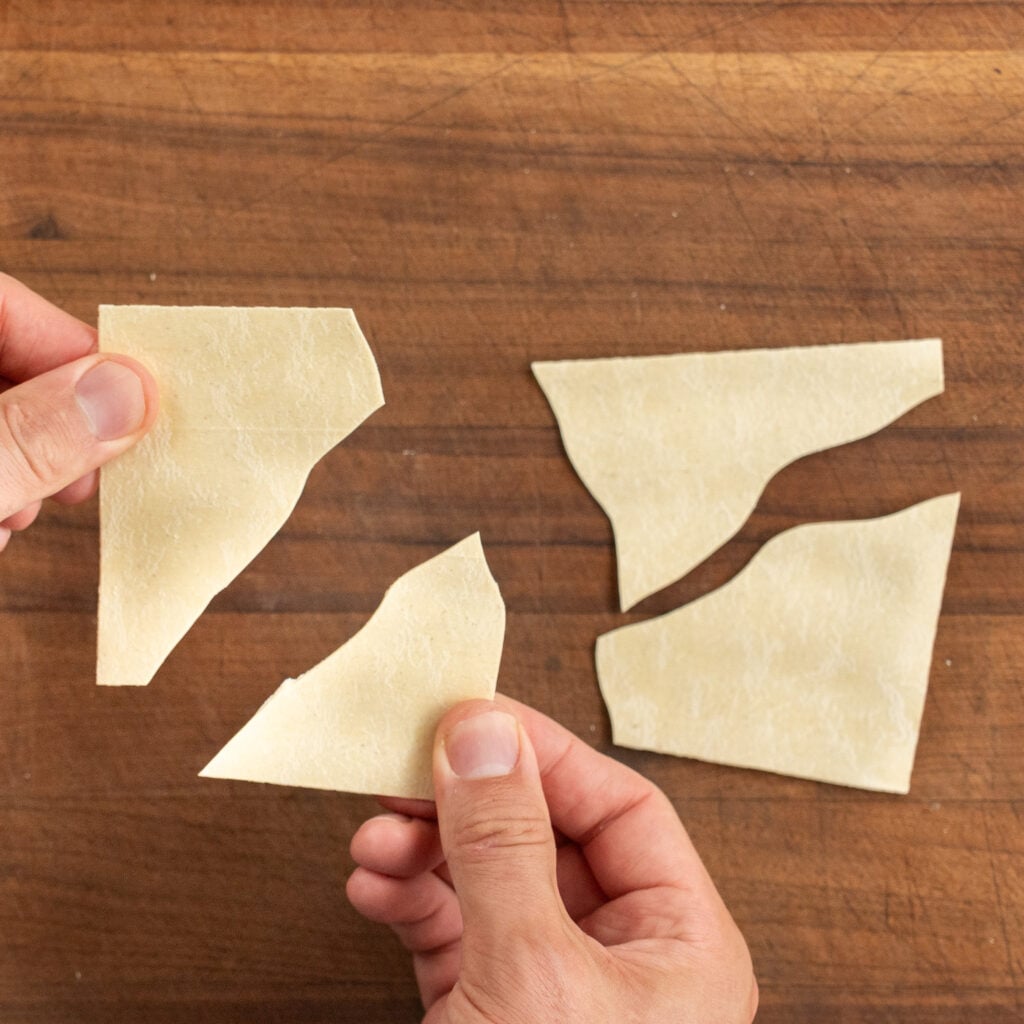
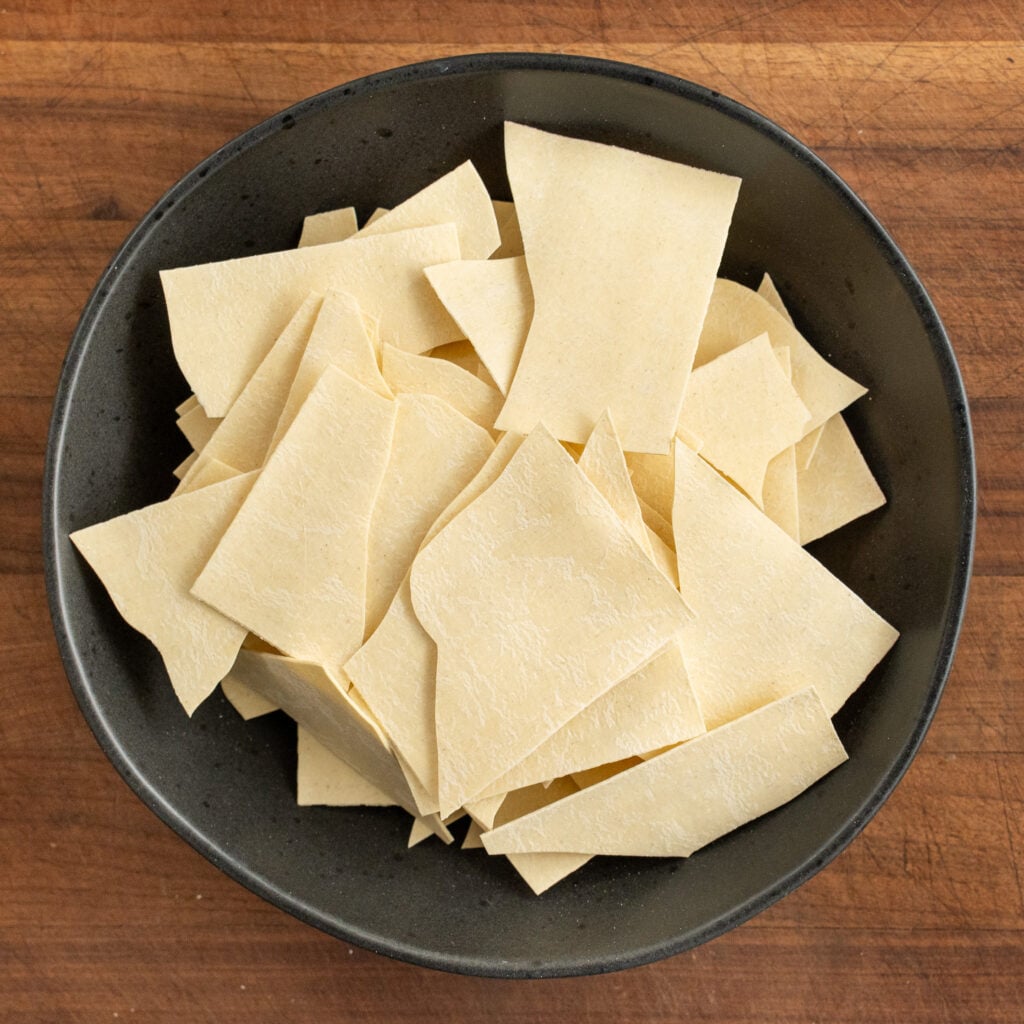
Why break the noodles? Smaller pieces fit better in a round pot and lie flat with no gaps. If we layered the pasta as is in large sheets we wouldn’t be able to get it into the corners.
Brown and Smash the Meat
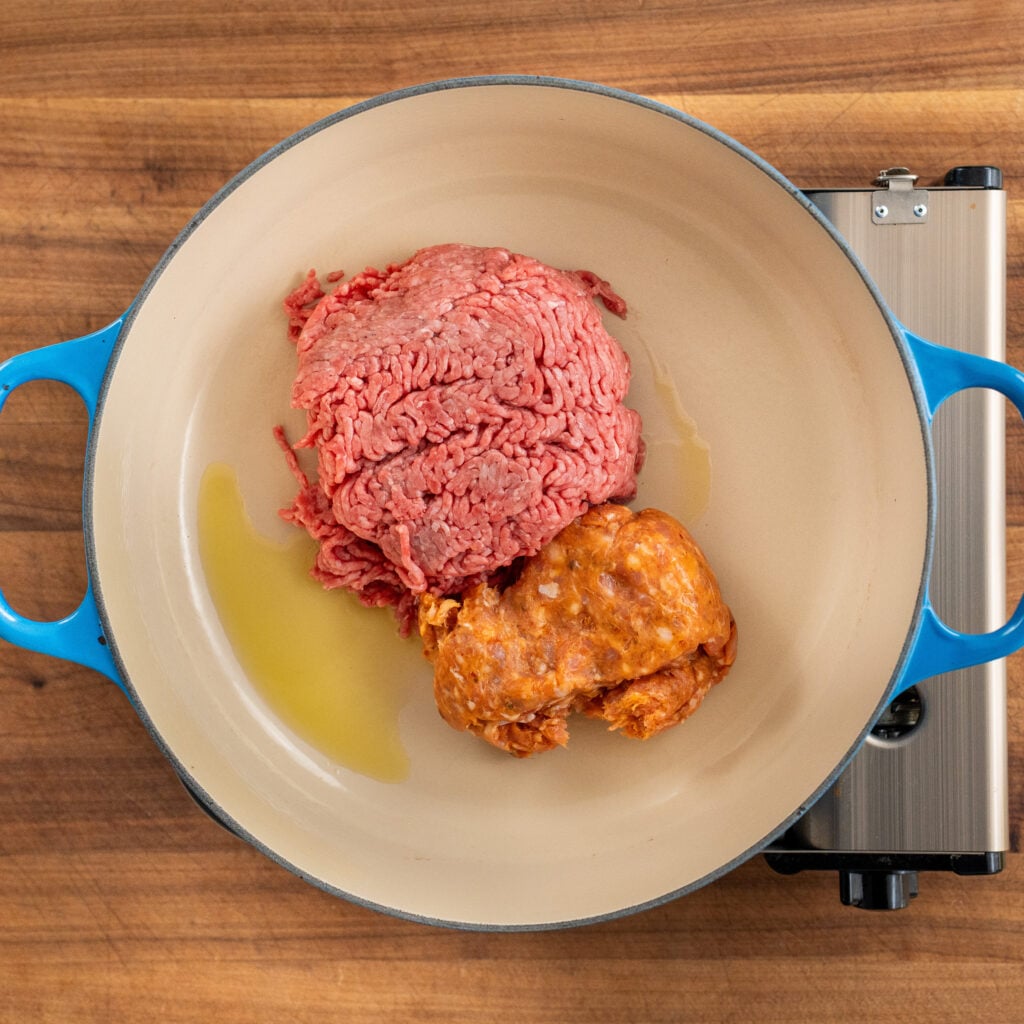
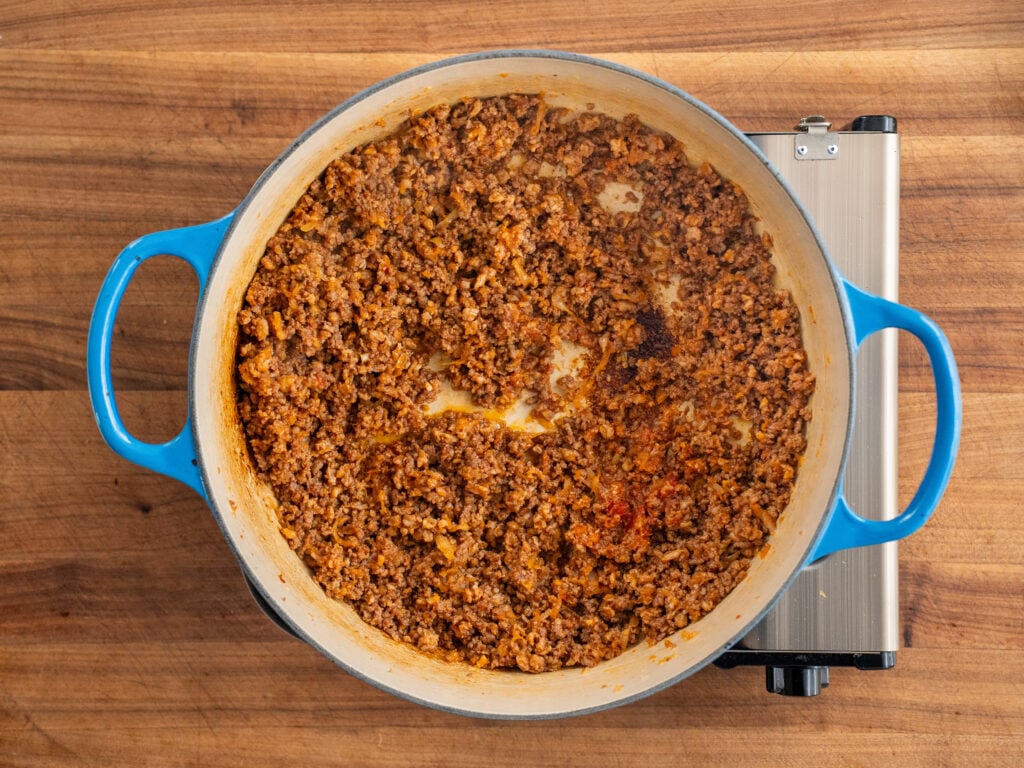
- Heat a 6.75 qt Dutch oven over medium-high heat with a squiggle of olive oil. Add 450g (1 lb) of 80/20 ground chuck along with the Italian sausage and start breaking it up with a meat masher as it browns. Keep smashing until the meat is fully cooked and broken down to the size of lentils or smaller. When you think you’re done, keep smushing. Large chunks are not pro.
Cook the Aromatics
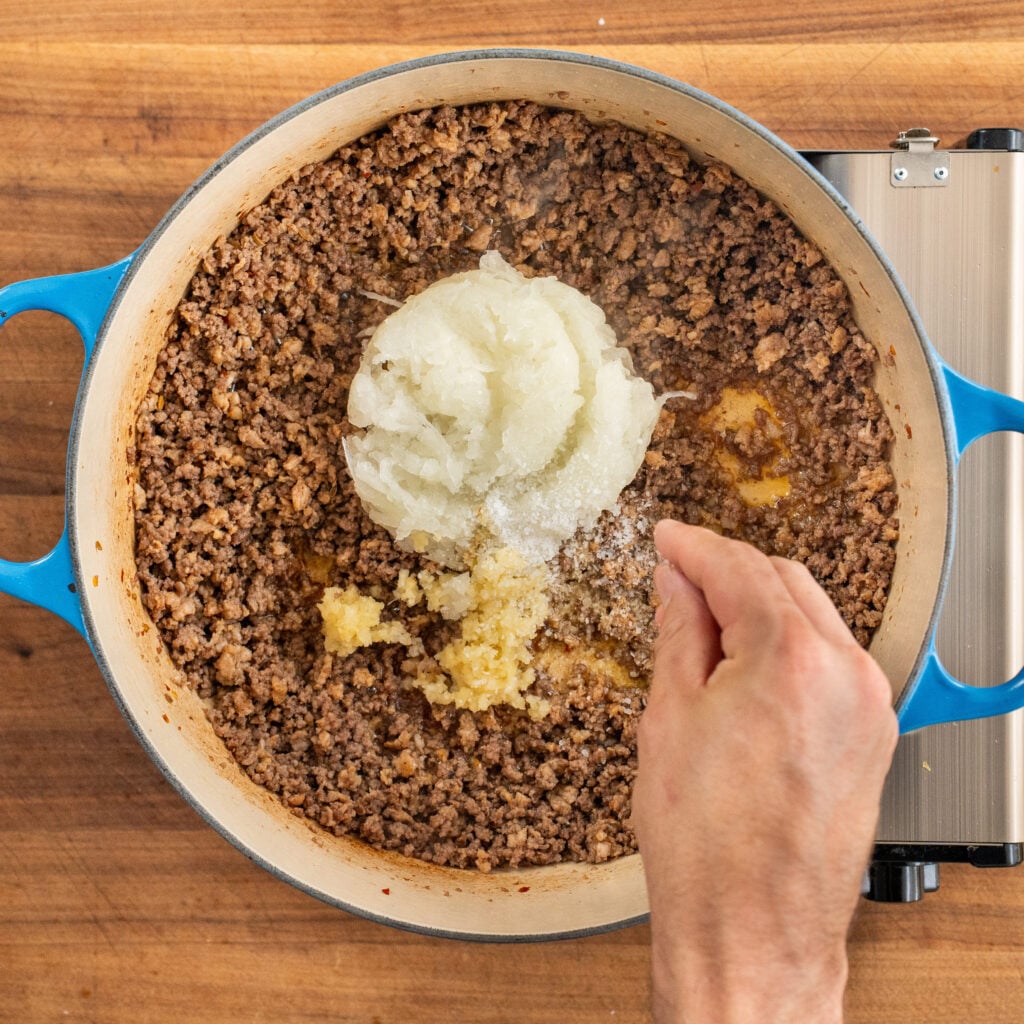
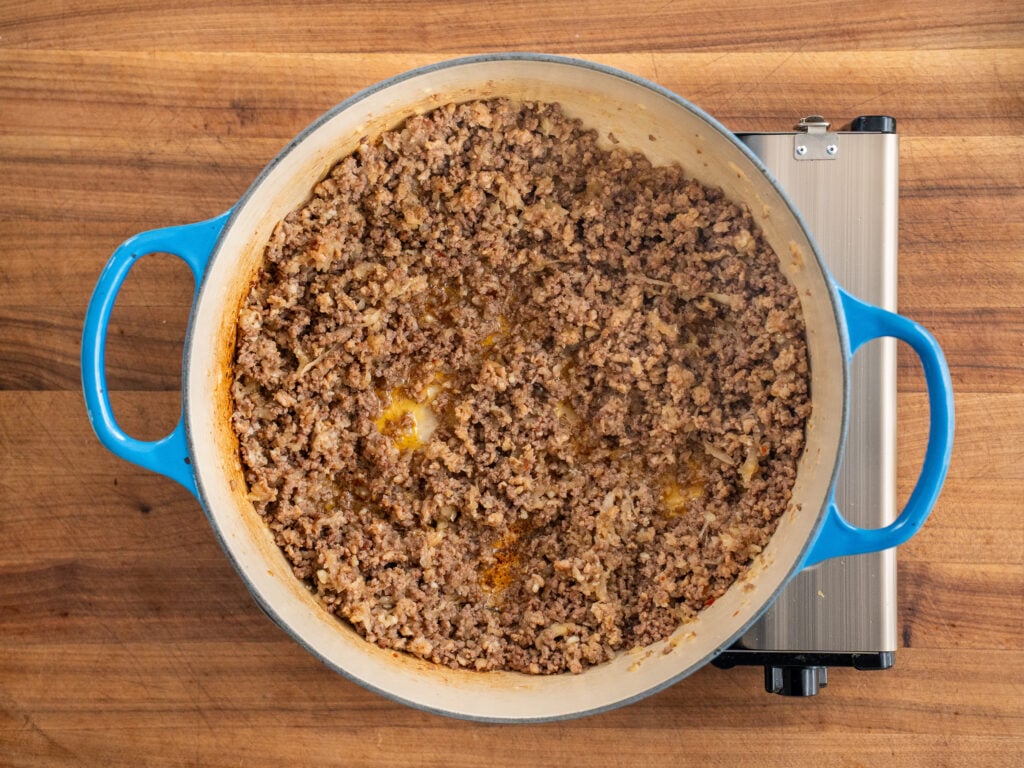
- Once the beef is browned and well broken down, stir in the grated onion, garlic, and a strong pinch of salt. Cook for 3-5 minutes until the onion is softened and translucent. Grated onion melts into the sauce so there are no chunks. It softens faster too, and its juice helps loosen the browned bits on the bottom of the pot.
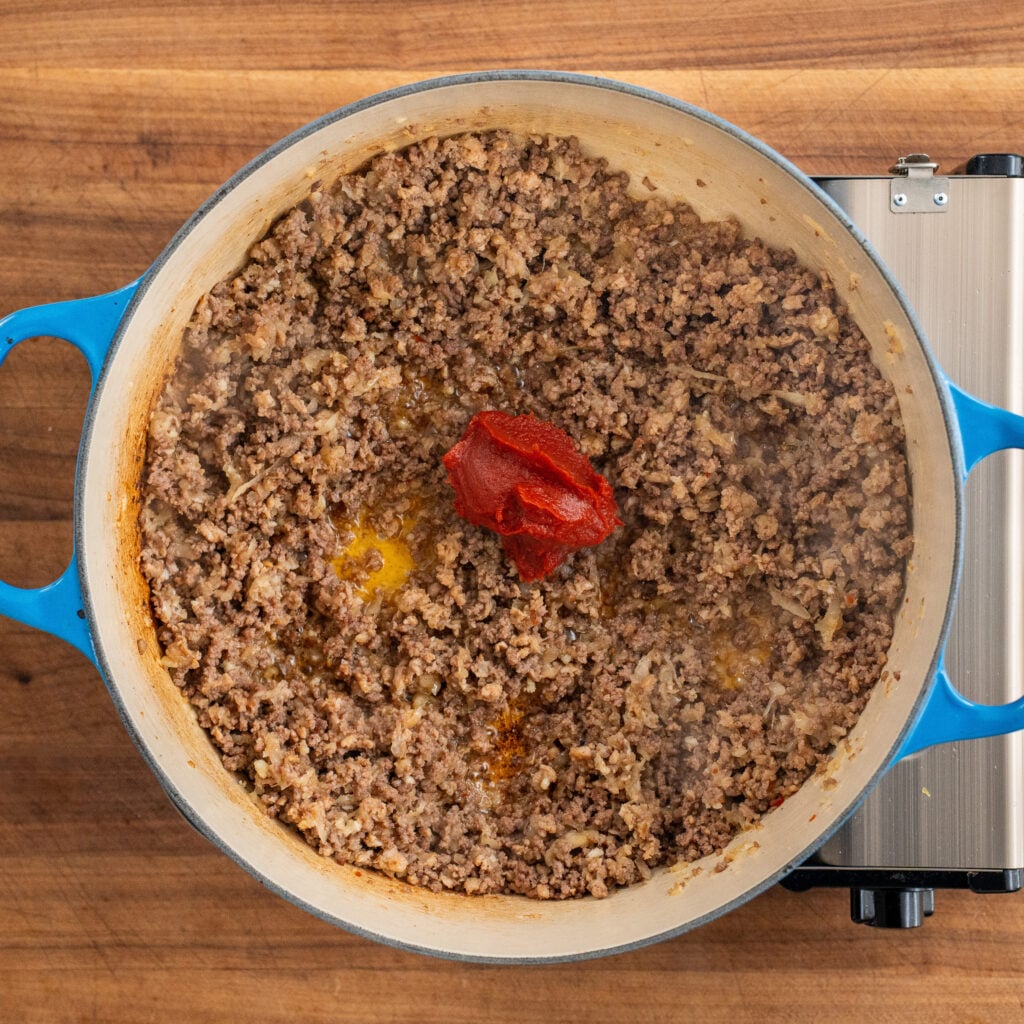
- Once the onions are softened, add 75g of tomato paste. Fry it in the fat, stirring constantly until the paste goes from bright red to a rusty brick red. If the bottom of the pot starts to get caramelized and dark, add a splash of water to deglaze and cool things off.
Build the Sauce
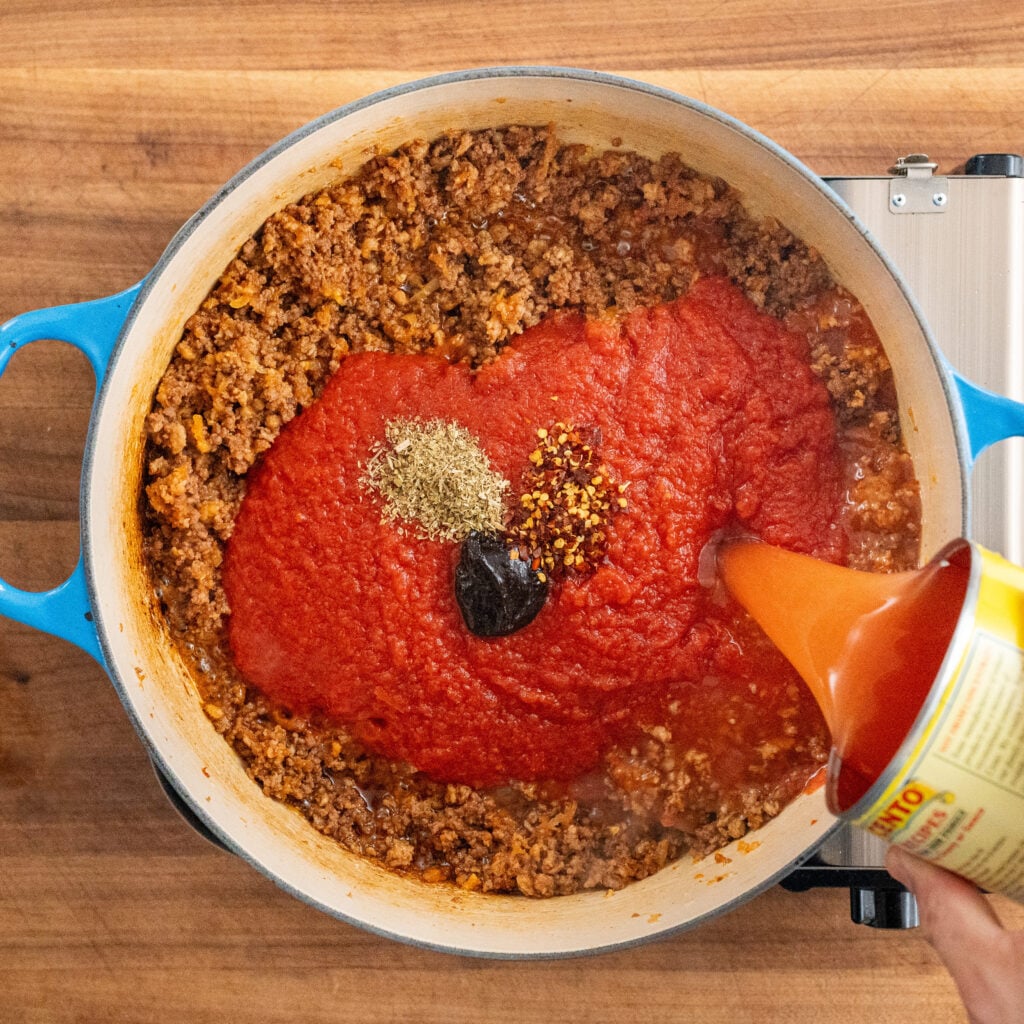
- Next, pour in 800g (one 28 oz can) crushed tomatoes, 550g of water, 1g (½ tsp) of red chili flake, 1g (½ tsp) of dried oregano, 15g (1 Tbsp) of beef Better Than Bouillon and 7 to 8g (2 tsp) of sugar. Scrape the bottom of the pot to lift all the browned bits. Bring it to a simmer over medium heat.
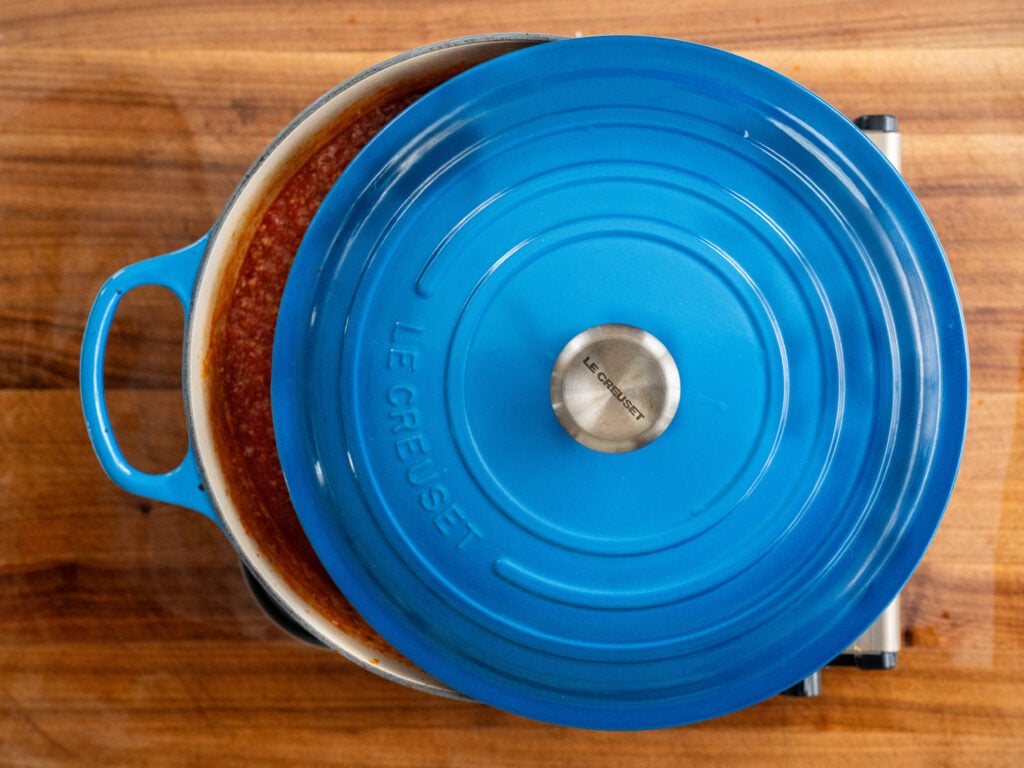
- Once simmering, cover partially (to prevent splattering) and reduce to low heat for about 3 to 5 minutes while you mix the ricotta.
Mix the Ricotta
- In a mixing bowl combine 450g of whole milk ricotta, 50g of grated Parmesan, 5g of salt, 2g of black pepper, and 1 large egg. Mix until smooth and set it aside.
This is a lot of seasoning for ricotta and I’ve done that intentionally. Plain ricotta tastes kind of flat and bland next to a bold meat sauce. The saltiness from the parm and black pepper will help it hold its own.
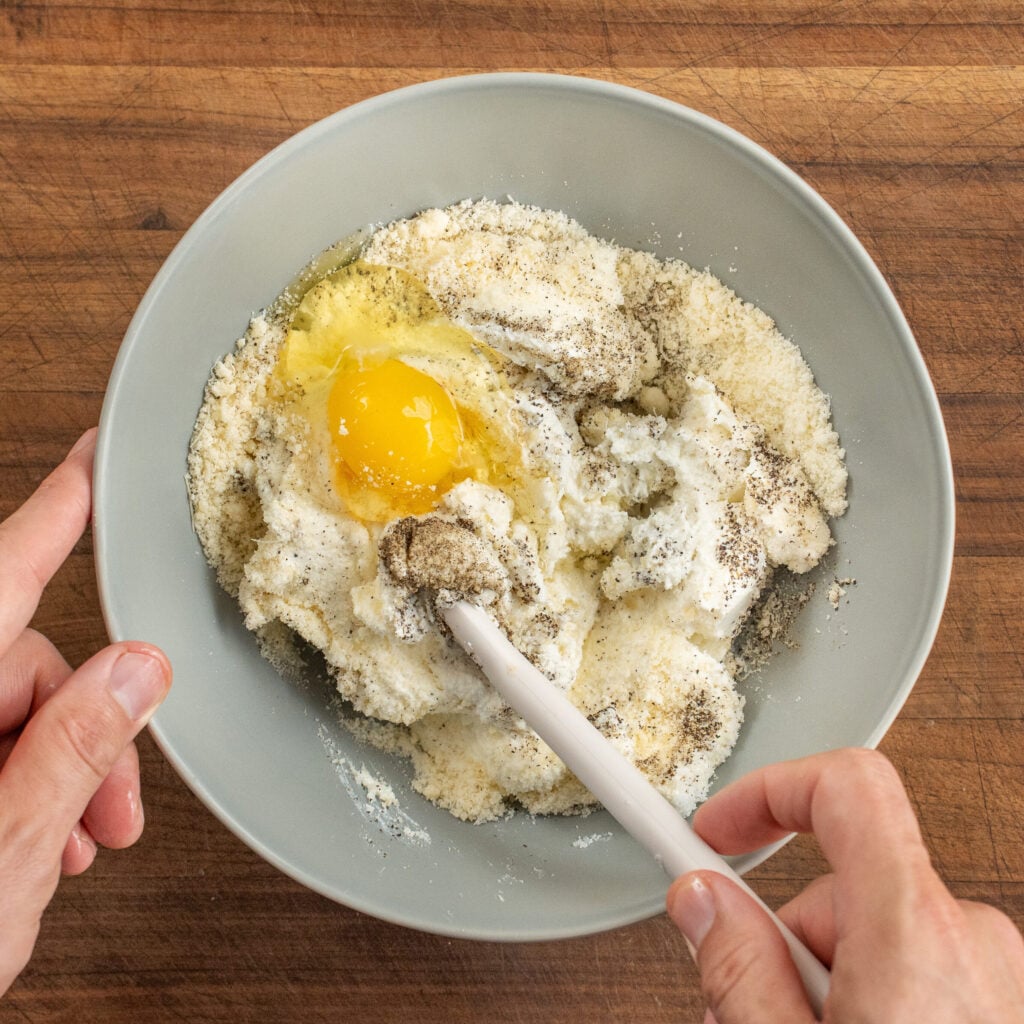
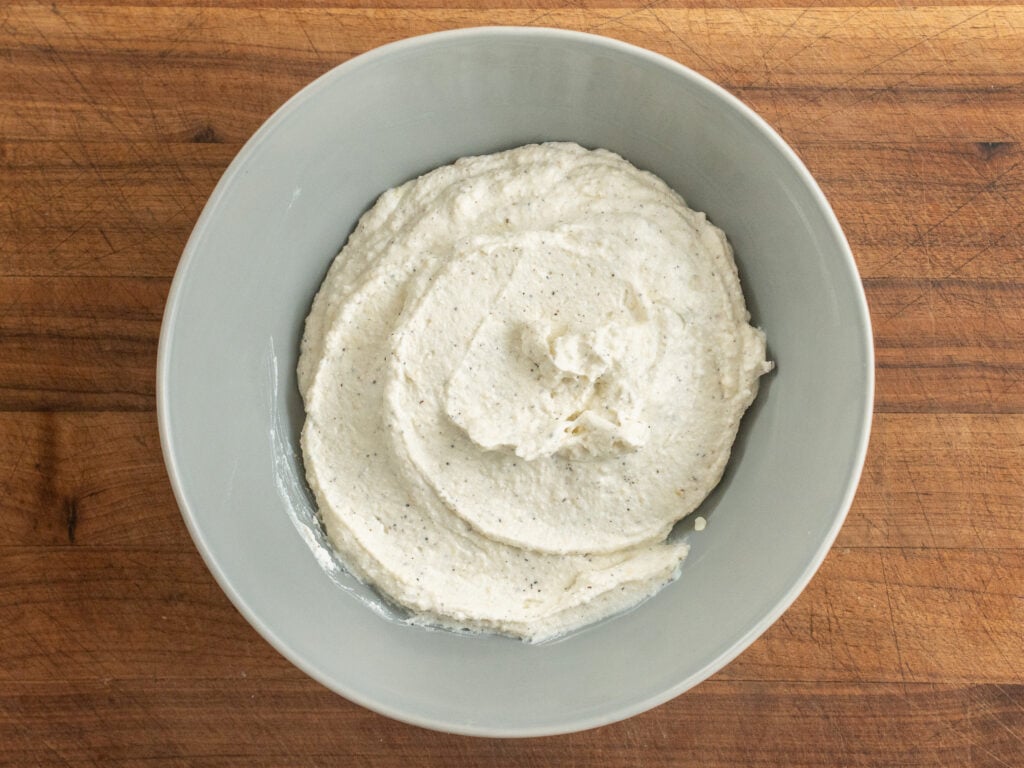
Why the egg? It sets the ricotta and helps keep it from drying out during the bake. I also like that the egg puffs the ricotta a bit which provides some nice contrast.
Finish the Sauce Off the Heat
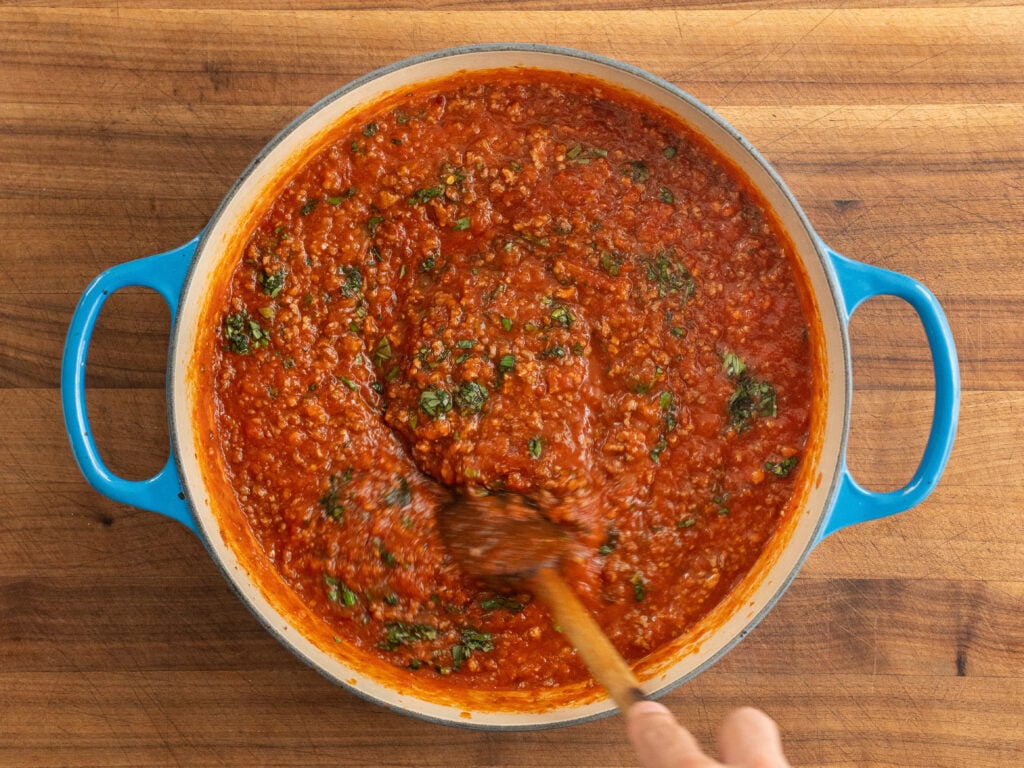
- Once the sauce has simmered, pull the pot off the heat and taste it. You will most likely need at least one strong pinch of salt. If the sauce is tasting a little tart, add in a pinch of sugar to balance that acidity. Every can of tomatoes is different, so taste every time. And do it NOW, because once the noodles go in you can’t stir anymore.
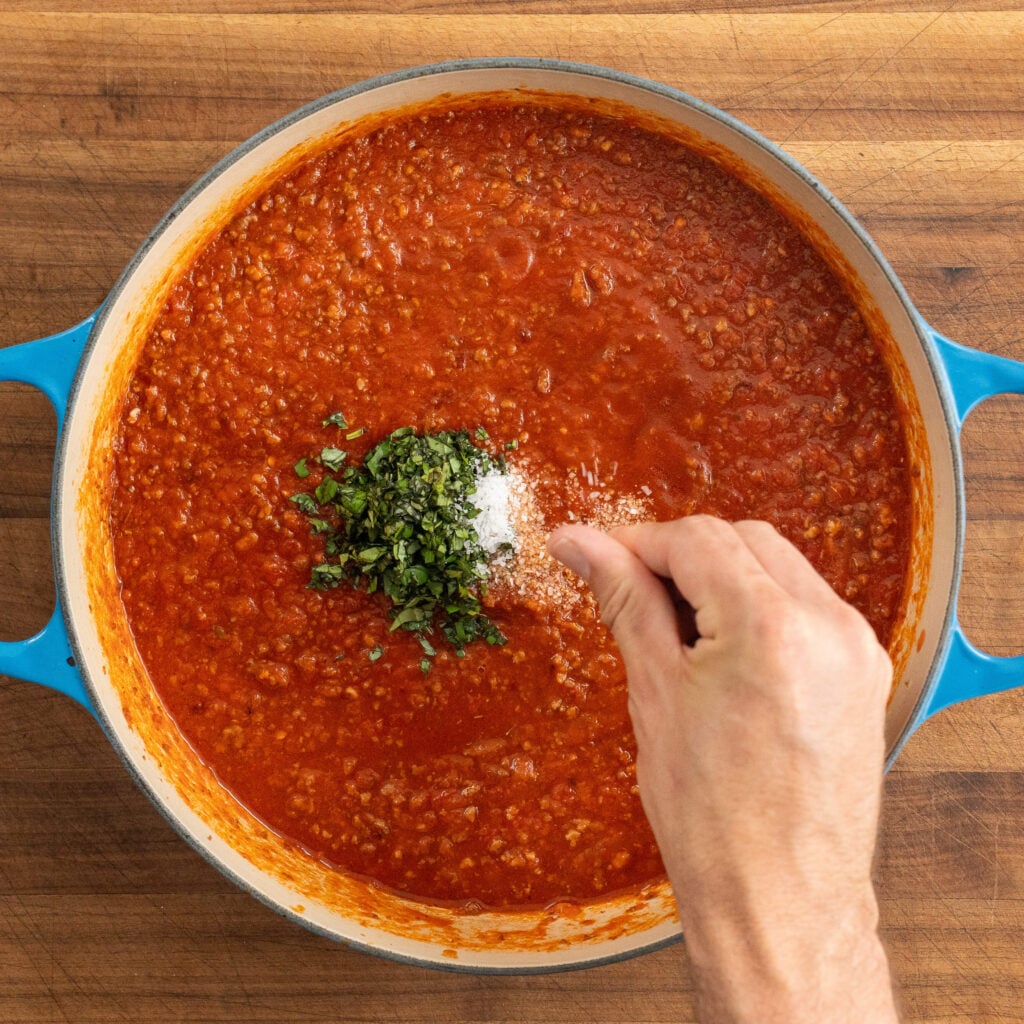
- Finally, stir in the chopped basil. Basil brings a bit of sweetness and a distinct herbal, aromatic quality that makes the final dish taste more interesting.
Layer the Noodles
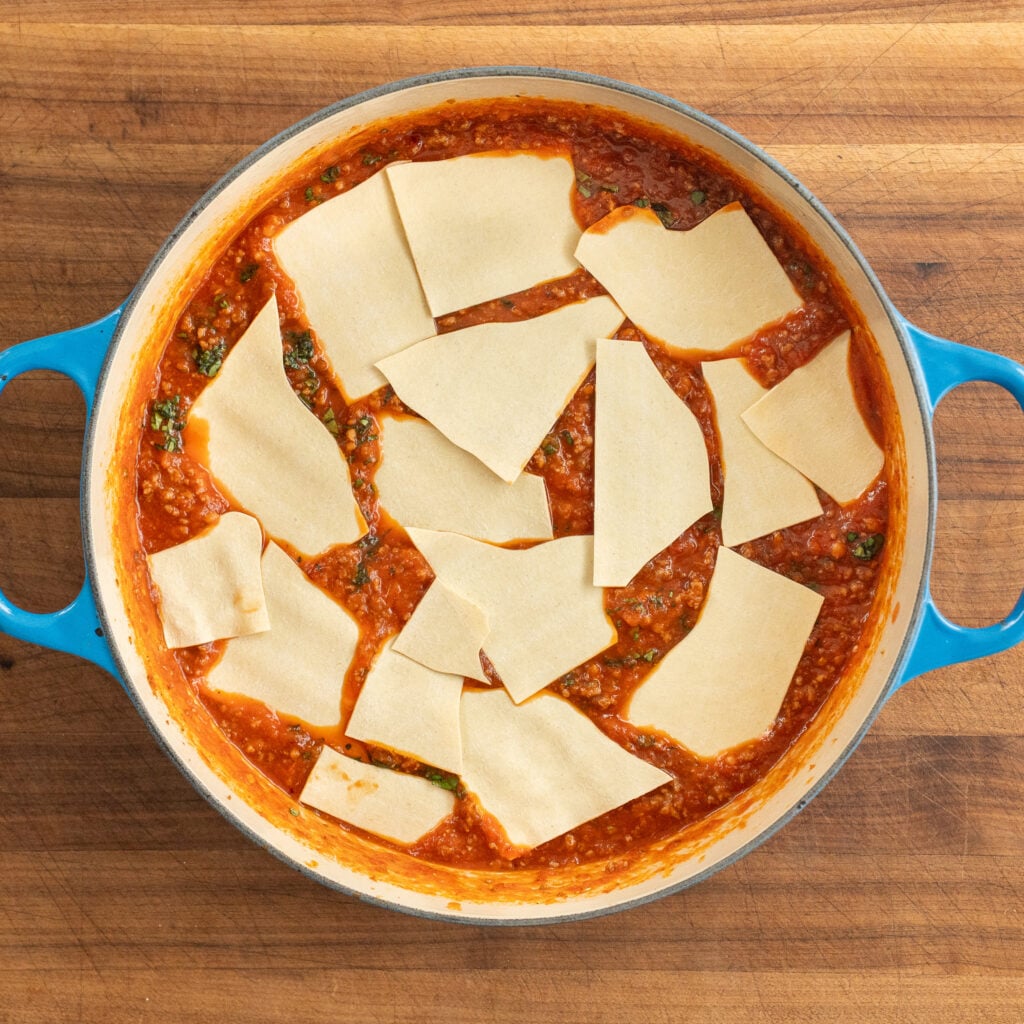
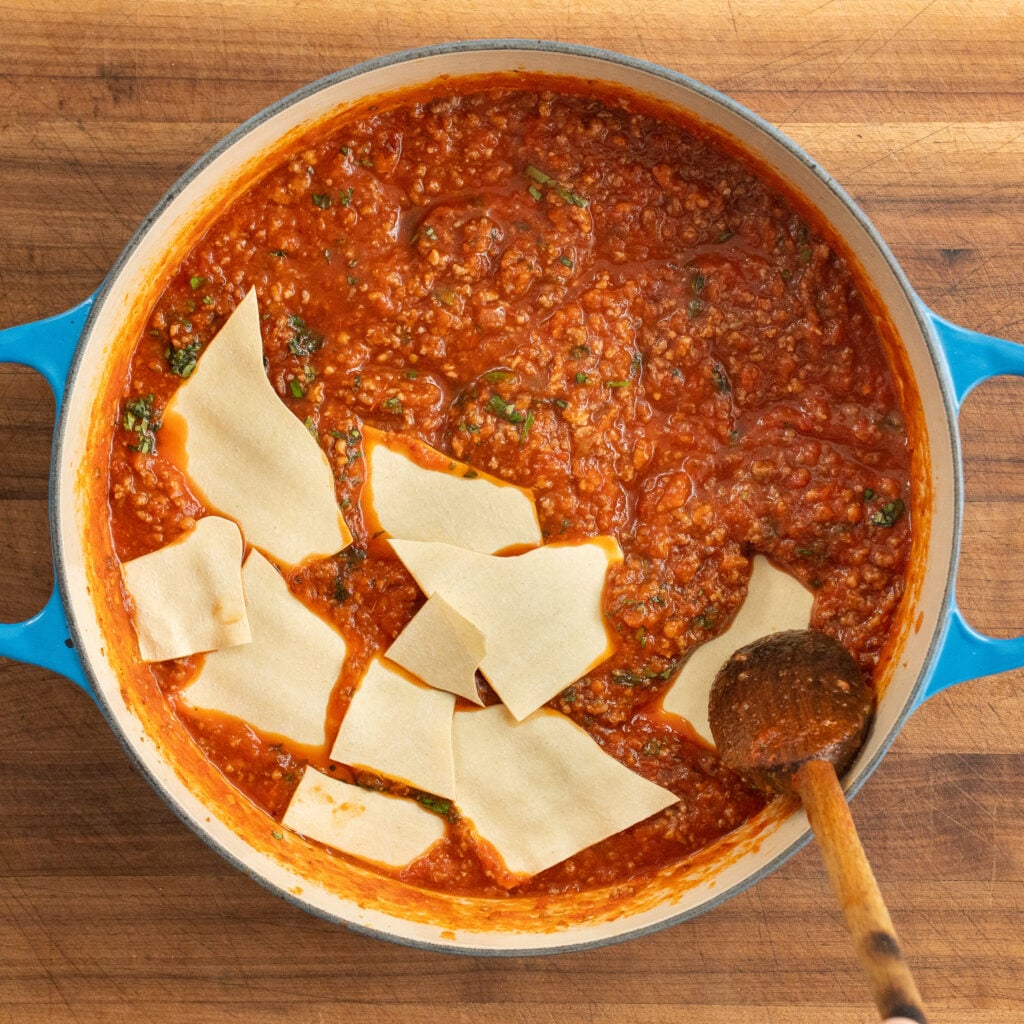
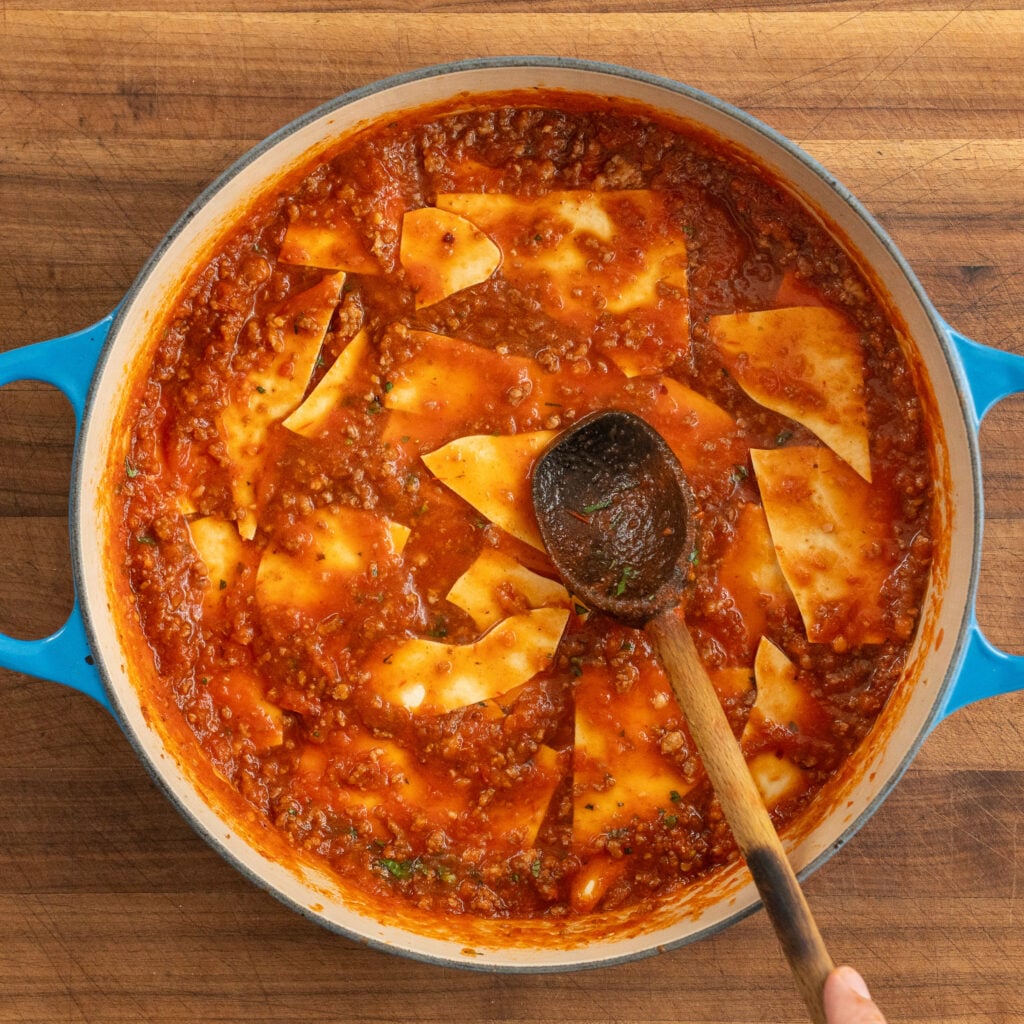
- Scatter 1/3 of the noodles into a flat, even layer over the sauce. Press them down to the bottom of the pot with a spatula until every piece is submerged. Repeat 2 more times with the other pasta pieces. Make sure to press each layer under the sauce before adding the next. On the last layer, use the spatula to push sauce up and over the noodles so nothing is left exposed, especially around the edges.
Add the Cheeses
- Spoon the ricotta mixture over the top in 12 to 15 evenly spaced dollops, depending on the size of your dutch oven. For reference, I use a 6.75qt wide dutch oven for this recipe.
- Scatter 150g of shredded mozzarella over everything and top with a generous hit of gravely grated Parmesan on top, about ½ cup. Then before baking, use a damp paper towel to wipe any sauce off the inside rim of the pot. DO NOT skip this. Sauce left smeared up the edges has a long, hot bake ahead of it and will burn onto the pot.
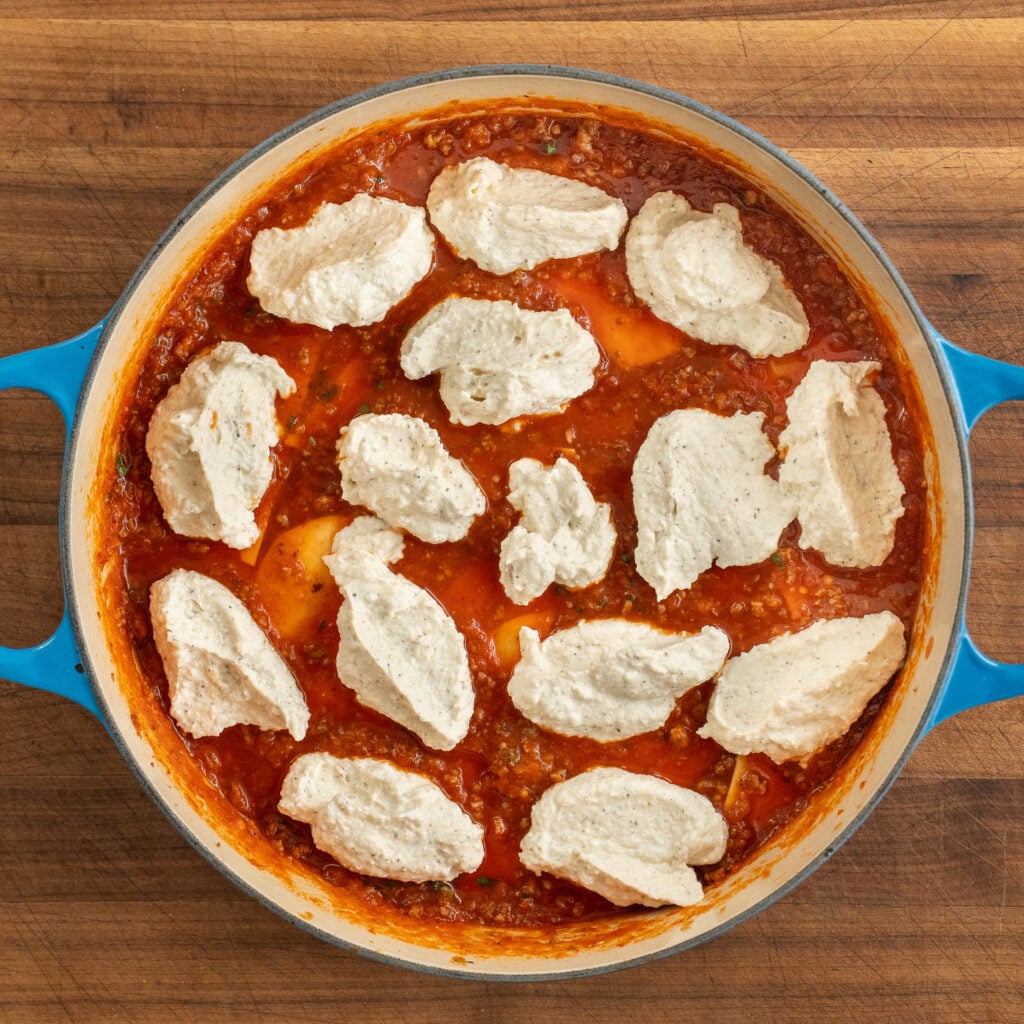
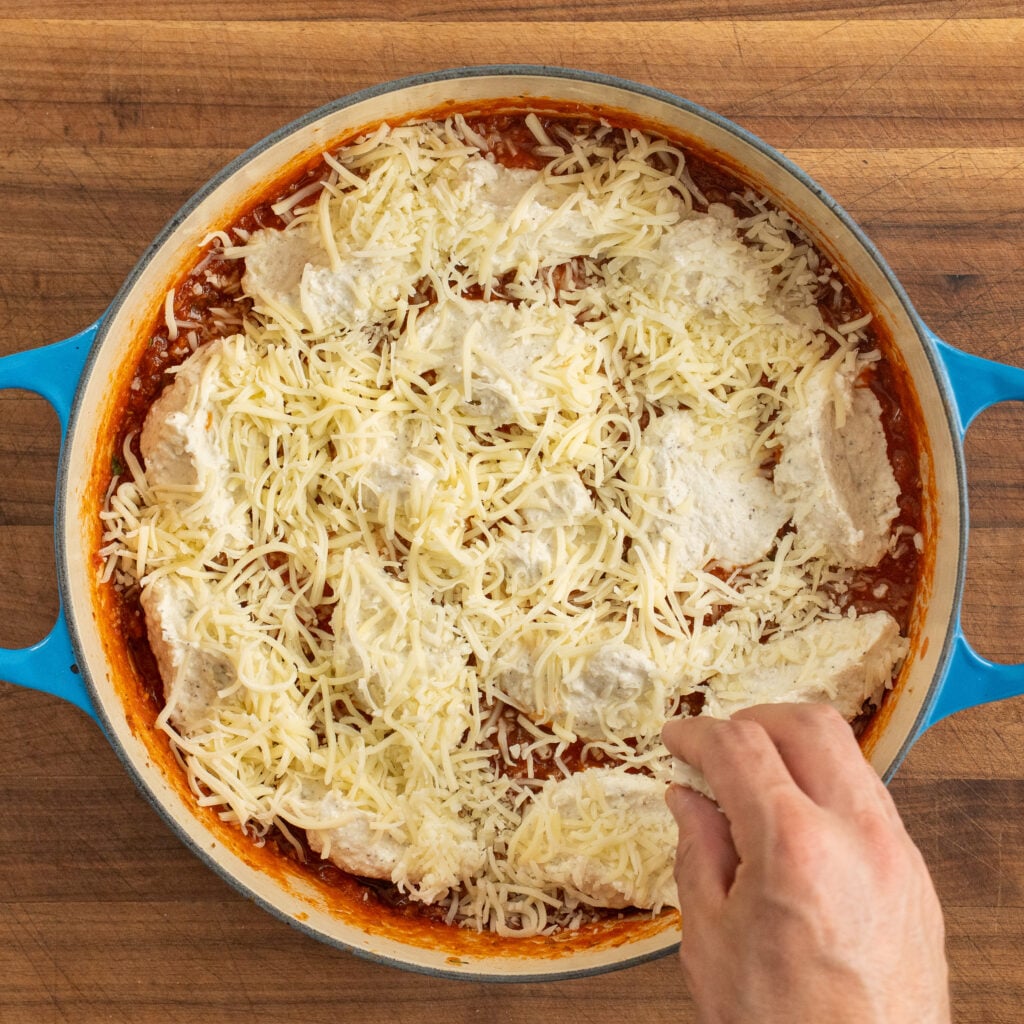
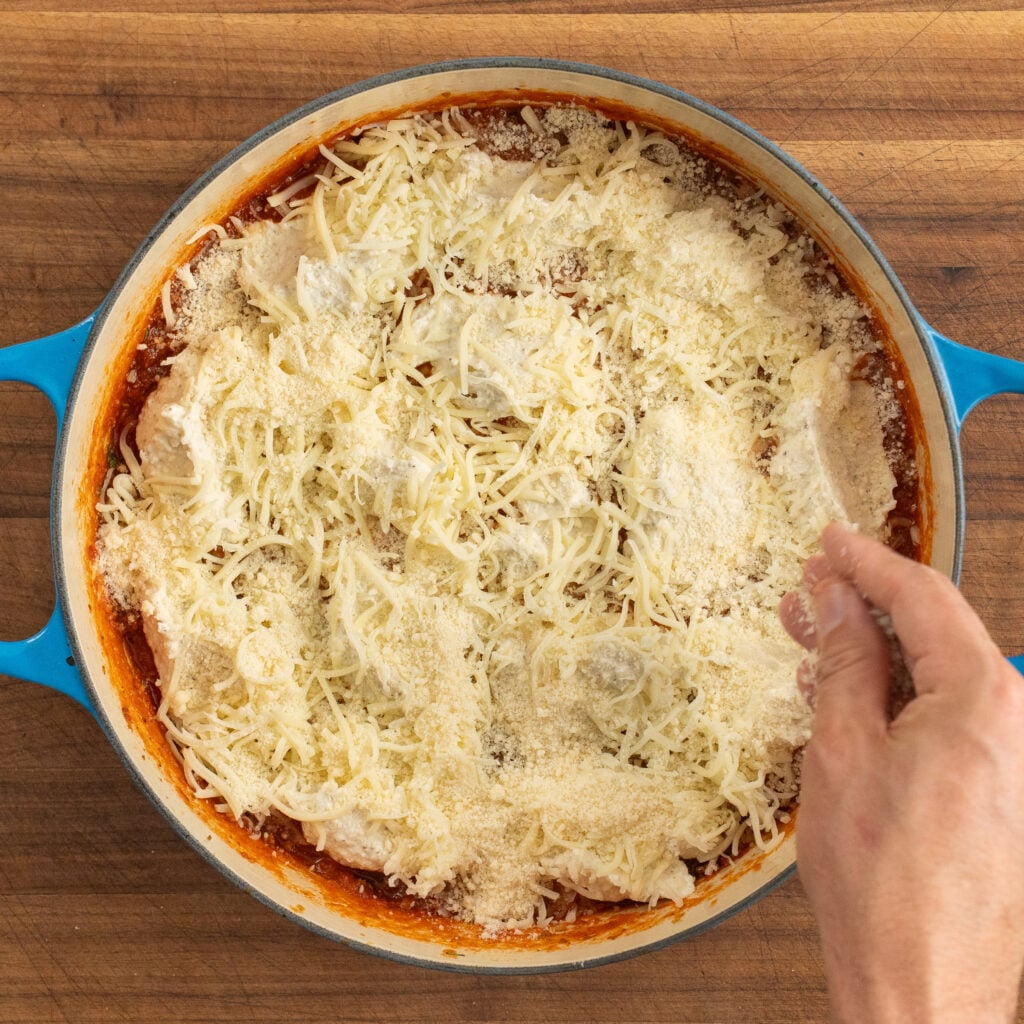
Why dollops of ricotta instead of a full layer? You get pockets of creamy ricotta in every slice. The gaps also let the sauce bubble up and brown around them.
Bake Covered, Then Uncovered
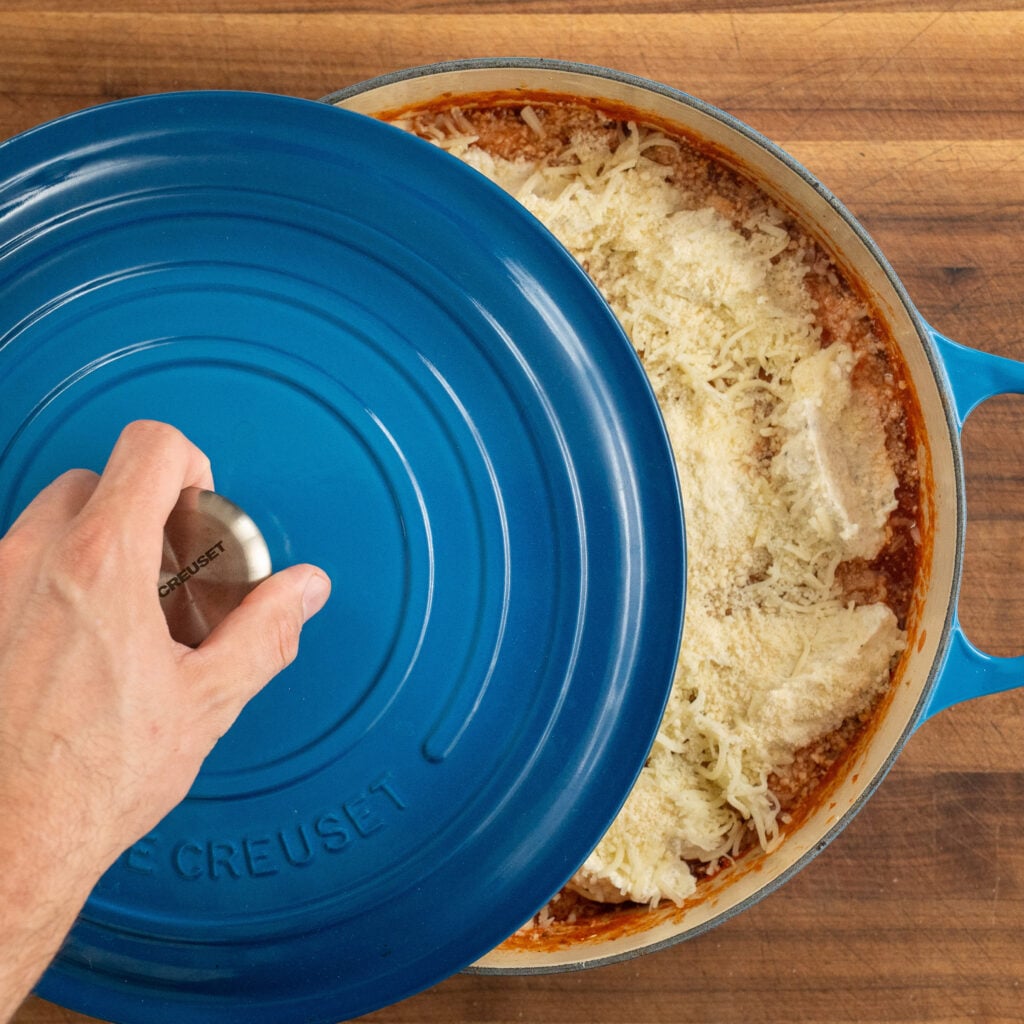
- Put the lid on and slide the pot into the 400°F / 205°C oven for 15 minutes.
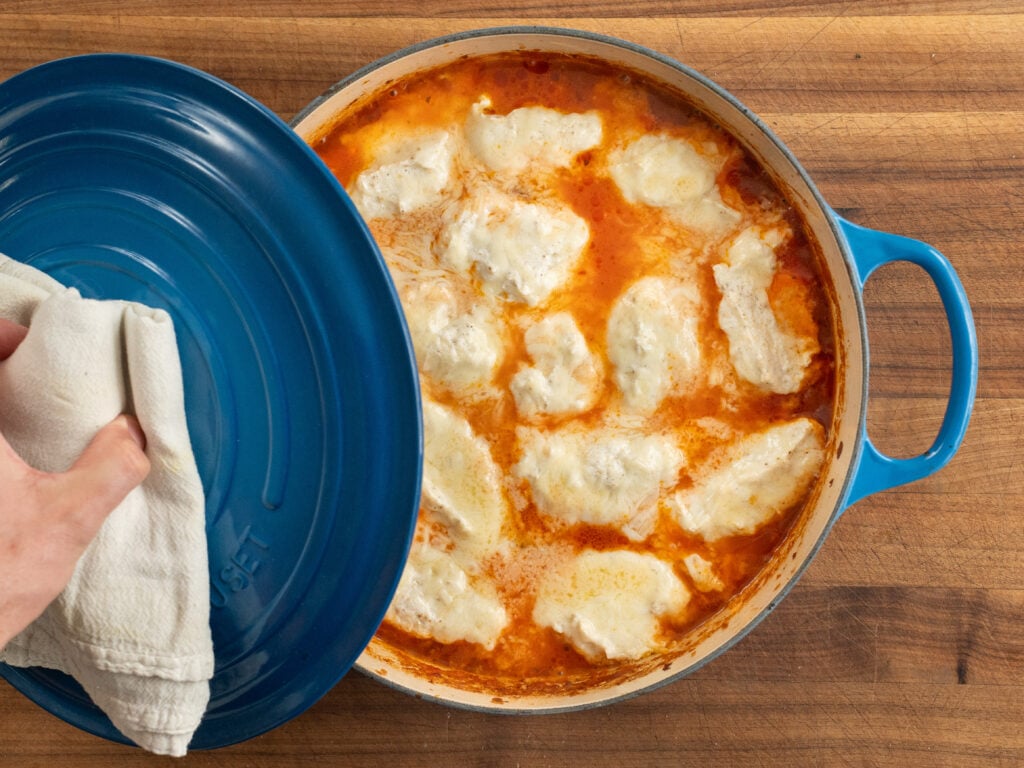
- Next, increase the oven temp to 450°F / 230°C, remove the lid, and bake for another 15 to 20 minutes until the top is well-browned.
Rest, Then Slice
- Pull the pot out of the oven and let it rest for at least 20 minutes before you cut into it…30 to 40 if you can hold out. It will be better the longer you wait.
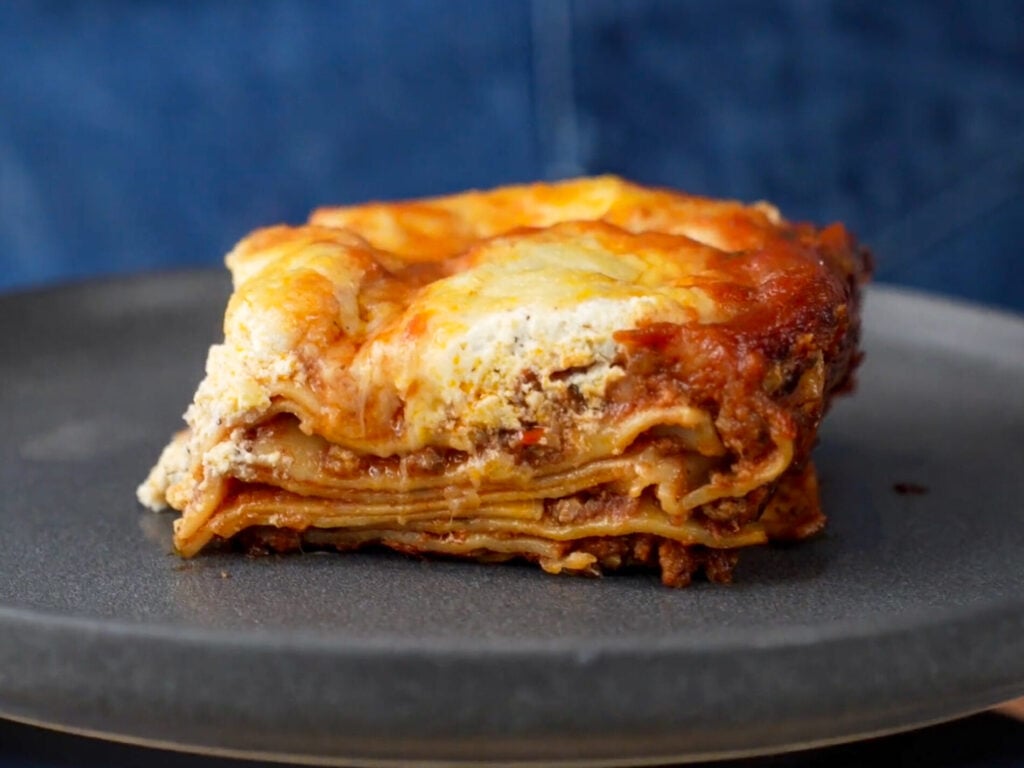
How do you know when it’s done? You’re looking for deeply browned cheese and bubbling edges. A knife should slide through the noodles with no resistance. By this time, the noodles should be cooked and will have absorbed excess moisture in the sauce.
Make Ahead & Reheating
The meat sauce holds in the fridge for 3 days, so you can knock that part out ahead of time. Bring it back to a simmer on the stove before the noodles go in, then pick the recipe back up with the noodles.
Leftovers are even better the next day. Keep them covered in the fridge for 3 to 4 days and reheat covered at 350°F / 175°C until hot all the way through.
Slices will freeze wrapped tightly for a couple of months, but there’s a trade off. The ricotta gets a little grainier and the noodles will get softer after they thaw.
More Recipes To Try…
- Perfect Homemade Lasagna – The classic. It doesn’t get better than this.
- Spicy Sausage Rigatoni – Another one pot dinner that uses similar techniques
- Cast Iron Focaccia – An easy weeknight bread recipe to serve with your lasagna

One Pot Lasagna with Meat Sauce and Ricotta
Ingredients
For the Meat Sauce
- Olive oil
- 450 g 80/20 ground chuck
- 225 g hot Italian pork sausage, casings removed (about 2 links)
- 200 g yellow onion, grated
- 20 g garlic, minced or pressed
- coarse salt
- 75 g tomato paste
- 1 g red chili flake
- 1 g dried oregano
- 800 g crushed tomatoes
- 550 g water
- 15 g Better Than Bouillon, beef flavor
- 8 g granulated sugar
- 10 g fresh basil, chopped
For the Ricotta Mixture
- 450 g whole milk ricotta
- 50 g Parmesan, grated
- 5 g coarse salt
- 2 g black pepper
- 1 egg
For the Pasta and Cheese topping
- 225 g oven-ready lasagna noodles, broken into about 2-inch pieces
- all of the ricotta mixture, from above
- 150 g shredded mozzarella
- 50 g Parmesan
Instructions
- Preheat oven to 400°F / 205°C with a rack low enough to fit a lidded Dutch oven. Break the oven-ready lasagna noodles into roughly 2-inch pieces by breaking them in half and in half again. Grate the onions, mince/press the garlic, and chop the basil.
- Heat a 5.5- to 7-quart Dutch oven over medium-high heat with a squiggle of olive oil. Add the ground chuck and sausage and brown, breaking the meat down with a meat chopper until fully cooked and about the size of lentils or smaller, around 8 minutes
- Stir in the grated onion, garlic and a strong pinch of salt. Cook for 3-5 minutes until the onion is soft and translucent.
- Add the tomato paste. Cook, stirring constantly until the tomato paste darkens from bright red to a rusty brick red. If the bottom starts getting too dark, add a splash of water to deglaze.
- Add the crushed tomatoes, water, chili flake, dried oregano, Better Than Bouillon and sugar. Be sure to scrape up any browned bits from the bottom. Bring to a simmer then reduce heat to low and partially cover and cook for 3 to 5 minutes to reduce.
- While the sauce simmers, mix the ricotta, Parmesan, salt, pepper and egg until smooth.
- Take the pot off the heat. Taste and adjust with another strong pinch of salt if needed and a little more sugar if the sauce tastes too tart. Stir in the basil.
- Scatter ⅓ of the noodles over the sauce in an even layer and press them down to the bottom of the pot to fully submerge. Repeat two more times, each with another ⅓ of the noodles. You'll press each layer beneath the sauce before adding the next. On the final layer, push sauce up and over any exposed noodles.
- Spoon the ricotta mixture over the top in 12 to 15 evenly spaced dollops, depending on the size of your dutch oven.
- Top with the mozzarella and a generous grating of Parmesan.
- Wipe any sauce off the inside rim of the pot with a damp paper towel.
- Cover and bake at 400°F / 205°C for 15 minutes.
- Raise the oven to 450°F / 230°C, remove the lid and bake for another 15 to 20 minutes until the cheese is deeply browned in spots, the edges are bubbling hard, and a knife slides through the noodles with no resistance.
- Rest for at least 20 minutes before slicing. 30 to 40 minutes is even better.
 Like this? Leave a comment below!
My Go-To Gear
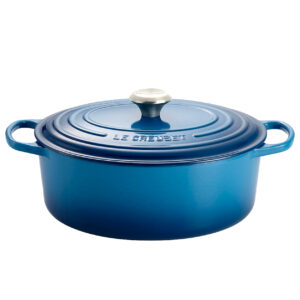
Below are the tools I actually use when making this recipe. Some of these are affiliate links, which means I may earn a small commission if you purchase through them at no extra cost to you.

Frequently Asked Questions
Stick with no-boil. Regular noodles need more liquid and more time than this recipe gives them, so they’ll come out underdone.
Yes. Use gluten free oven ready lasagna noodles. Check your bouillon and sausage labels too.
If the cheese still looks pale at the end of the bake, your oven is probably not as hot as mine. Give it two minutes under the broiler, BUT keep a close eye on it.
Likely there’s too much unabsorbed liquid from the noodles not being cooked all the way OR you’ve cut into it before it has rested.






First time lasagna cook … amazing recipe! Made this for a family get together (8) where everyone helped cook. Of course there was some creative license (doubled sausage and basil) – but it was fun AND tasted amazing. Thank you Brian for these easy to follow recipes.
A Happy Family in NYC
Wow! This was the best lasagna I’ve ever had.
Just made this for supper. It was a big hit. Easy for me and delicious for everyone. I used regular lasagna noodles not the no boil kind and it worked out just fine.
Made this yesterday for the coming work week. I was skeptical at best. Let it cool and then threw in the fridge until after church today. This is an AMAZING lasagna…Both me and the hubs were super impressed. I’m not sure why, I’ve yet to make one of your recipes that turned out poorly.
Thank you sir. Your talent in the kitchen surpasses almost every single youtuber that I follow. We love your channel and we love you 😉
It looked good on YouTube so gave it a try.
The stuff cooked up the way it looked on screen, but the noodles were more or less a gluey mass at the bottom – and yes I followed the recipe to a T and pushed the noodles in the same way as shown on the screen. It wasn’t very appetizing. I have a better recipe for quick lasagne so this one isn’t going in the book going forward.
Hi Bri, can I freeze this recipe and how long will it last in the freezer?
I wouldn’t recommending freezing since the noodles would likely come out mushy after thawing.
I made it exactly as the recipe says (but no peppers). Even after simmering the sauce for 10 minutes and letting the lasanga sit for 35 minutes out of the oven, it was still watery and “gloppy”. I guess the sauce didn’t reduce enough.
Is there another way to thicken the sauce? How can I tell if it’s not “too watery” before I put it in the oven?
Very tasty, but very sloppy when I tried to slcie it.
Loving another recipe by Brian!! Just made this yesterday, and we really enjoyed it. I have another recipe that I’ve used for years for regular lasagna, and it’s still good, but this one I just felt was a little elevated. The sauce had much more depth of flavour, and I also liked the ease of making it over my regular recipe. The noodles worked perfectly cooking in the sauce. Maybe the other person who had trouble with that pushed all the layers too far down. The idea is for them to be surrounded by sauce, so the first layer should go to the bottom, but then the others shouldn’t go quite so far. Anyway, I had great success with this, and I really really liked it!! Thank you for another amazing recipe!
Made this for the first time with guests over – the end result was incredibly tasty with the ricotta mixture being the highlight. Thanks Brian for the recipe, I knew from the one pot spaghetti one this one would be a banger!!