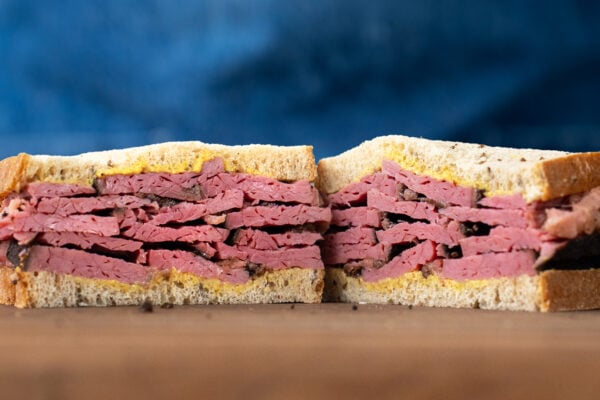
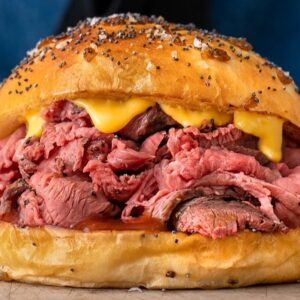
Roast Beef N Cheddar
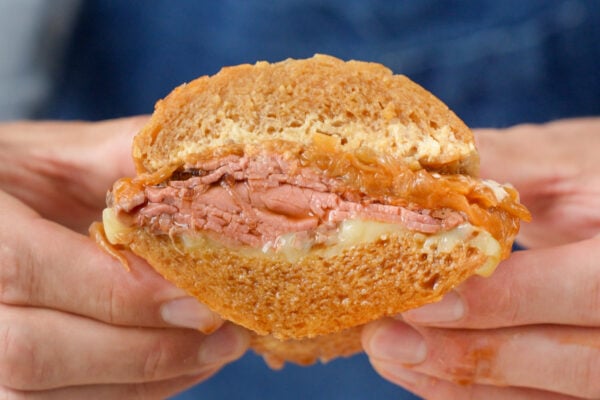
Has there ever been a more palatable food than the roast beef and cheddar sandwich? I think not. This recipe makes every delicious component from scratch. The sweet and savory onion roll, the sauces, and the thinly sliced roast beef.
Ingredients
ONION ROLL (makes 6 rolls)
- 100 g warm water, 86°F/30°C
- 6 g instant yeast
- 35 g sugar
- 1 egg yolk
- 35 g melted, but not hot unsalted butter
- 75 g mashed/riced potato
- 7 g dough conditioner
- 315 g all purpose flour
- 6 g kosher salt
- egg wash, 1 egg whisked with a splash of water
ONION ROLL TOPPINGS
- 1 medium sweet/vidalia onion
- olive oil
- kosher salt
- sugar
- 50 g water
- poppy seeds
- flaky salt
ROAST BEEF
- 3 ½ kg top round beef roast
- olive oil
- kosher salt
- black pepper, ground
TANGY SAUCE (Arby’s Sauce dupe)
- 100 g water
- 125 g ketchup
- 15 g steak sauce
- 10 g brown sugar
- 10 g hot sauce
- 15 g white vinegar
- 2 g onion powder
- 2 g garlic powder
- 2 g black pepper, ground
- 3 g kosher salt
CHEESE SAUCE
- 225 g medium cheddar cheese, shredded
- 8 g corn starch
- 250 g evaporated milk
Instructions
For accuracy, I highly recommend using measurements in grams as listed rather than volumetric (cups/tsp.)
ONION ROLL
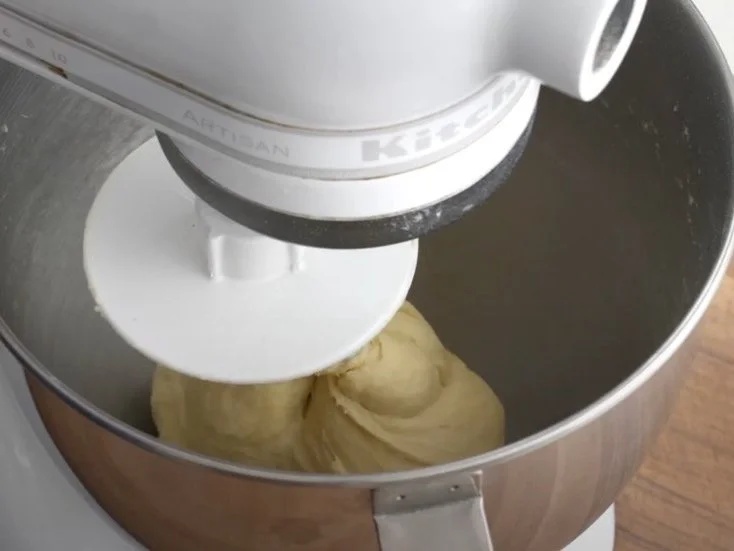
- Add 100g warm water, yeast, sugar, egg yolk, melted butter, mashed potatoes (I press mine through a potato ricer to eliminate lumps), dough conditioner, flour, and 6g of salt to a stand mixer with dough hook attachment and mix on medium speed for about 8 minutes. When the dough has formed a smooth mass that is clearing the sides of the bowl, it's ready.
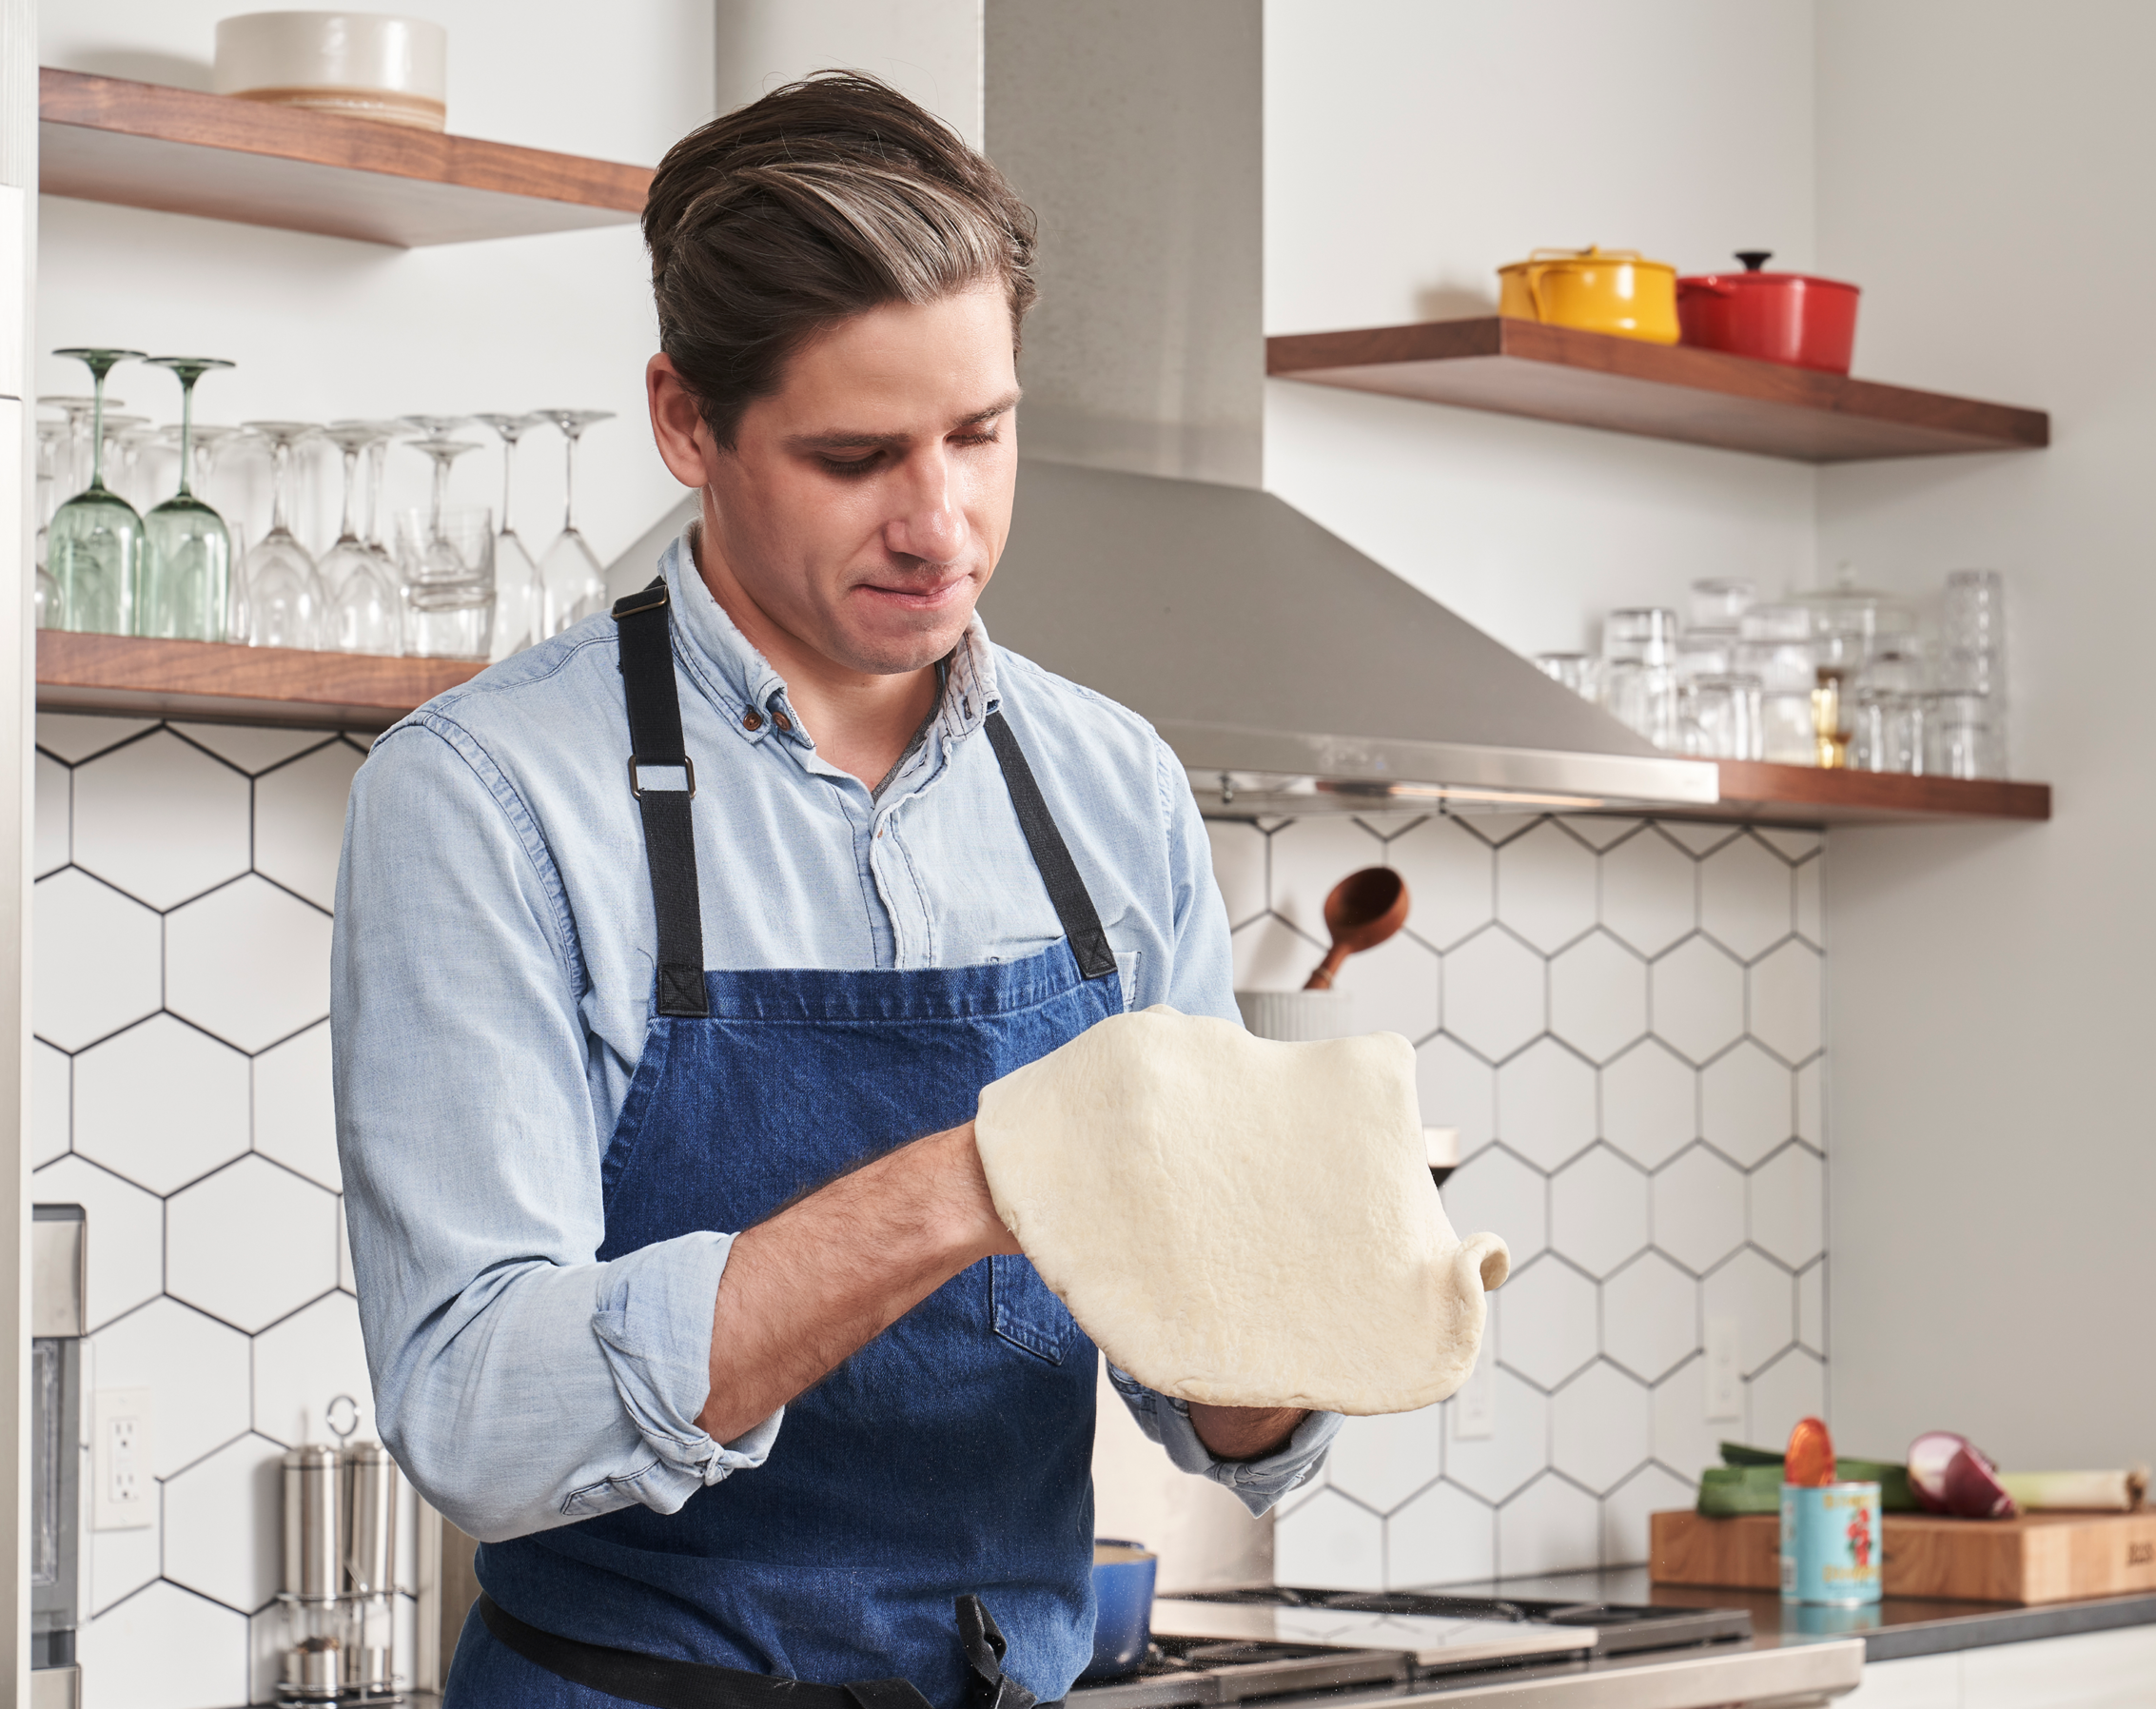
- Transfer the dough into a bowl and round it into a ball by rounding and tucking it up under itself to create tension across the top.
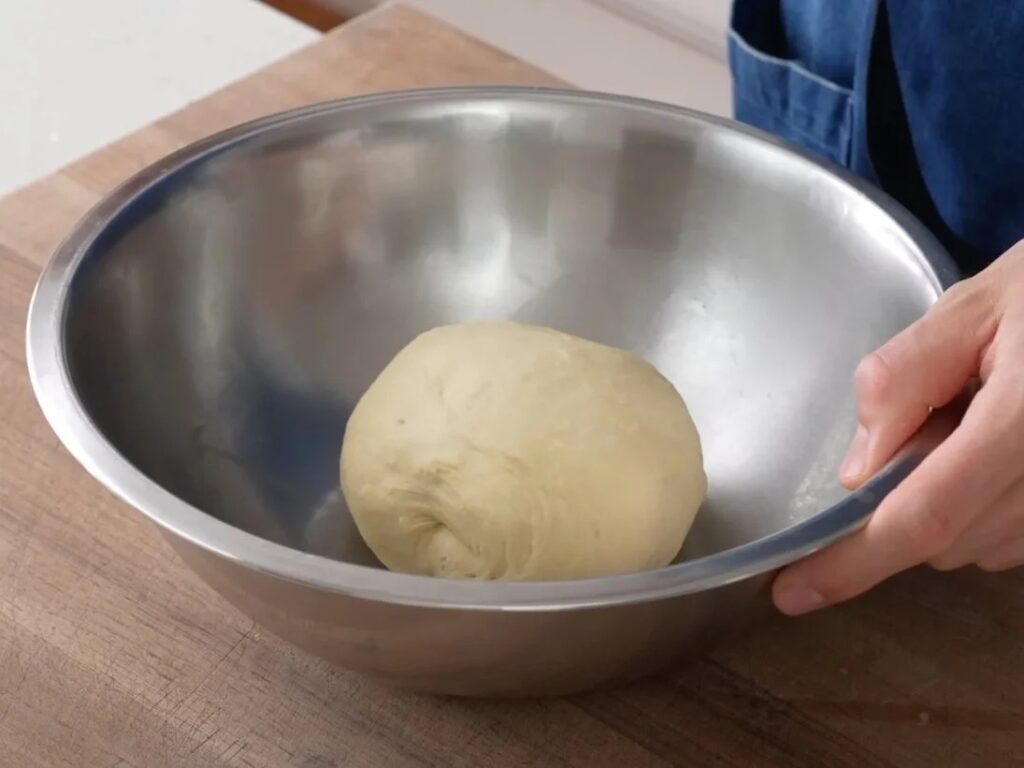
- Cover the bowl with a lid or plastic wrap and ferment for 90 minutes in a warm environment. To create that "warm environment" I turn my oven on at 350°F/175°C for about 2 minutes, then turn off the heat, creating a nice warm 90°F/32°C box where the dough can ferment.
- After 90 minutes, the size of the dough should have about doubled. If it hasn’t yet doubled, continue to ferment for a bit longer.
- Divide dough into 6 equal pieces that are about 100g each. De-gas each piece with your fingertips and shape into balls, using your fingertips and palms while rolling against your work surface to create tension across the top of the balls.
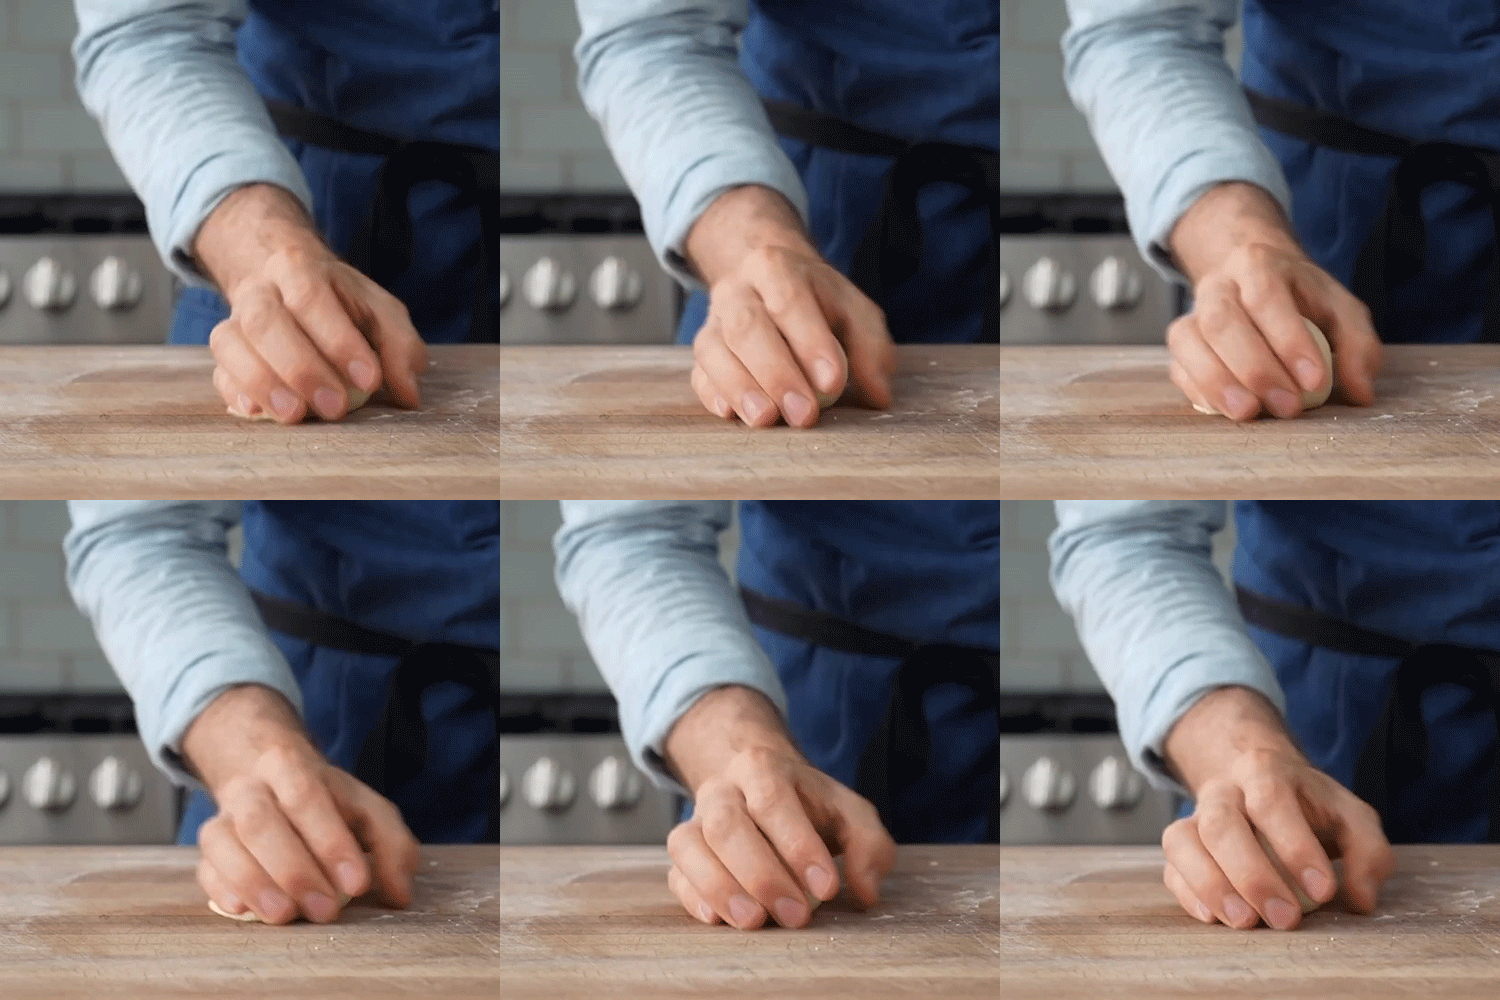
- Place shaped balls onto a parchment lined sheet tray. Cover the tray and proof again at 90F/32C for 45-60 minutes. The individual buns should have doubled in size (if not, keep proofing until they have).
- Brush each bun with egg wash and top with a spoonful of the cooled caramelized onions (recipe below), spread as evenly as possible over the top of the bun. Follow the onions with a pinch of poppy seeds and flaky salt.
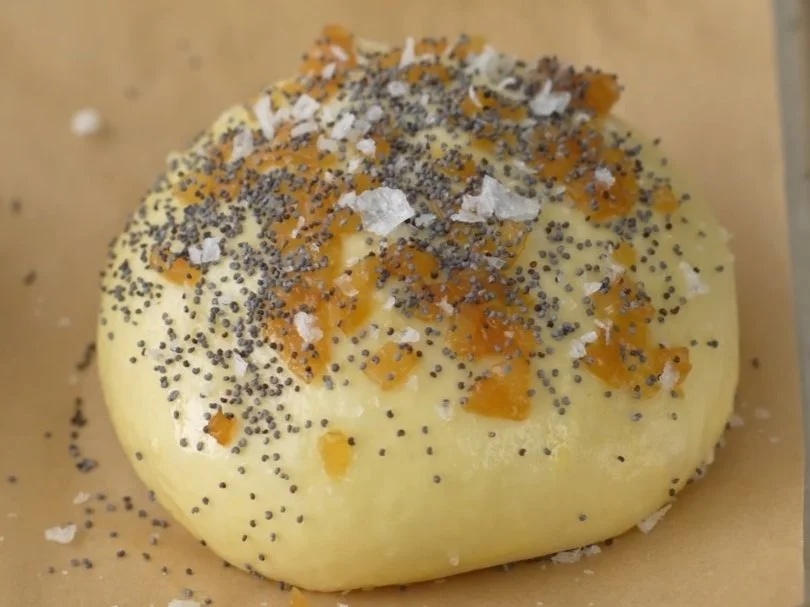
- Bake at 400°F/205°C for 15-17 minutes until golden brown, but still soft.
If you are new to making dough from scratch, I recommend watching my Youtube video linked above to familiarize yourself with the process.
TOPPINGS
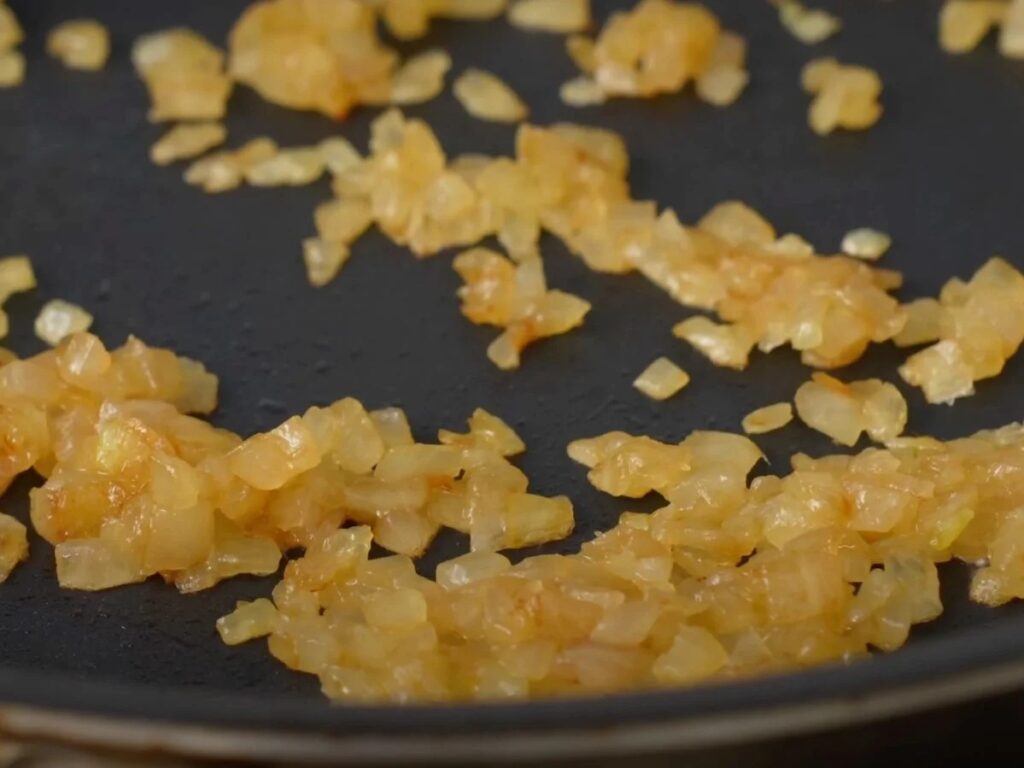
- To make the onions to top the bun, very small dice 1 medium vidalia onion.
- Add a bit of olive oil into a sauté pan over medium heat and add in the onions, a pinch of salt, a pinch of sugar, and the ¼ cup or 50g of water. Simmer to soften the onions and once the water has simmered off (about 2-3 minutes) then continue to sauté for another 4-5 minutes or until the onions have taken on some light browning. Deglaze the pan with a few more spoonfuls of water. When the water has evaporated, saute for another 4-5 minutes while stirring constantly. When done, the onions should be a nice golden brown and have almost a sticky consistency. Spread the onions out on a plate to cool.
ROAST BEEF
- Preheat oven to 550°F/285°C (or as high as your oven will go).
- Rub olive oil liberally onto all sides of the beef.
- Place the roast on a wire rack on a sheet tray. I also like to put a piece of foil underneath the wire rack to make clean up easier.
- Very liberally salt and pepper all sides of the roast.
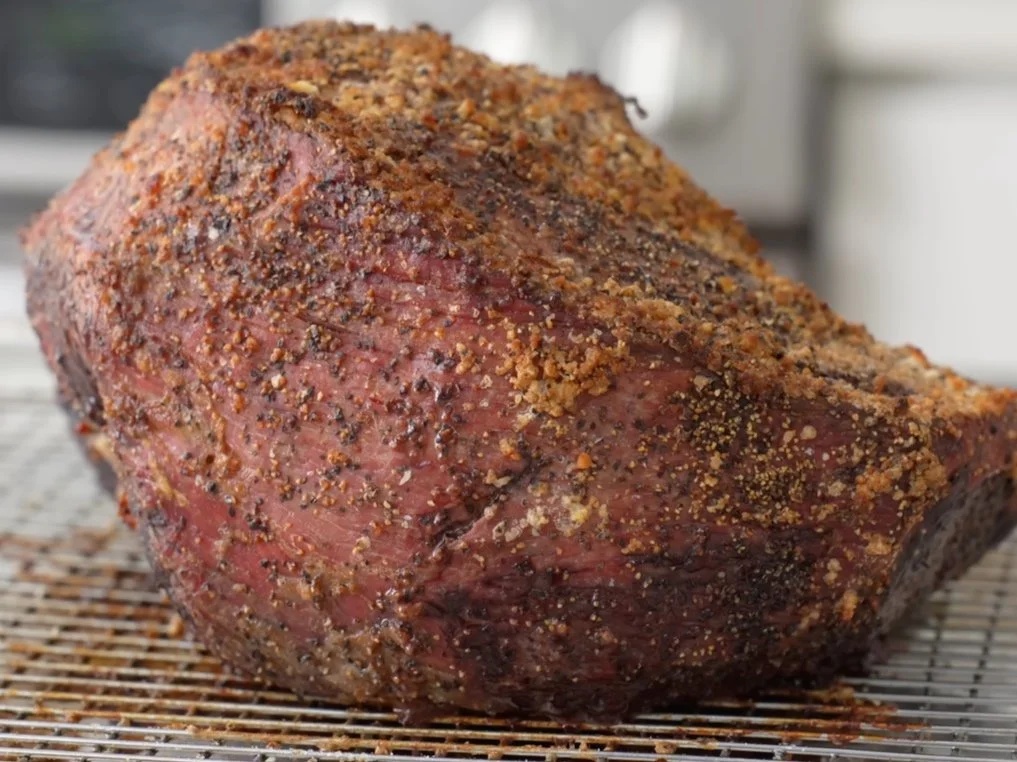
- Load the roast into your hot oven to "sear" the outside for 15-20 minutes (use convection if you have it). Reduce the oven temp to 275°F/135°C and after about 10 minutes or so when the oven temp has cooled to 275°F/135°C, load the roast back into the oven to roast for 2 hours.
- After 90 minutes to 2 hours, check the internal temperature of the meat with a meat thermometer. You're looking for around 130°F/55°C.
- Remove beef from the oven and allow it to rest for at least 30 minutes before slicing.
TANGY SAUCE (Arby’s Sauce dupe)
- Mix with an immersion blender
CHEESE SAUCE
- Add corn starch to cheddar and mix well to coat. Use the largest holes on a box grater to grate your own. Packaged pre-shredded cheeses often include anti-caking agents that make them melt in a weird way.
- Add the cheese corn starch mixture into a medium sized saute pan then add in evaporated milk. Heat over low heat and stir frequently to melt for about 5 minutes.
- When mixture reaches a low simmer it should start to thicken. Be sure to scrape the bottom of the pan well with a spatula or wooden spoon to prevent scorching. If the mixture gets too thick, stir in a splash more evaporated milk.
BUILDING THE SANDWICH
- Slice an onion roll across, and toast in a well buttered pan until toasty and golden brown.
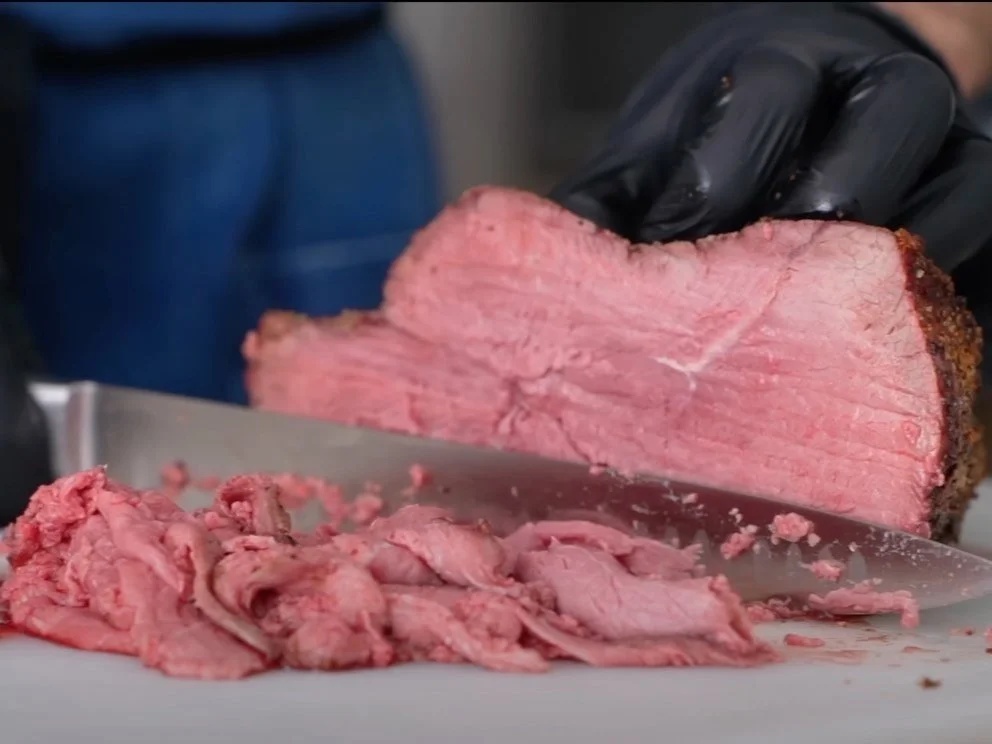
- Slicing the meat: If you don’t have access to a meat slicer, you can use a “slicer” knife to slice the meat as thinly as possible. We’re going for shaved pieces here. Thicker pieces will give you a more steaky, chewy texture and that’s not what we’re going for. If you DO have a meat slicer, use that to shave the beef very thin.
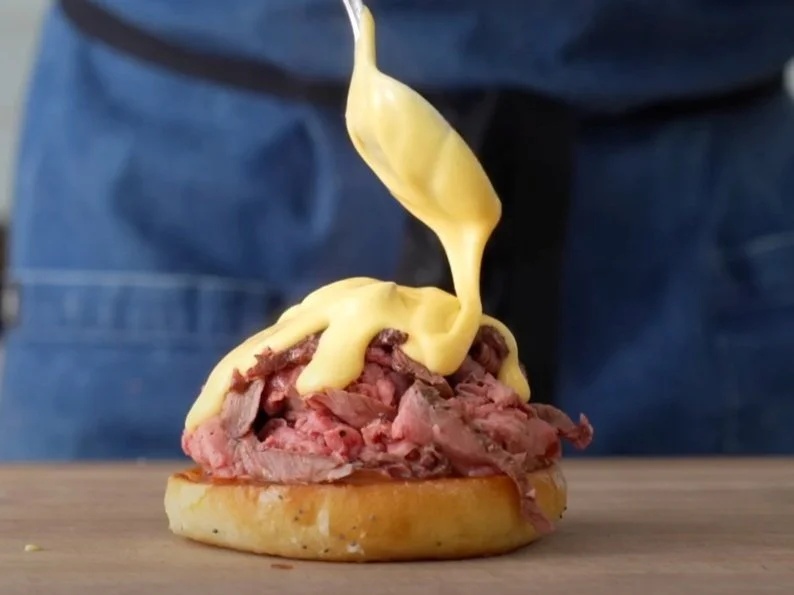
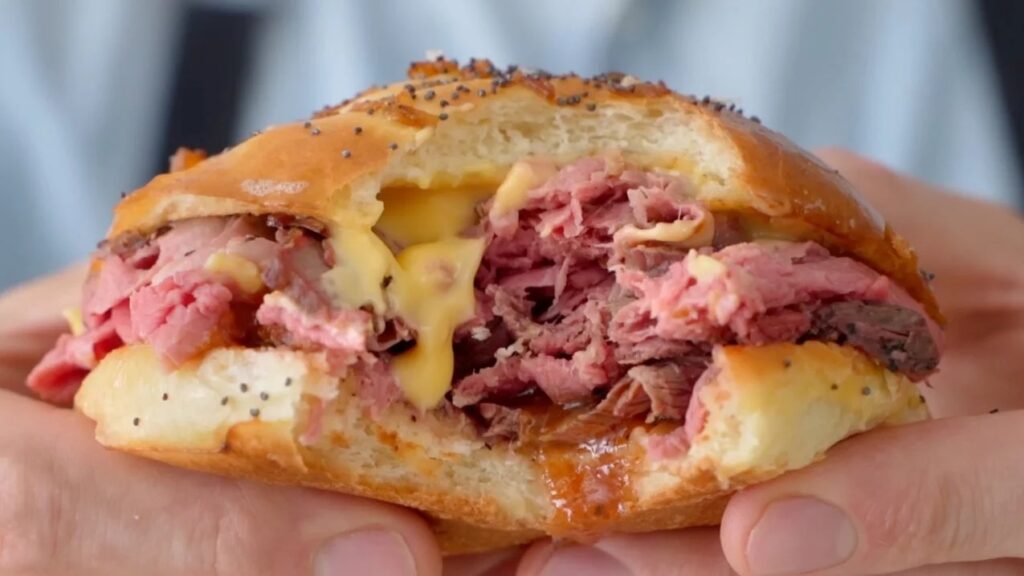
- Add a generous amount of tangy sauce to the bottom bun, followed by a handful of your shaved beef slices. Top with a few large spoonfuls of the cheese sauce and the toasted top bun. Squish and enjoy.
 Like this? Leave a comment below!