
This post contains affiliate links. Please see our disclosure policy.
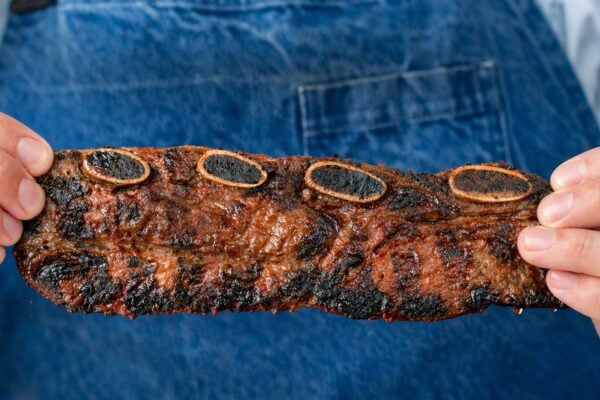
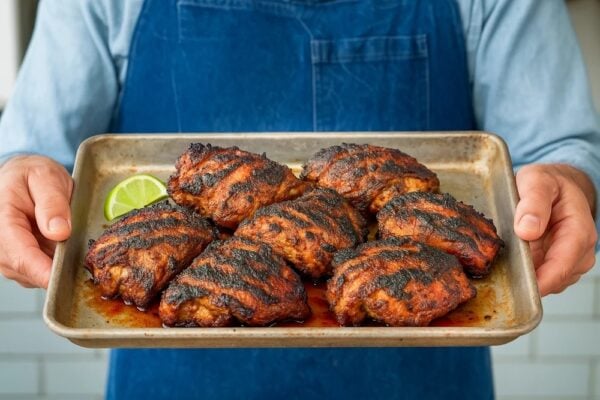
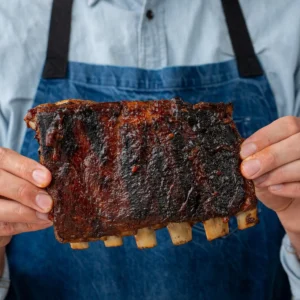
St. Louis style ribs, slow-roasted until tender, then lacquered and charred on the grill with a sticky homemade onion BBQ sauce. These are backyard cookout ribs at their best. They’re nostalgic, deeply satisfying, and easy to get right.
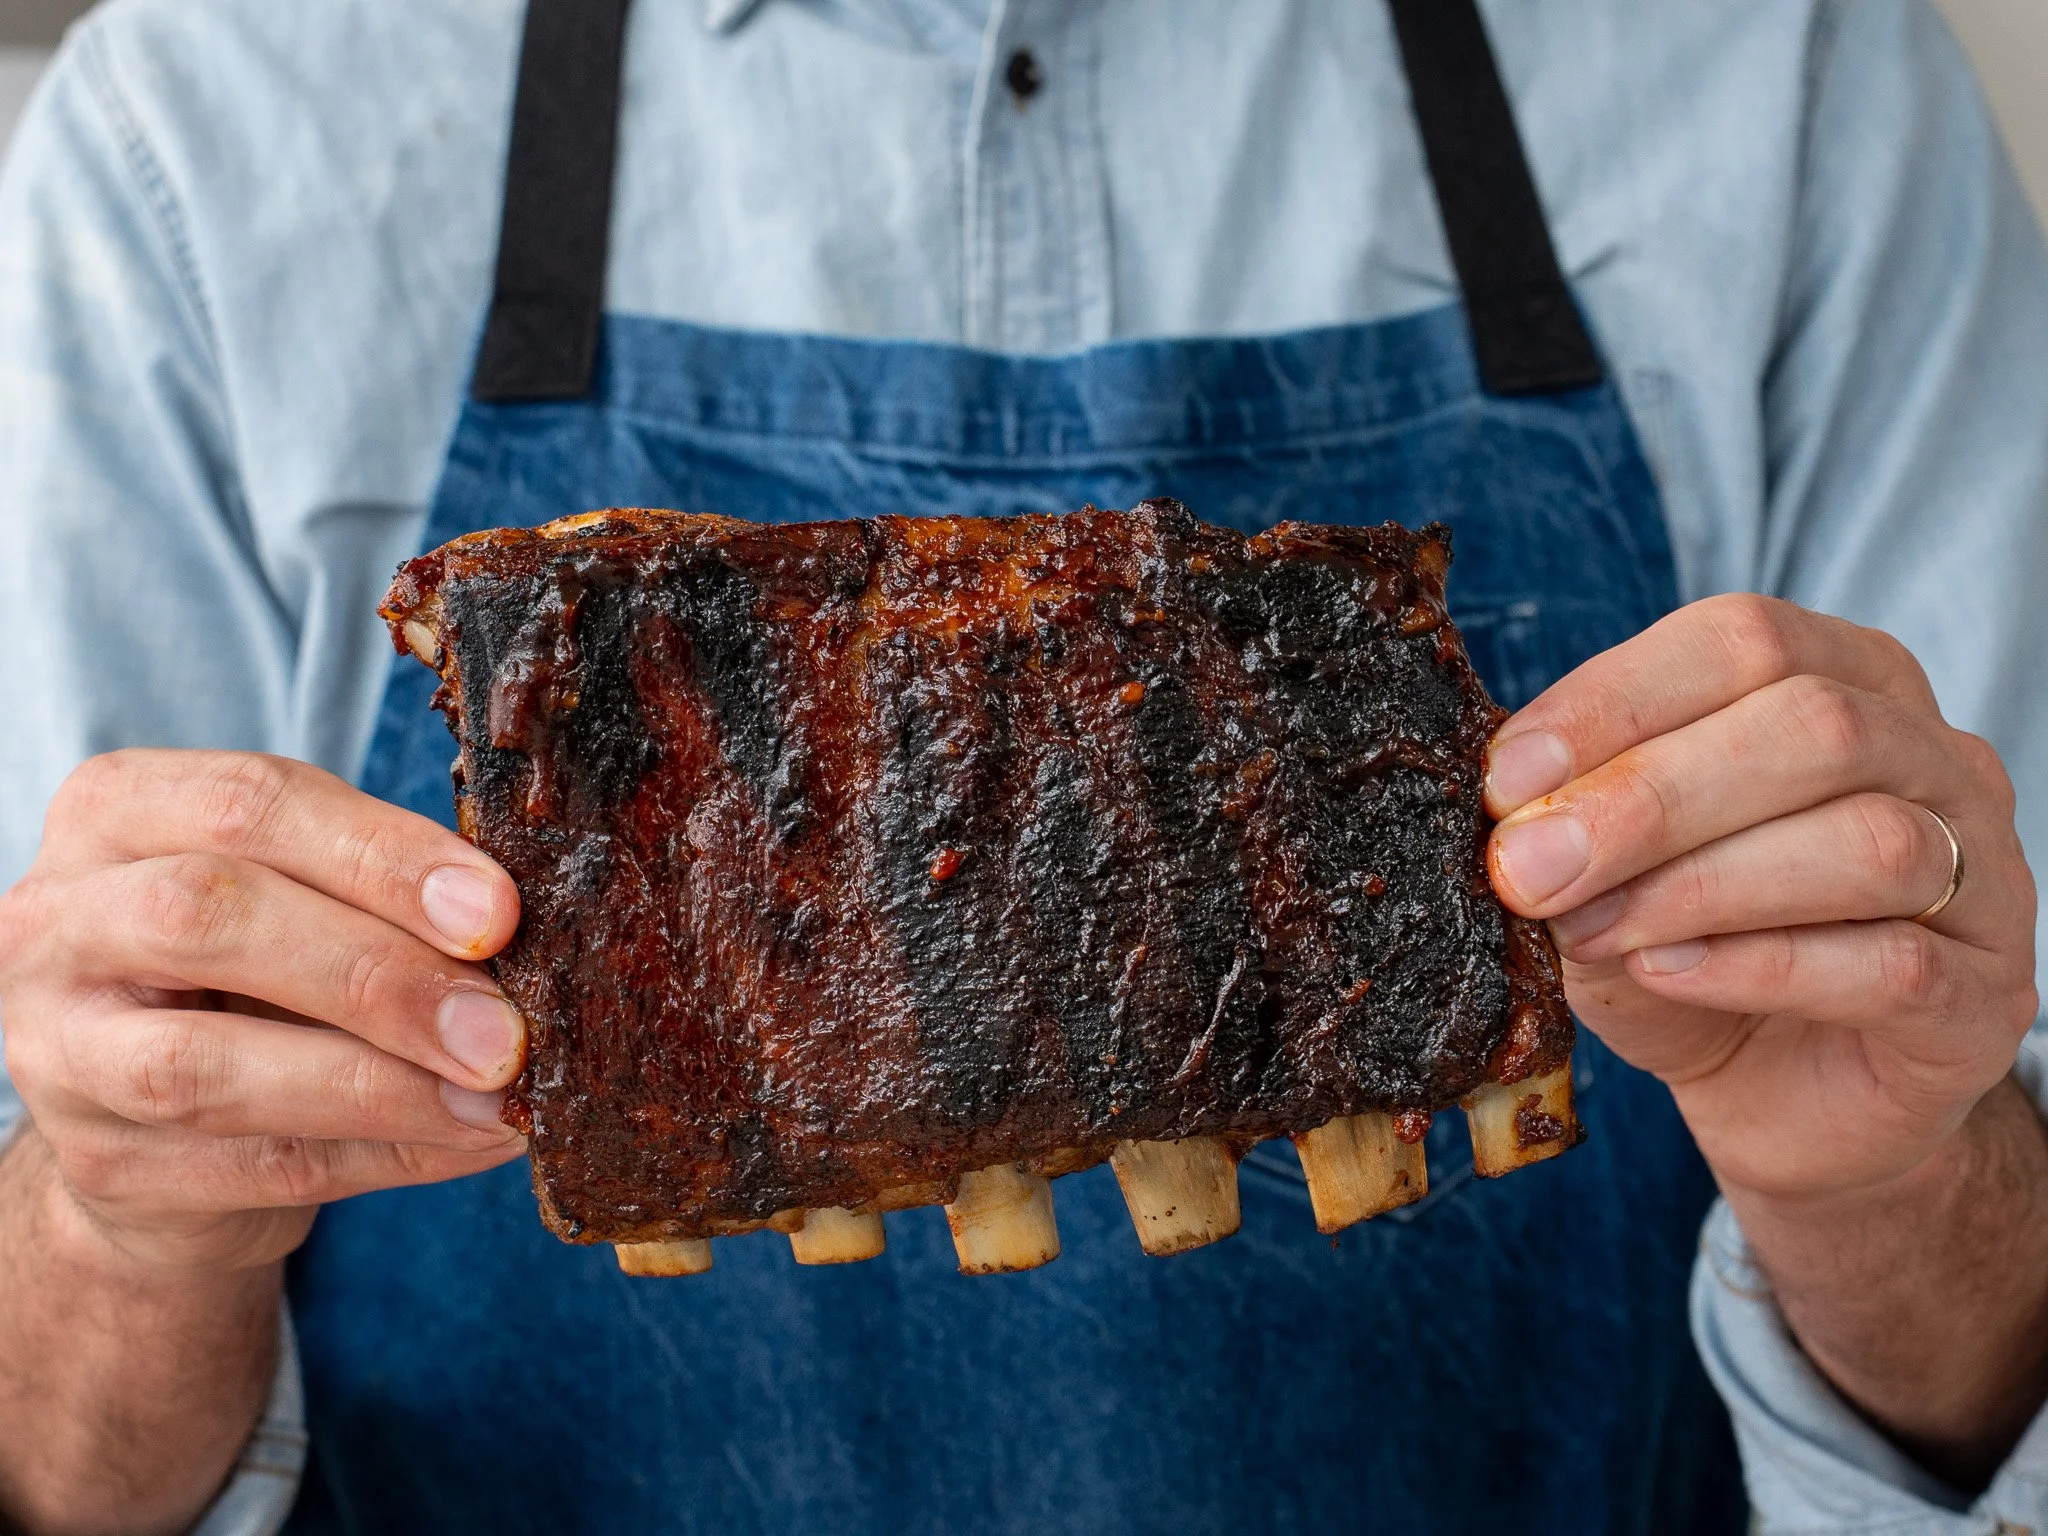
Table of Contents
Why This Dad Ribs Recipe Delivers
First, the ribs get on overnight dry brine so the meat is deeply seasoned and more capable of holding on to its juices during cooking. Then they roast low and slow in a foil package just long enough to melt the collagen into unctuous gelatin, but not so long that the meat falls apart.
Once the ribs are perfectly tender we bring in the high heat of the grill to add some charred flavor and to build up a few layers of sticky BBQ sauce glaze. The sauce is DIY and very worth the 10 minutes it takes to make. Overall this is a very simple recipe that most people get wrong. My goal was to dial in all the small details that give us a better final result. No single step is magic on its own, but when you stack the RIGHT steps in the RIGHT order, you get a result that is truly exceptional.
Brian’s Pro Tip’s
Skip the Sugar in the Rub – The rub leaves out sugar on purpose. These ribs get lacquered in a pretty sweet BBQ sauce later on. Sugar in the rub would add nothing but more fuel to burn during the grill phase. The all-savory rub keeps the emphasis on the roasted pork flavor and lets the sauce handle the sweetness.
Double Wrap Foil – A single layer of foil is delicate and prone to rips as the bones start to jut out of the rib. A double layer is rip-proof, creates a tighter seal that traps more steam, so the ribs cook more evenly.
“Falling Off the Bone” Is Overcooked – A lot of people use “fall of the bone” as the benchmark for great ribs. Too me that’s actually a sign they’re overcooked. When the meat slides off the bone before you take a bite, it has usually lost too much of its texture and moisture to excessive cook time. I think ribs are at their best when they’re tender enough to pull cleanly from the bone as you bite, but still have a small amount of resistance. This gives the meat a much more interesting, satisfying texture. It breaks down in your mouth as you chew instead of on the cutting board. It’s a subtle distinction, but there’s a sweet spot between chewy and mushy. That’s what the recipe aims for.
Build the Glaze in Thin Layers – Sauce the ribs every time you flip them. The goal is to build thin layers of glaze, not one thick wet coat at the end. Each layer should hit the heat, tighten up, and get sticky before the next one goes on. Keep the grill around medium and stay close by. There’s molasses in the sauce and it can go from glazed to burnt fast.
Rest Before the Char – Give the ribs 20 minutes out of the oven before they hit the grill. Straight from the foil, they’re more likely to drip juices and fat onto the fire. That can dry out the ribs and causes flare-ups. A short rest gives you juicier meat and a cleaner, more controlled char.
Key Ingredient Notes & Substitutions
Below are some of the key ingredients that I want to call out in this recipe. You’ll find the full list of ingredients and amounts in the recipe card below.
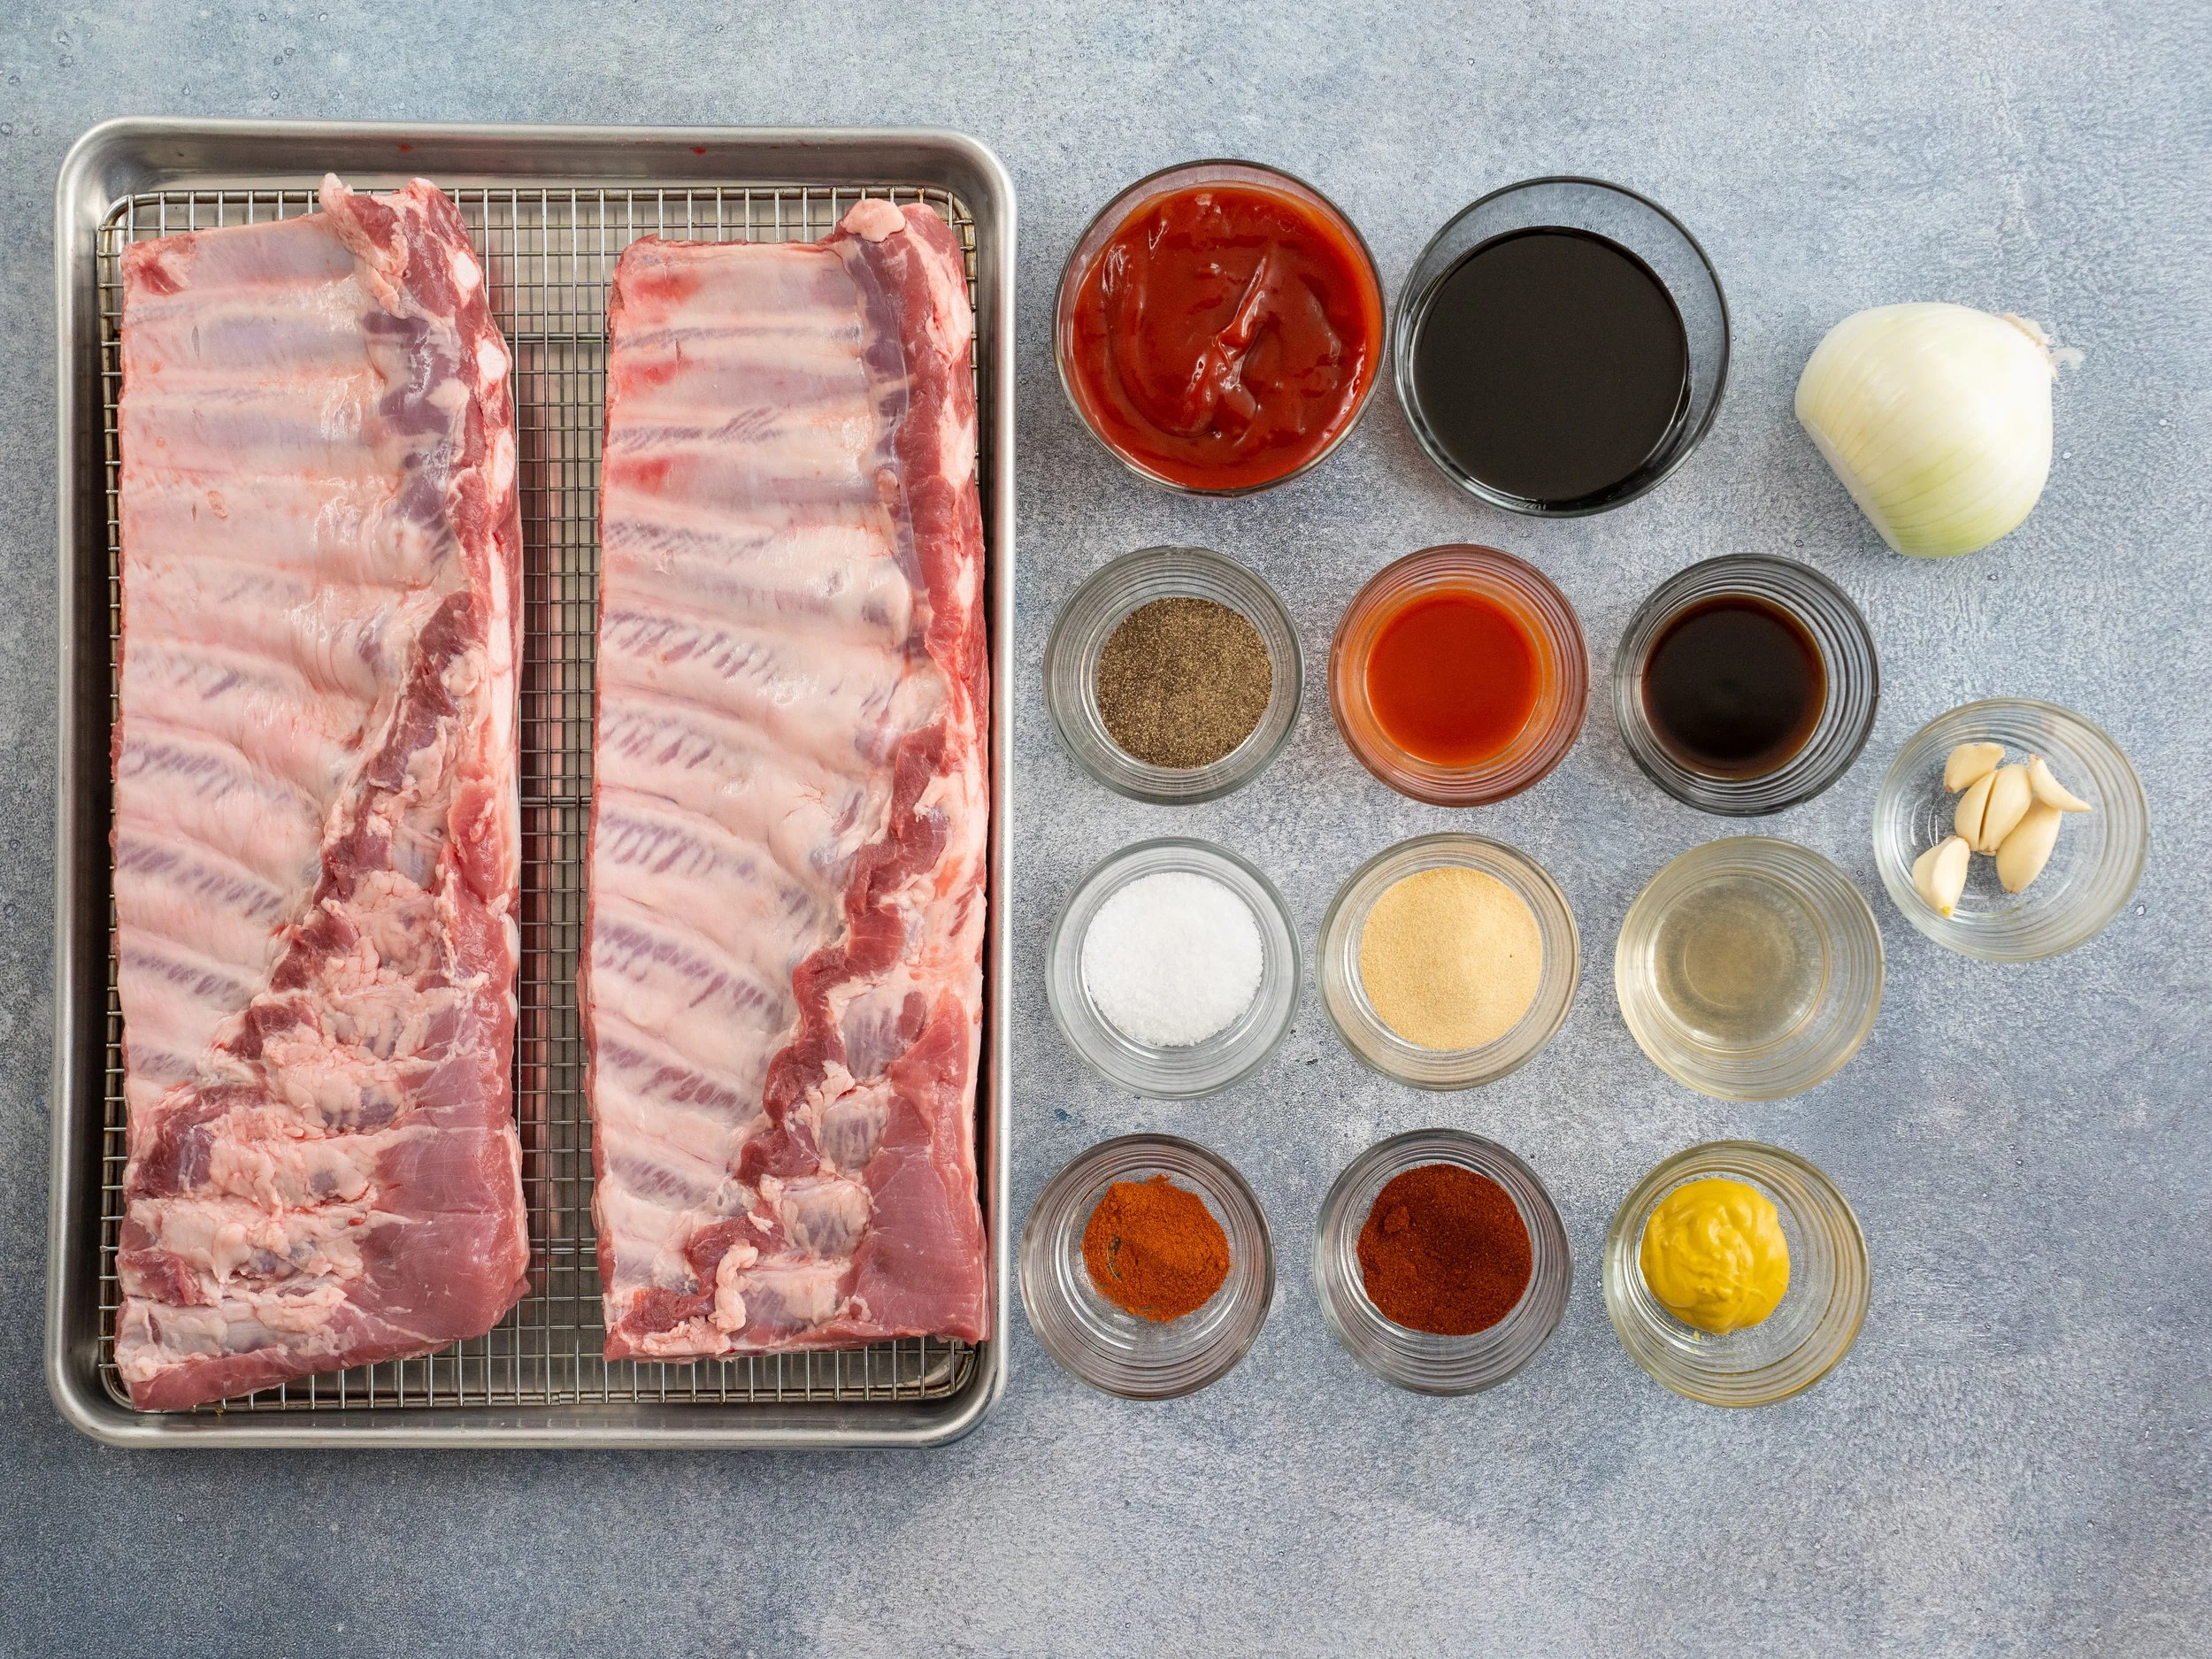
St. Louis-style ribs – These are flatter, fattier than baby backs. Baby back ribs often carry a layer of lean pork loin on top that can dry out during a long cook. Baby backs are so curved that the meat side sits on the grill like an upside-down watermelon and only the high spots touch. This means uneven char, sticking, and meat ripping when you try to move them. St. Louis ribs lie flat and take the glaze evenly.
White onion, grated not chopped – Grating the onion instead of dicing breaks it down into a pulp that melts into the sauce as it cooks. You get full onion flavor and natural sweetness with no chunkiness. This keeps the final sauce smooth and cohesive. After grating, run your knife through the pulp a few more times to get it totally broken down.
Molasses – Molasses is the ideal sweetener here because it brings a deeper, darker sweetness than plain sugar. This helps the BBQ sauce taste more rounded than just sweet. It also gives the sauce that sticky, glossy texture you want for grilled ribs. If you don’t have molasses, brown sugar is a solid substitute since it already has some molasses flavor built in.
How To Make Dad Ribs
Prep and Season the Ribs
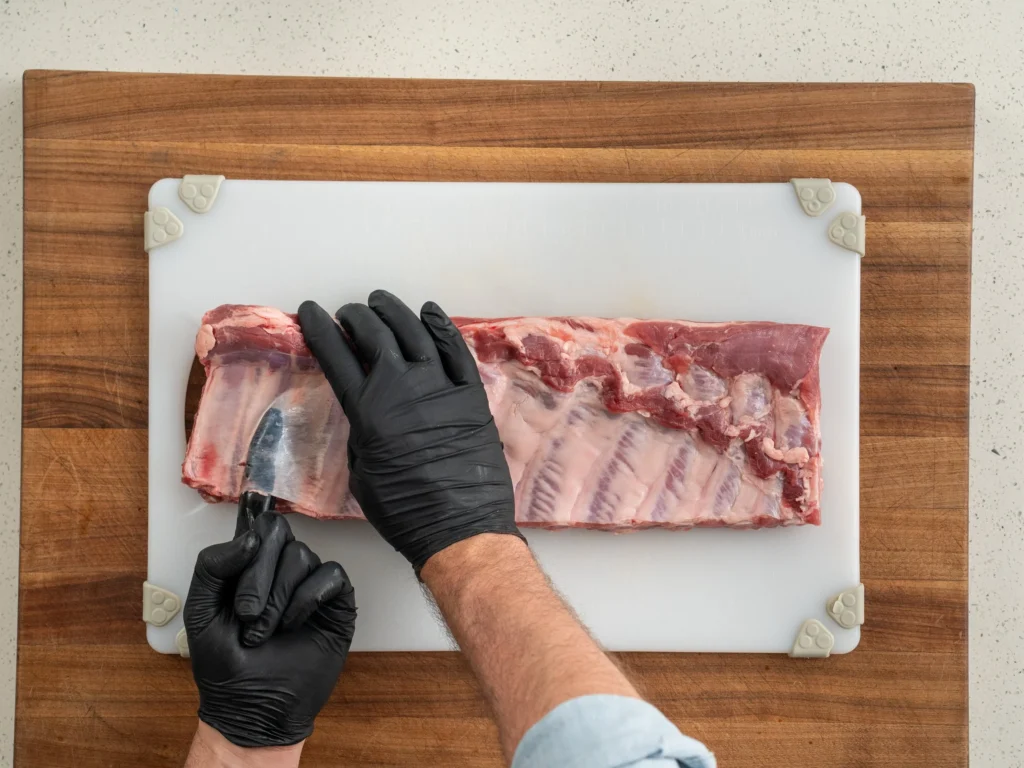
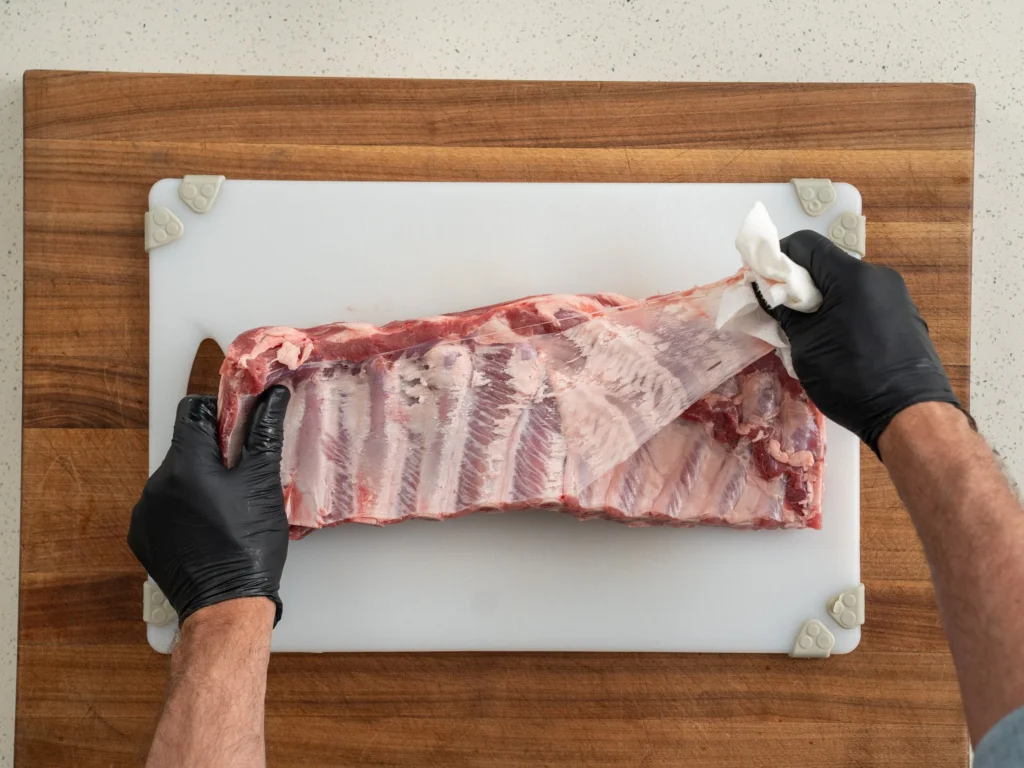
1. Remove the membrane. Flip the slabs bone side up, slide a butter knife between the membrane and back of the rib bone at one end of the slab. Twist the knife to create space then slide a finger underneath to loosen it. Once you’ve released a sizable flap, grab it with a dry paper towel and rip it off. This membrane never breaks down no matter how long you cook it so it has to go.
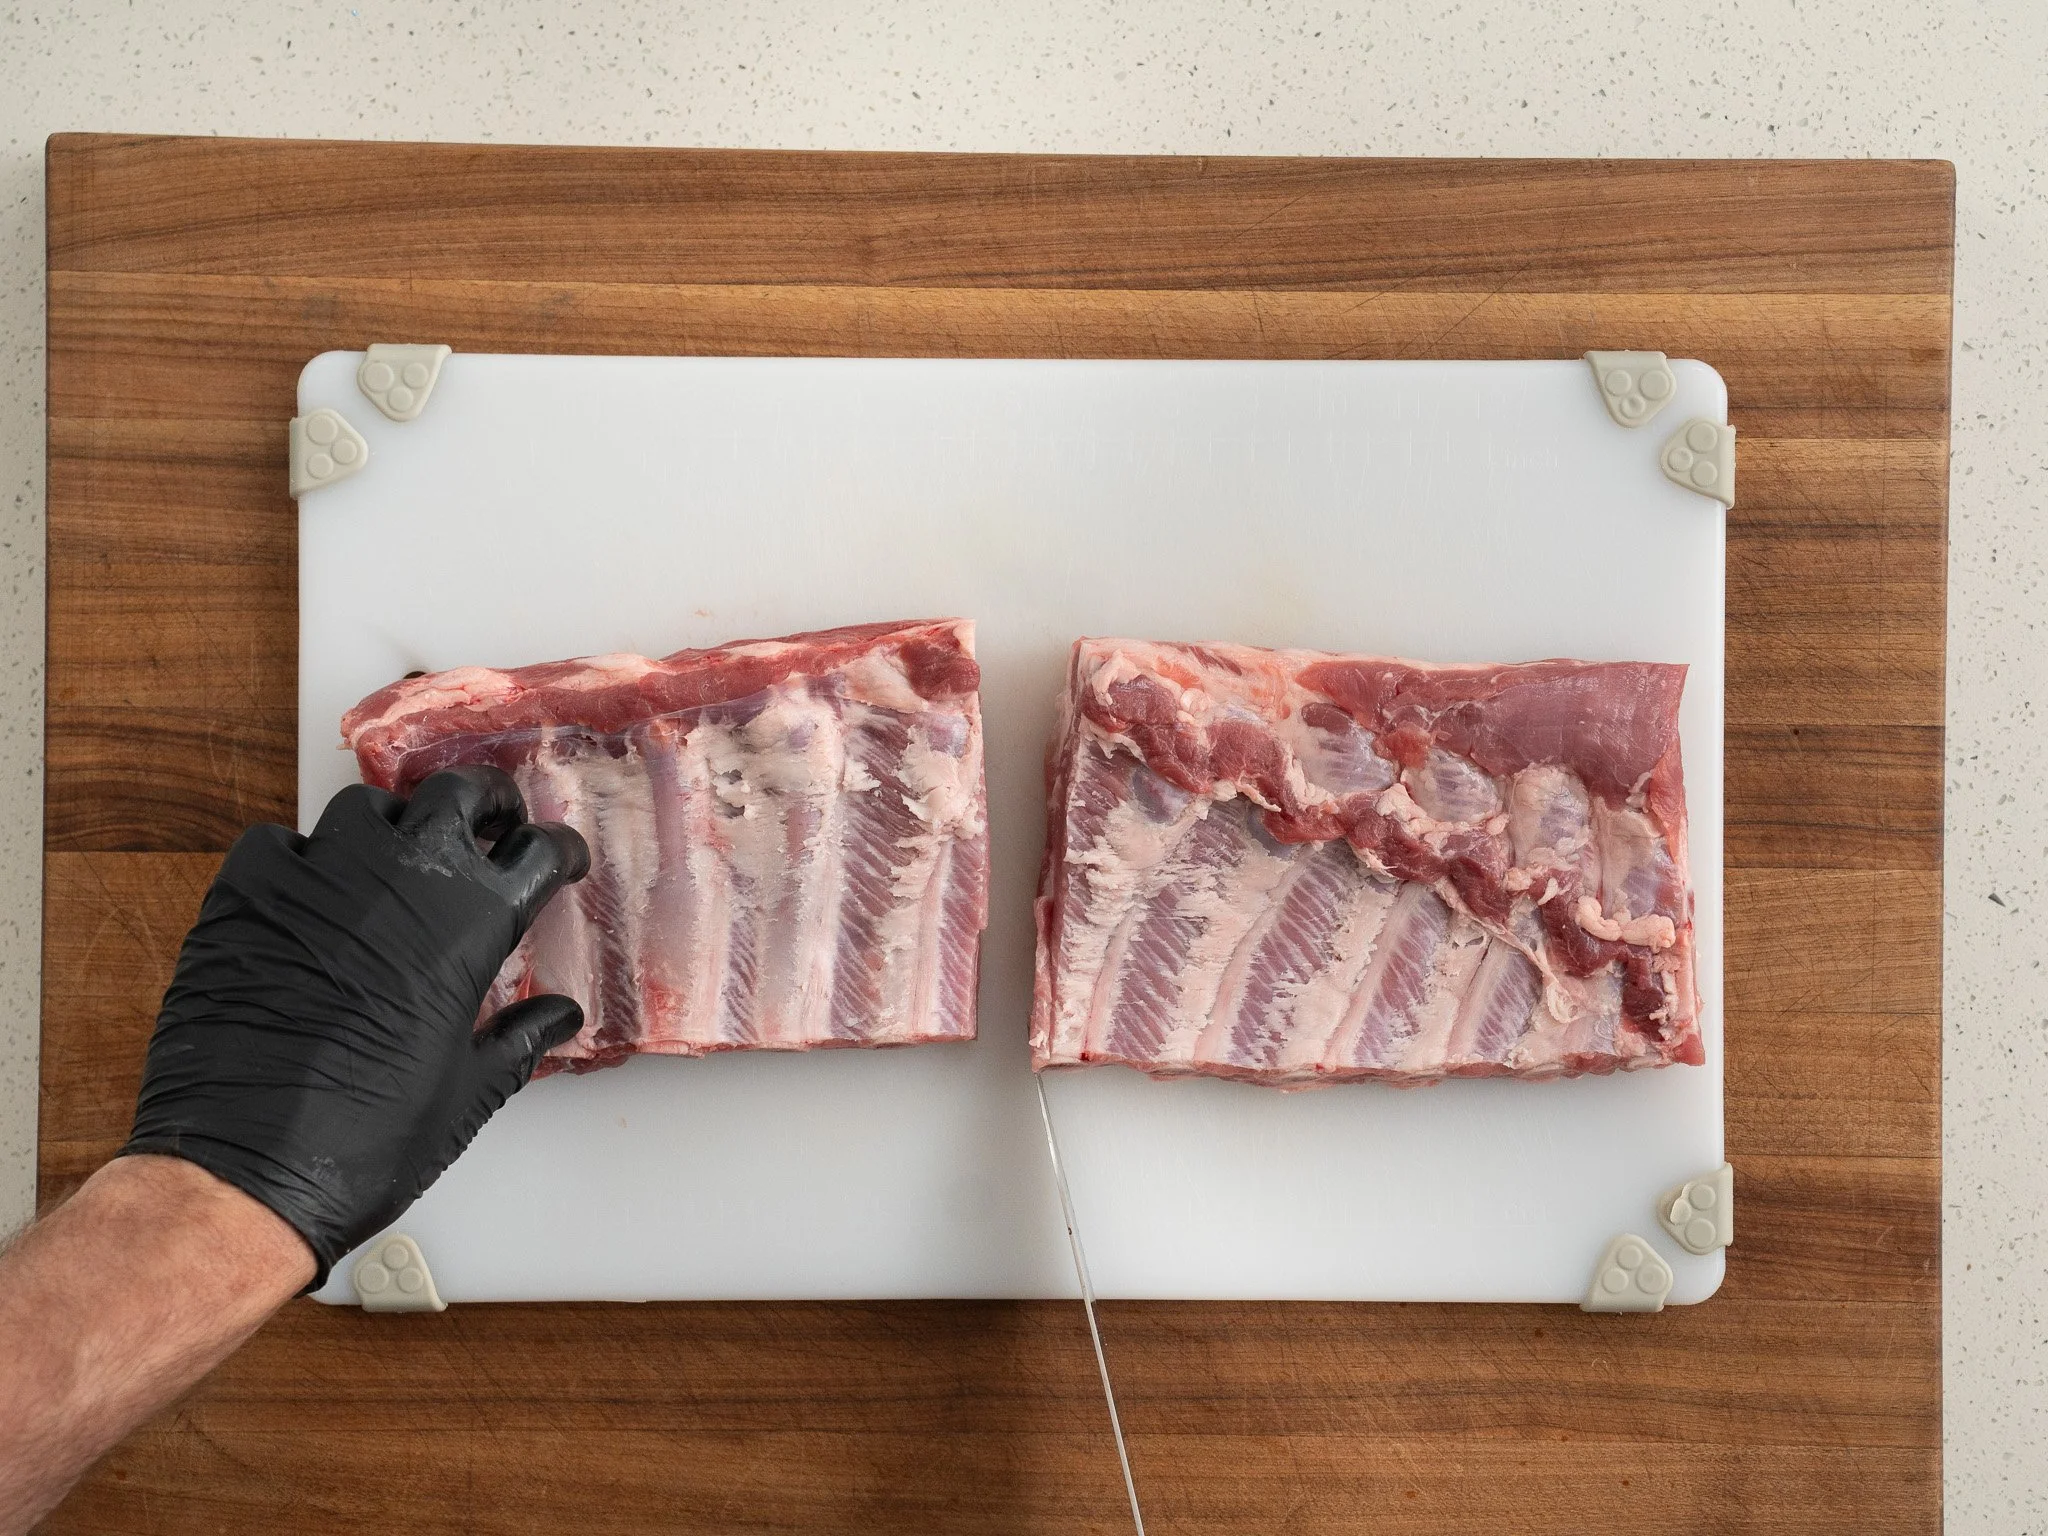
2. Cut each slab in half. Approximate the halfway point and cut in half between bones.
Why Half Slabs? They’re much easier to wrangle on the grill. Especially after 3 hours in the oven the meat is going to be quite tender, and trying to flip a whole slab would probably shred the meat off the bone.
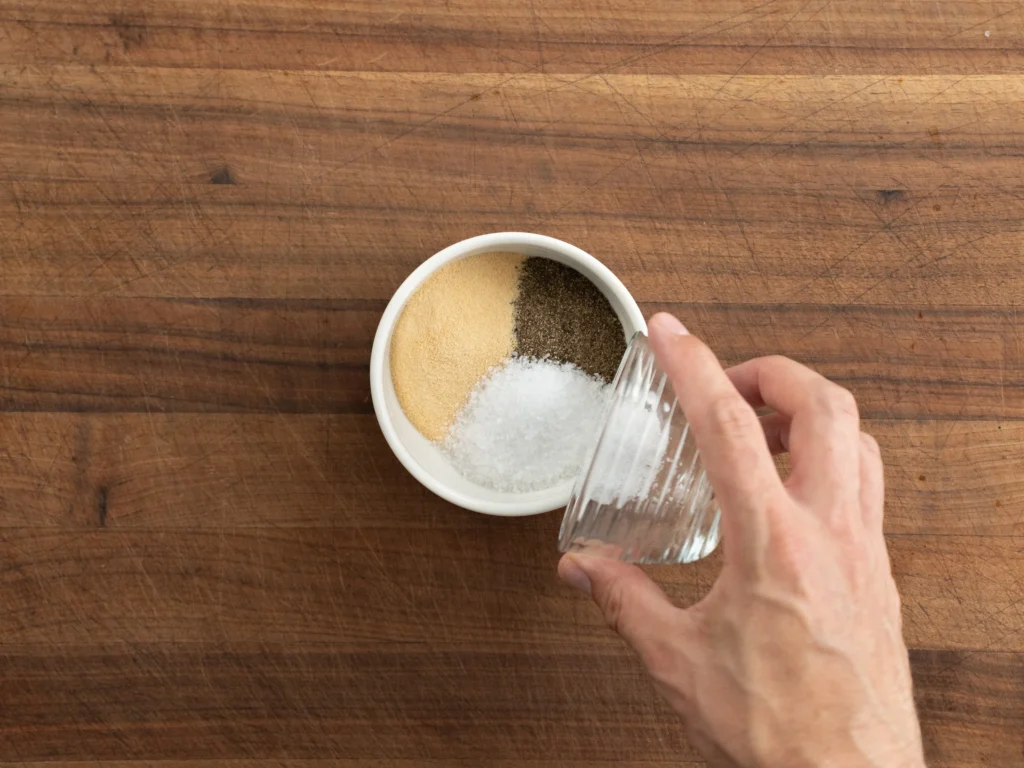
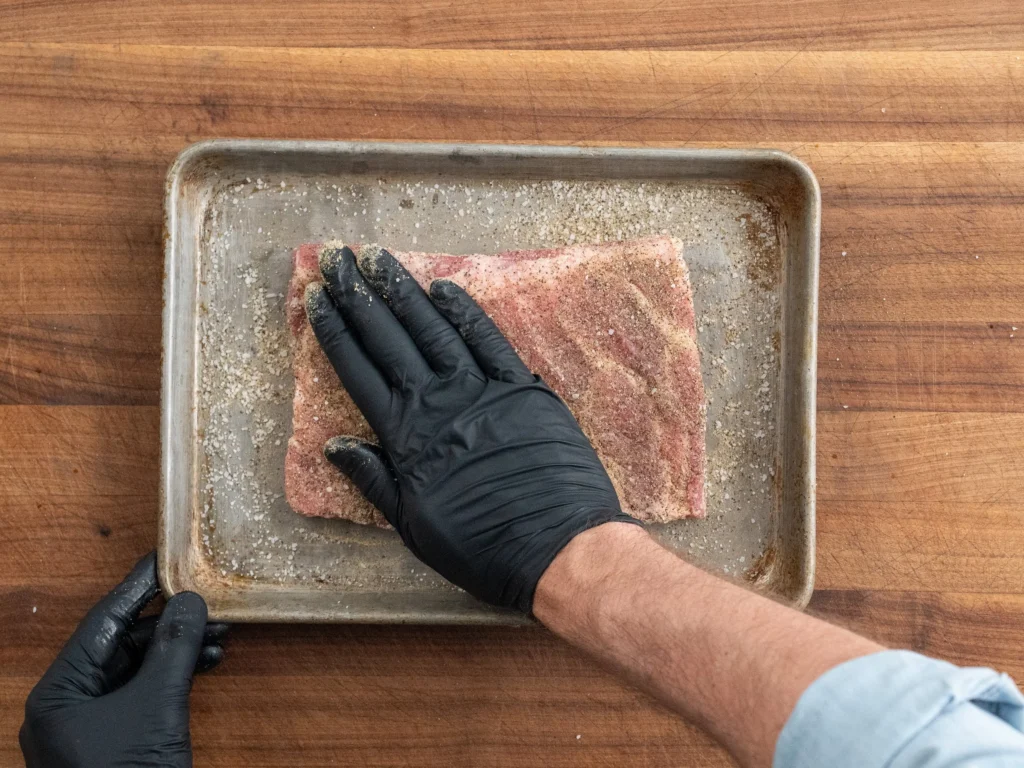
3. Mix the rub and season heavily. Stir together 30g salt, 15g black pepper, and 15g garlic powder. Divide the mixture into fourths then press one entire portion onto each half slab.
Tip: Work over a sheet tray so the rub that falls off can get pressed back on.
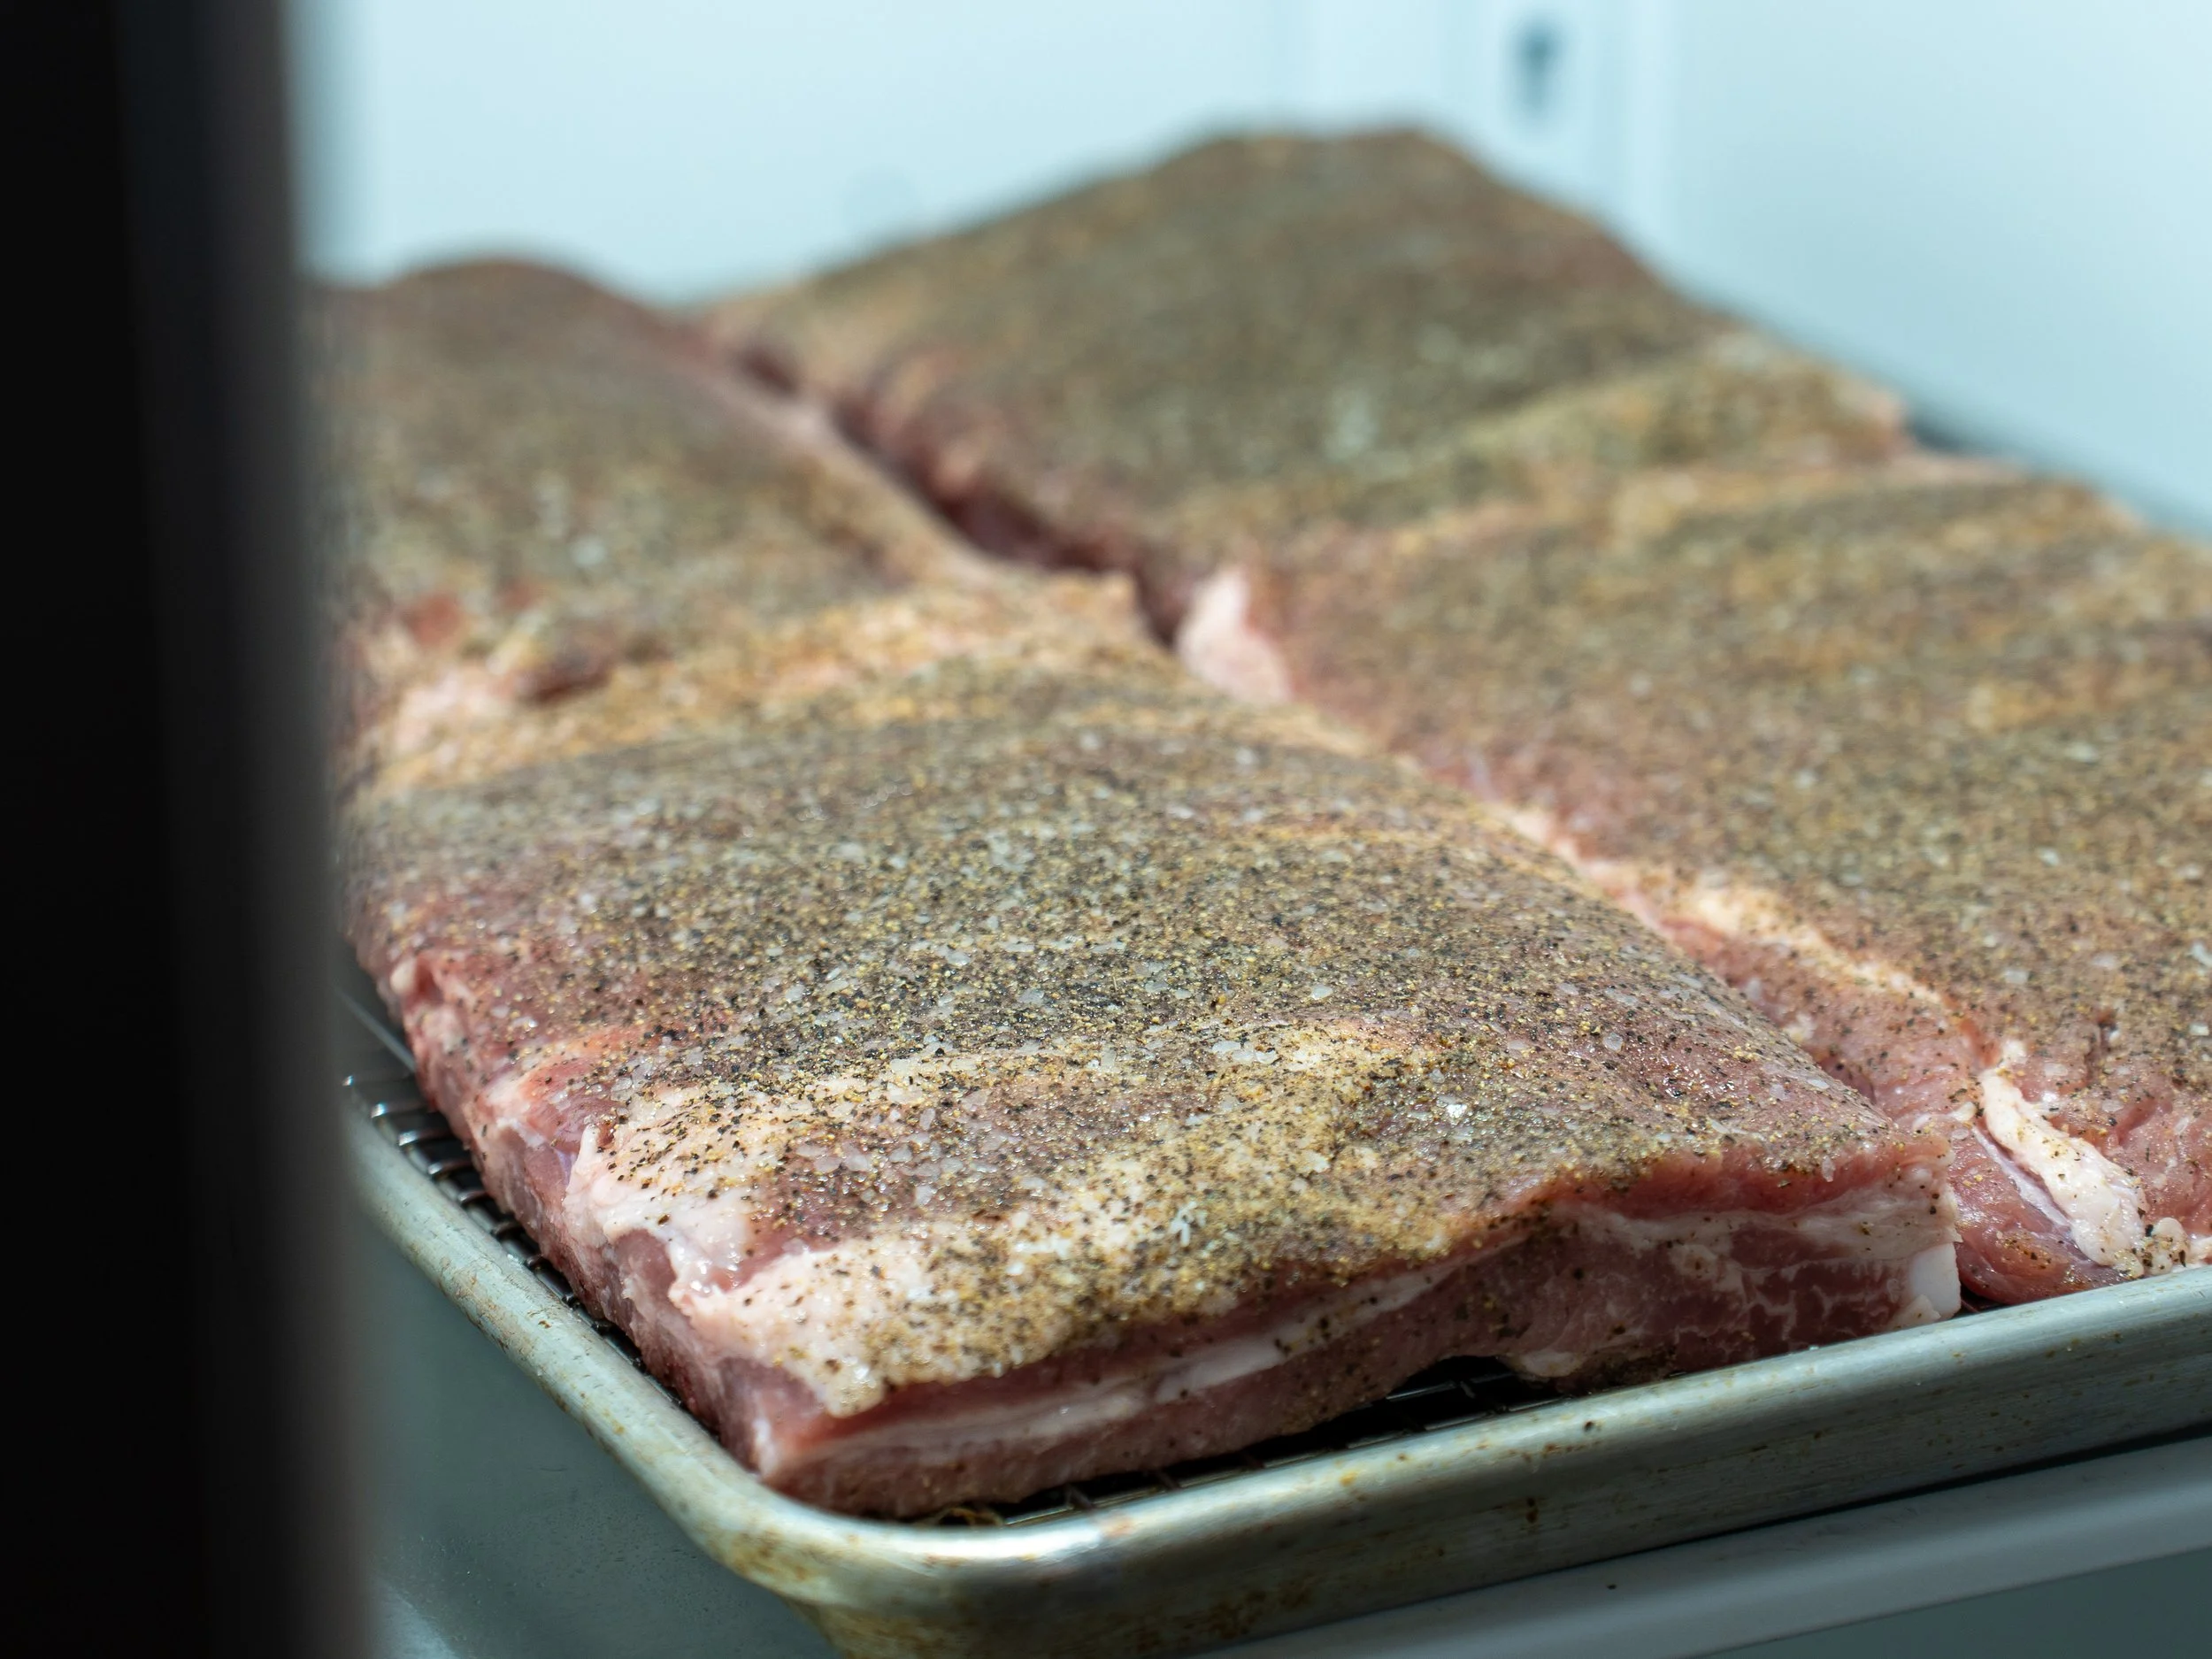
4. Refrigerate overnight, uncovered. I like to refrigerate for 12-18 hours, uncovered on a wire rack (for air flow). Seasoning overnight works like a dry brine: the salt pulls moisture to the surface, dissolves into it, then gets pulled back into the meat, so the ribs are seasoned deeply instead of just on the outside.
Can I shorten the overnight rest? Yes, 1 to 2 hours is better than nothing. But overnight is where you get the best flavor and the most even seasoning. Plus making the day ahead simplifies the day-of cooking.
Roast the Ribs
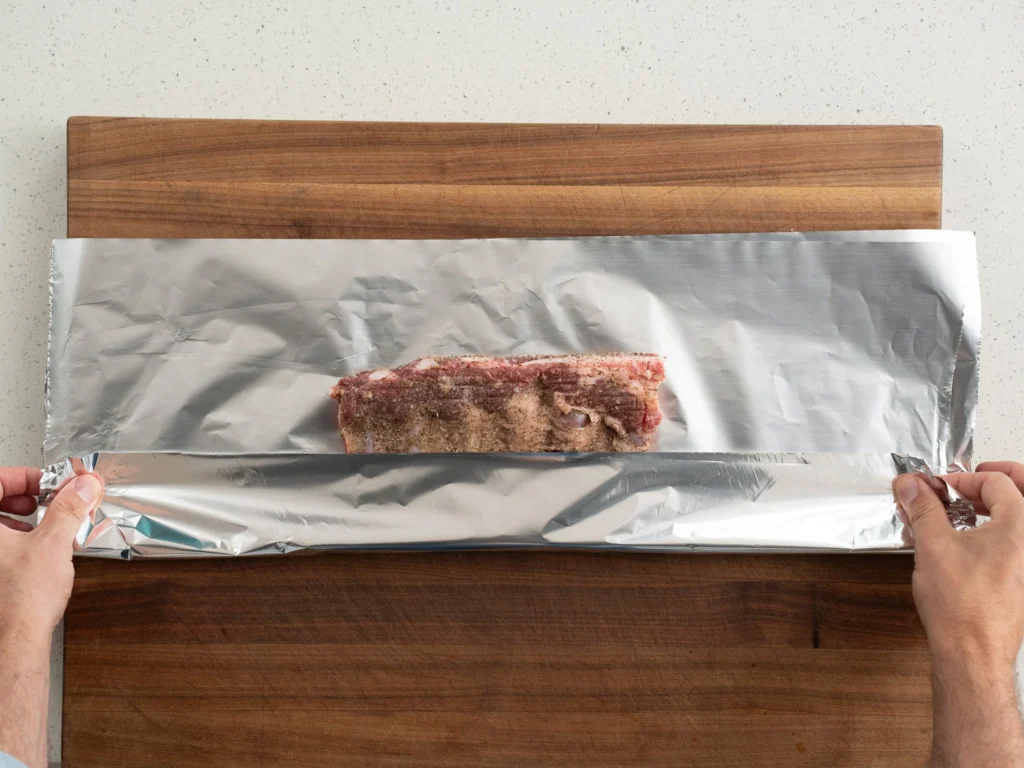
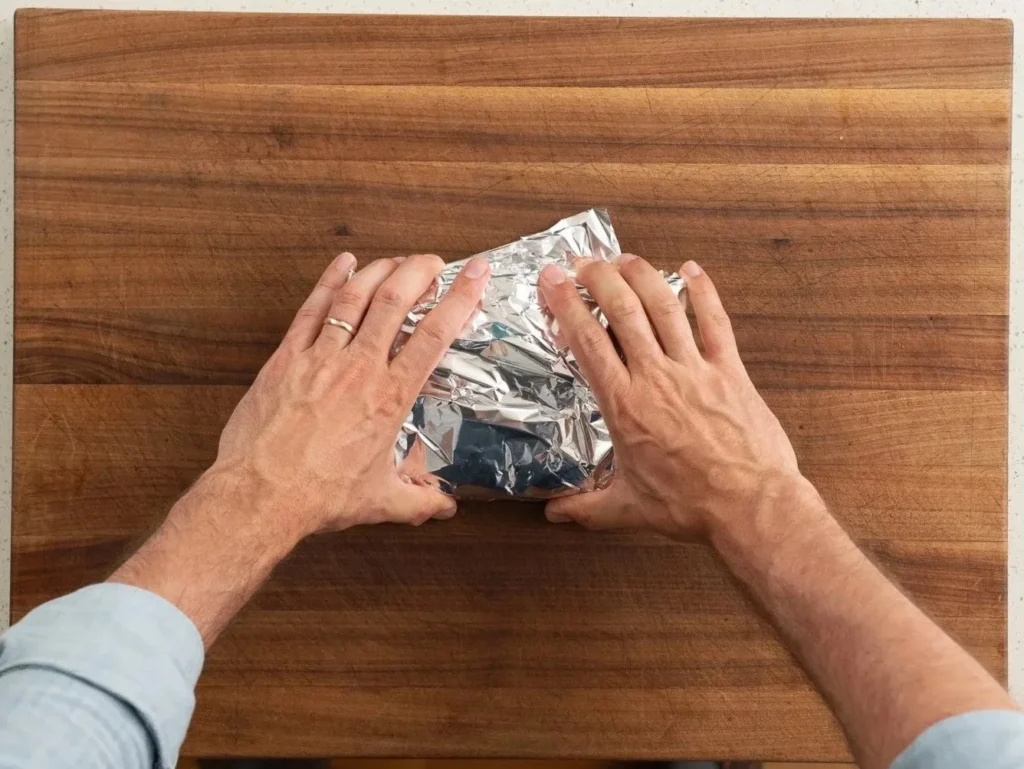
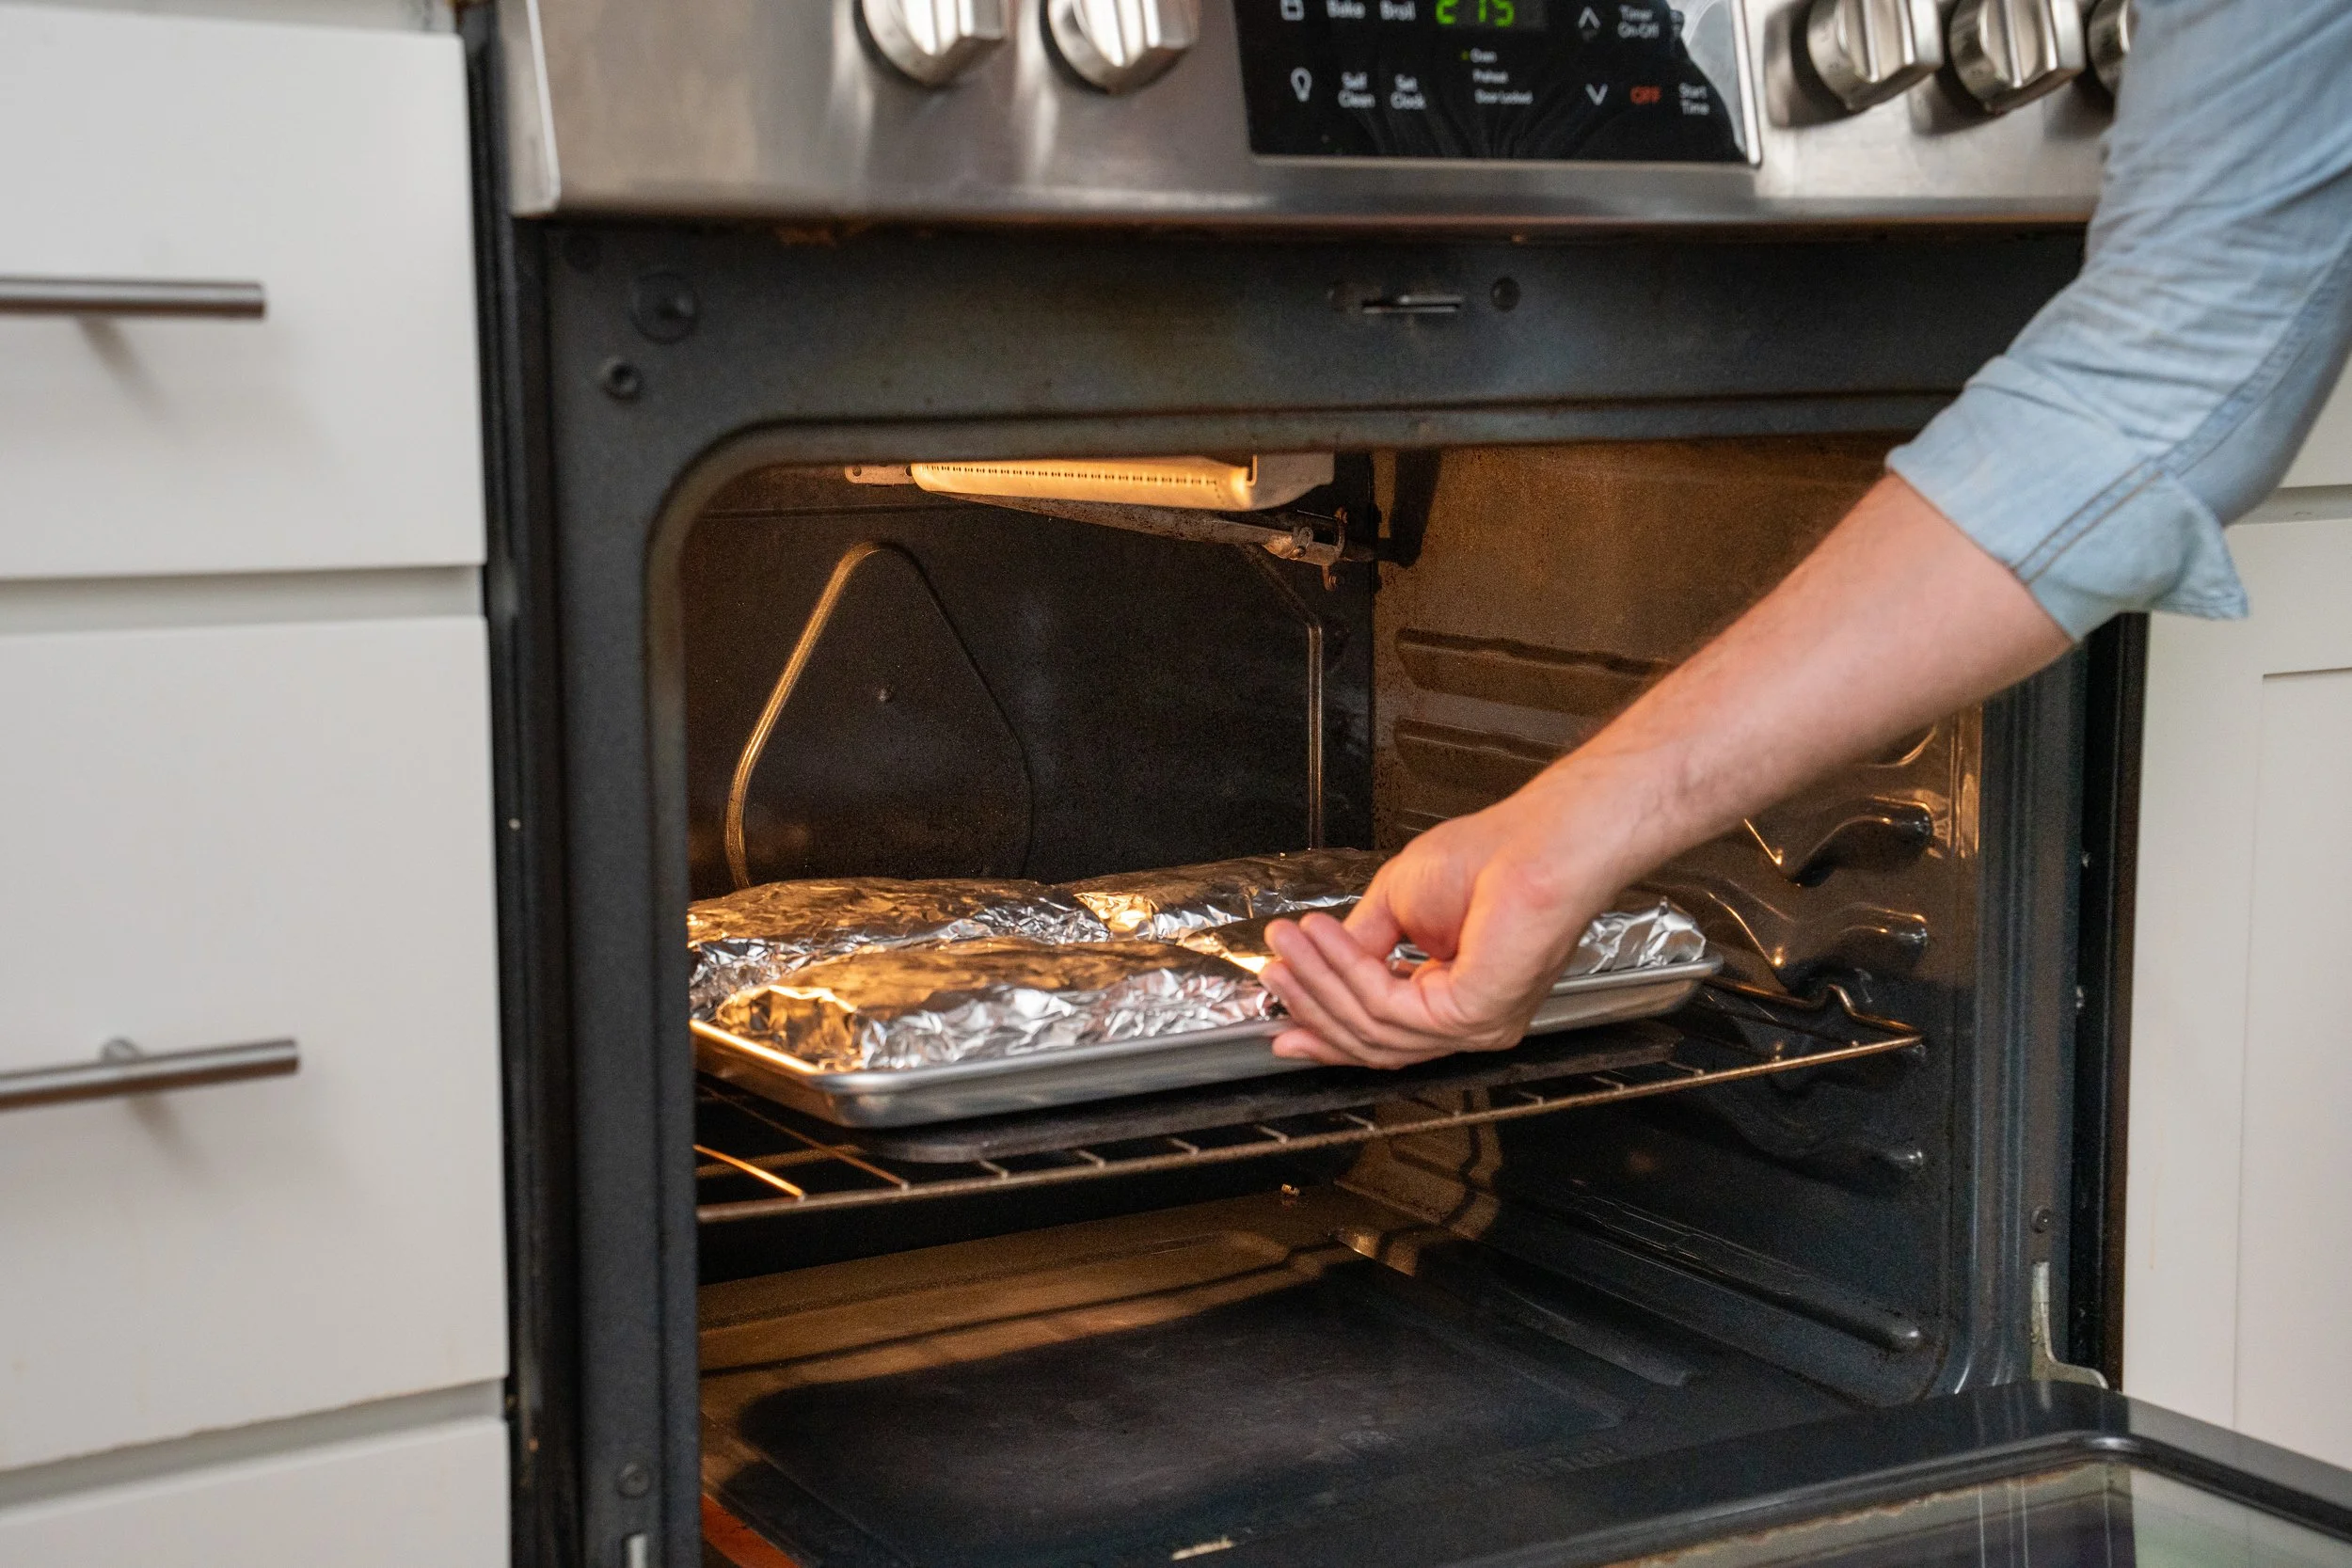
5. Double-wrap and roast at 275°F for 3 hours. Preheat the oven to 275°F/135°C. Wrap the ribs in two full layers of foil, set the meat packets on a sheet pan, and roast for 3 hours. The foil traps moisture so the ribs braise in their own juices and fat the whole time.
Why such a low heat? In general, the lower the temp, the more unctuous and juicy the meat. But excessively low temps will lead to 5 and 6 hour cook times. 275°F is a good sweet spot of fast enough to be practical, and low enough to be super succulent.
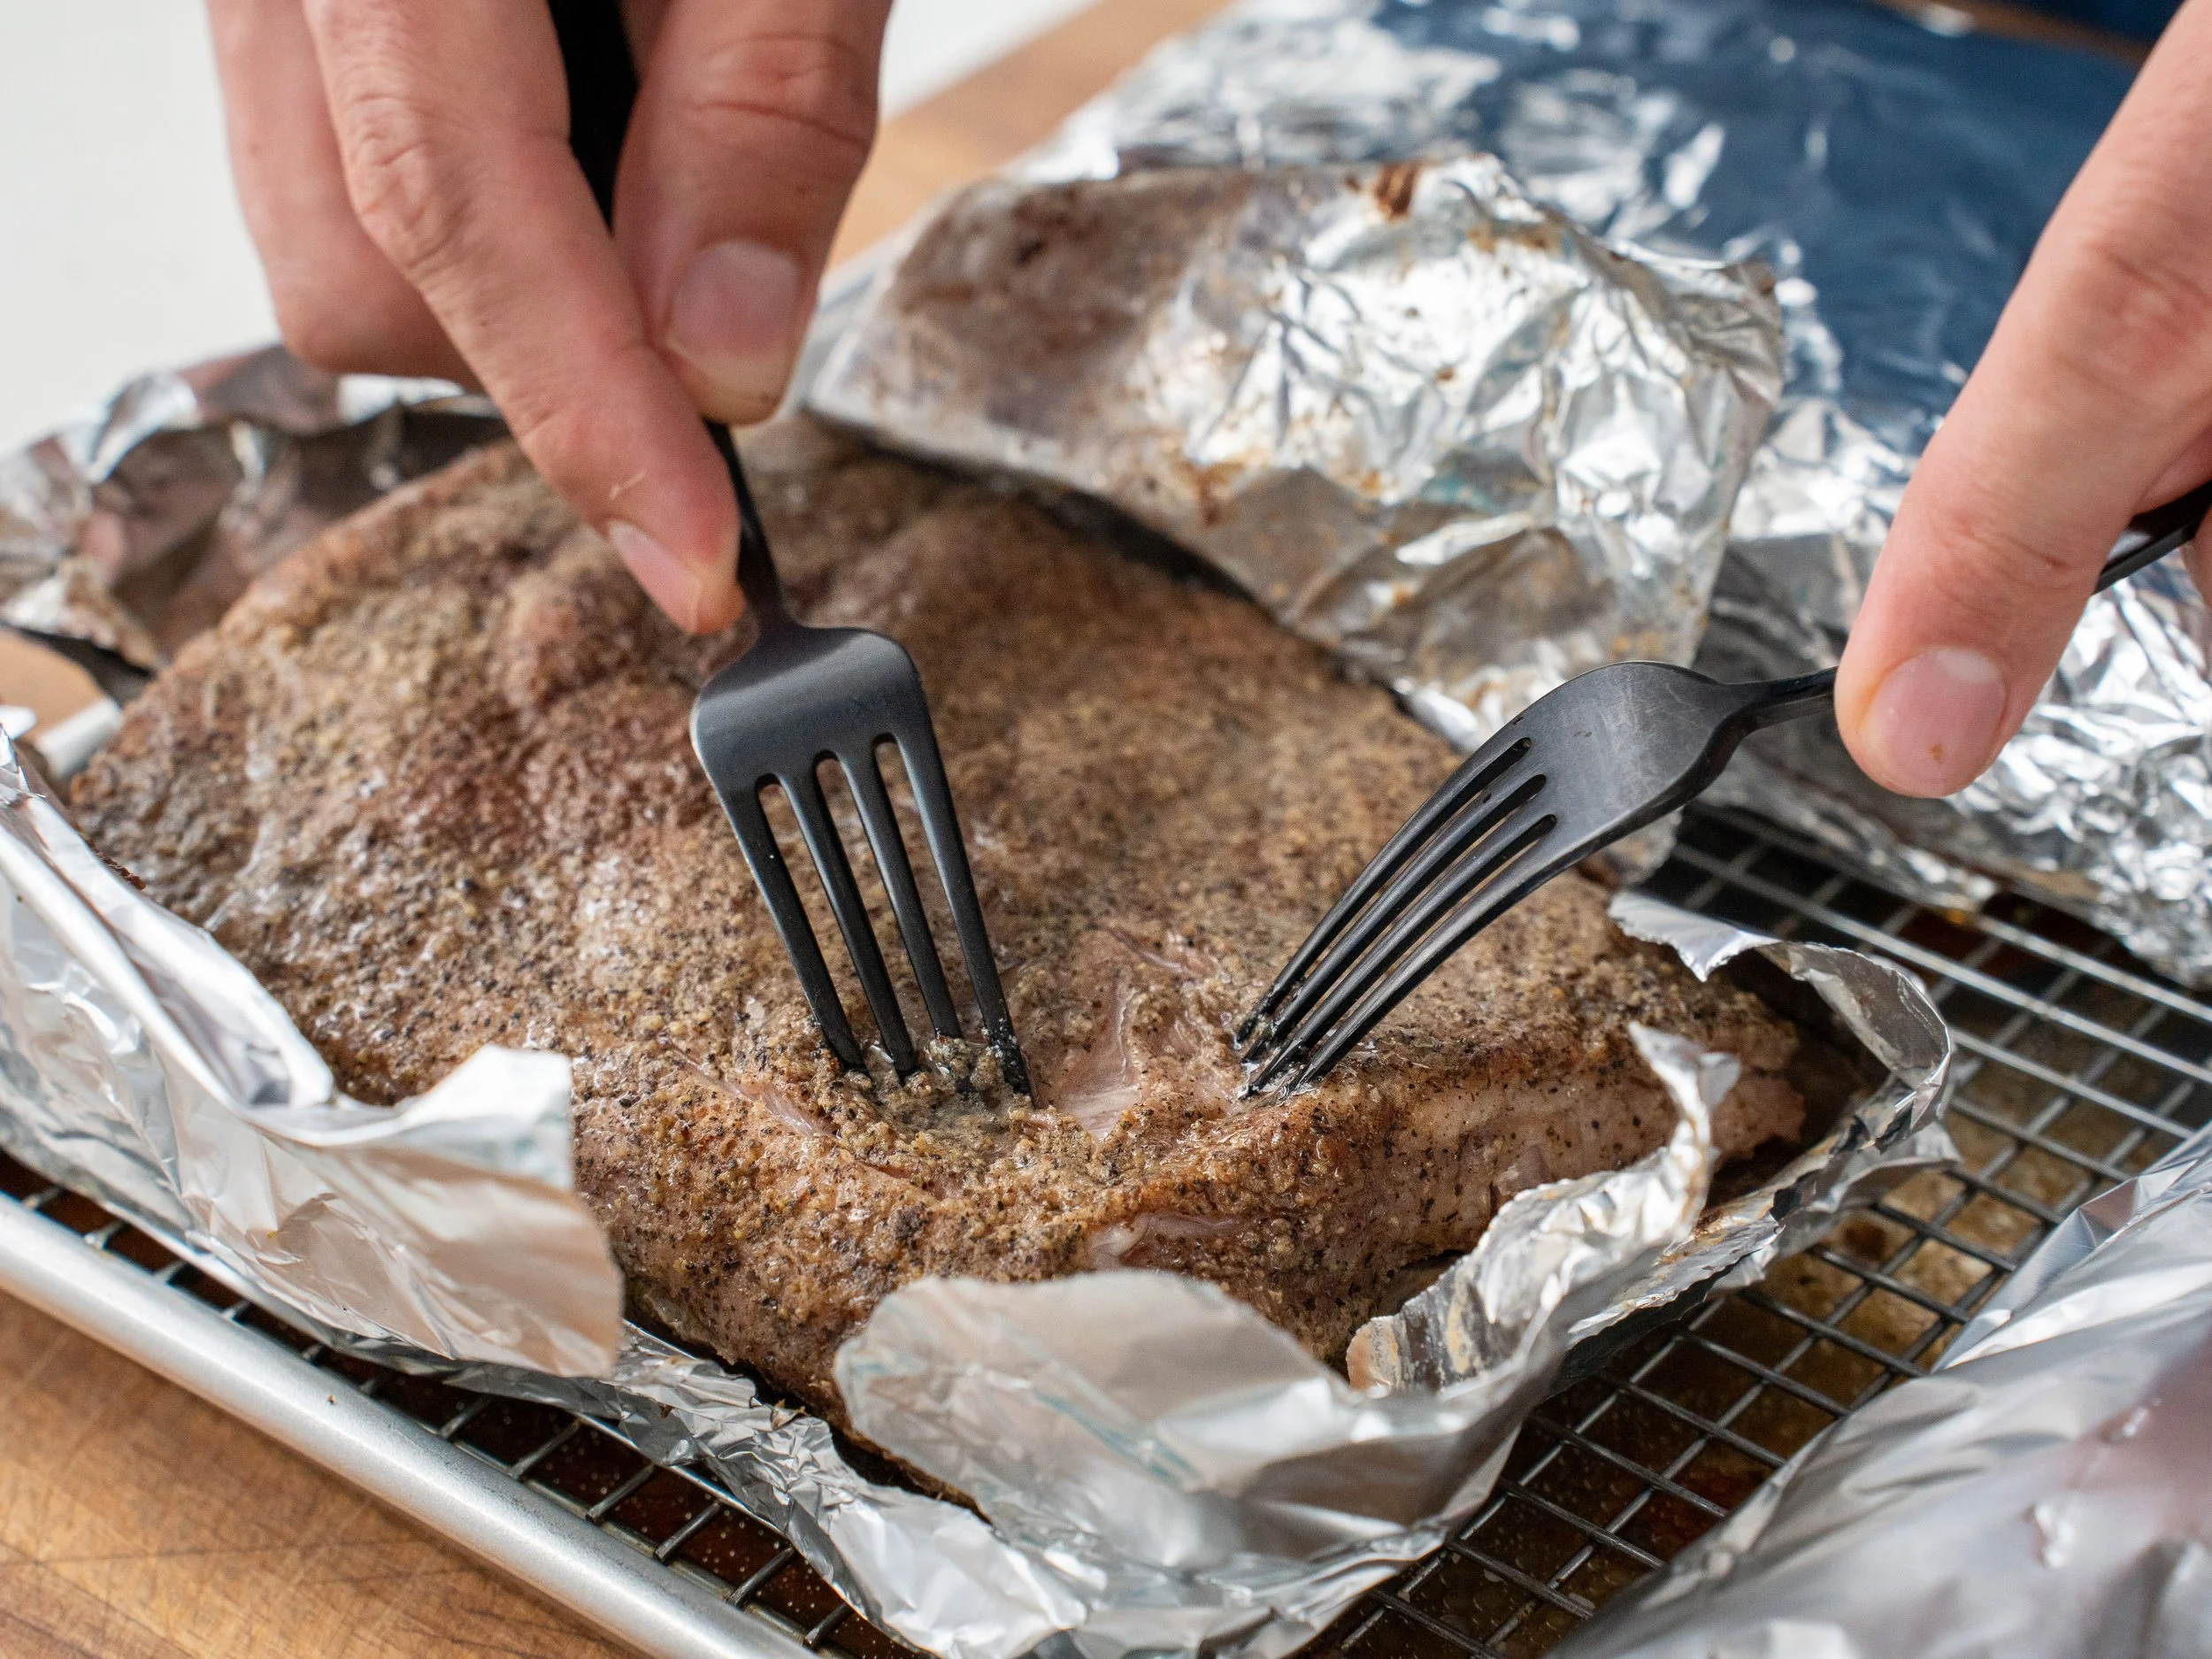
6. Check for doneness. After 3 hours the meat should have pulled back from the bones, but you want to test it yourself. Pull at the meat with 2 forks. It should be shreddable, but only if you give it a little effort. It should NOT be falling off the bone. The goal is ribs that pull cleanly from the bone when you take a bite, not ribs that fall apart when you lift them. These will carry over cook during the rest and then cook more on grill later. We’re undershooting a tiny bit here.
7. Rest 20 minutes. Open the foil and let the ribs sit for 20 minutes so the juices can resettle into the meat before we hit them on the grill.
Make Uncle B-Man’s Onion BBQ Sauce
8. Prep the onion and garlic. Grate 100g of white onion on a box grater until pulpy, then run a knife thru to fully break down. Press 15g of garlic through a garlic press.
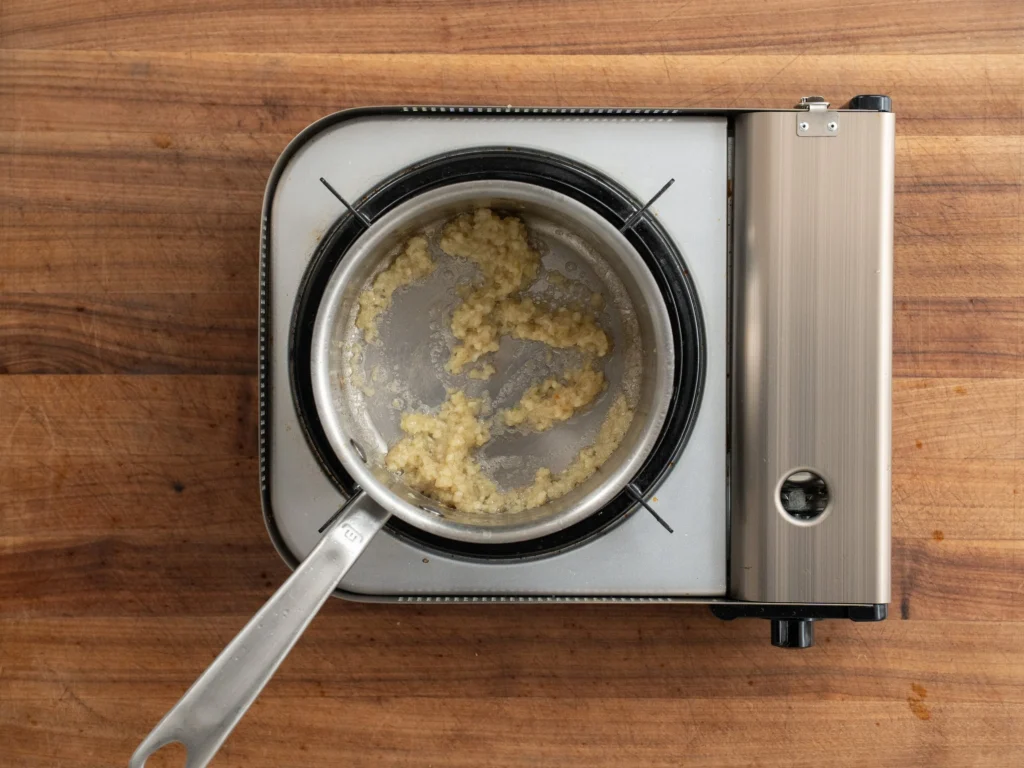
9. Saute the aromatics. Heat a drizzle of neutral oil in a small saucepan over medium and cook the onion and garlic for 5 minutes until softened and transuluscent.
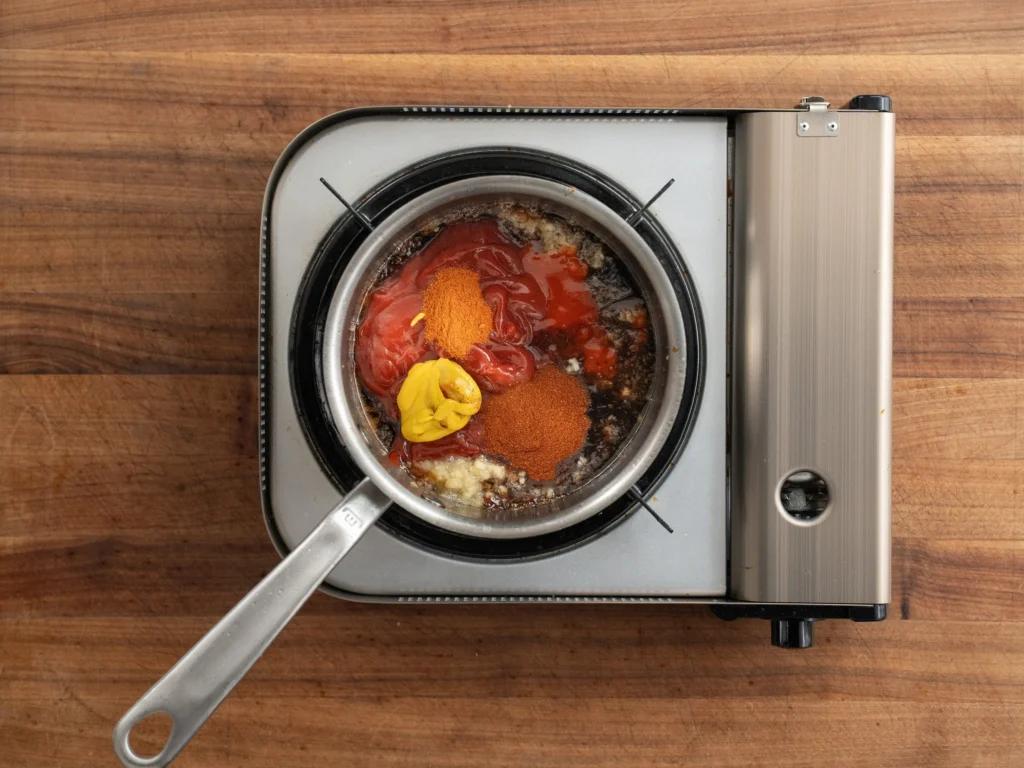
10. Add the remaining sauce ingredients and reduce. Once aromatics are softened add in 250g ketchup, 100g molasses, 30g Worcestershire, 20g hot sauce (I like Franks), 20g apple cider vinegar, 20g yellow mustard, 5g chili powder, and 1g cayenne.
Bring it to a simmer, drop the heat to low, and cook with a lid half covering for 10 minutes or until it’s reduced by about 25%.
Taste it and set it aside. It should have bright acidity, 5/10 heat, and plenty of sweetness. If you’re a Sweet baby Rays fan, you may want to add a bump of honey or white sugar.
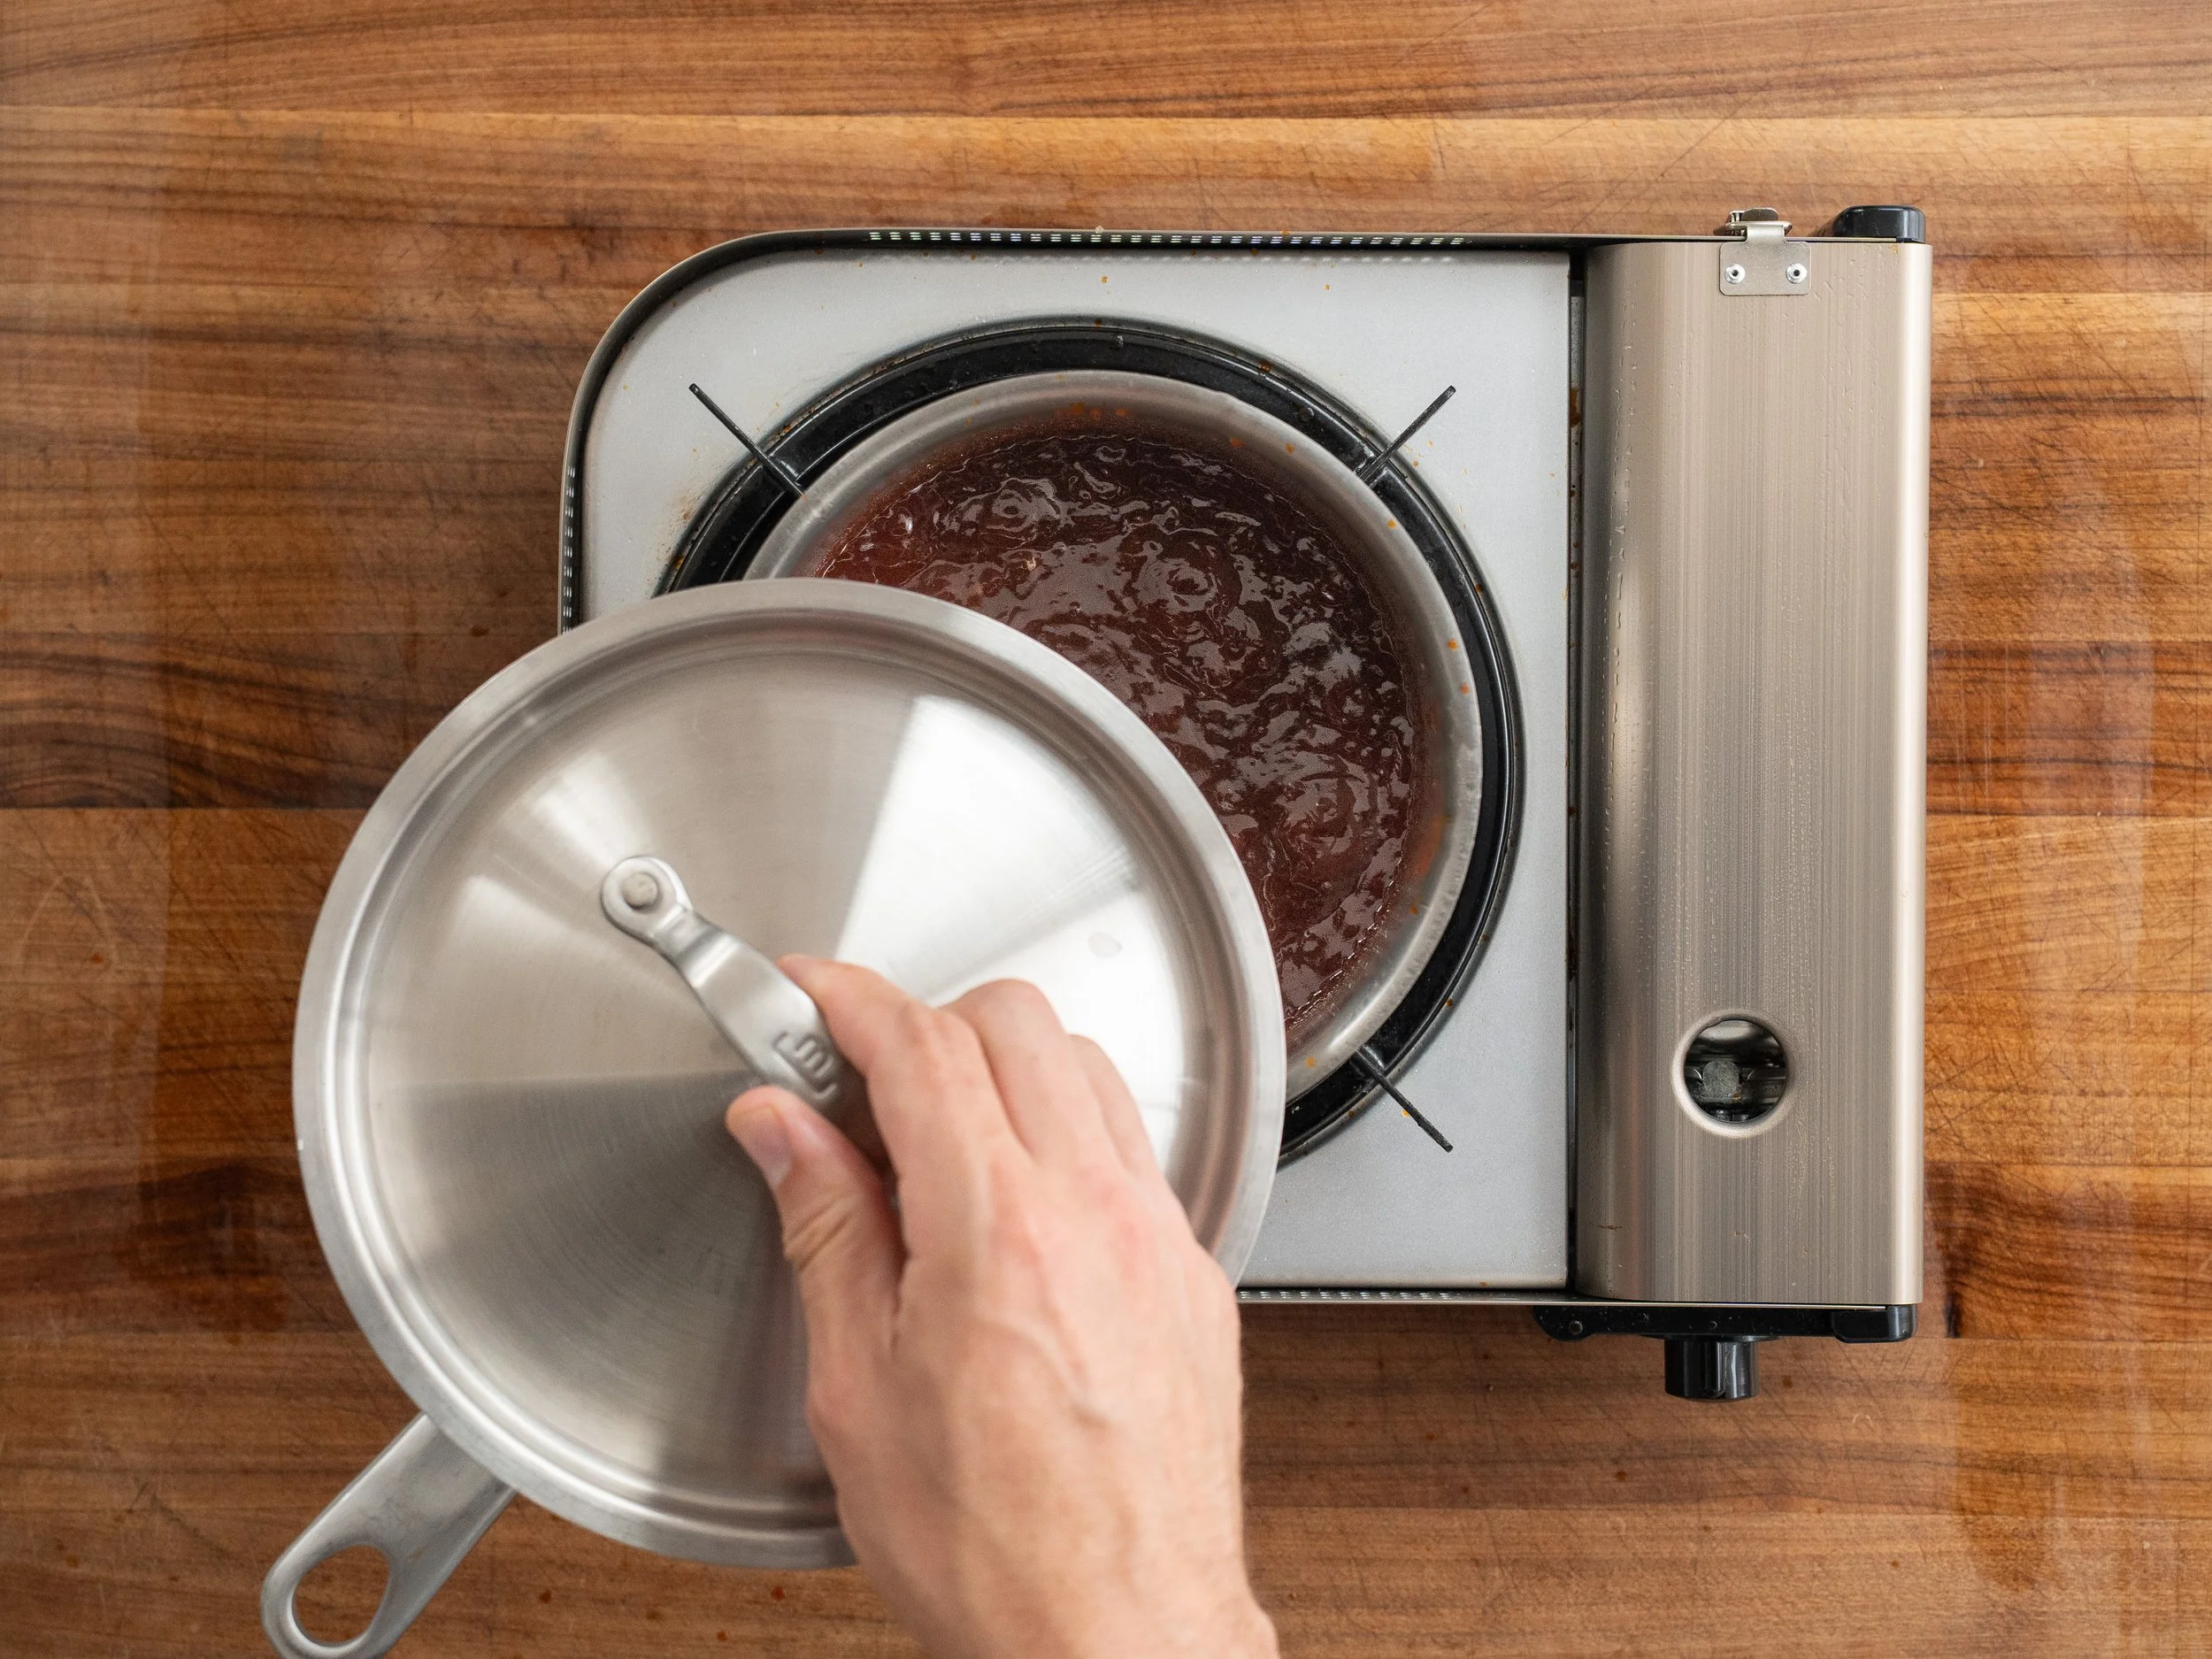
How do I know when it’s reduced enough? In about 10 minutes the sauce goes from loose and watery to glossy and clingy. Keep the heat low. Over high heat the sugar starts to caramelize and the sauce tastes darker and more cooked than we want, which steps on the brighter flavors.
Grill and Glaze
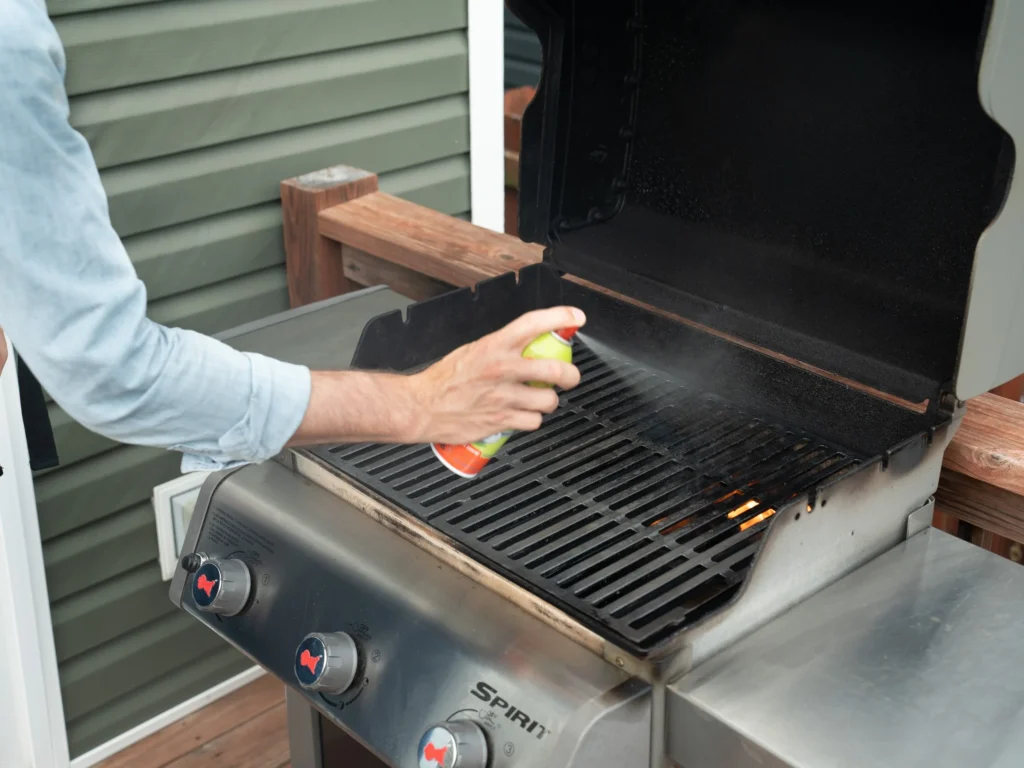
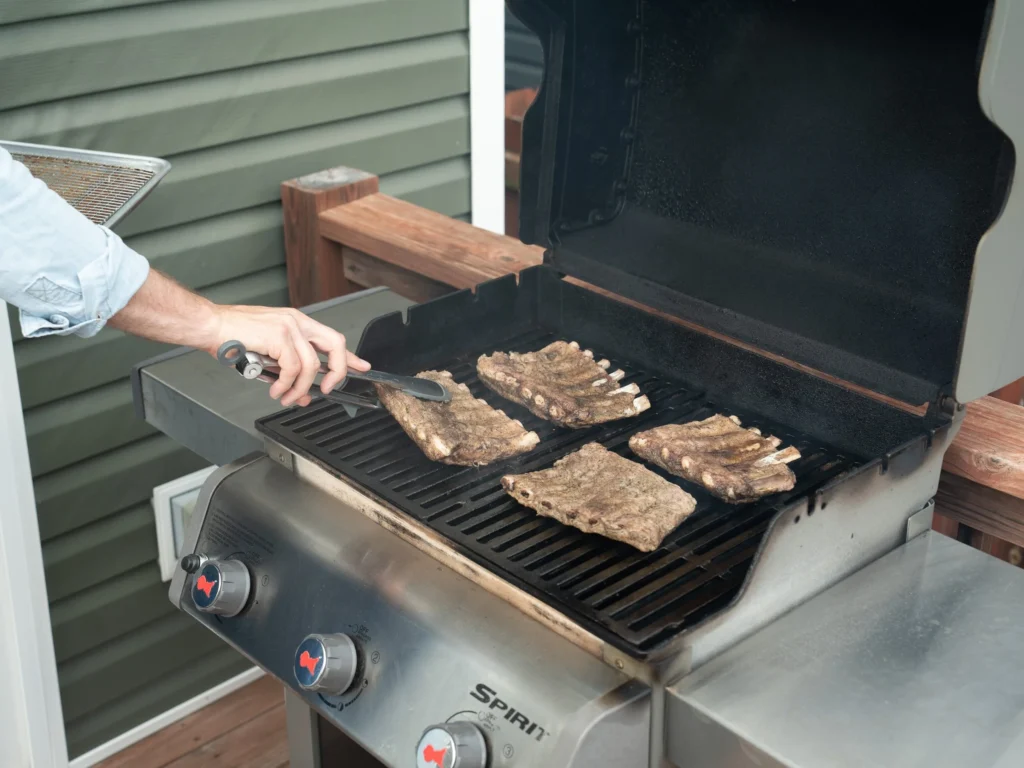
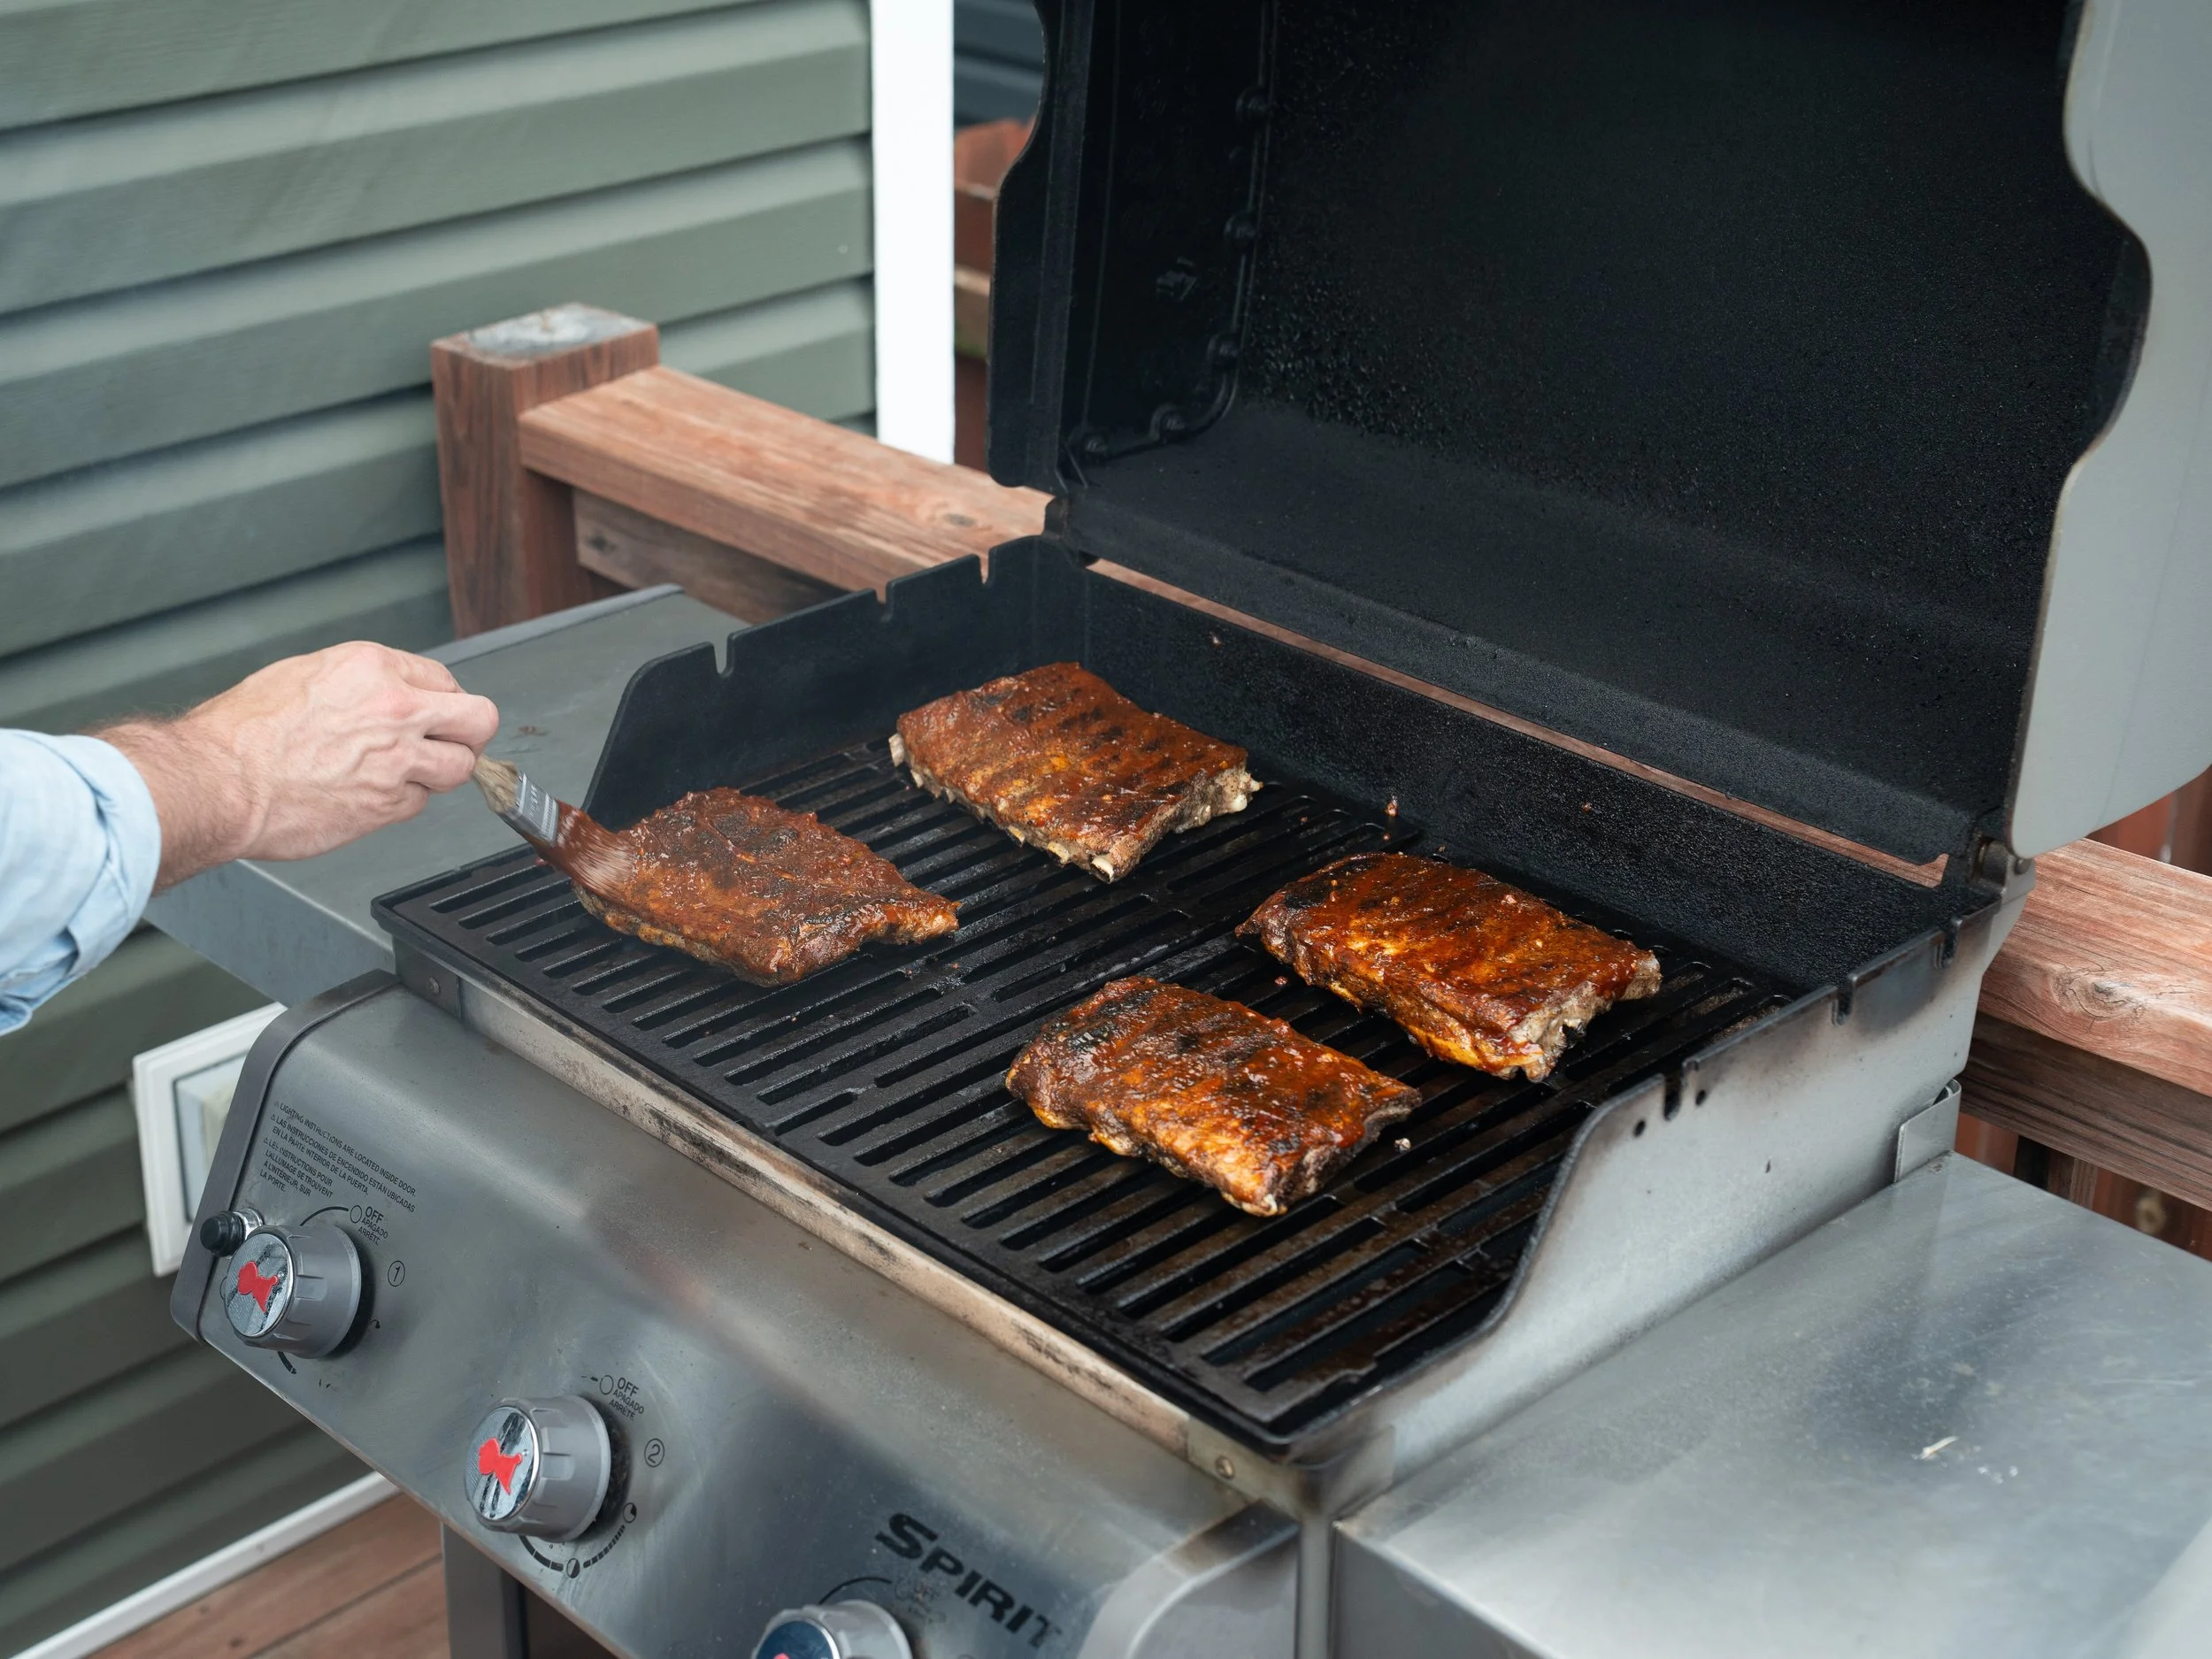
11. Sauce, grill, flip, re-sauce. With your grill preheated on high, spray liberally with pan spray or wipe with oil. Then spray or brush ribs with oil and drop them, meaty side down, onto the grates. Grill to get grill marks and roasty flavor for about 1-2 minutes.
Flip (meat side up) and sauce liberally with BBQ sauce. Close lid and cook for another 2 minutes.
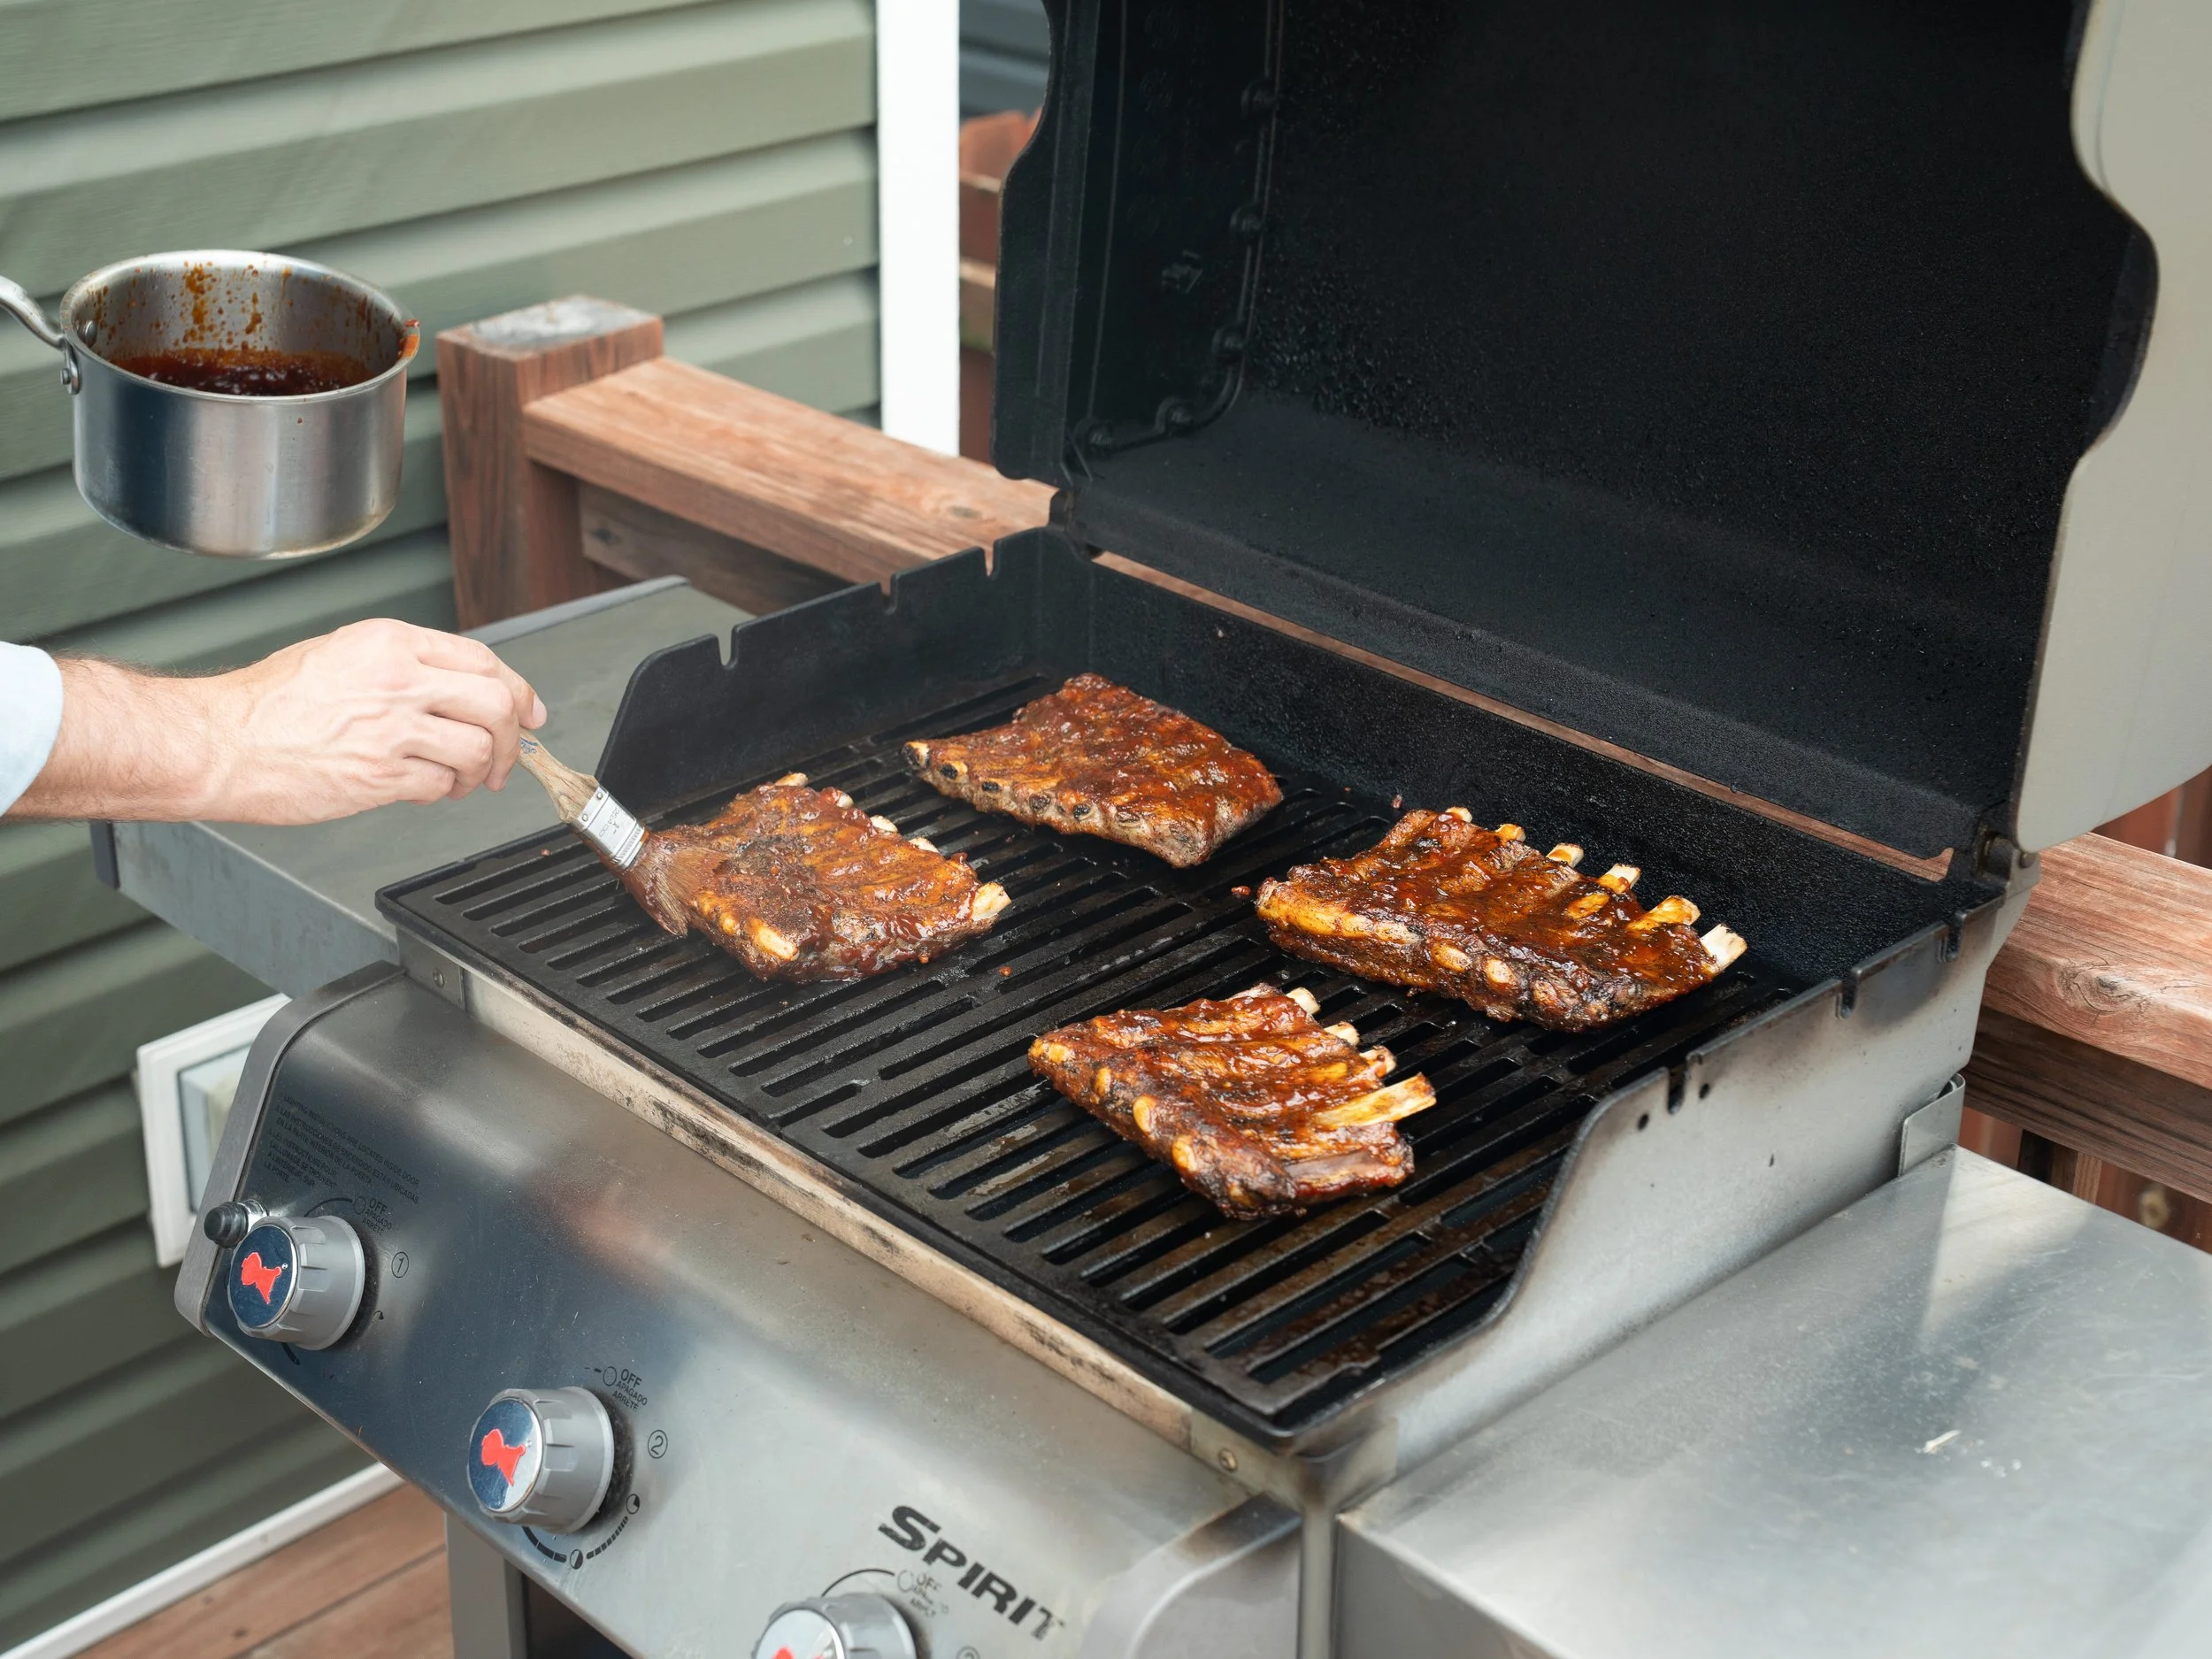
If your grill cooks very hot, reduce heat to medium-high at this point. I keep mine on high heat throughout the process since it cools quickly when I open the lid.
Carefully flip a second time and sauce the bone-side. Oil grates again if needed to prevent sugar from gripping grill and reduce heat to medium-high. Then grill, meat side down with the lid closed, for 1-2 minutes or until there is some nice char and the sugar in the sauce is starting to brown.
Once the sauce hits the grill, pay close attention and use your senses. If you start to smell burnt sugar, it’s probably time to flip!
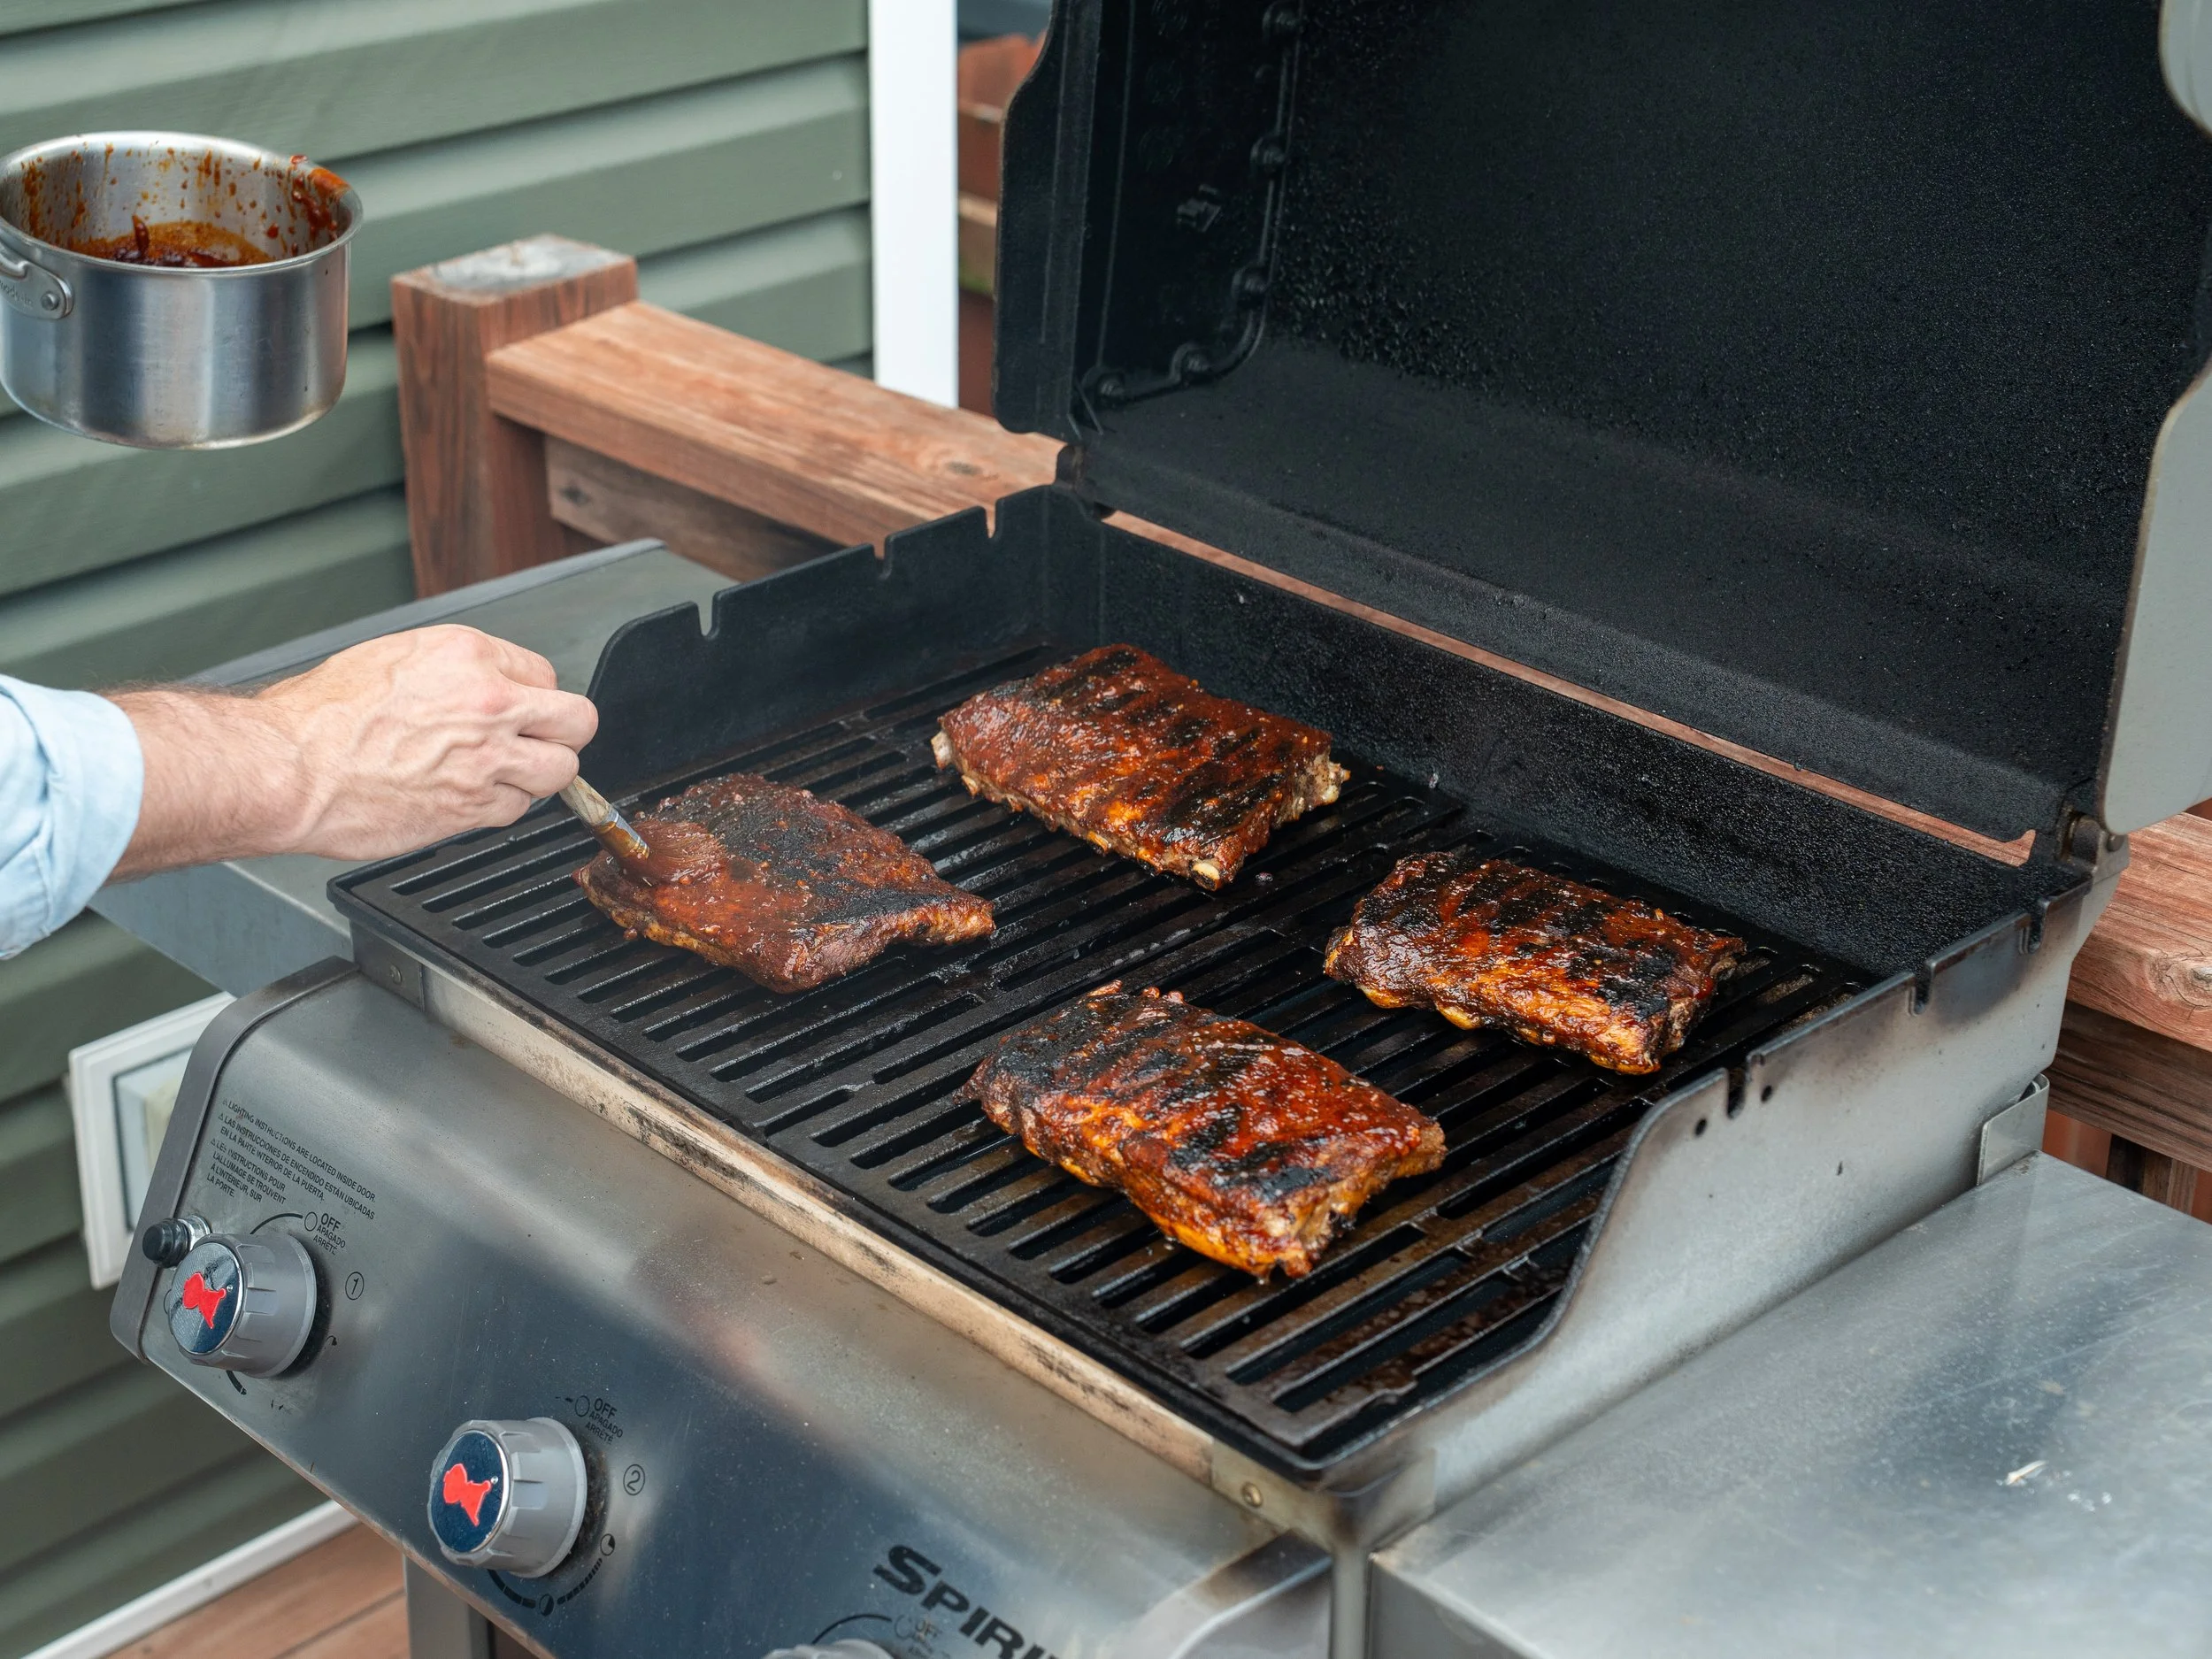
Flip ribs a third and final time and sauce the meat side again. Close the lid and let the sauce reduce into a sticky lacquer glaze for 1-3 more minutes. This lacquer is the difference between ribs that are wet and saucy and ribs that are actually great. It also firms up the exterior just enough to create some textural contrast.
Total grill time should be around 7-8 minutes.
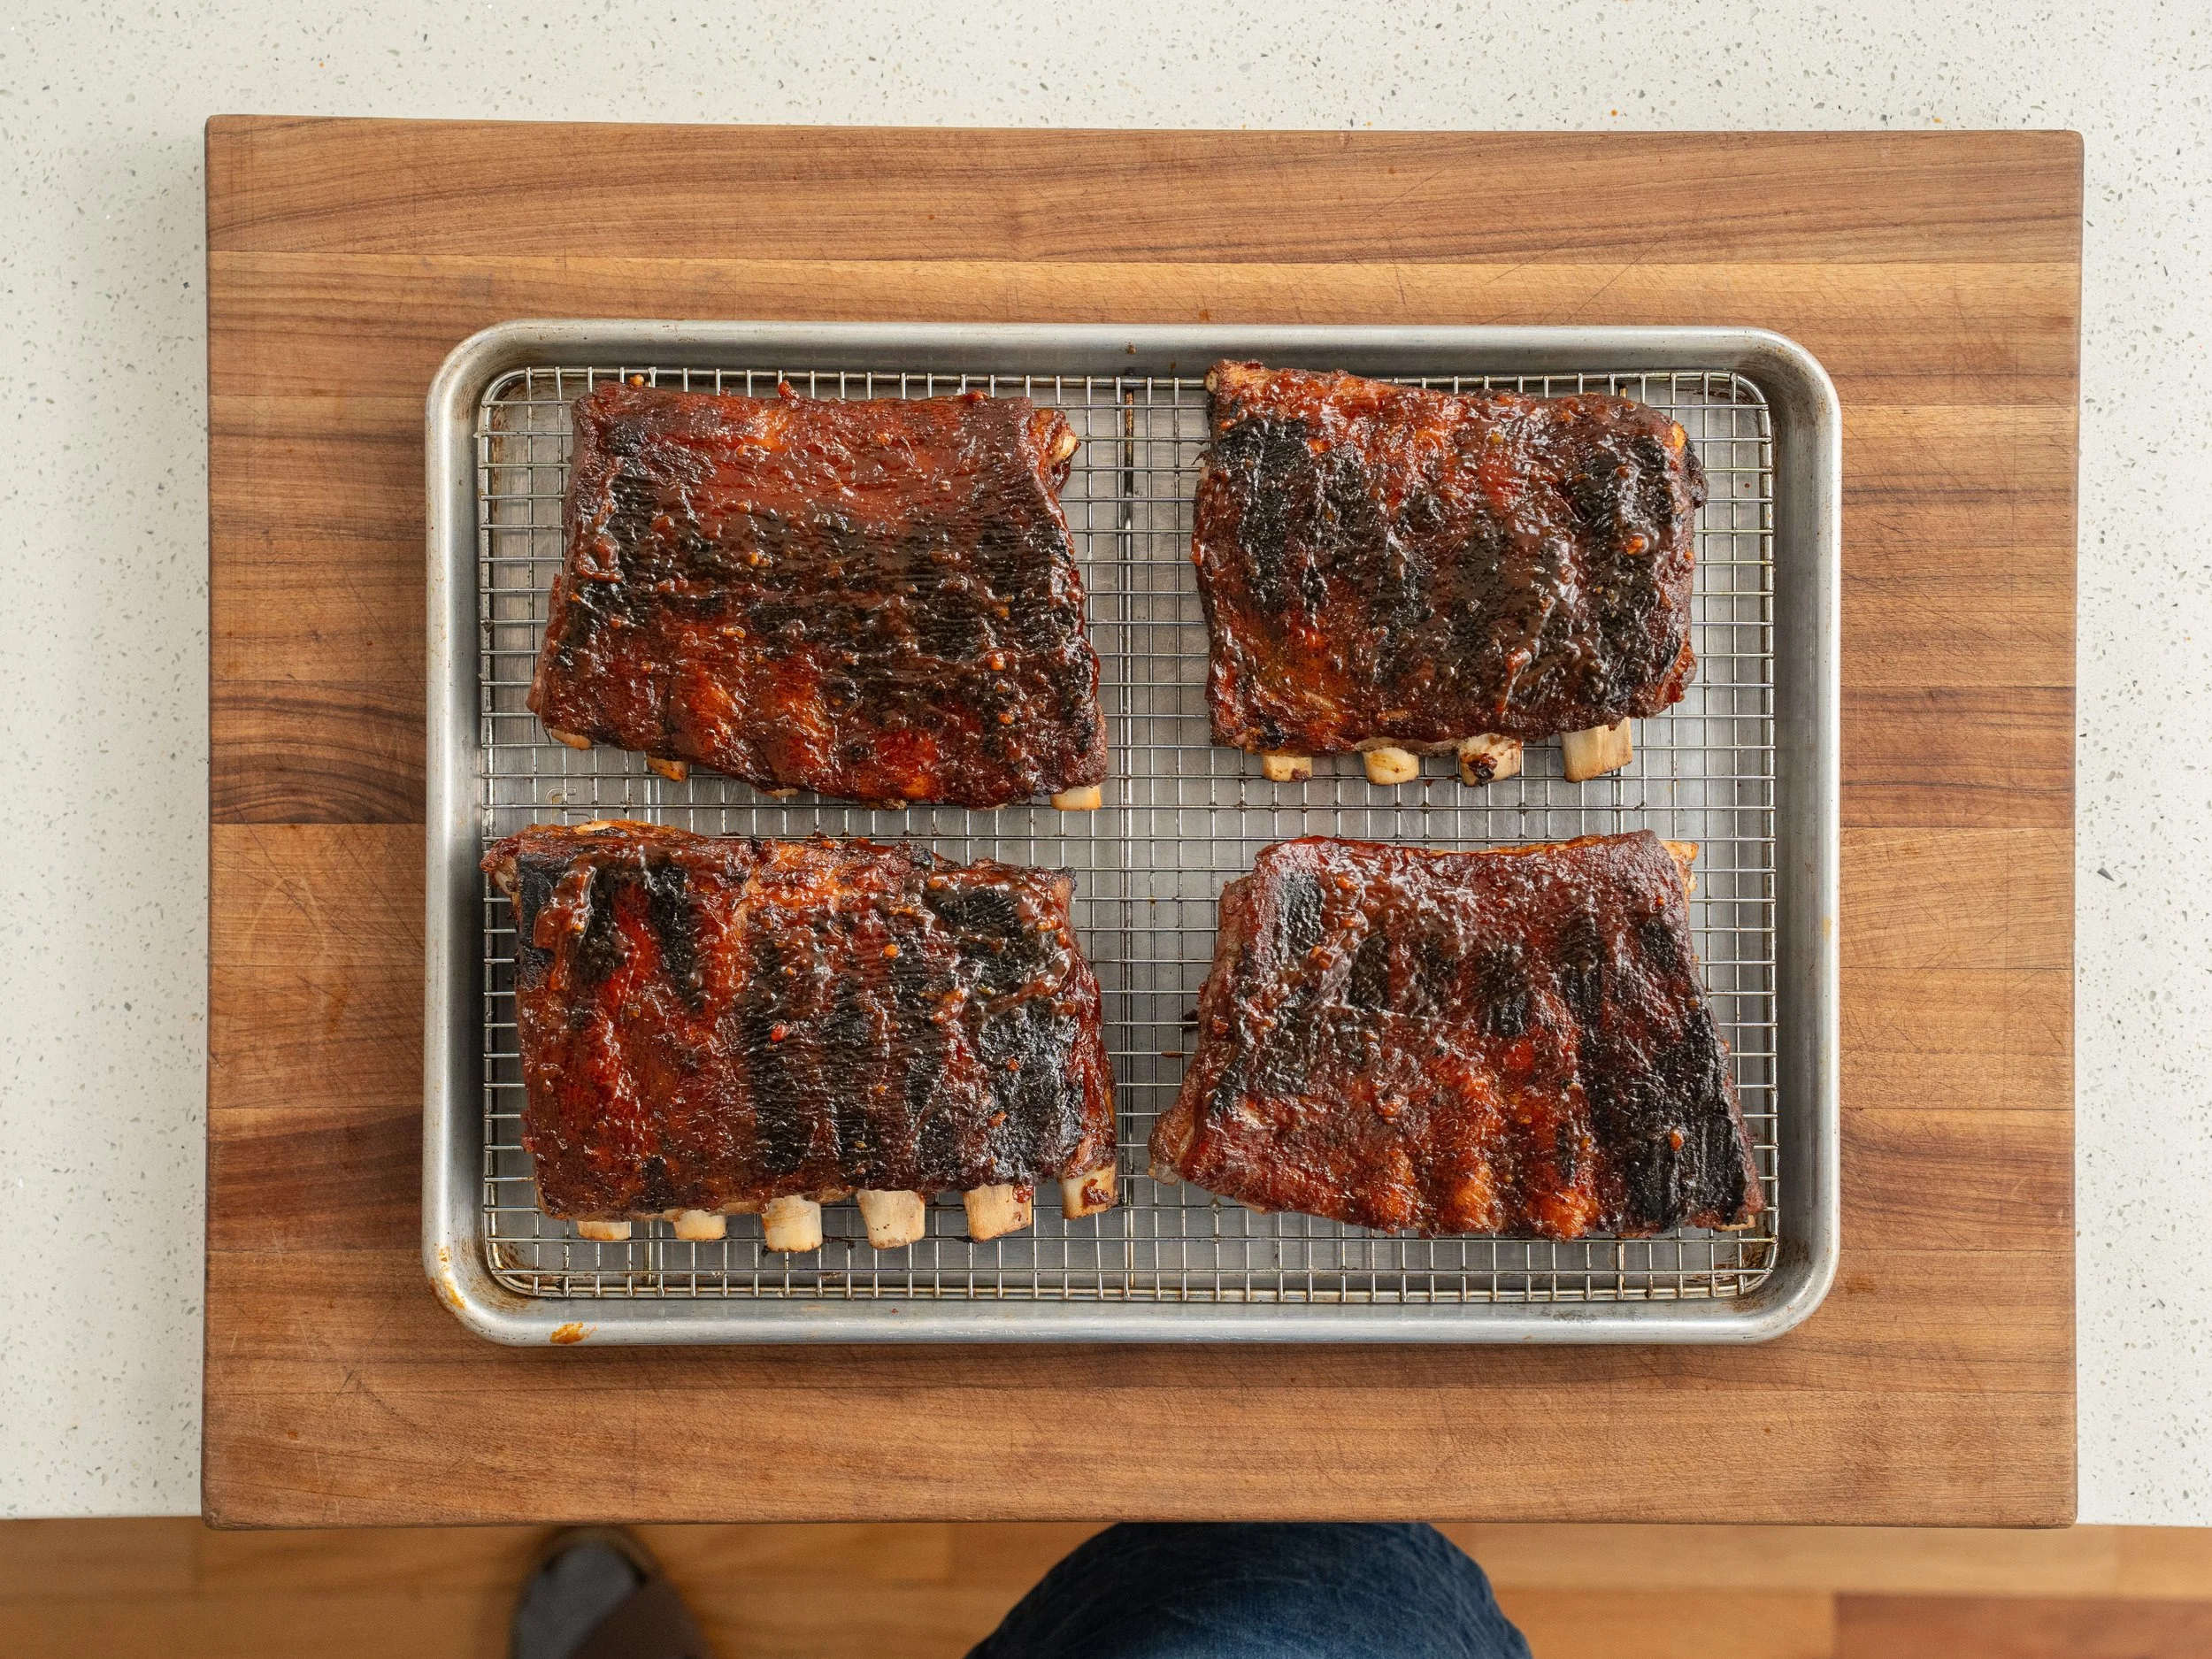
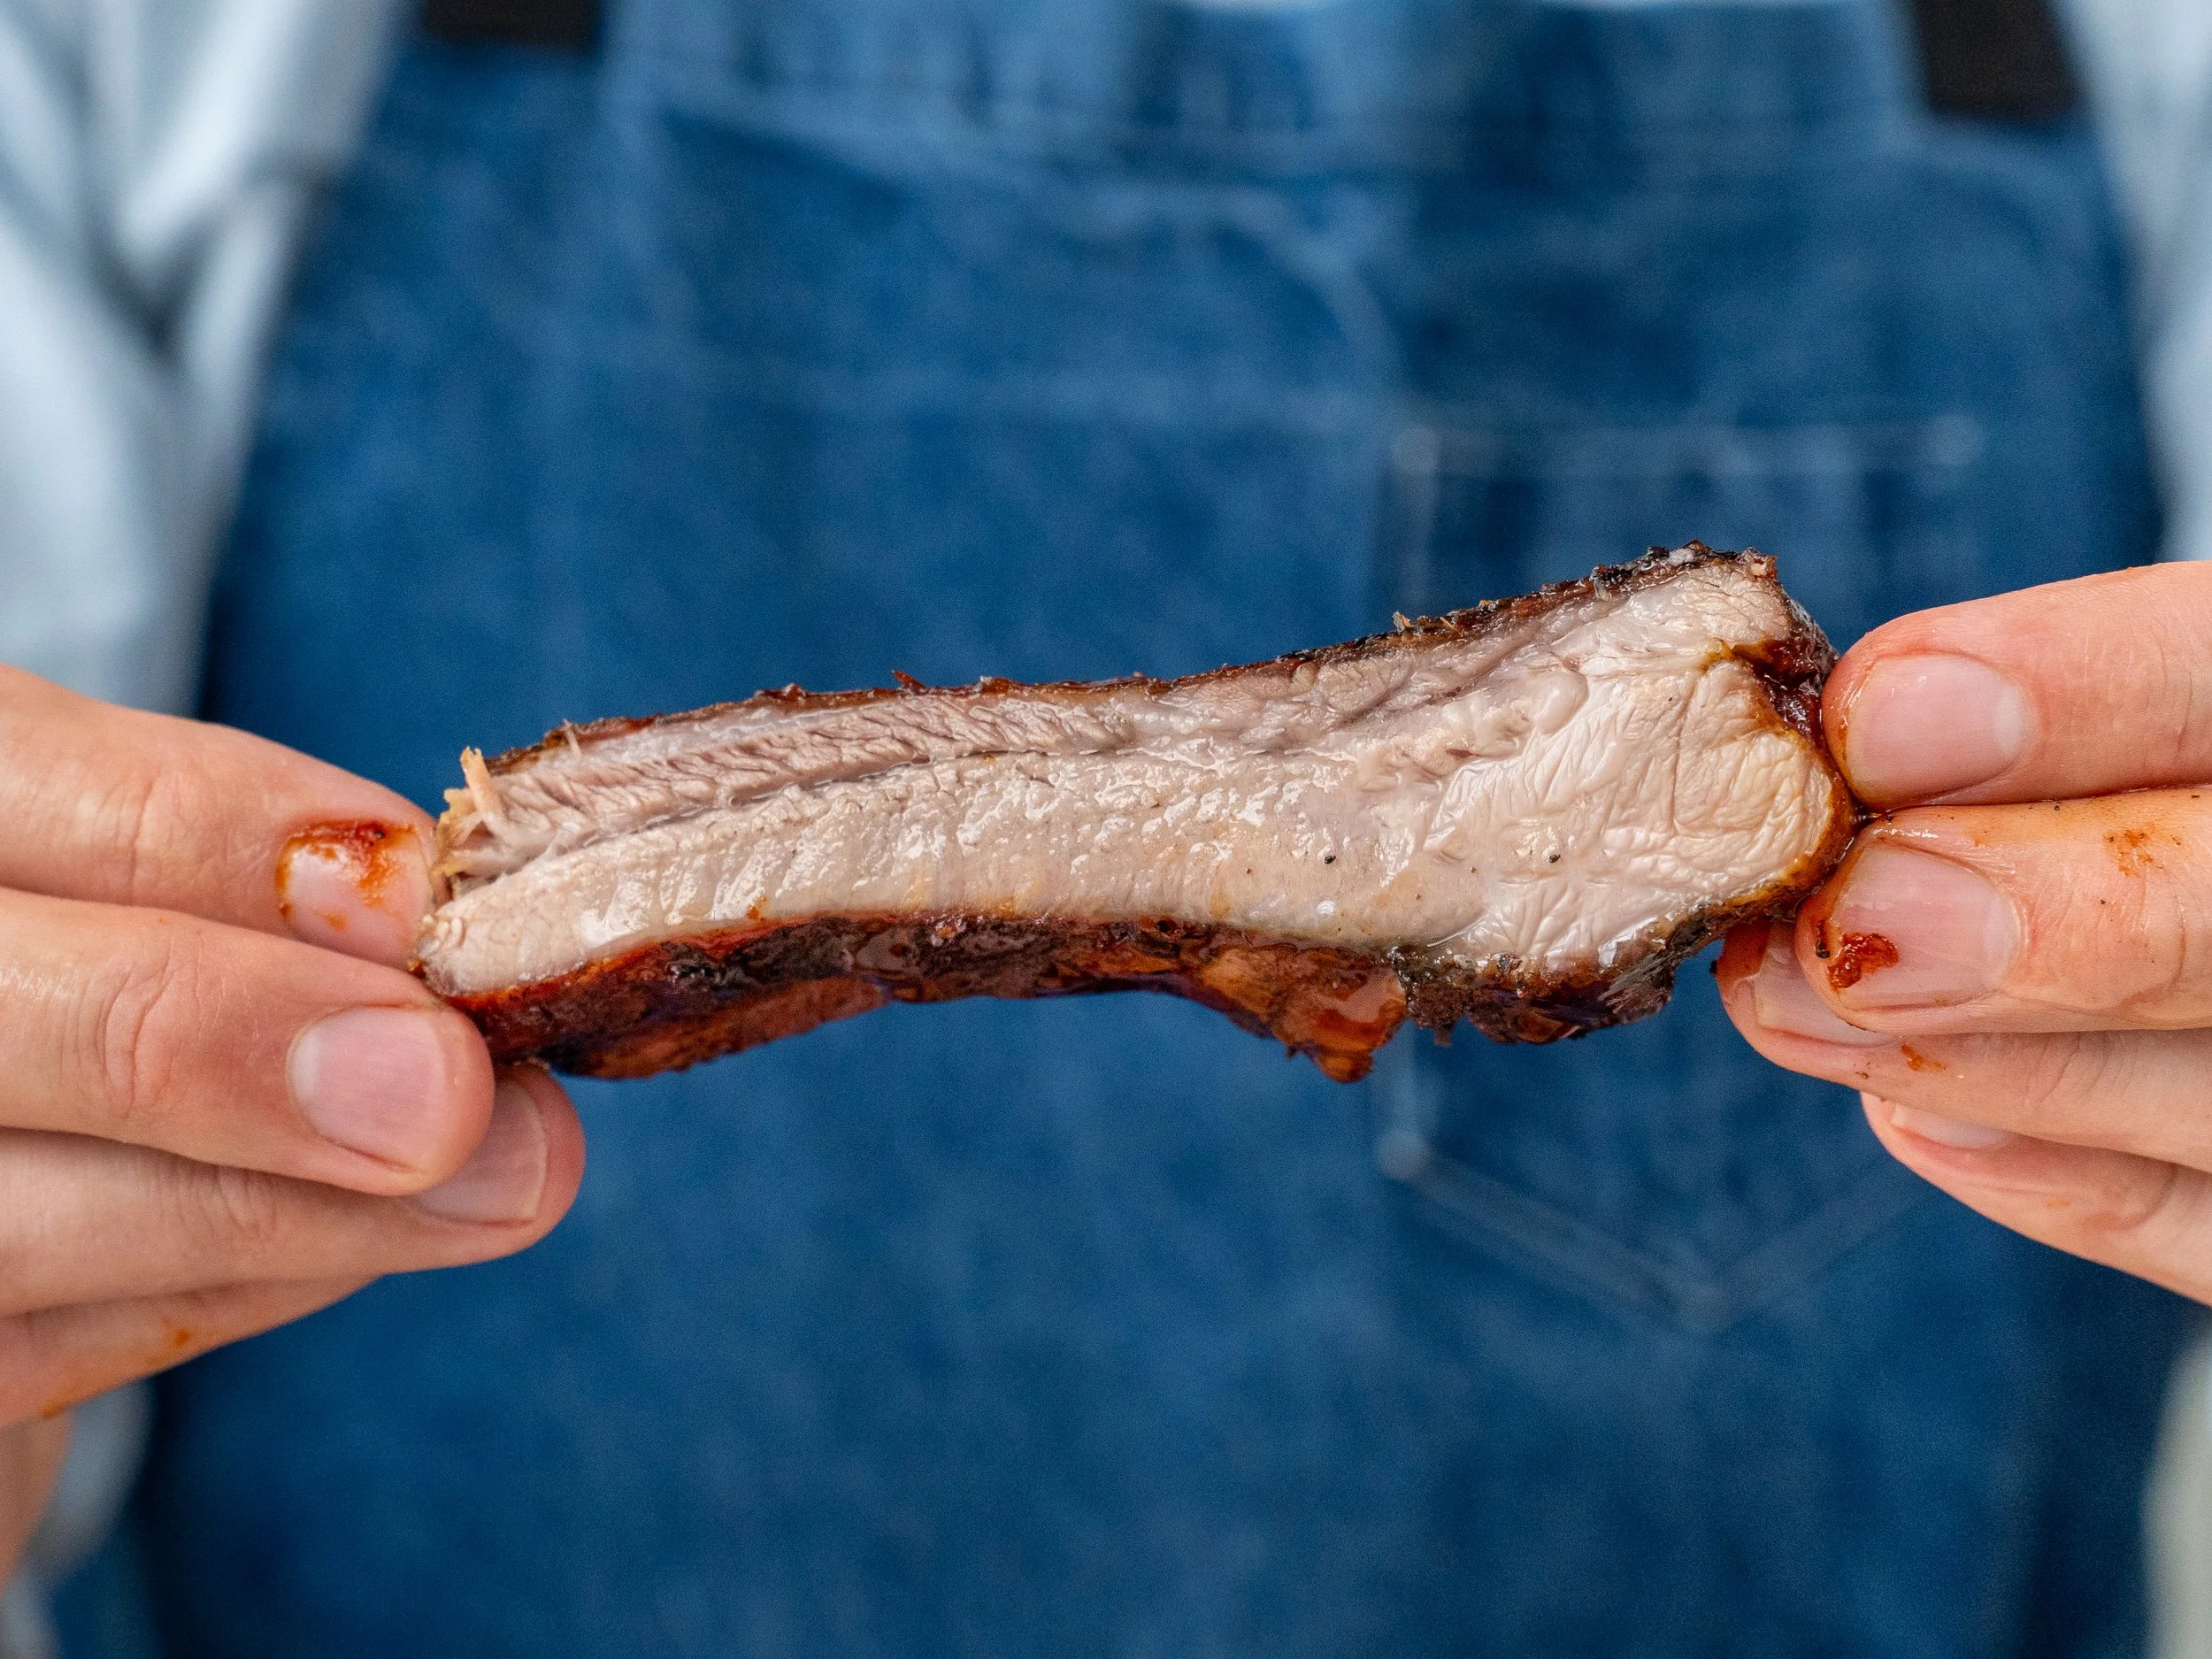
12. Serve almost immediately. After removing from the grill, brush a final thin layer of sauce on the meat side of the ribs. Slice between the bones. We already rested the meat so the juices shouldn’t run out when you cut into them. Finally, serve along side potato salad and some ice cold canned beers and don’t worry about getting the sauce all over your face and hands. It’s part of the fun.
Storage & Make-Ahead
This BBQ sauce can easily be made ahead and keeps in fridge for at least a month. It’s mostly made of shelf stable condiments and is very high sugar, high acid.
If you must cook the ribs ahead, oven roast them, then store them in the fridge in the foil packs. When you’re ready to eat, they’ll re-warm them on the grill as you glaze with sauce. This result will be nice, but it wont hit the full potential of the freshly cooked ribs.
Dad Ribs
Ingredients
For the Ribs and Rub
- 2 full slabs St. Louis style ribs
- 30 g salt, coarse kosher
- 15 g black pepper
- 15 g garlic powder
- neutral oil, for grilling
For Uncle B-Man's Signature Onion BBQ Sauce
- neutral oil, for sauteeing
- 100 g onion, grated (100g = ½ an onion)
- 15 g garlic, (15g = 4 cloves)
- 250 g ketchup
- 100 g molasses
- 30 g Worcestershire sauce
- 20 g hot sauce, I prefer Frank's
- 20 g apple cider vinegar
- 20 g yellow mustard
- 5 g chili powder
- 1 g cayenne
Instructions
Prep and Season the Ribs
- Remove the membrane by sliding a butter knife between the membrane and back of a rib bone at one end of the slab. Twist the knife to create space then slide a finger underneath to loosen. Grab the flap with a dry paper towel and rip it off.
- Approximate the halfway point and cut both slabs in half between the bones.
- Stir together salt, pepper, and garlic powder. Divide into fourths and pat a portion into each half slab to thoroughly cover.
- Refrigerate on a wire rack, uncovered for 12-18 hours to dry brine.
Roast the Ribs
- Preheat the oven to 275°F/135°C. Wrap the ribs in two layers of foil, set the packet on a sheet pan, and roast for 3 hours.
- After 3 hours of roasting, pull at the meat with 2 forks to check for doneness. At this point it should be shreddable, but only if you give it a little effort.
- Open the foil and let the ribs sit for 20 minutes so the juices can resettle into the meat before we hit them on the grill.
Make the Onion BBQ Sauce
- Grate onion on a box grater until pulpy, then run knife thru to fully break down. Then press the garlic.
- Heat a drizzle of oil in a small saucepan over medium and cook the onion and garlic for 5 minutes until softened and translucent.
- Once aromatics are softened. Add ketchup, molasses, Worcestershire, hot sauce, apple cider vinegar, mustard, chili powder, and cayenne. Bring to a simmer, drop heat to low, and cook with a lid half covering pan for 10 minutes or until it's reduced by about 25%. Taste and set it aside.
Grill and Glaze
- Preheat grill to high and spray liberally with pan spray or wipe with oil. Spray ribs with pan spray and drop them, meat-side down, onto grate and grill 1-2 minutes. Flip and sauce liberally with BBQ sauce on the meaty side. Close lid and cook for 1-2 minutes.
- If your grill gets super hot, deduce heat to medium-high at this point. Then carefully flip a second time and sauce the bone side. Grill meat side down again for 1-2 minutes, lid closed, or until there is some nice char.
- Flip ribs a final time and sauce meat side again. Close lid and grill for 1-3 more minutes or until the sauce on top has thickened into a sticky lacquer.
- Remove ribs from grill, slice between, the bones and serve immediately.
Notes
 Like this? Leave a comment below!
My Go-To Gear For Dad Ribs
Below are some of the tools I actually use when making this recipe. Some of these are affiliate links, which means I may earn a small commission at no extra cost to you.
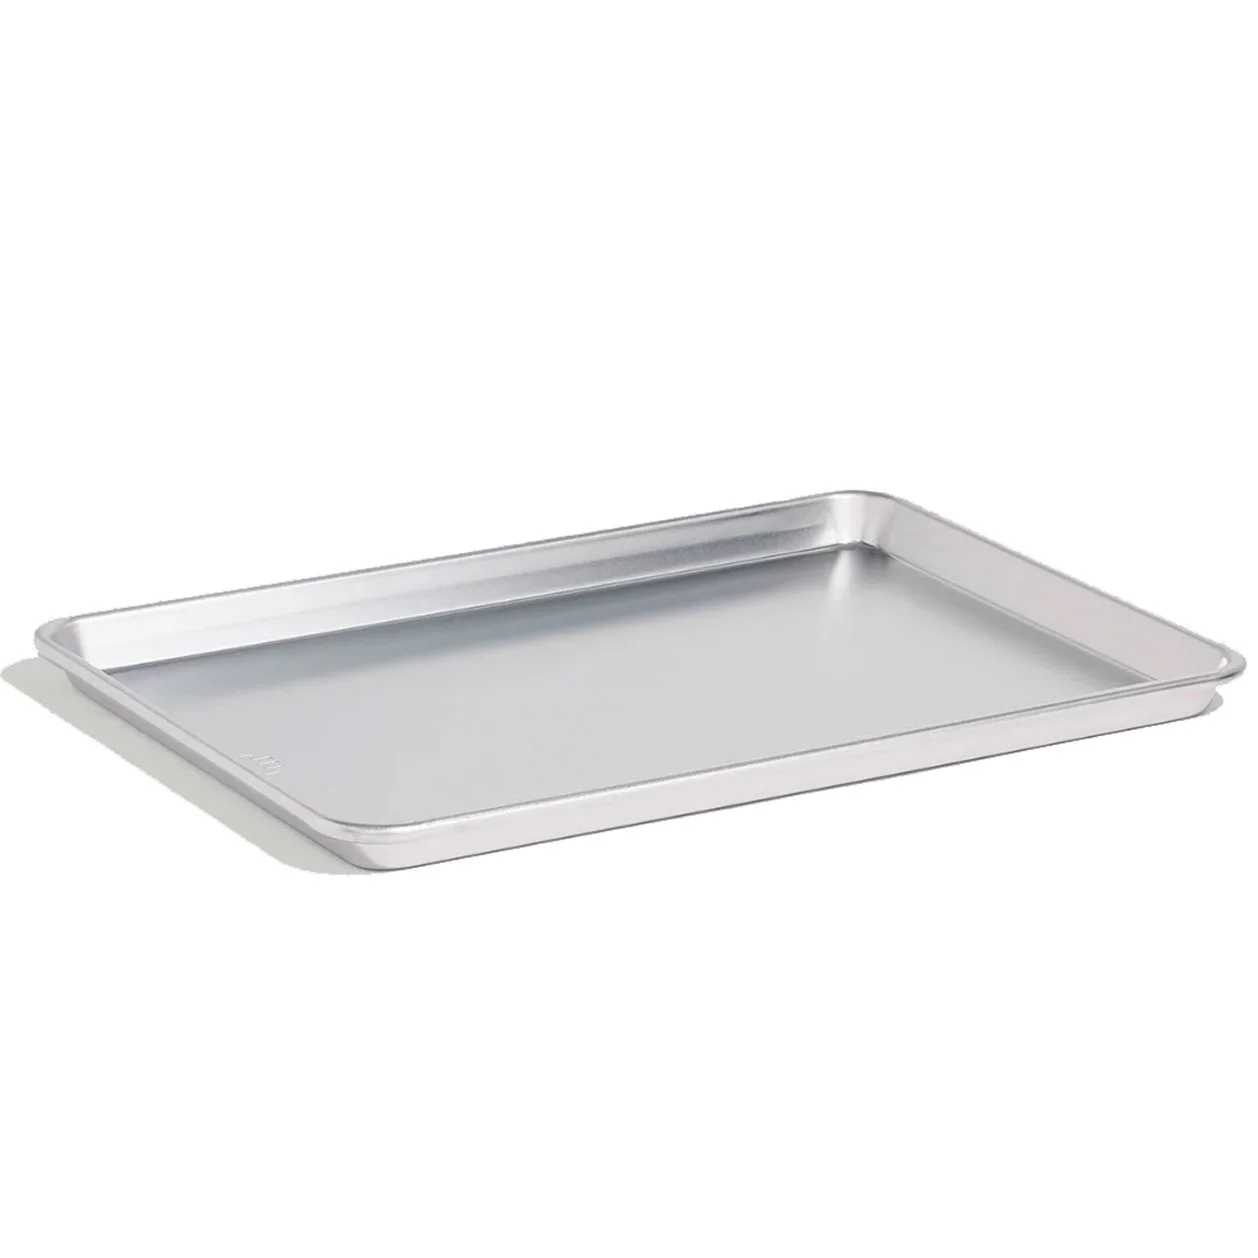
I use these for everything. The dry rub station, refrigerating the ribs, under the foil packets in the oven, and to transfer the ribs to and from the grill.
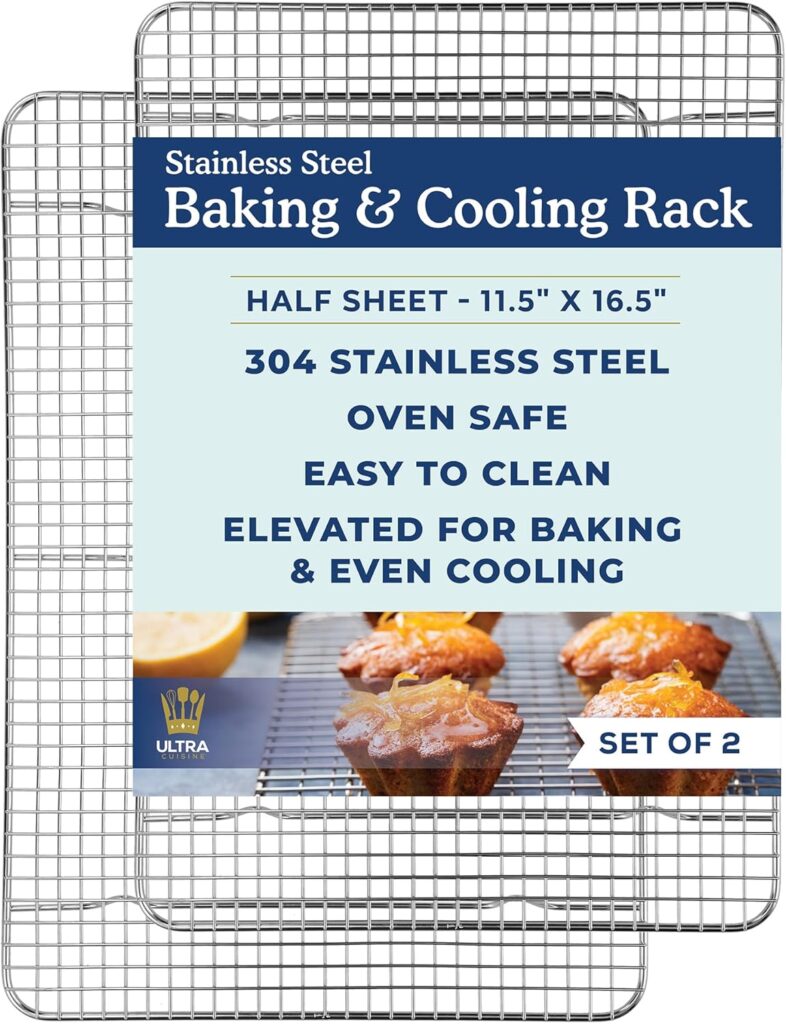
When dry brining, I use a wire rack beneath the ribs to get proper airflow. This prevents moisture from accumulating under the meat.
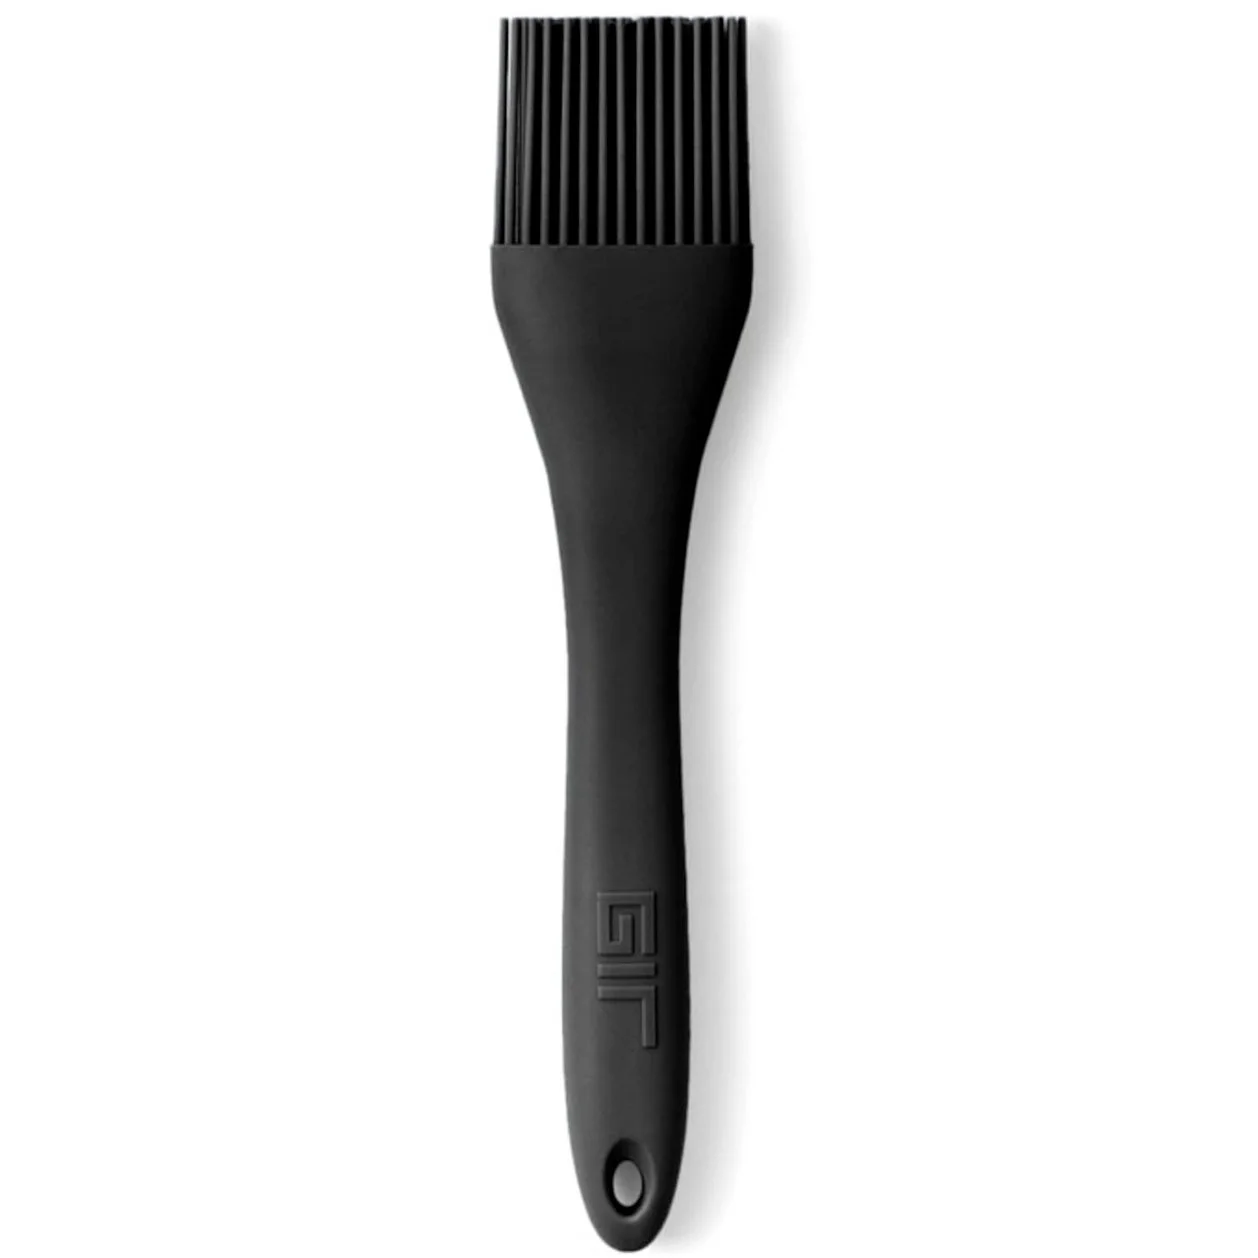
You’ll need a brush for saucing the ribs. Silicon or natural bristles will work, but I actually prefer to use silicon for this recipe (even though I couldn’t find mine when I filmed the photos and video for this one recipe)
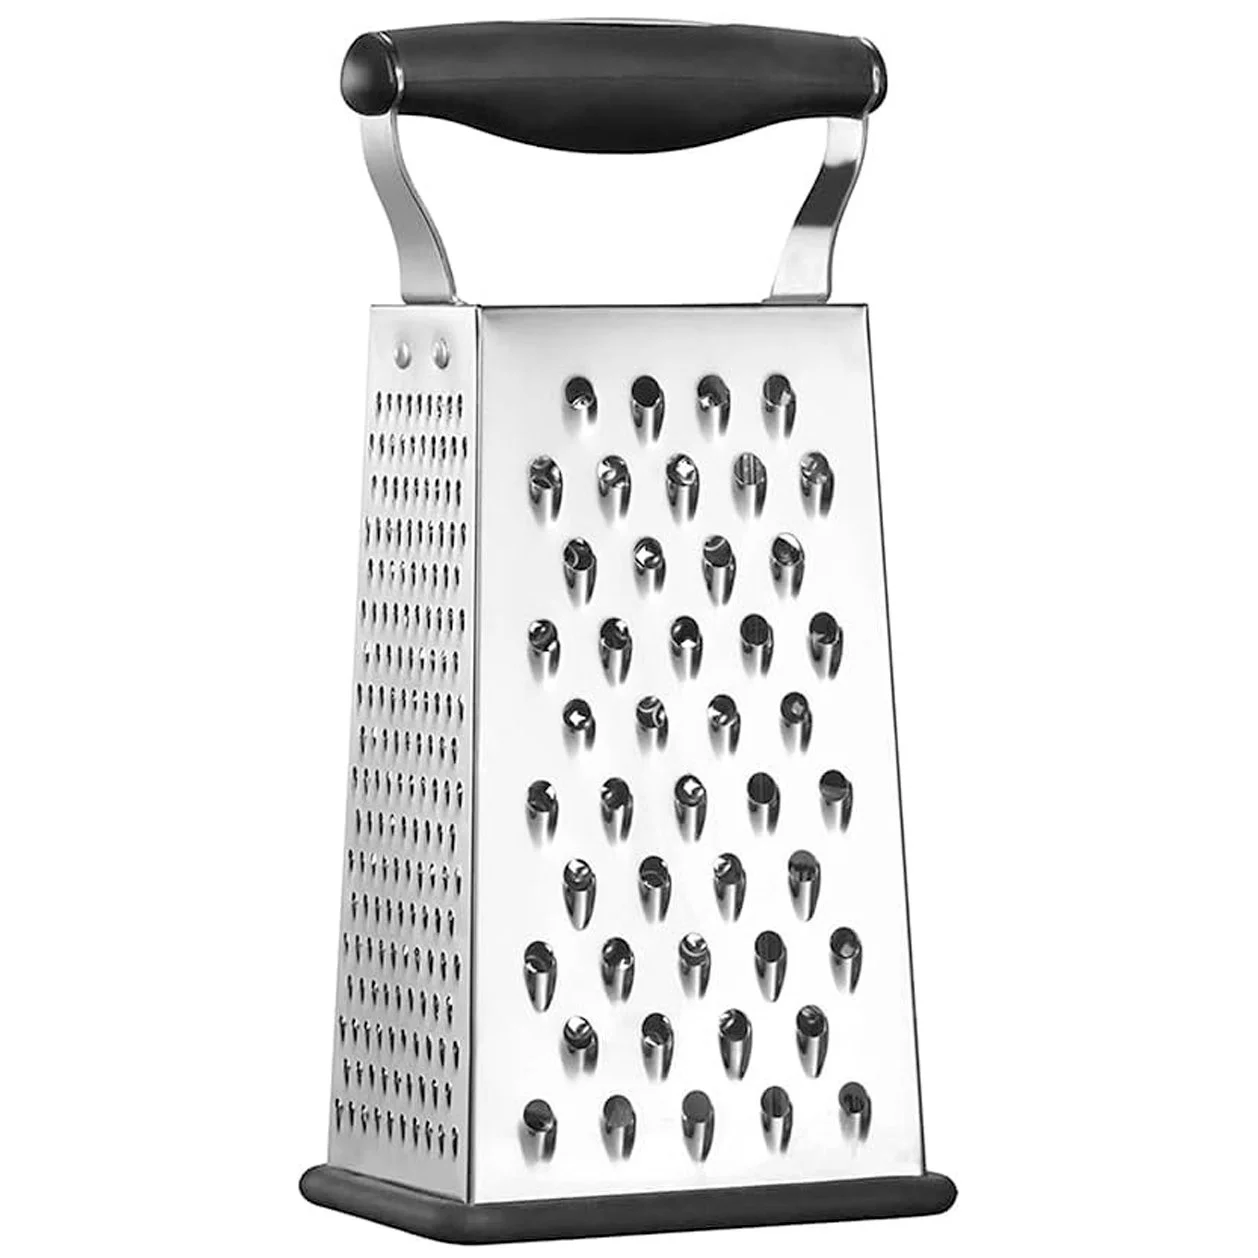
Grating the onions instead of dicing them makes a huge difference in this BBQ sauce. It also takes less time than chopping and cooks faster.
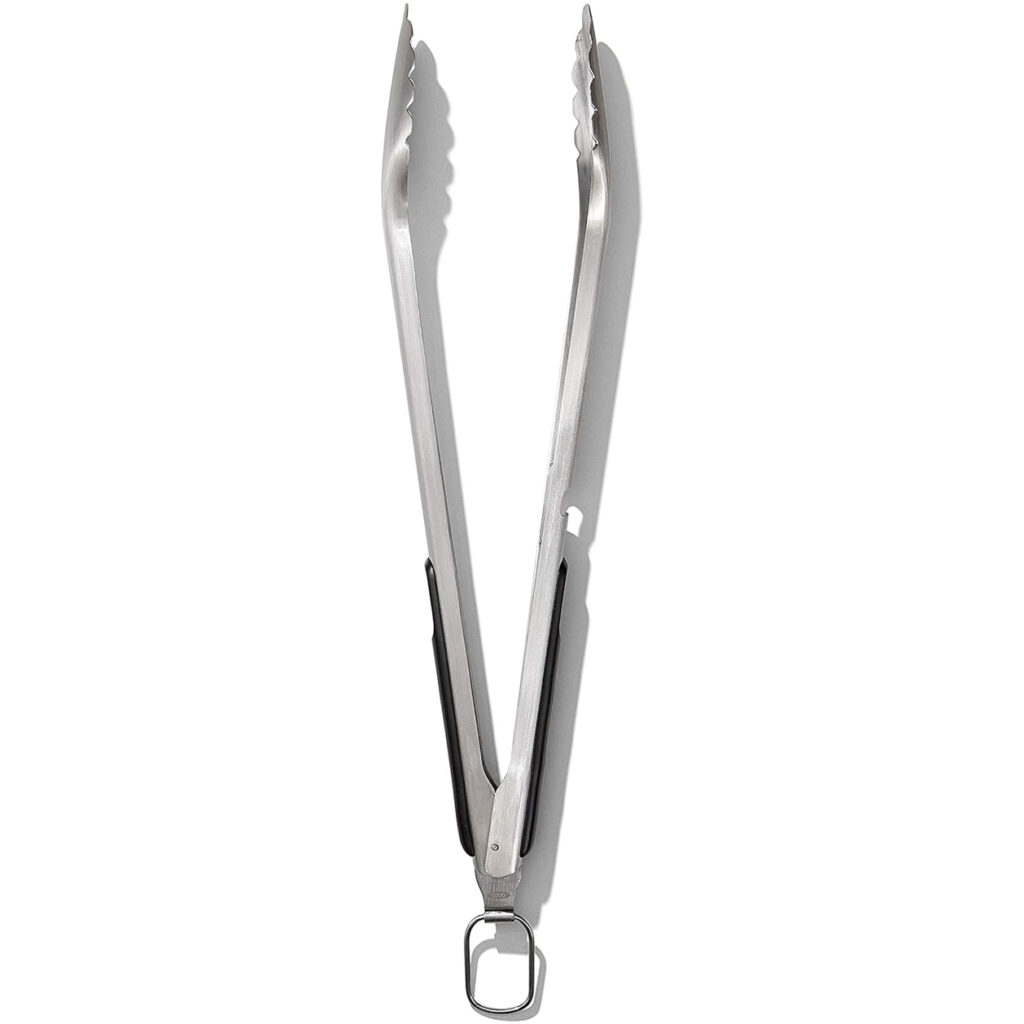
Get some decent long tongs to flip the meat. Longer tongs over short to keep your knuckle hairs intact
Frequently Asked Questions
Your oven broiler is a good sub. Follow a similar process of roasting the meat unsauced, then brush and broil with sauce 2 or 3 times. Keep a very close eye on broiled ribs though! The heat is very intense and this sauce is sugary. Burning can happen fast. To mitigate, keep ribs slightly farther away by lowering the oven rack.
Don’t get me wrong, baby back ribs are great. Depending on the particular rack you get, they can be juicier and more unctuous than STL style ribs. But the curvy bone makes grilling them a pain in the butt. It’s up to you if you are willing to babysit them on a little more on the grill.
Mild to medium. It’s a slow-building heat from the cayenne, chili powder, and hot sauce rather than an up-front punch. If you’re spice-shy, cut the cayenne back. If you want more, bump it up or use a hotter hot sauce.