Easy Sourdough Bread for Beginners (Actually Good!)

Updated Sep 28, 2026, Published Oct 10, 2024
This post contains affiliate links. Please see our disclosure policy.
This is a workhorse sourdough loaf perfect for a weekly baker OR a total beginner. The result is a crusty, wheat-forward loaf with mild acidity you can pull off at home with zero special equipment.
Why This Easy Sourdough Recipe Delivers
A lot of people go crazy trying to figure out this style of bread making. They make fancy schedules, watch dozens of videos and buy expensive gear only to have their loaf fall flat or not rise at all. THIS recipe is the opposite of that. It’s the same six steps I used as a professional bread baker, boiled down into the most approachable home process I can think of.
If you’ve been wanting to dabble but haven’t known where to start OR if you’re currently on the sourdough struggle bus, this is the one for you. It’s one overnight build, a simple hand mix, and 4-5 total hours of fermentation. The result is a loaf that GENUINELY rivals what comes out of an artisanal $50,000 deck oven.
Brian’s Pro Tips
A Leaven, Not Just a Starter
A sourdough starter is captured wild yeast and bacteria that you keep alive over time. A leaven is the specific mix of flour, water, and starter that you build the night before a bake.This is the thing I see home bakers struggle with most. You feed your starter on an ongoing basis. You build a leaven once per loaf, then use all of it in the dough. The leaven is the engine of the bread. It gives you strong, fast, predictable fermentation. The starter is the culture you use to build that leaven. Read that part again.
Warm Dough
Sourdough leavens ferment painfully slow below about 74°F (23°C). Cold dough is the single biggest reason new bakers end up with dense, under fermented loaves that don’t rise and are dense AF once baked. Warm water in the mix plus a warm spot during fermentation (barely-heated oven around 80°F) keeps the yeast and bacteria awake and active so the dough actually produces gas at a reasonable rate.
Folding Instead of Mixing
Instead of linking gluten together with mechanical force in a stand mixer, this recipe builds it in layers by stretching and folding the dough over itself at 30-minute intervals. This is how we develop gluten in a professional bread bakery on slack, high-hydration doughs. In my opinion it’s actually MUCH more effective than a home mixer for sourdough bread.
Steam During the Bake
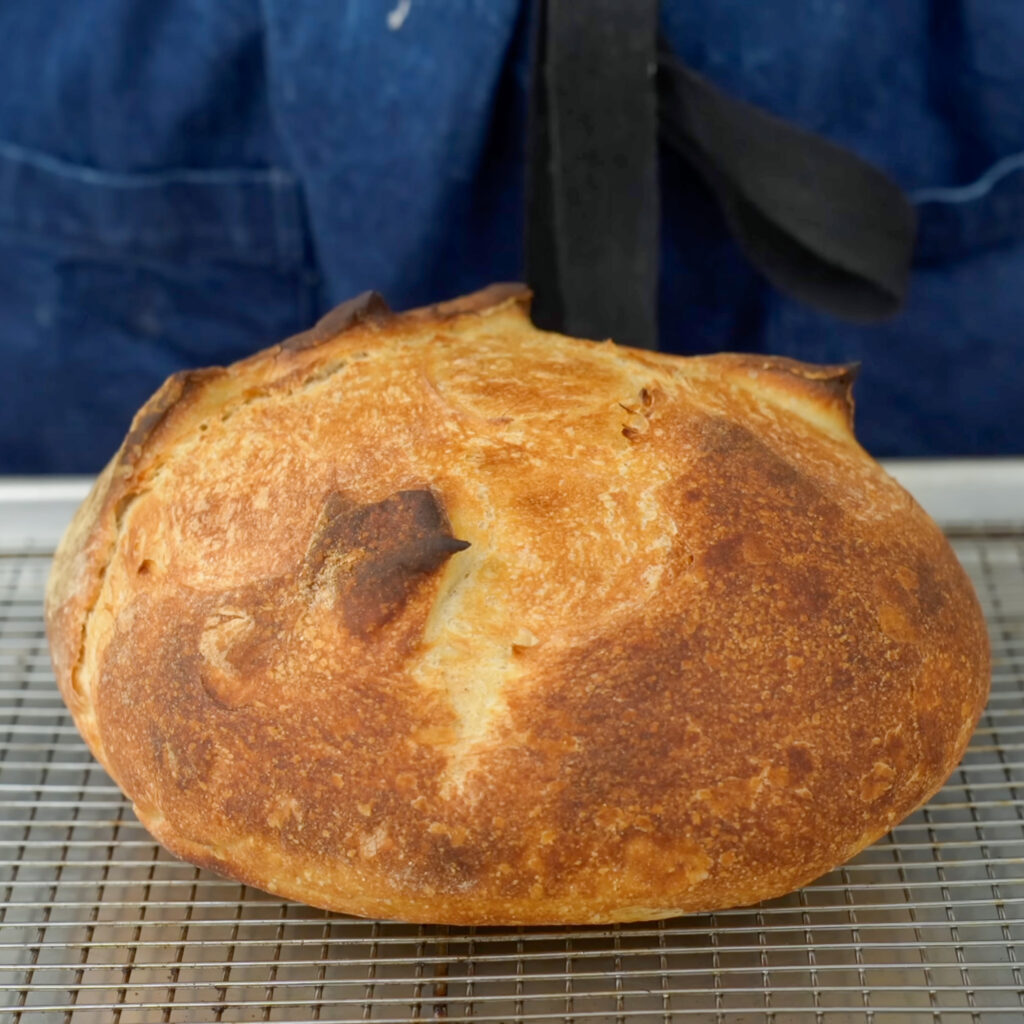
You can’t have crusty bread without steam. Full stop. Trapping moisture around the loaf for the first 15 minutes delays crust formation which lets the loaf rise dramatically higher and gelatinizes the surface for that shiny, dynamic, reddish-mahogany crust. Every professional bread oven is steam-injected. A foil pan and Dutch oven are both cheap home hacks to approximate that.
Bake It DARK
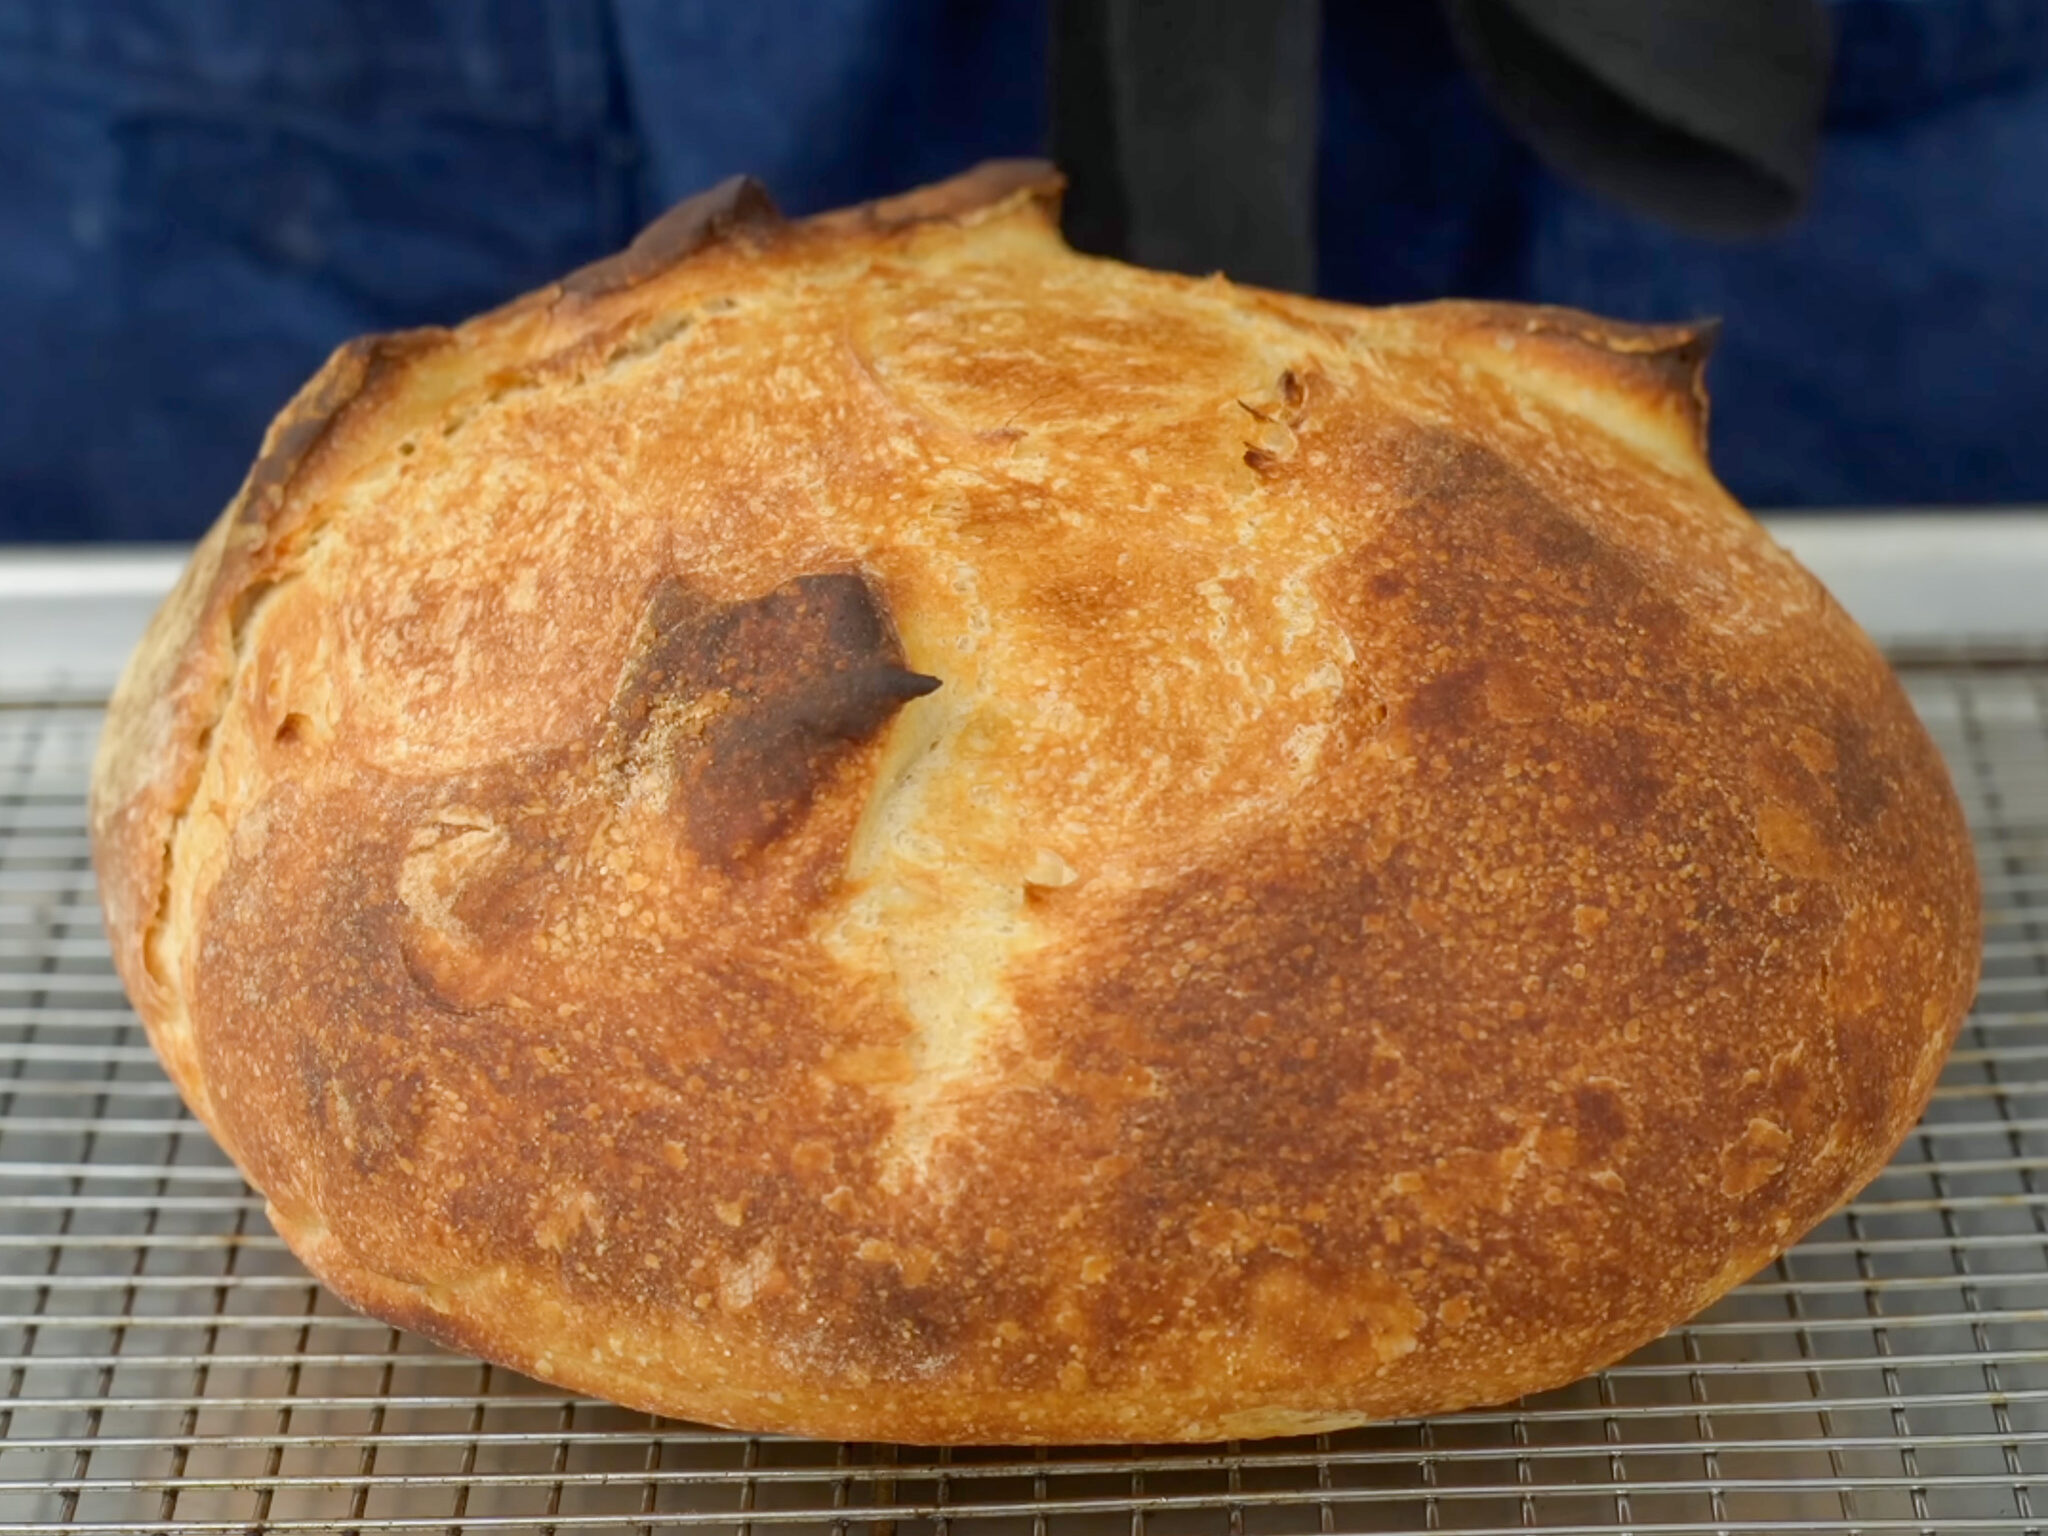
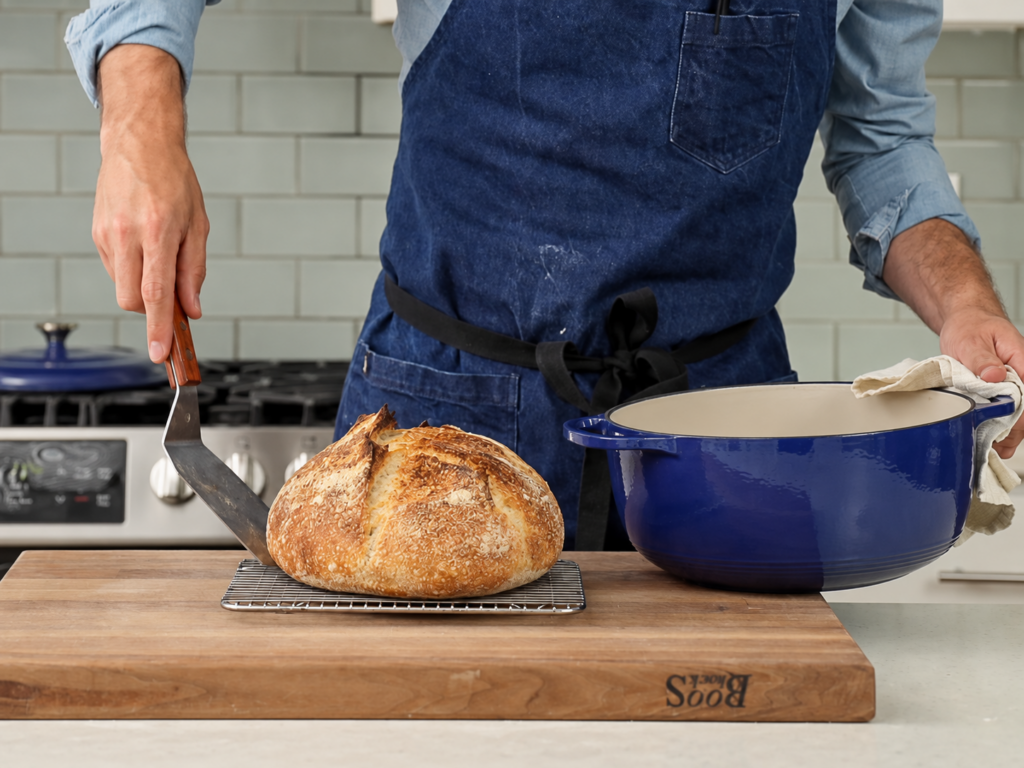
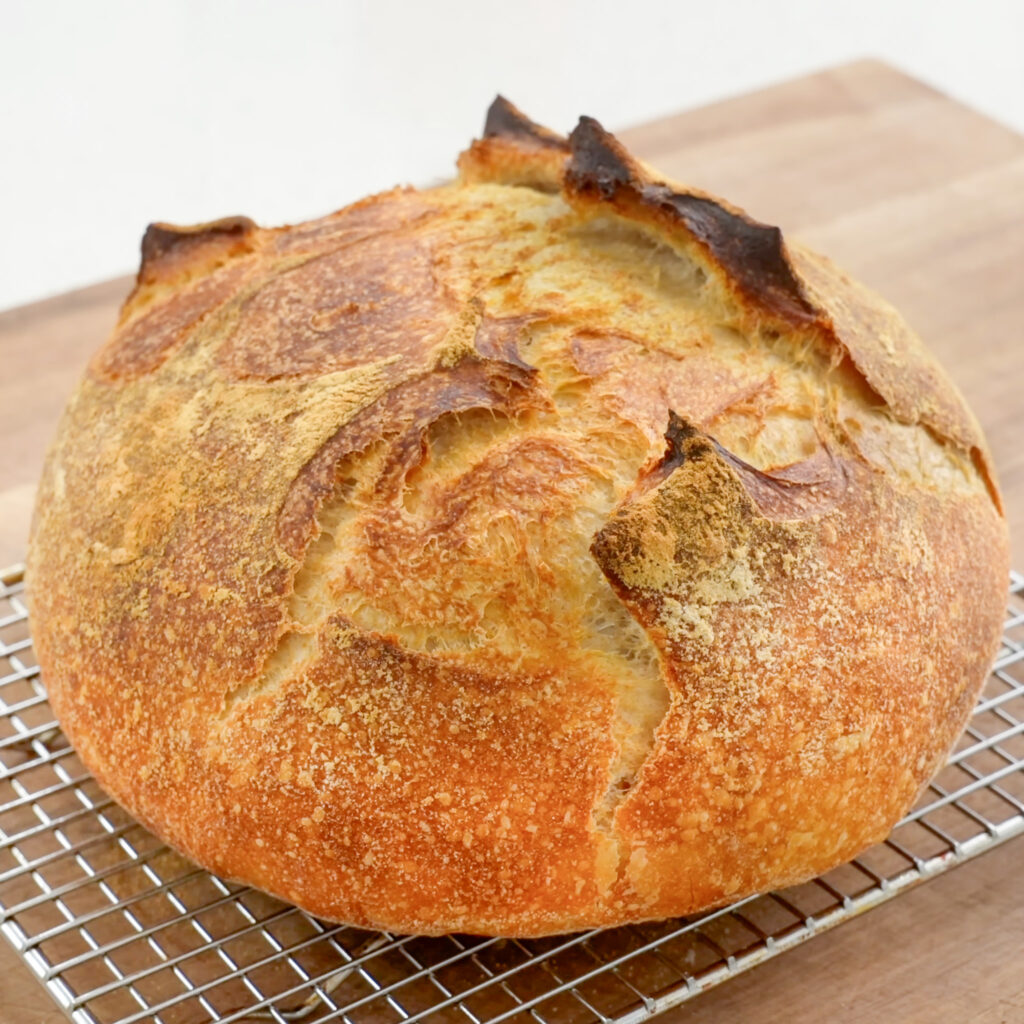
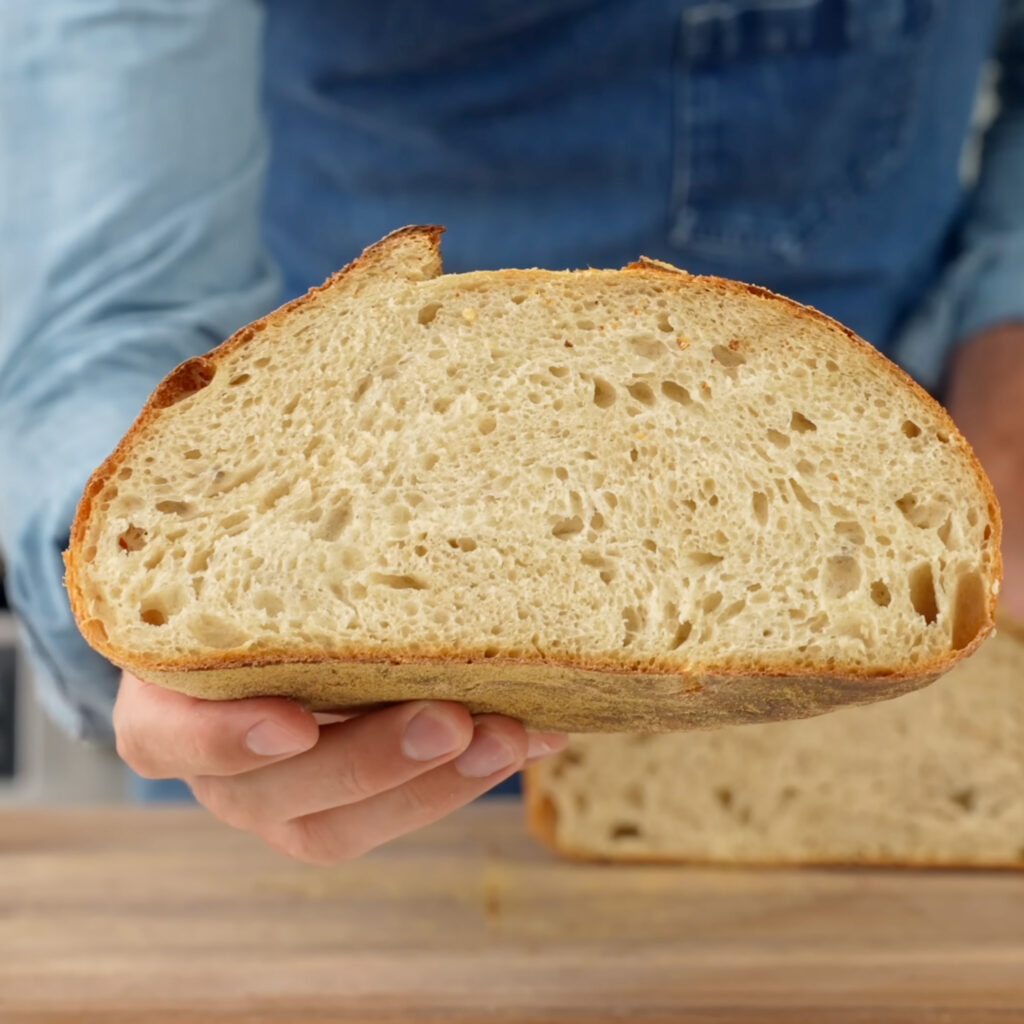
A blonde loaf is a boring loaf. Deep browning is where a huge chunk of the flavor lives and it also finishes setting the interior crumb. Take it one shade darker than you’re used to. You want every type of browning from golden wheat to reddish mahogany to espresso brown in spots.
Key Ingredient Notes & Substitutions
These are some of the important ingredients I want to bring your attention to in this recipe. The full list of ingredients and amounts are listed in the recipe card below.
Ripe Sourdough Starter
This is non-negotiable. The leaven only works if your starter is actively fermenting. That means it’s been fed 10–12 hours before you build the leaven and has visibly risen.
- If you’re baking often: Feed twice a day at room temperature. To feed, discard down to ~50g, then add 50g water and 50g flour.
- If you’re not baking often: Stash the starter in the fridge and feed it once a week. Pull it out two days before baking, keep at room temperature, and give it two feedings to wake it up.
Bread Flour (12.7% Protein)
Bread flour is the backbone here. I use flour that’s around 12.5 to 13.5% protein, and that extra protein gives the dough the potential to build a strong, well-integrated gluten network. I typically use Bob’s Red Mill for reliable results.
All-purpose flour works in a pinch, but the loaf will be harder to shape, especially for beginners. That’s because lower-protein dough feels stickier in your hands. It takes a more experienced touch to shape all-purpose dough into a strong loaf that holds itself up during baking.
Warm Water (92°F / 33°C)
Water is the most underrated sourdough “ingredient”. Using warm water (92 to 95°F / 34°C) will yield a final dough temp of 78 to 82°F (26°C) , which is where the wild yeast in your starter likes to ferment. Tepid or chilly water is one of the easiest ways to get frustrated with sourdough and quit. Water below 78°F can leave you with dough in the low 70s or even the 60s, and dough that cold is going to ferment painfully slow, if at all. You’ll be super bummed that you spent two days trying to make bread that never really had a chance.
How to Make My Easy Sourdough Bread
Build the Leaven
- Twelve hours before you plan to mix the dough (think the night before a Saturday bake) combine 100g of 90-95°F (33°C) water with 25g of ripe sourdough starter in a tall-sided container. Stir to dissolve
- Add 100g bread flour and mix until there are no more dry lumps. Cover and let it sit at room temperature for 12–14 hours. By morning it should be 3–4x its original size, frothy, and bubbly, smelling sweet and sour like a sour beer.
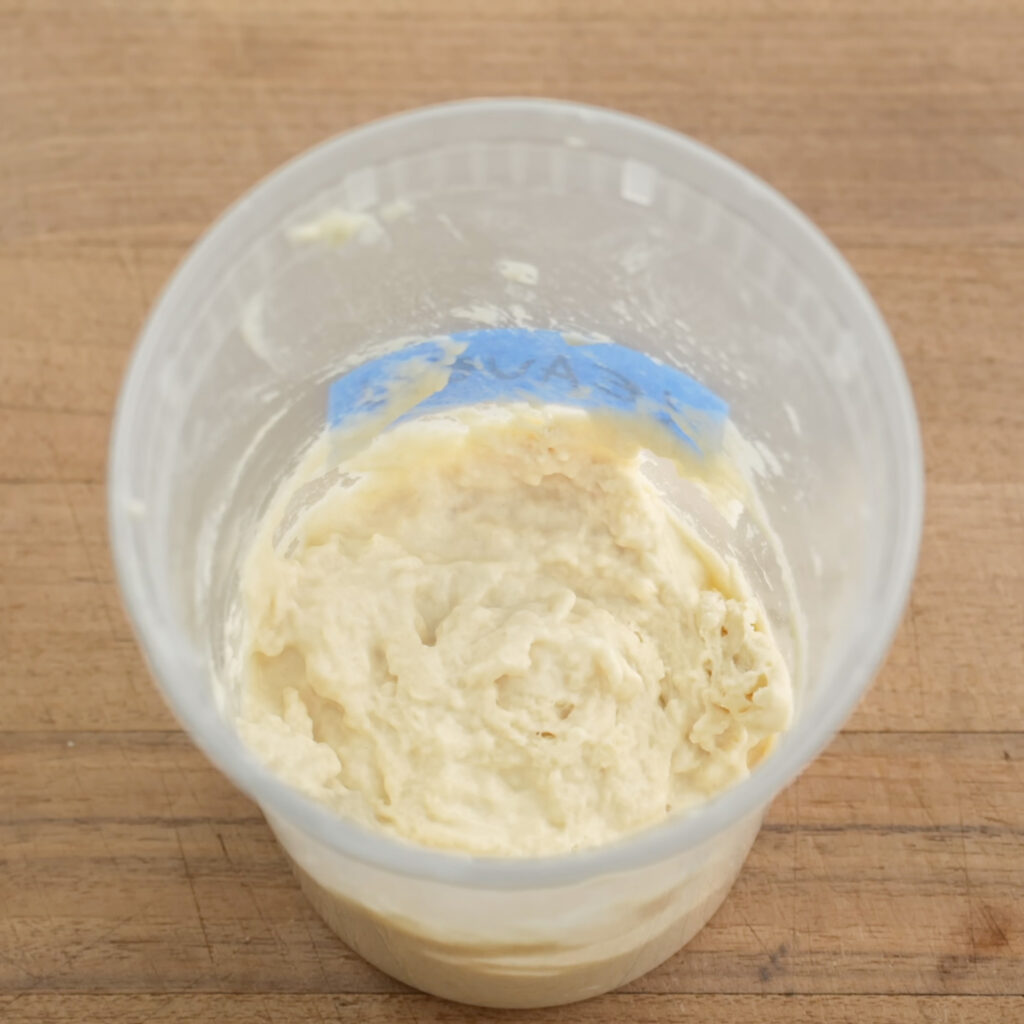
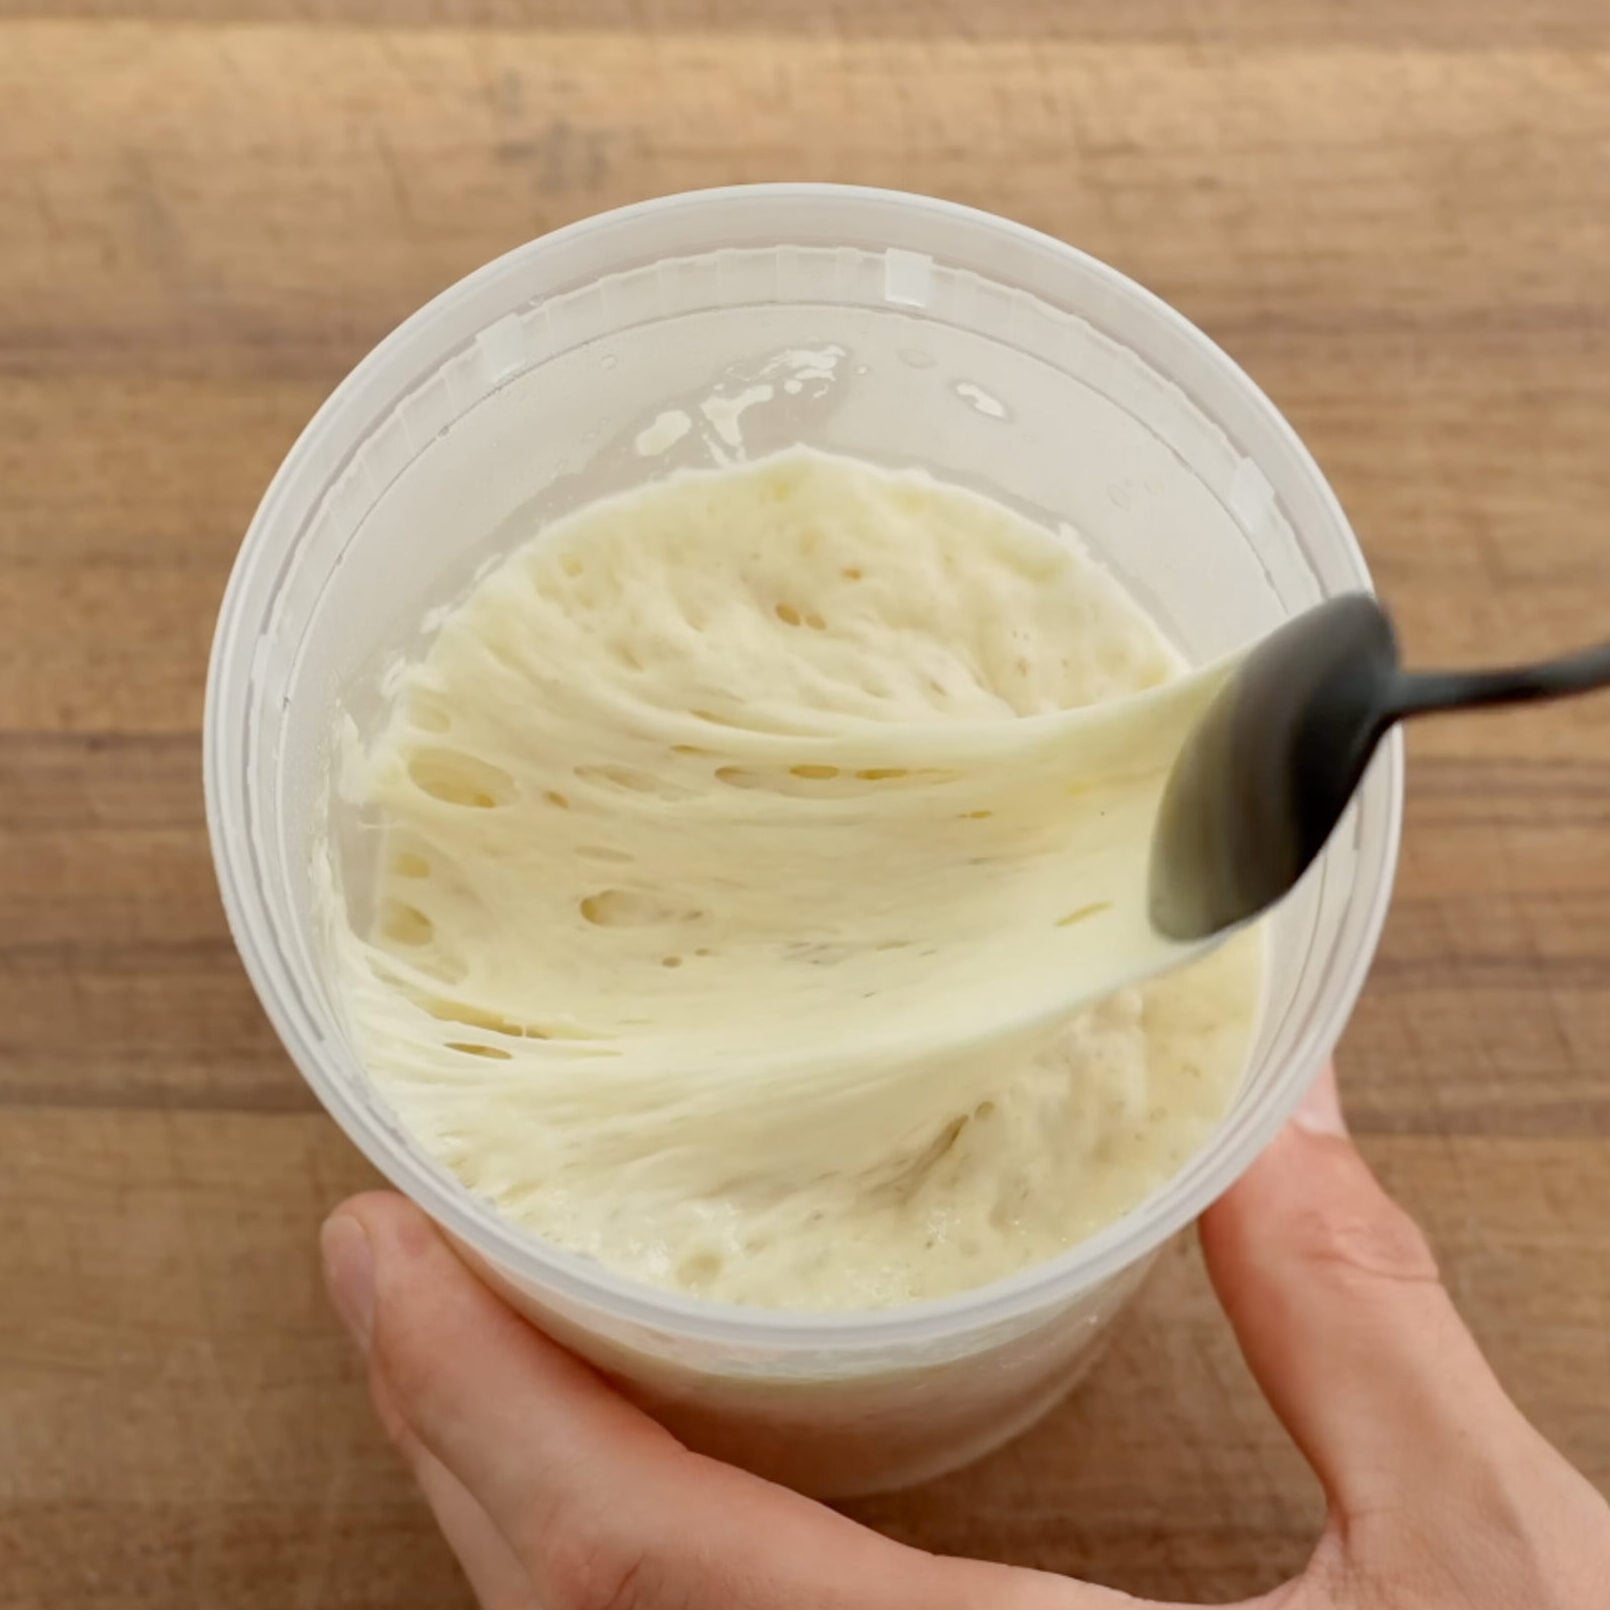
What counts as a “ripe” starter? One that was fed 10–12 hours before you build the leaven and has visibly risen. If your starter isn’t there yet, feed it 2x a day everyday until it’s frothing with bubbles 6-10 hours after feeding.
How do I know the leaven is ready? Drop a small scoop into water. If it floats, you’re good to mix. If it sinks, give it another hour or two in a warmer spot.
Mix the Dough
- In a medium mixing bowl, combine 275g of 92°F / 33°C water with all of your ripe leaven and stir until the leaven is mostly dissolved in the water. (Mixing hydrated flour into fresh flour is a pain…dispersing the leaven first avoids it.)
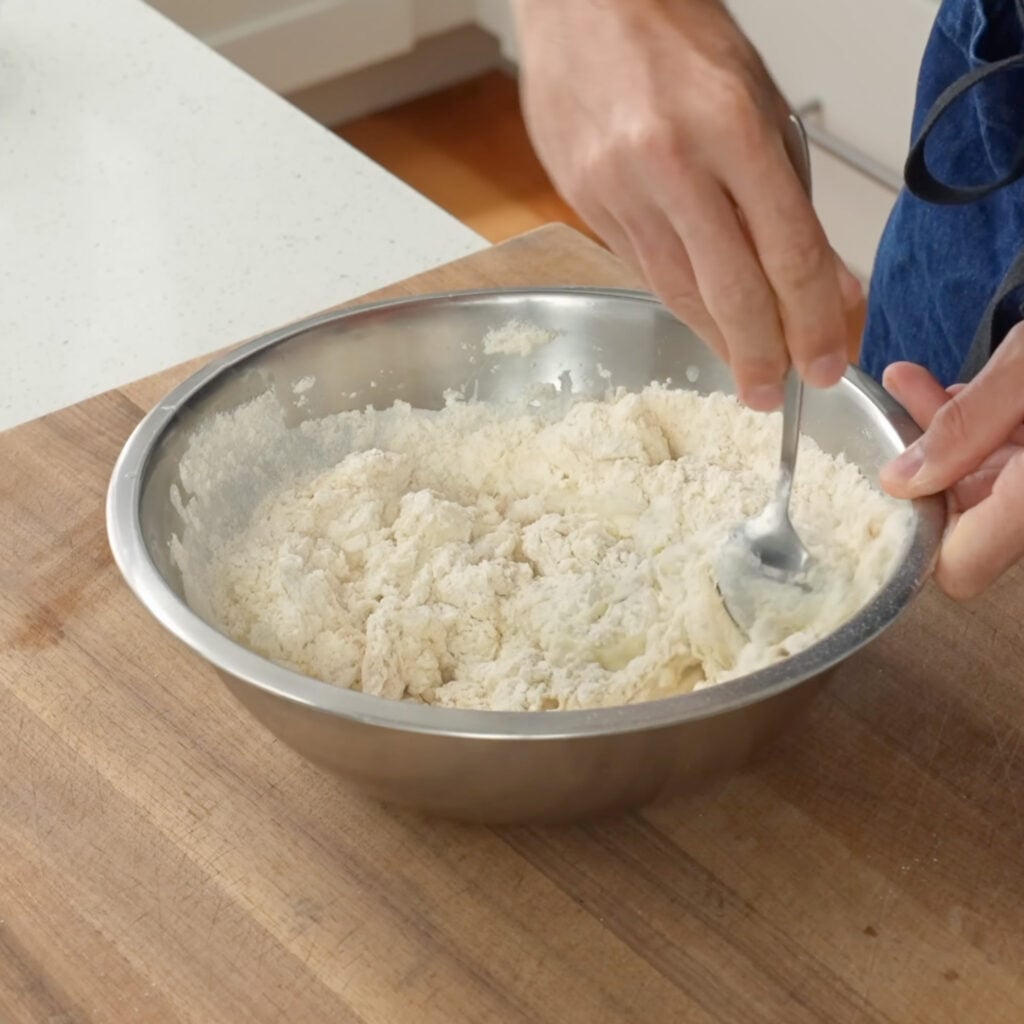
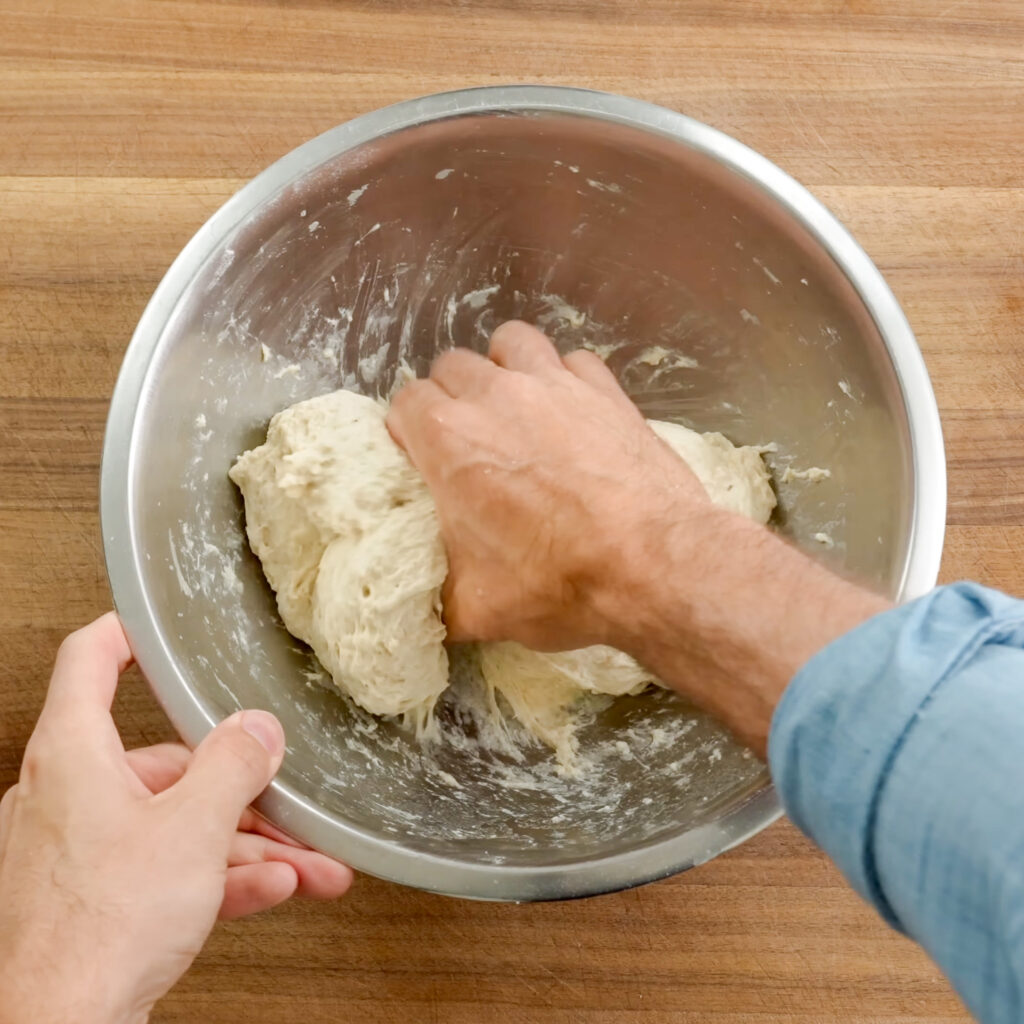
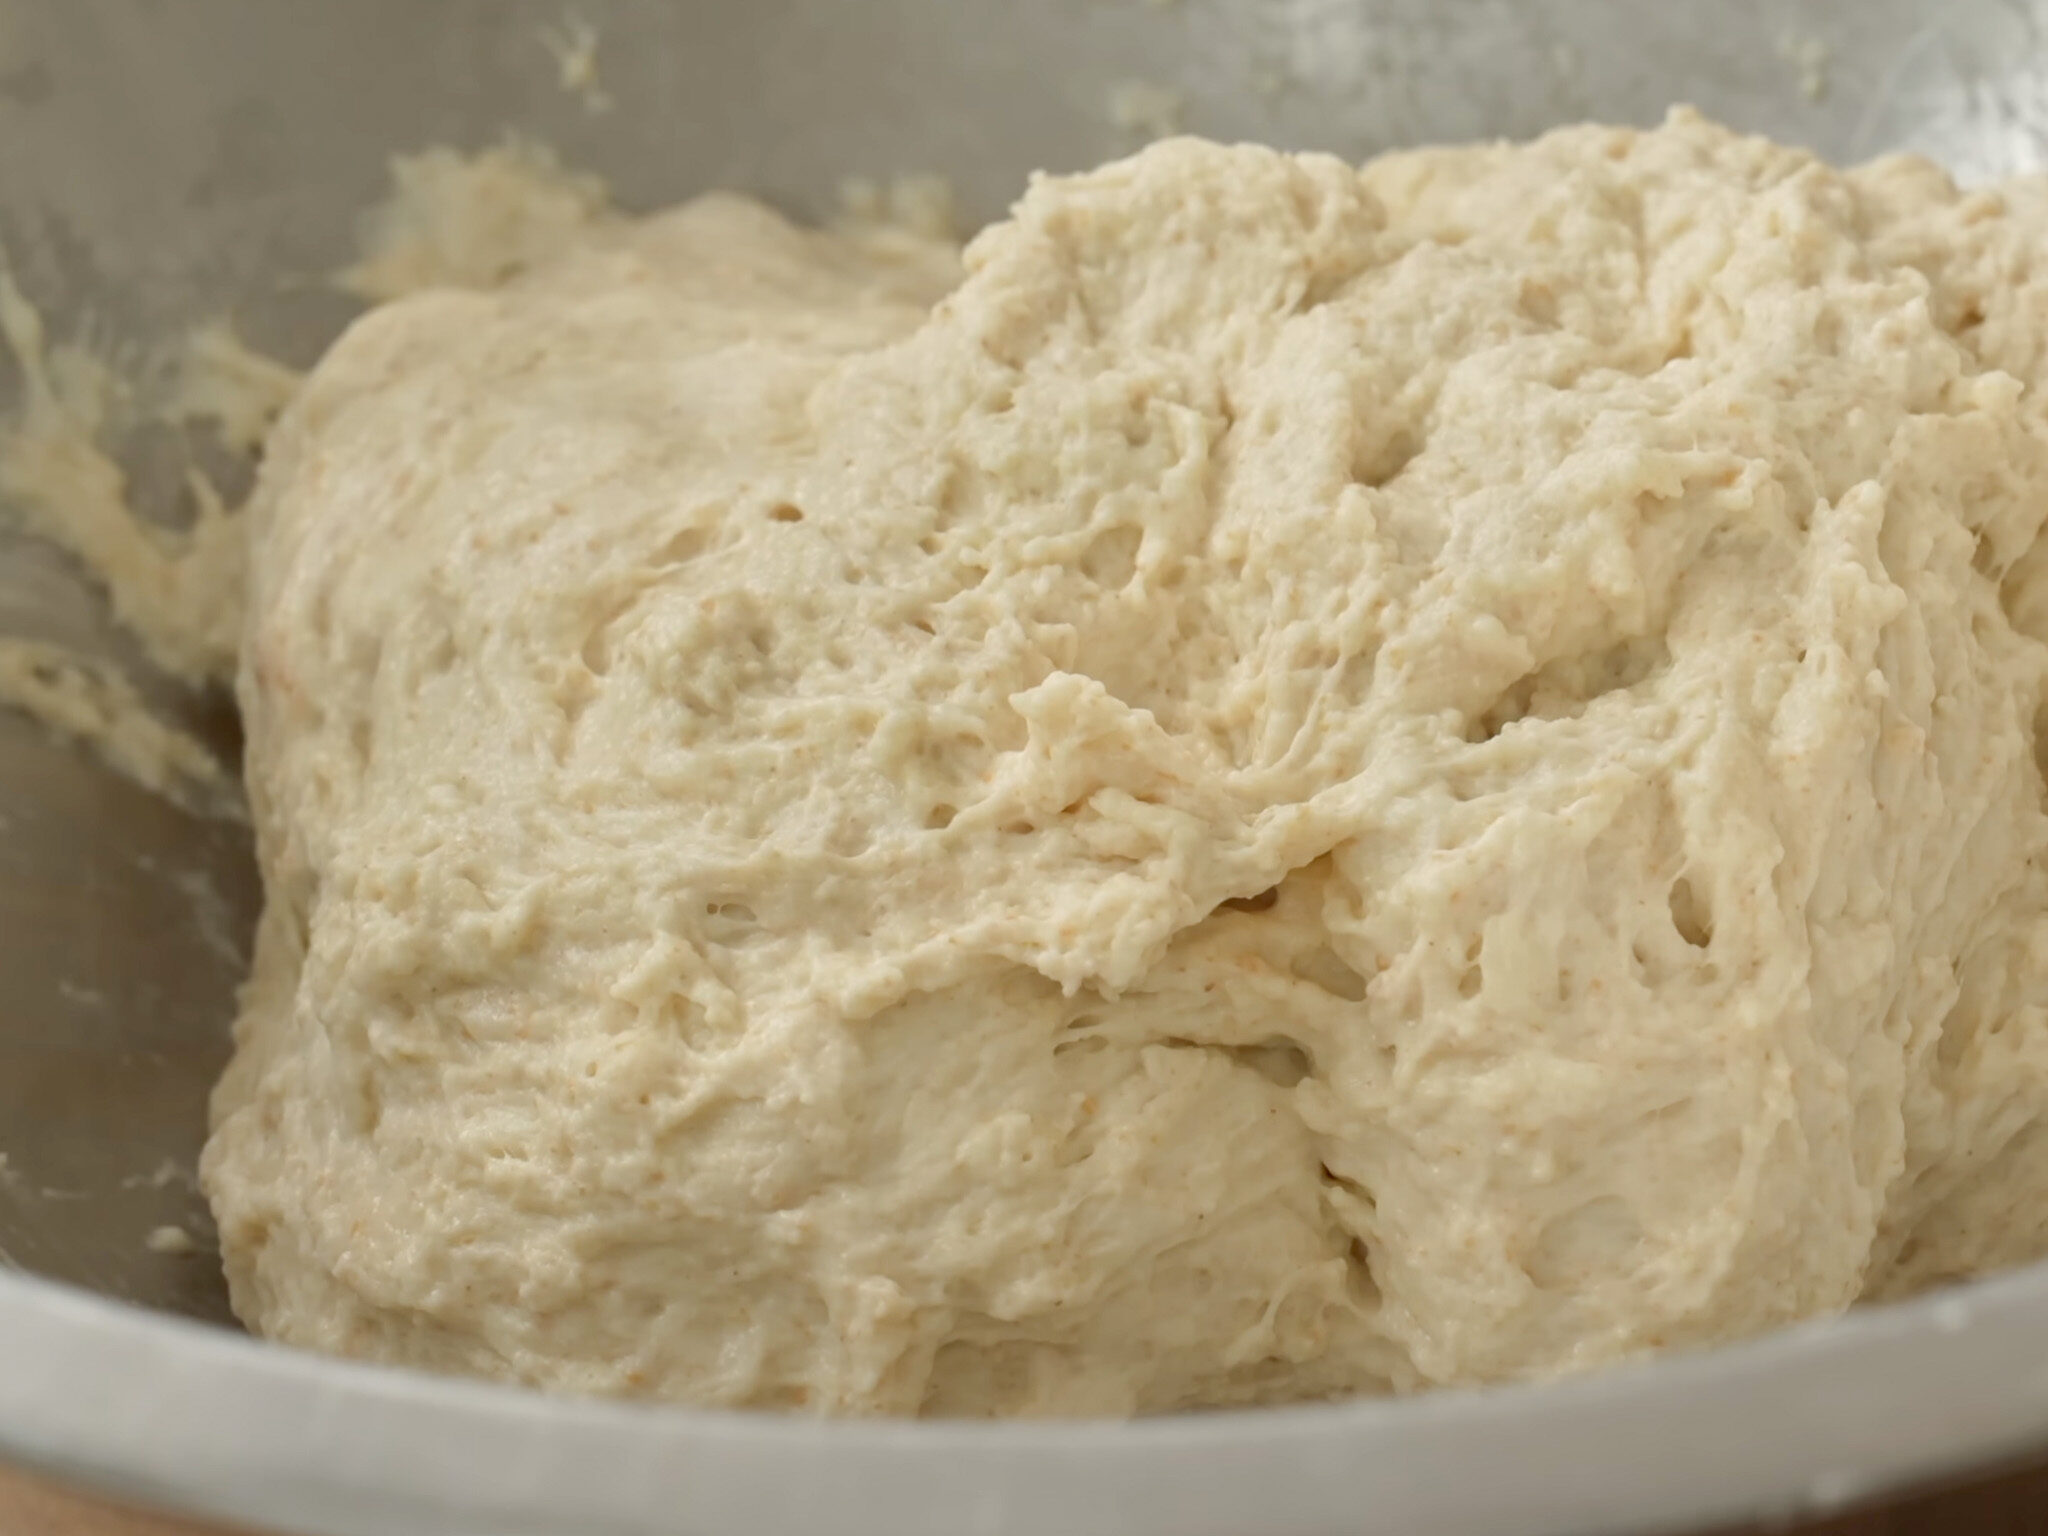
- Add 400g bread flour, 50g whole wheat flour, and 12g salt. Stir with a sturdy spoon for about 2 minutes until you’ve got a dry, shaggy clod. Next switch to a soaking-wet hand and squeeze/fold the dough for another 2–3 minutes until it comes together into a homogeneous ugly mass. Mix until no dry spots are left.
Can I use a stand mixer instead? Totally. Combine everything in the mixer bowl and run on medium-low for 5-7 minutes until smooth. Then follow the rest of the process exactly the same way.
Bulk Ferment + Fold
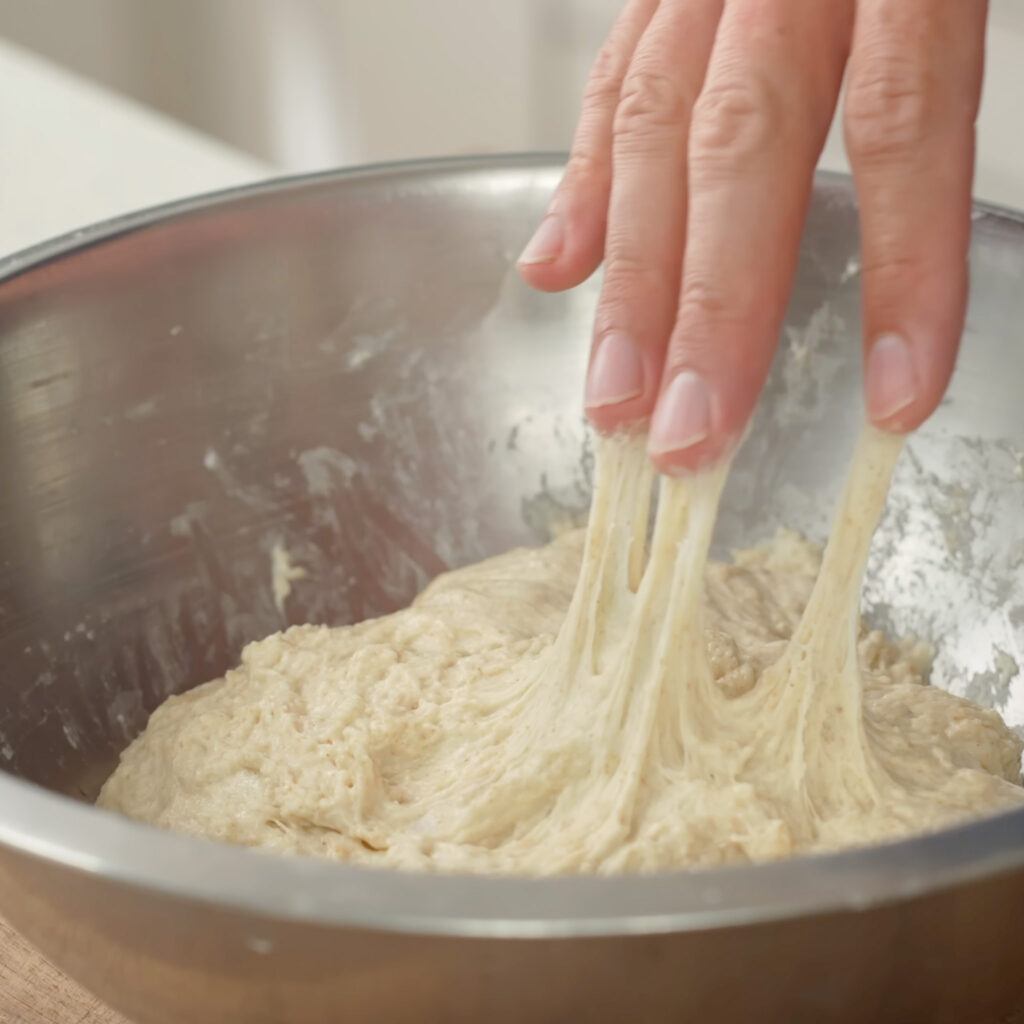
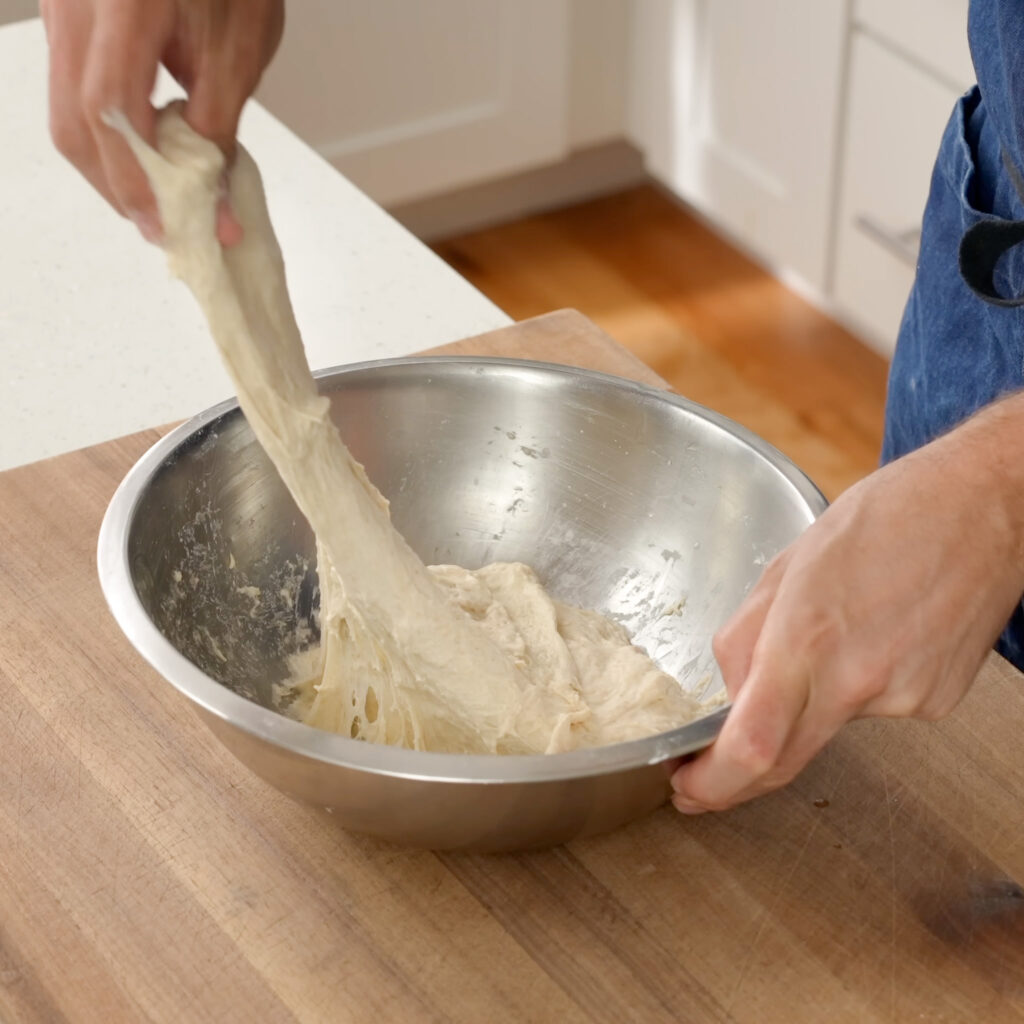
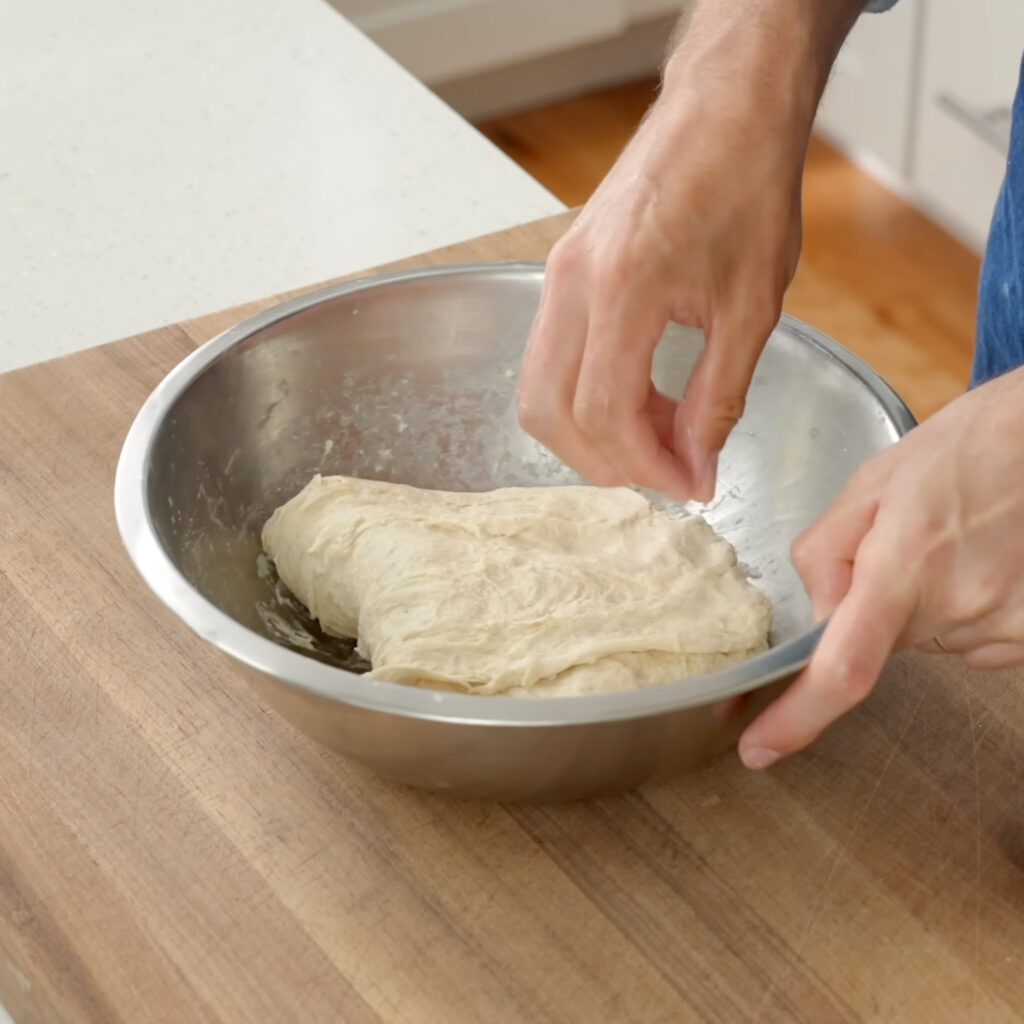
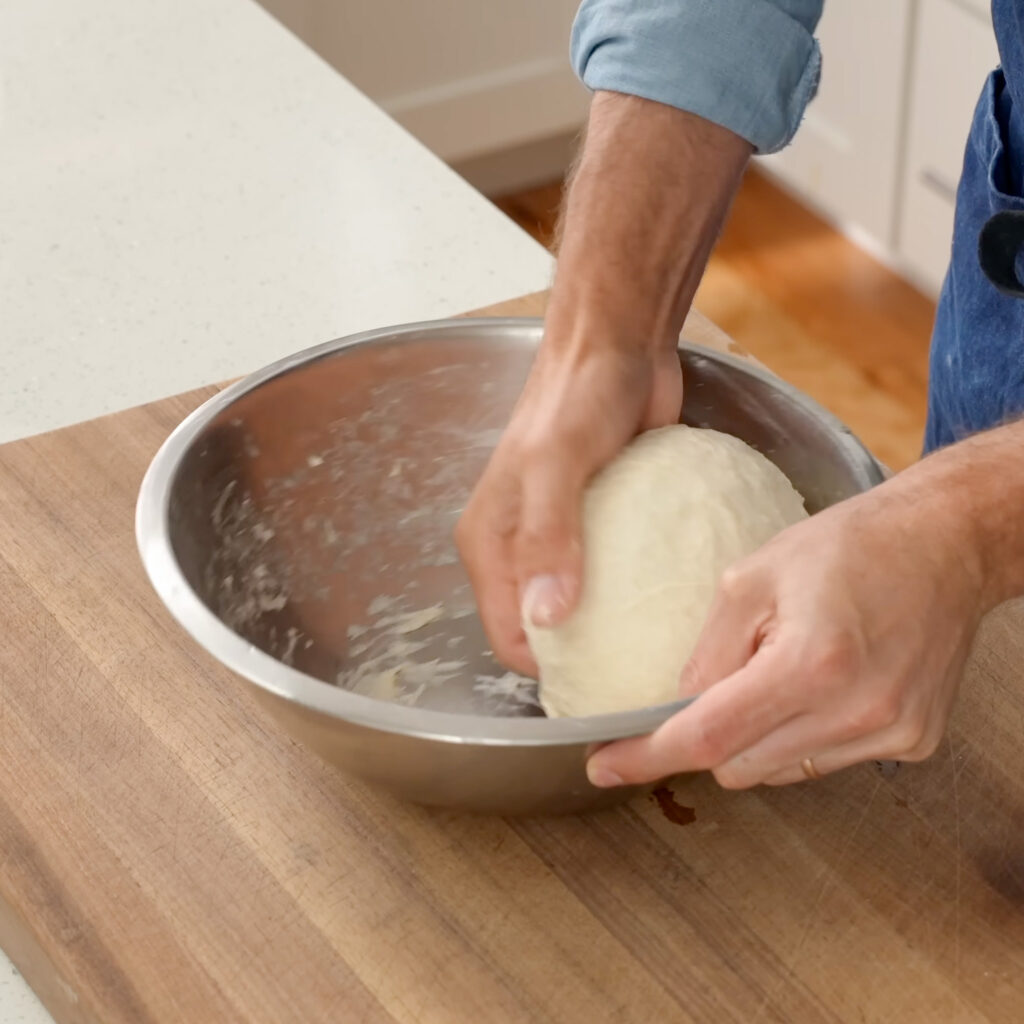
- Cover the dough with a towel or lid and move it to a warm spot to ferment for 30 minutes. Around 80°F / 26°C is perfect. I turn my oven on for about 5 minutes then shut it off and use that as a proof box.
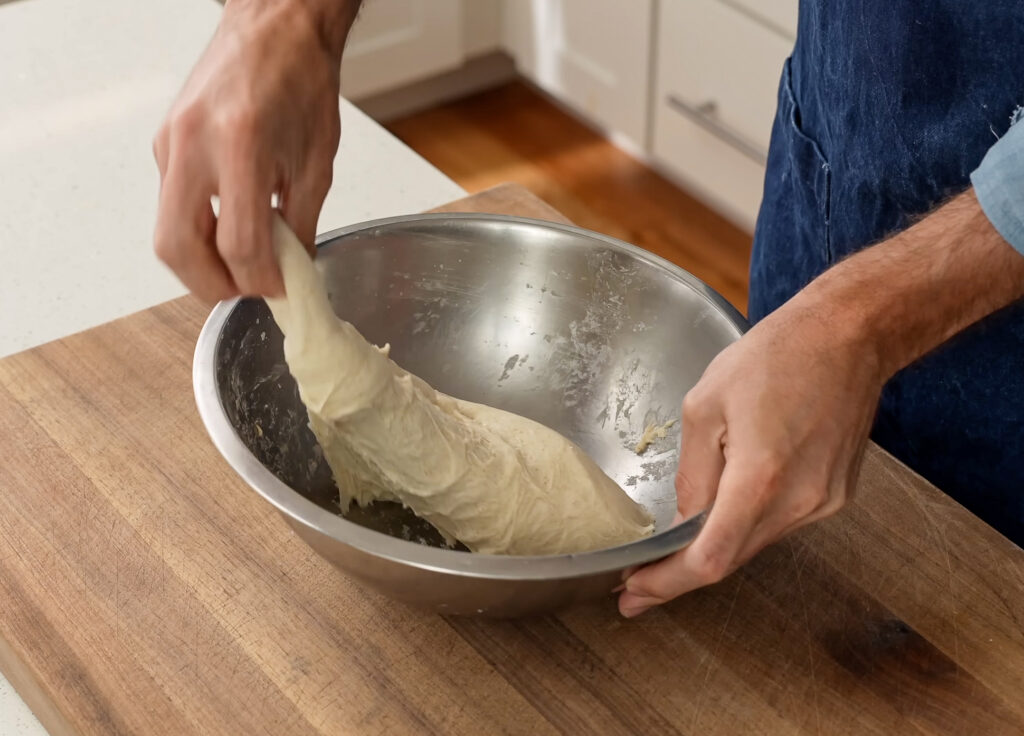
- After 30 minutes, give the dough its first set of folds in the bowl: grab an edge, stretch it up about 8-10 inches without tearing, and fold it over the center. Rotate and repeat 5–6 times then flip the dough seam-side down and use the sides of your hand to round while tucking it into a ball to create some tension across the top. Cover and rest another 30 minutes.
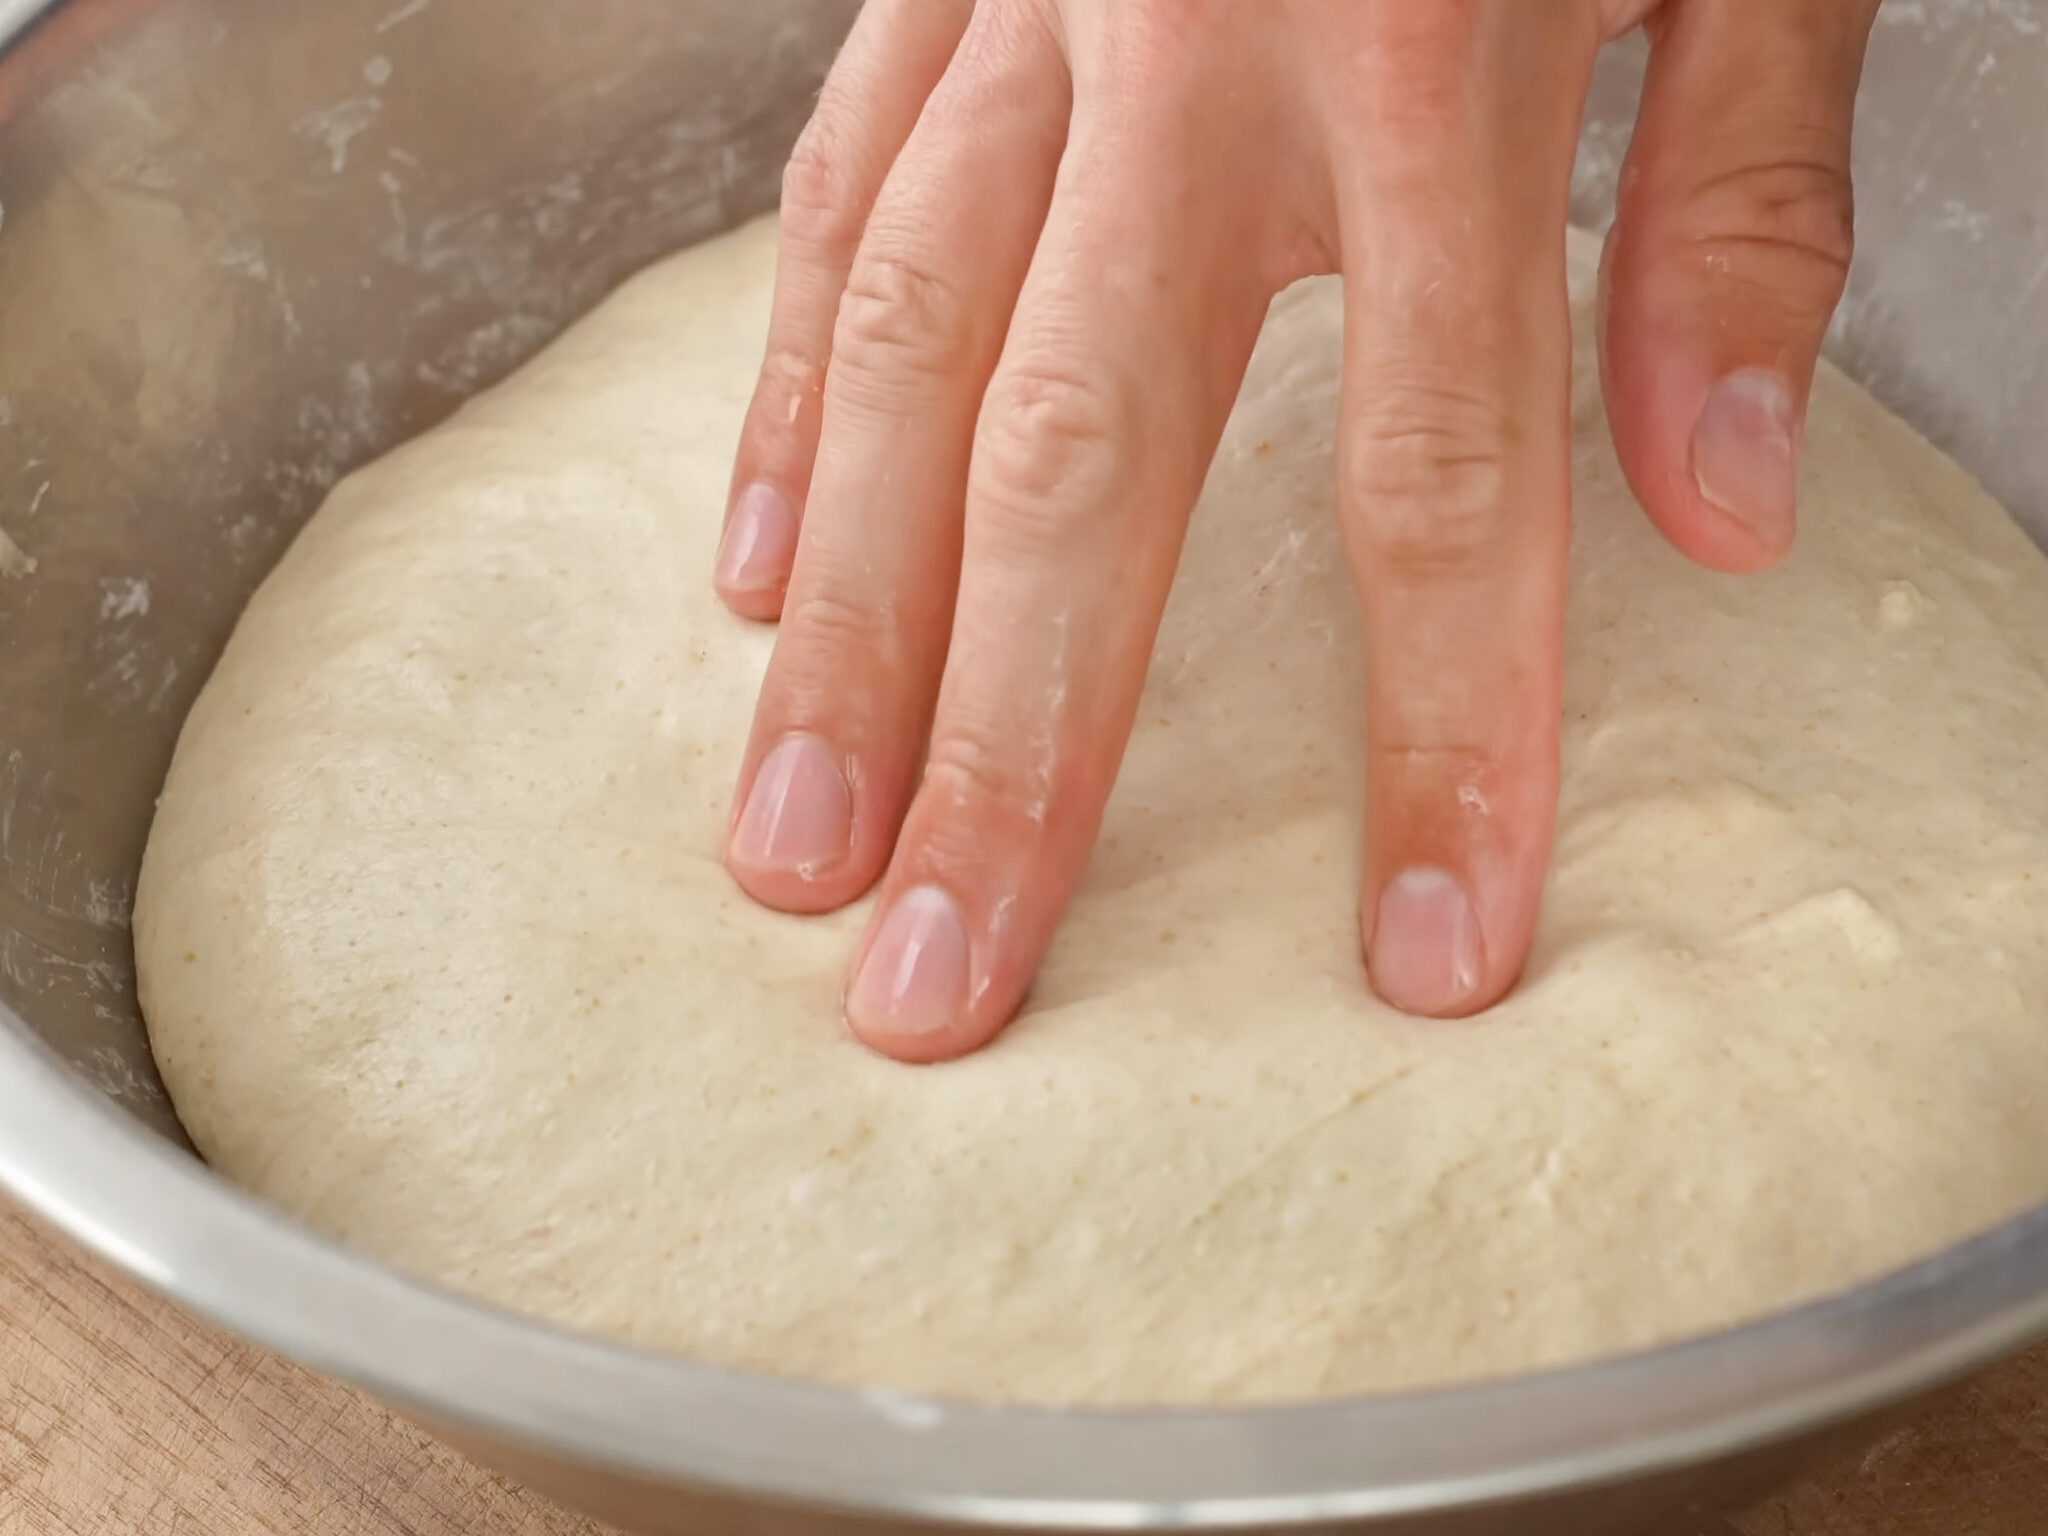
- After that 30 minutes you’ll be at the 60 minute mark. Do one more identical fold to step 6. Cover and let it finish bulk fermenting for 2 more hours. That’s 3 hours total from the time we mixed. After the last ferment, your dough should have doubled in size. If it hasn’t continue to ferment a little longer.
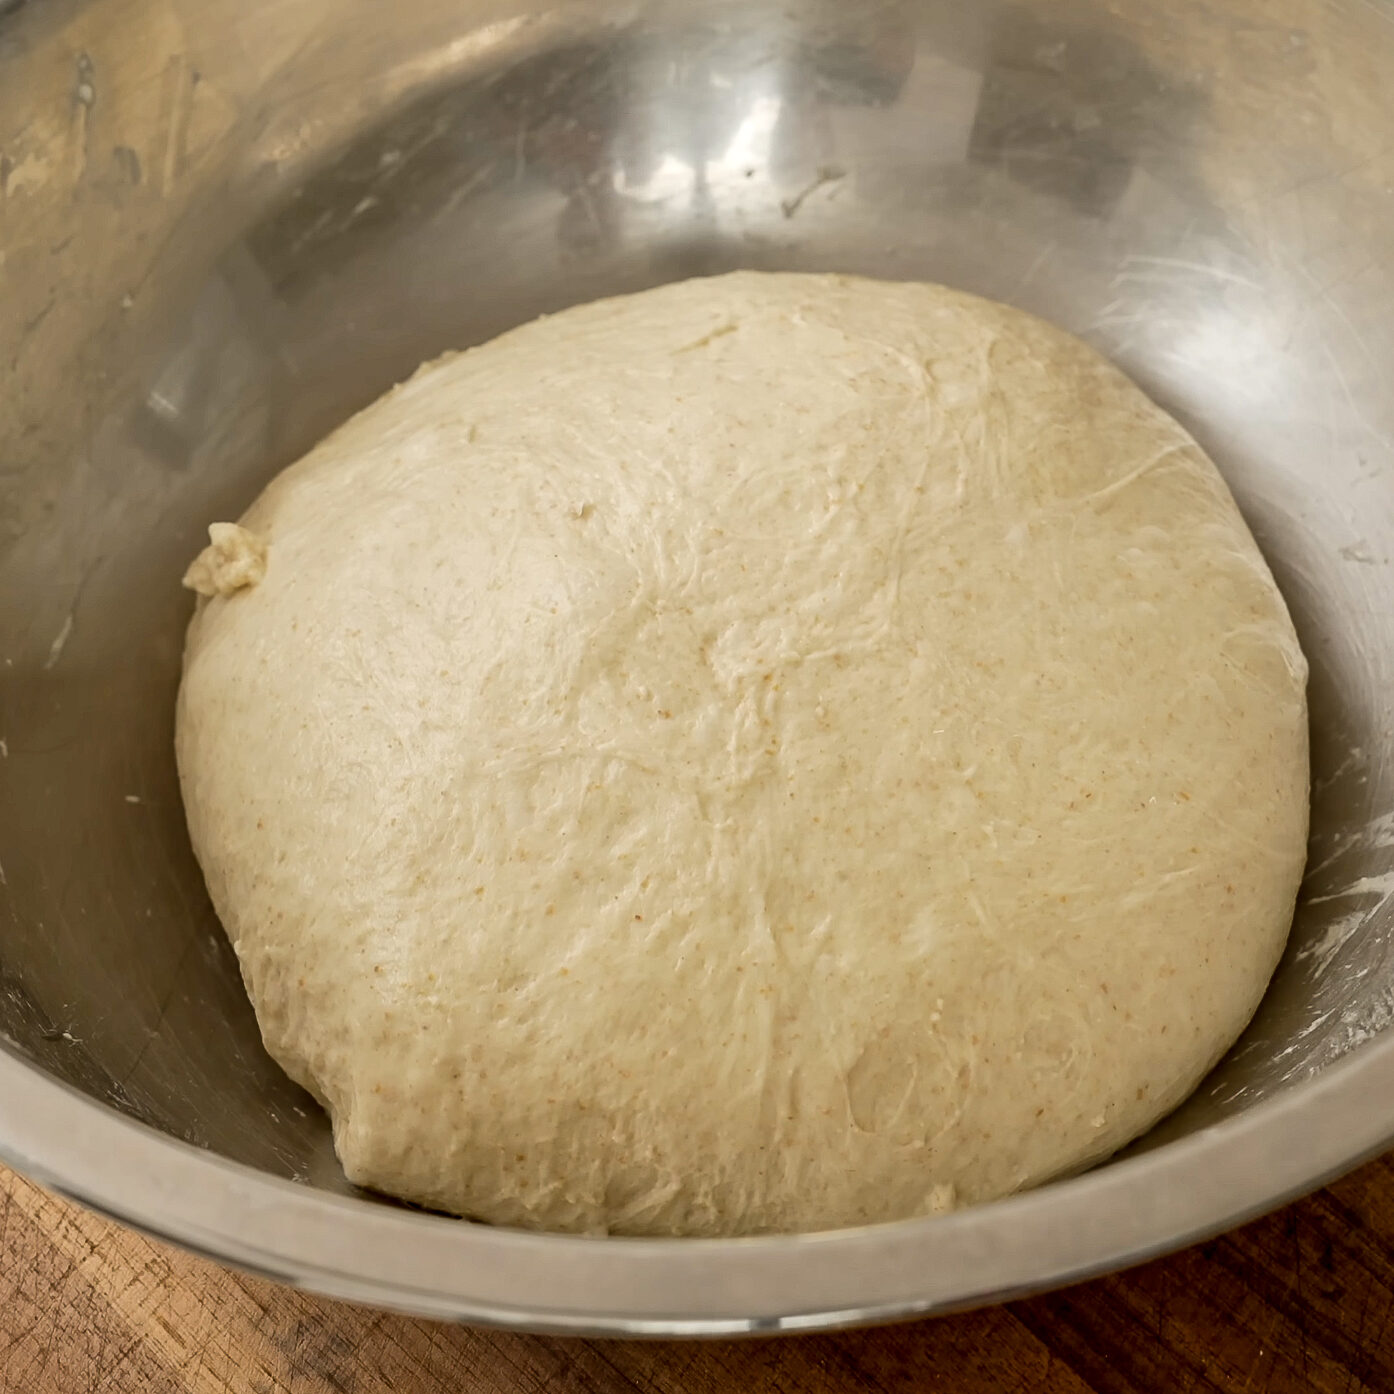
Shape into a BoulE
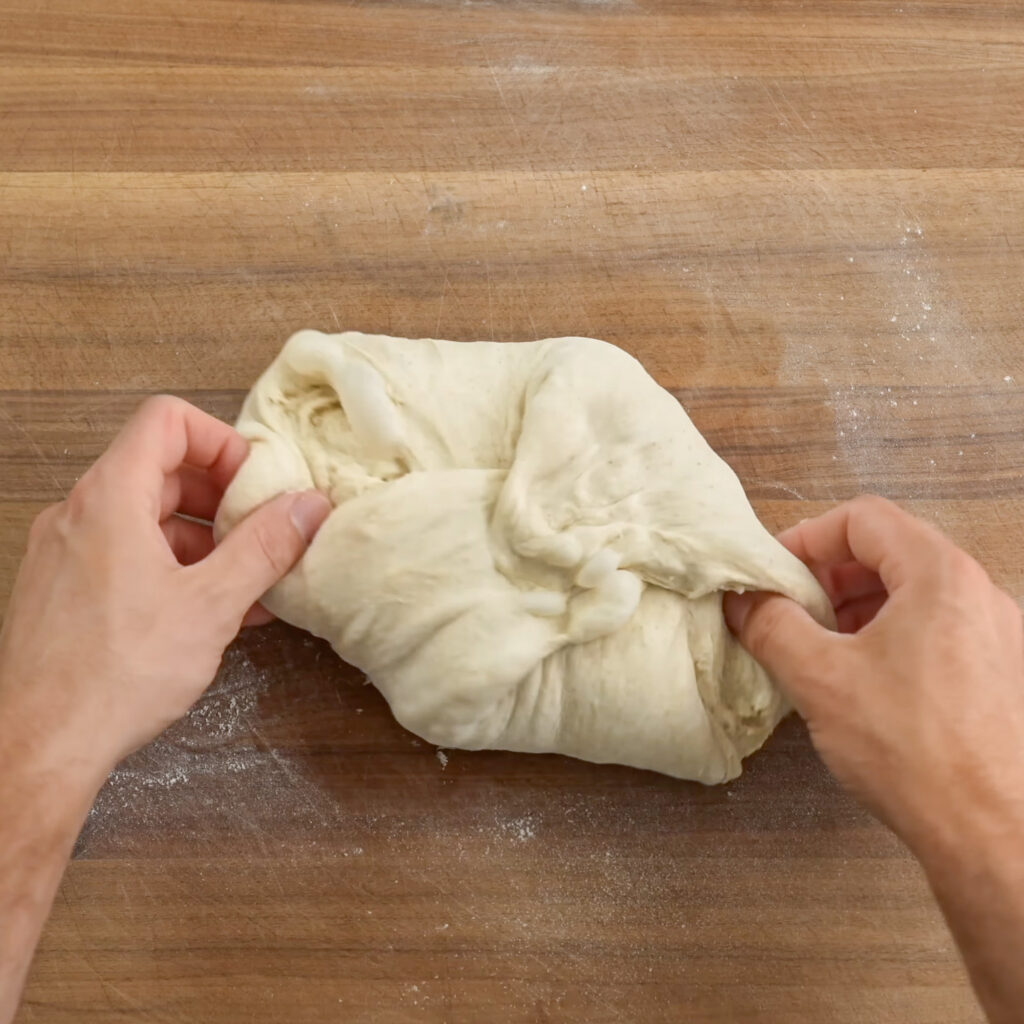
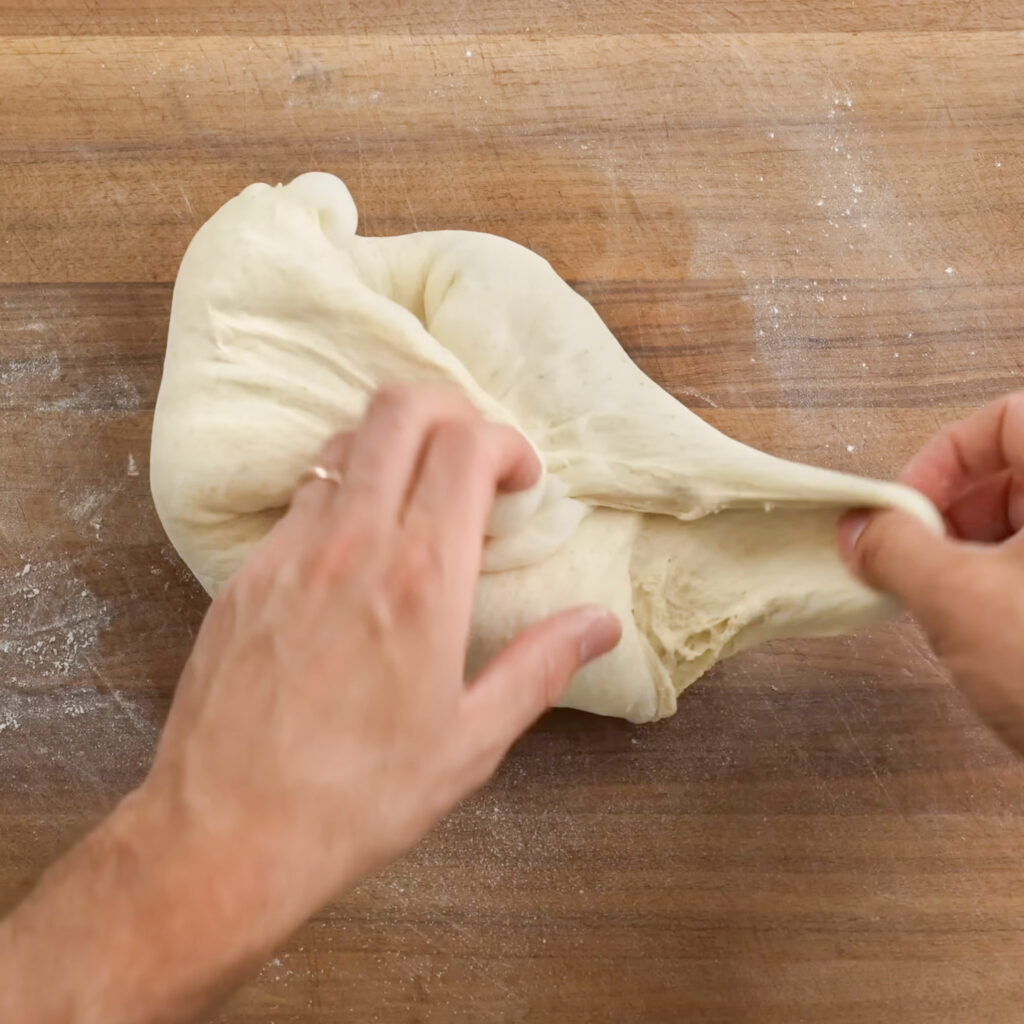
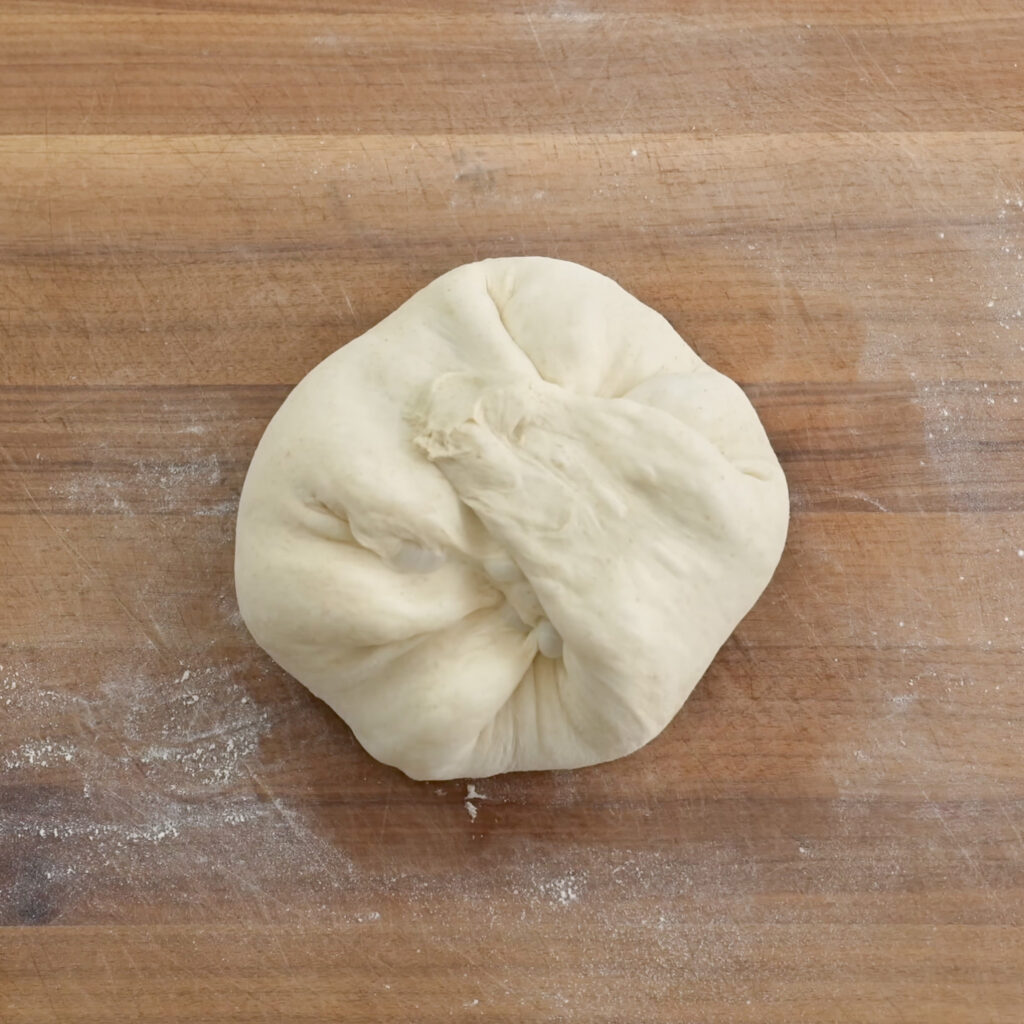
- Flip the fermented and folded dough out onto a lightly floured cutting board. Grab opposite sides of the dough, stretch them out until you meet resistance, and fold them back to the center. Rotate 45-90° and repeat. Keep going, 6-8 folds total, until the underside is tucked up into a tidy bundle.
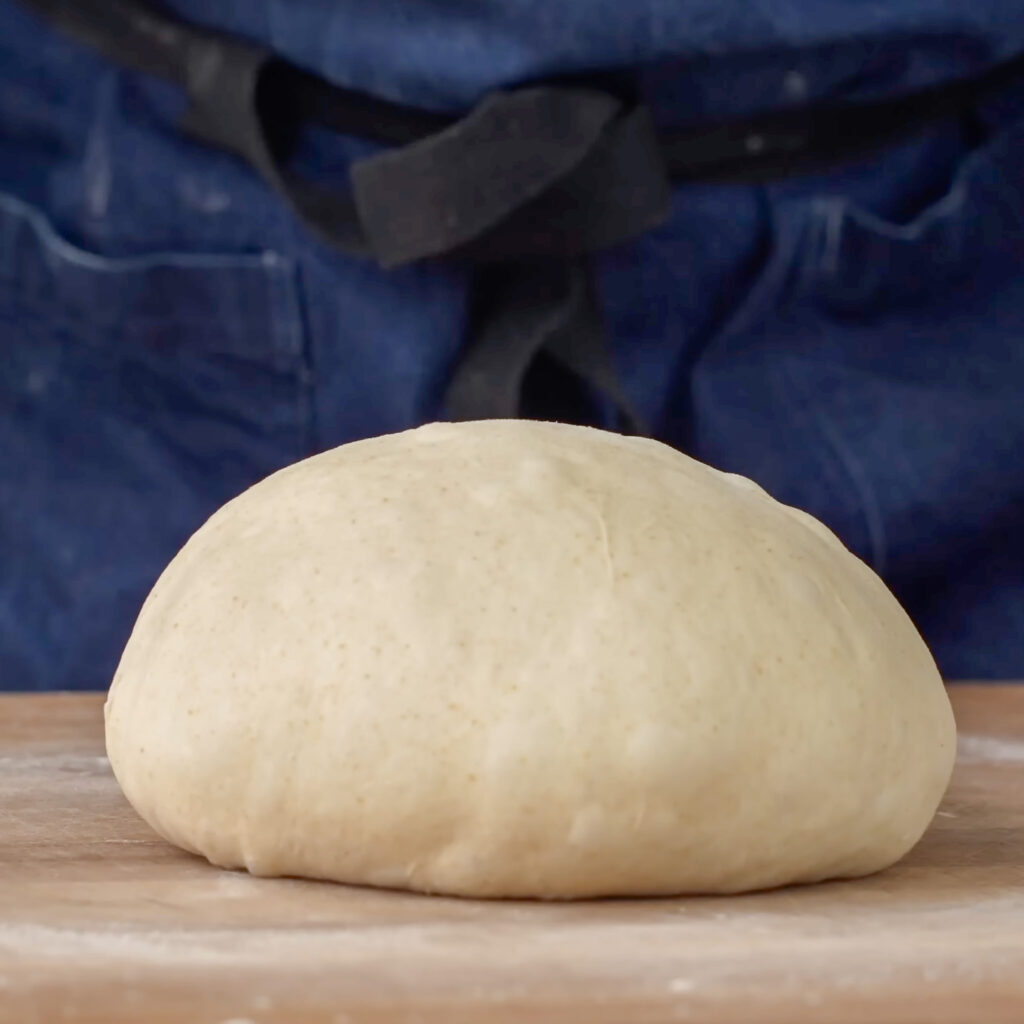
- Flip the dough over onto the seam and use the sides of your hands to round it and drag the top skin down and under, building tension on the surface. This shape is called a boule, and it’s the easiest loaf you can shape at home.
I recommend watching my YouTube video for instructions on how to do this part. It’s hard to demonstrate with photos.
Proof in a Basket
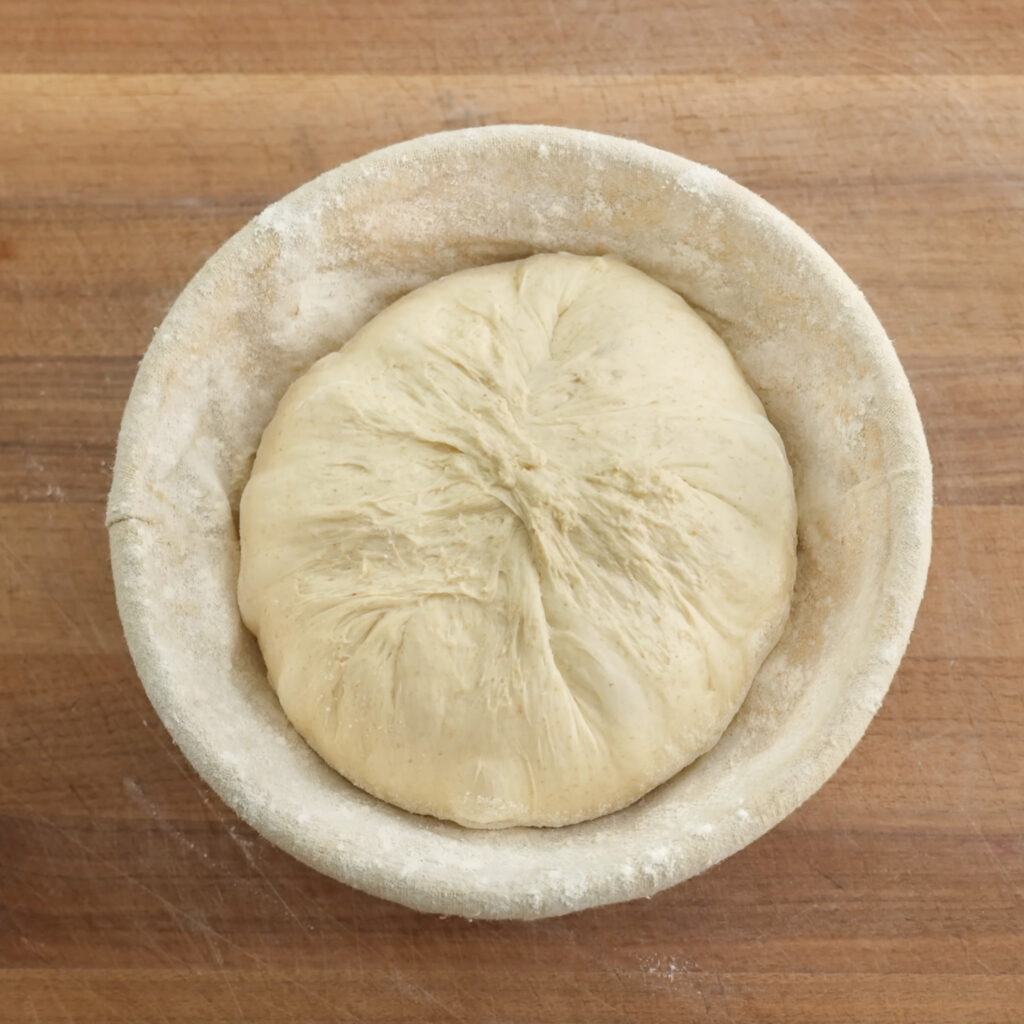
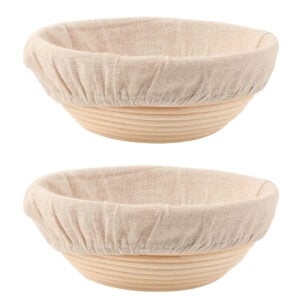
- Lightly flour a linen-lined bread proofing basket (here’s a link to the one I use). A 12 inch diameter bowl lined with a very well flour floured tea towel also works in a pinch. Drop the shaped loaf in seam-side up. The loaf should stand up tall in the basket, not slouch into the sides.
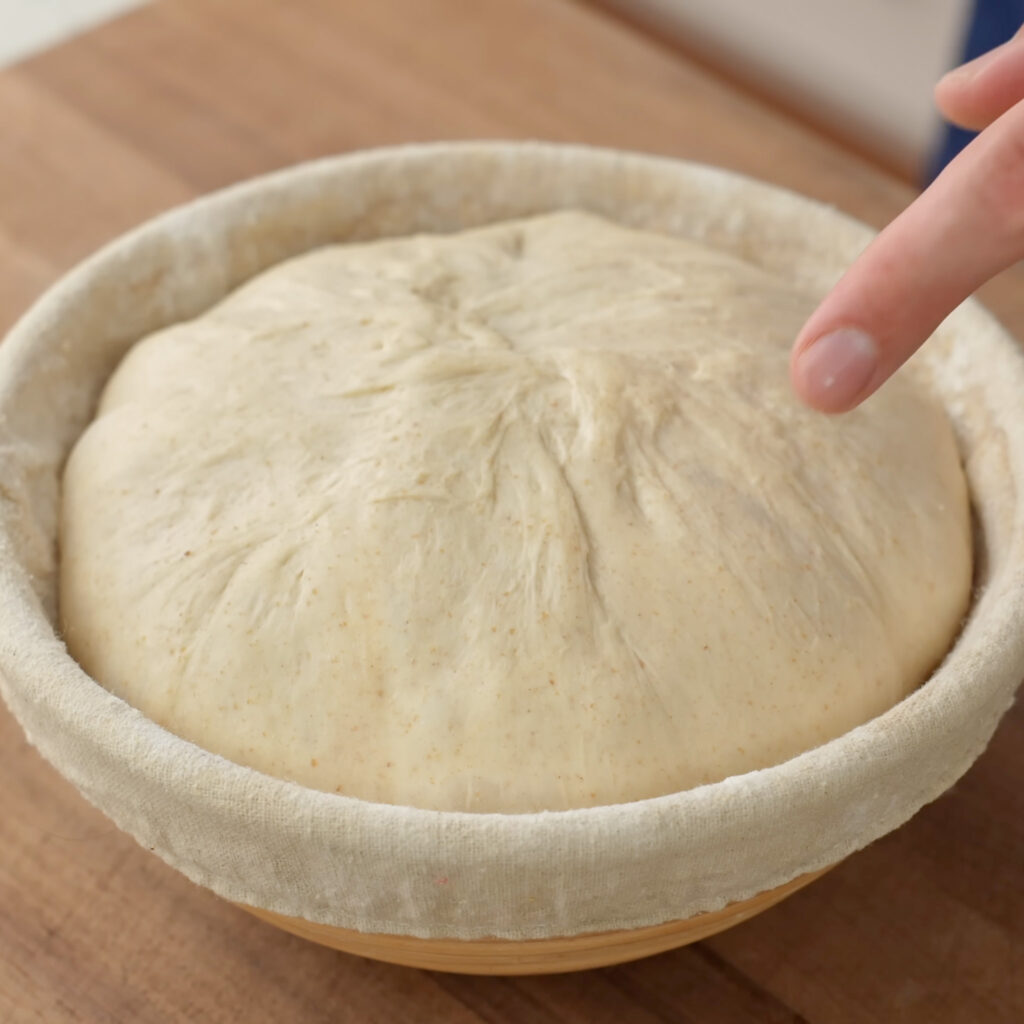
- Cover and proof in a warm place for 60–90 minutes. When it’s ready, a gentle poke will leave a dent that springs back slowly, Pillsbury-dough-boy style. If it doesn’t spring back, it’s slightly overproofed. I’d still bake it, just cut the proof shorter next time.
Bake it WIth Steam (2 Ways)
13.1 Sheet Pan + Foil Pan Method
- 30 mins before the proofing stage is complete, preheat your oven to 450°F /232°C
- Flip the dough onto a parchment-lined sheet tray.
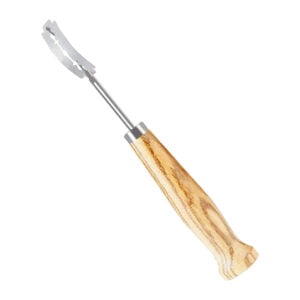
- Score the dough by making 5-6 overlapping cuts across the top with scissors (or a bread lame) to allow for oven spring.
- Spray the dough 6-10 times with water and cover with a large foil pan lid.
- Bake covered for 15 minutes.
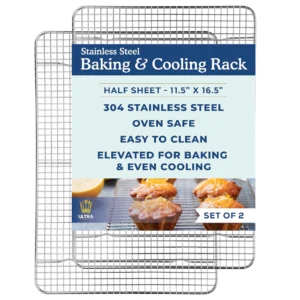
- Remove the foil lid, add a wire rack under the bread on the baking sheet, and bake for an additional 25-30 minutes.
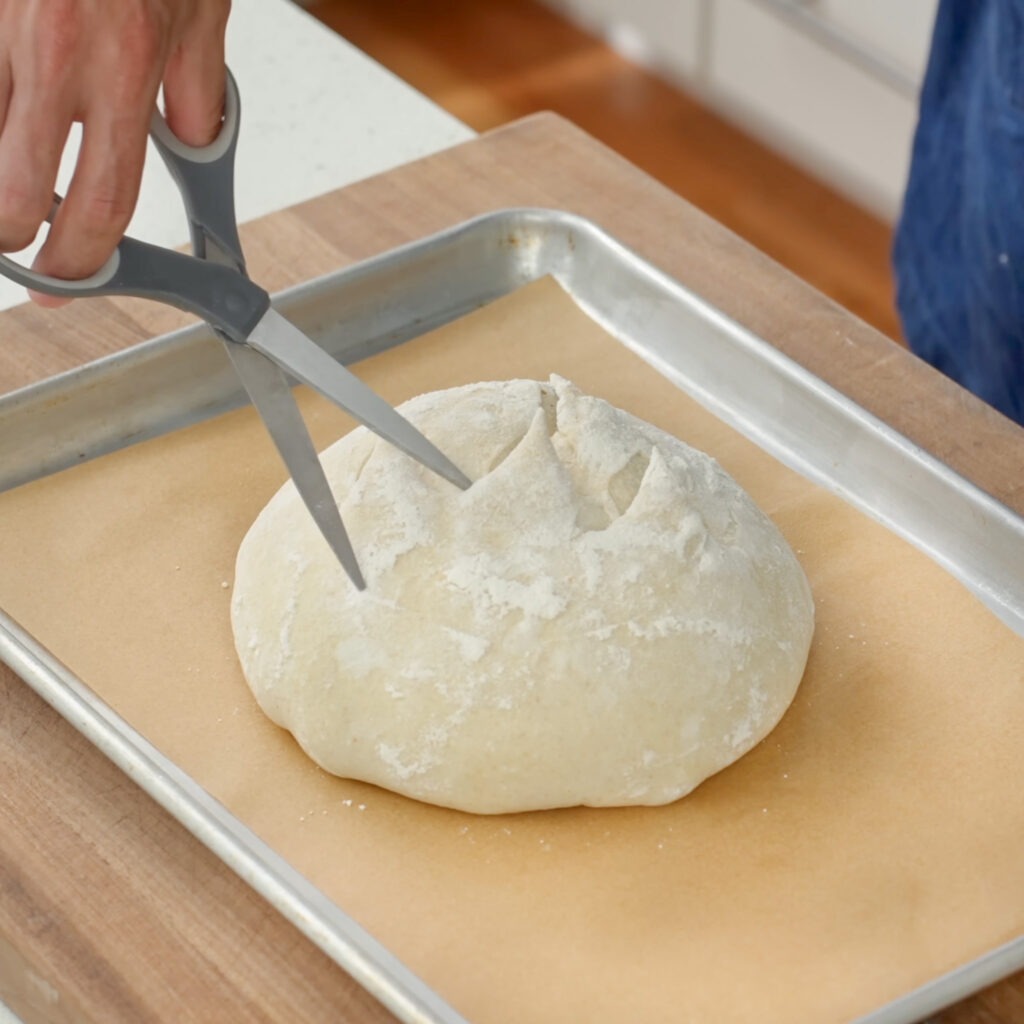
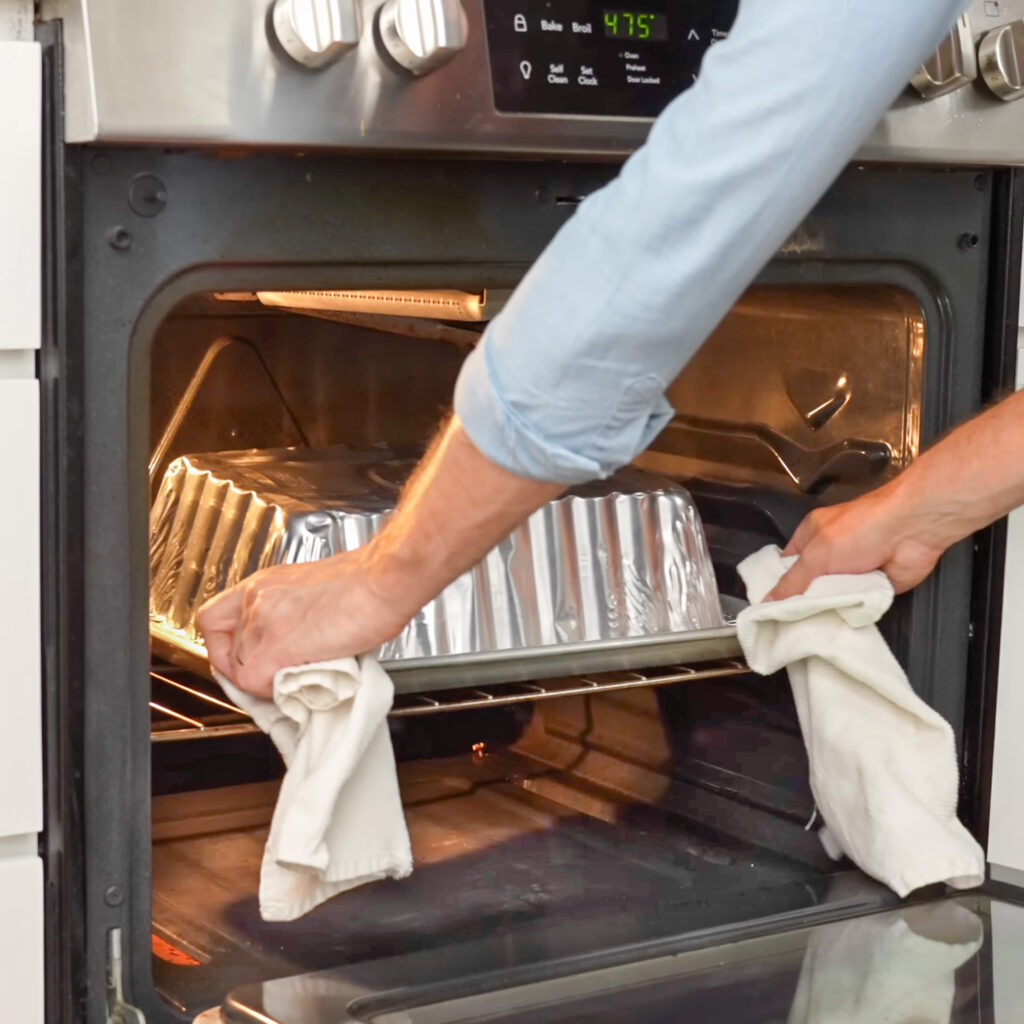
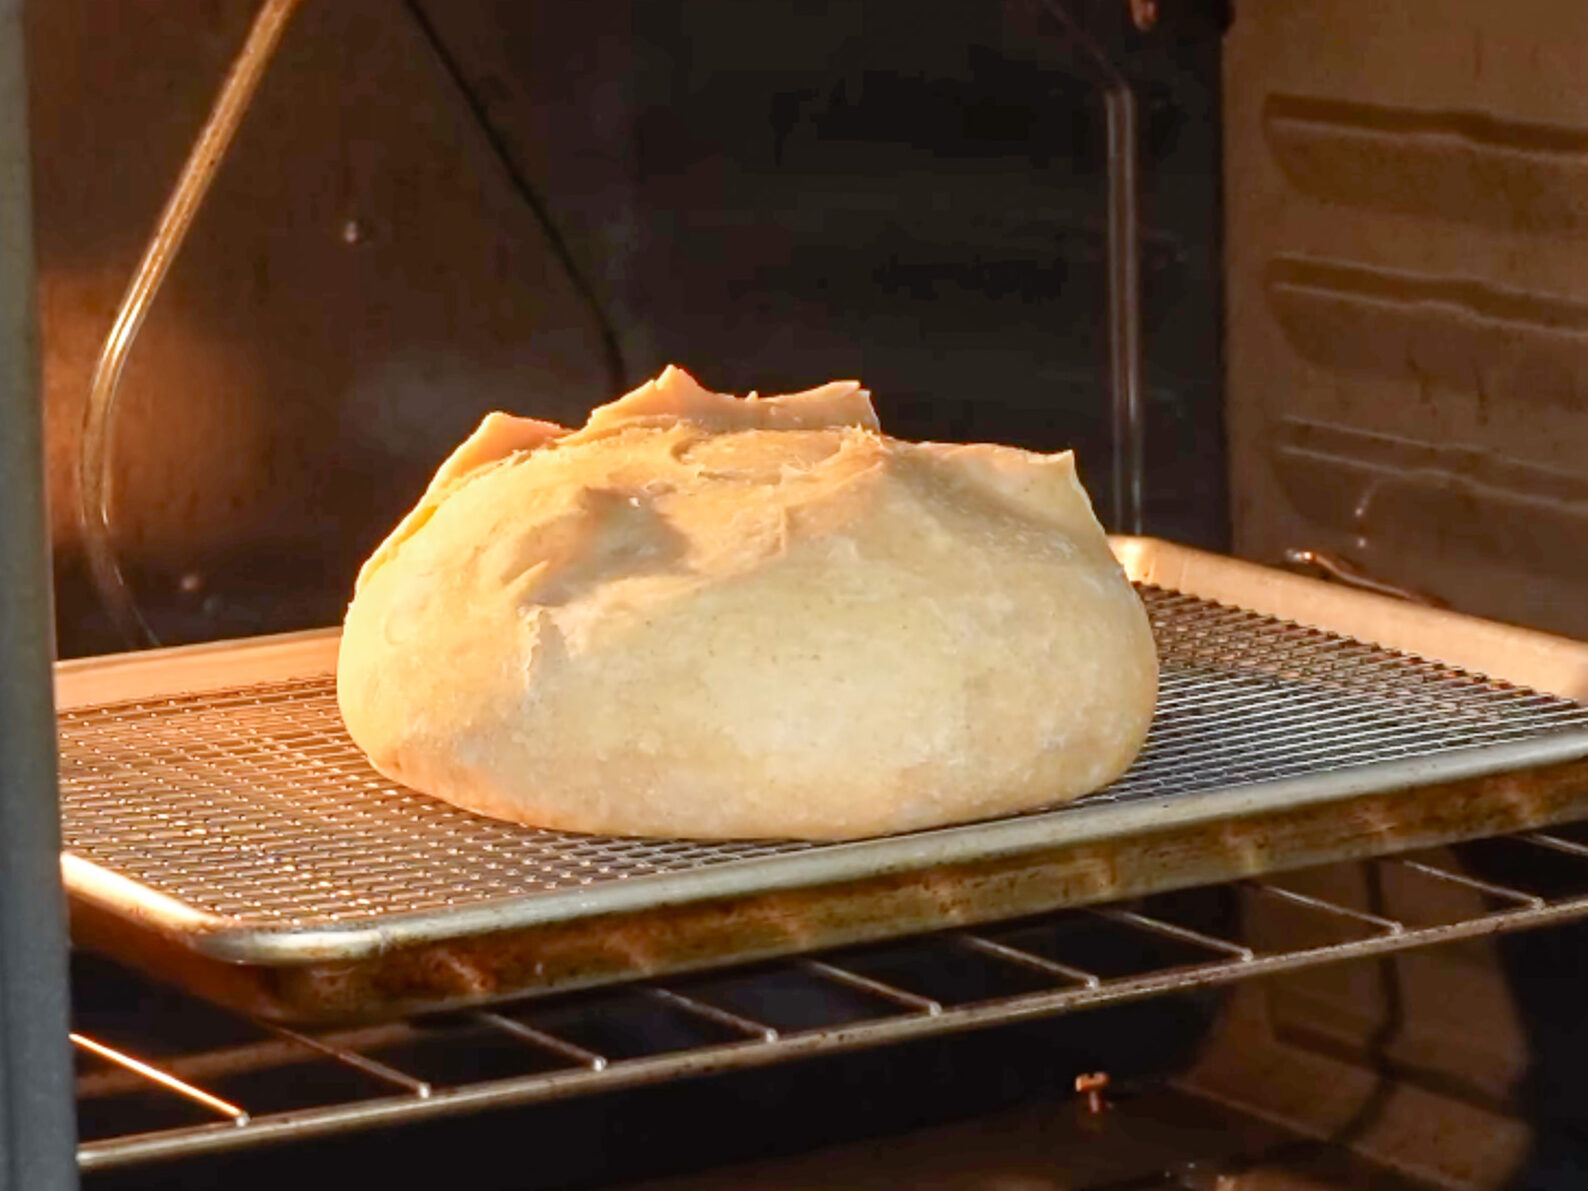
Why the foil pan and water? The water adds moisture and the pan traps the steam the loaf gives off during the first part of the bake, which delays crust formation and lets the loaf spring higher. It’s a make shift version of the steam injection on a professional bread oven and it works surprisingly well.
13.2 Dutch Oven Method
- 30-45 mins before the proofing stage is complete, preheat your oven and a large Dutch oven to 475°F /245°C.
- Flip the loaf onto a round of semolina-dusted parchment
- Score the dough by makeing 5-6 overlapping snips/cuts across the top with scissors (or a bread lame if you have one) to allow for spring in the oven.
- Using the parchment as a sling, carefully lower the loaf and parchment into the screaming-hot Dutch oven. Cover, and bake for 15 minutes.
- Remove the lid and bake for another 20-25 minutes
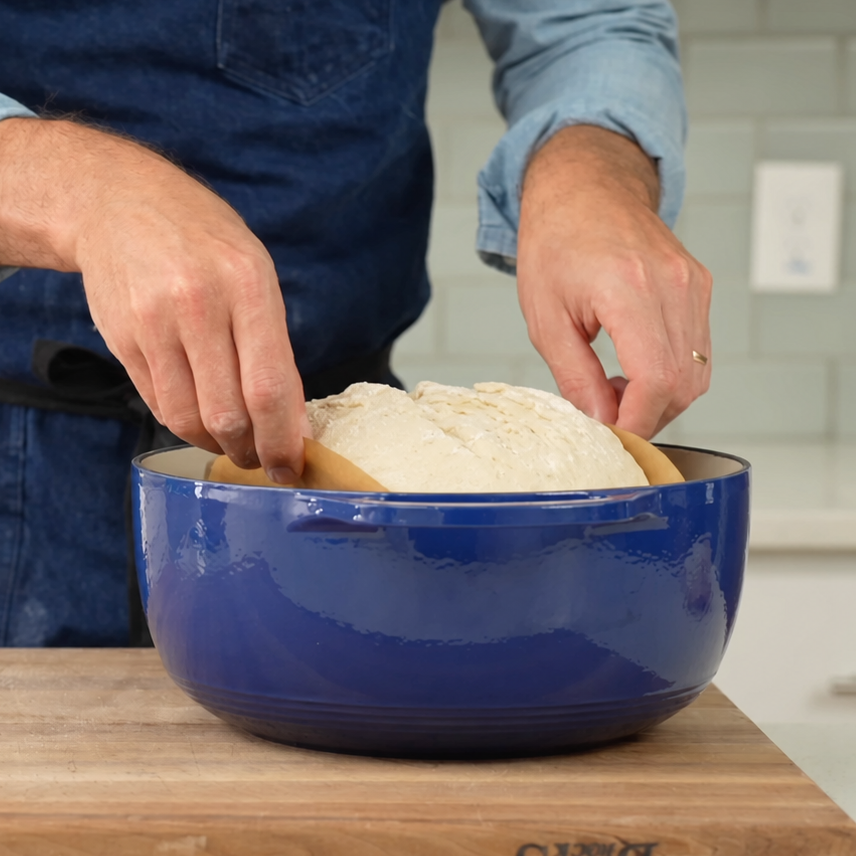
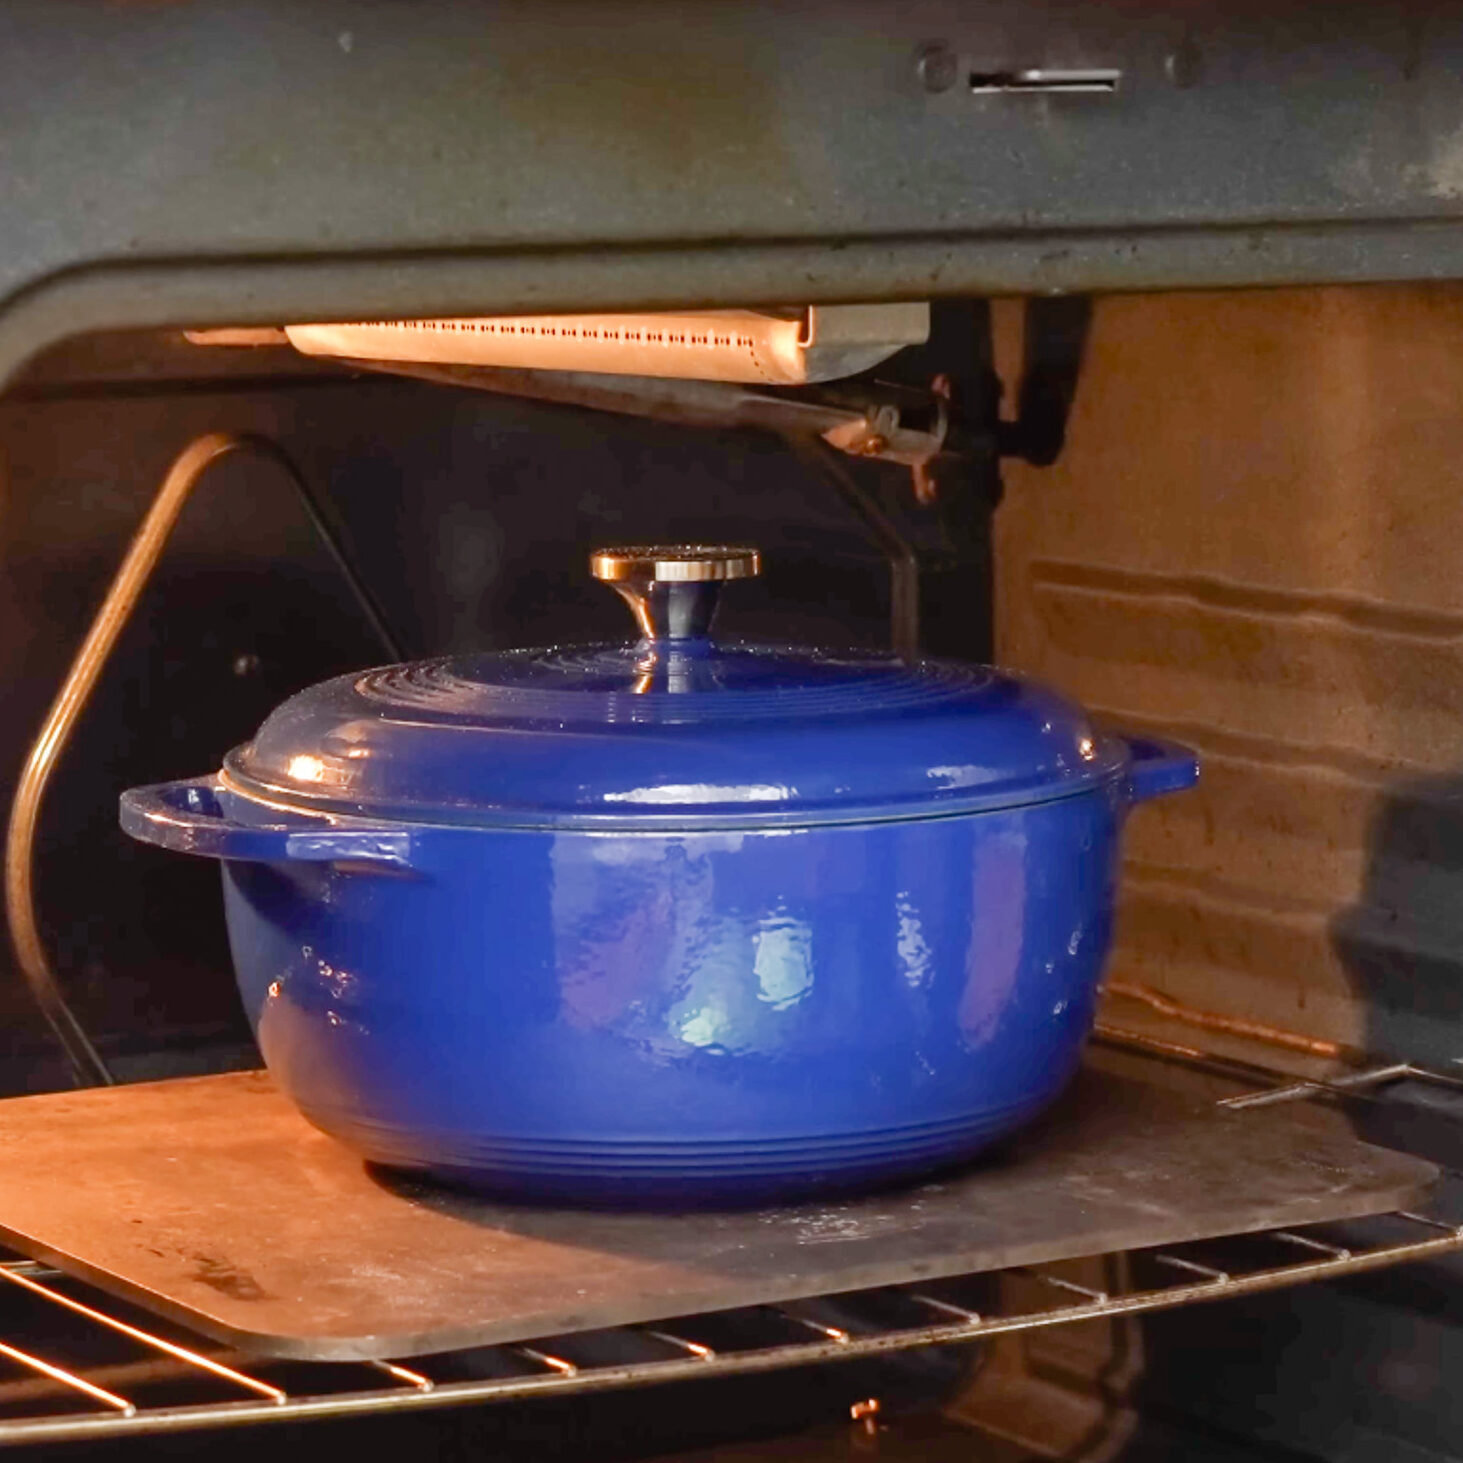
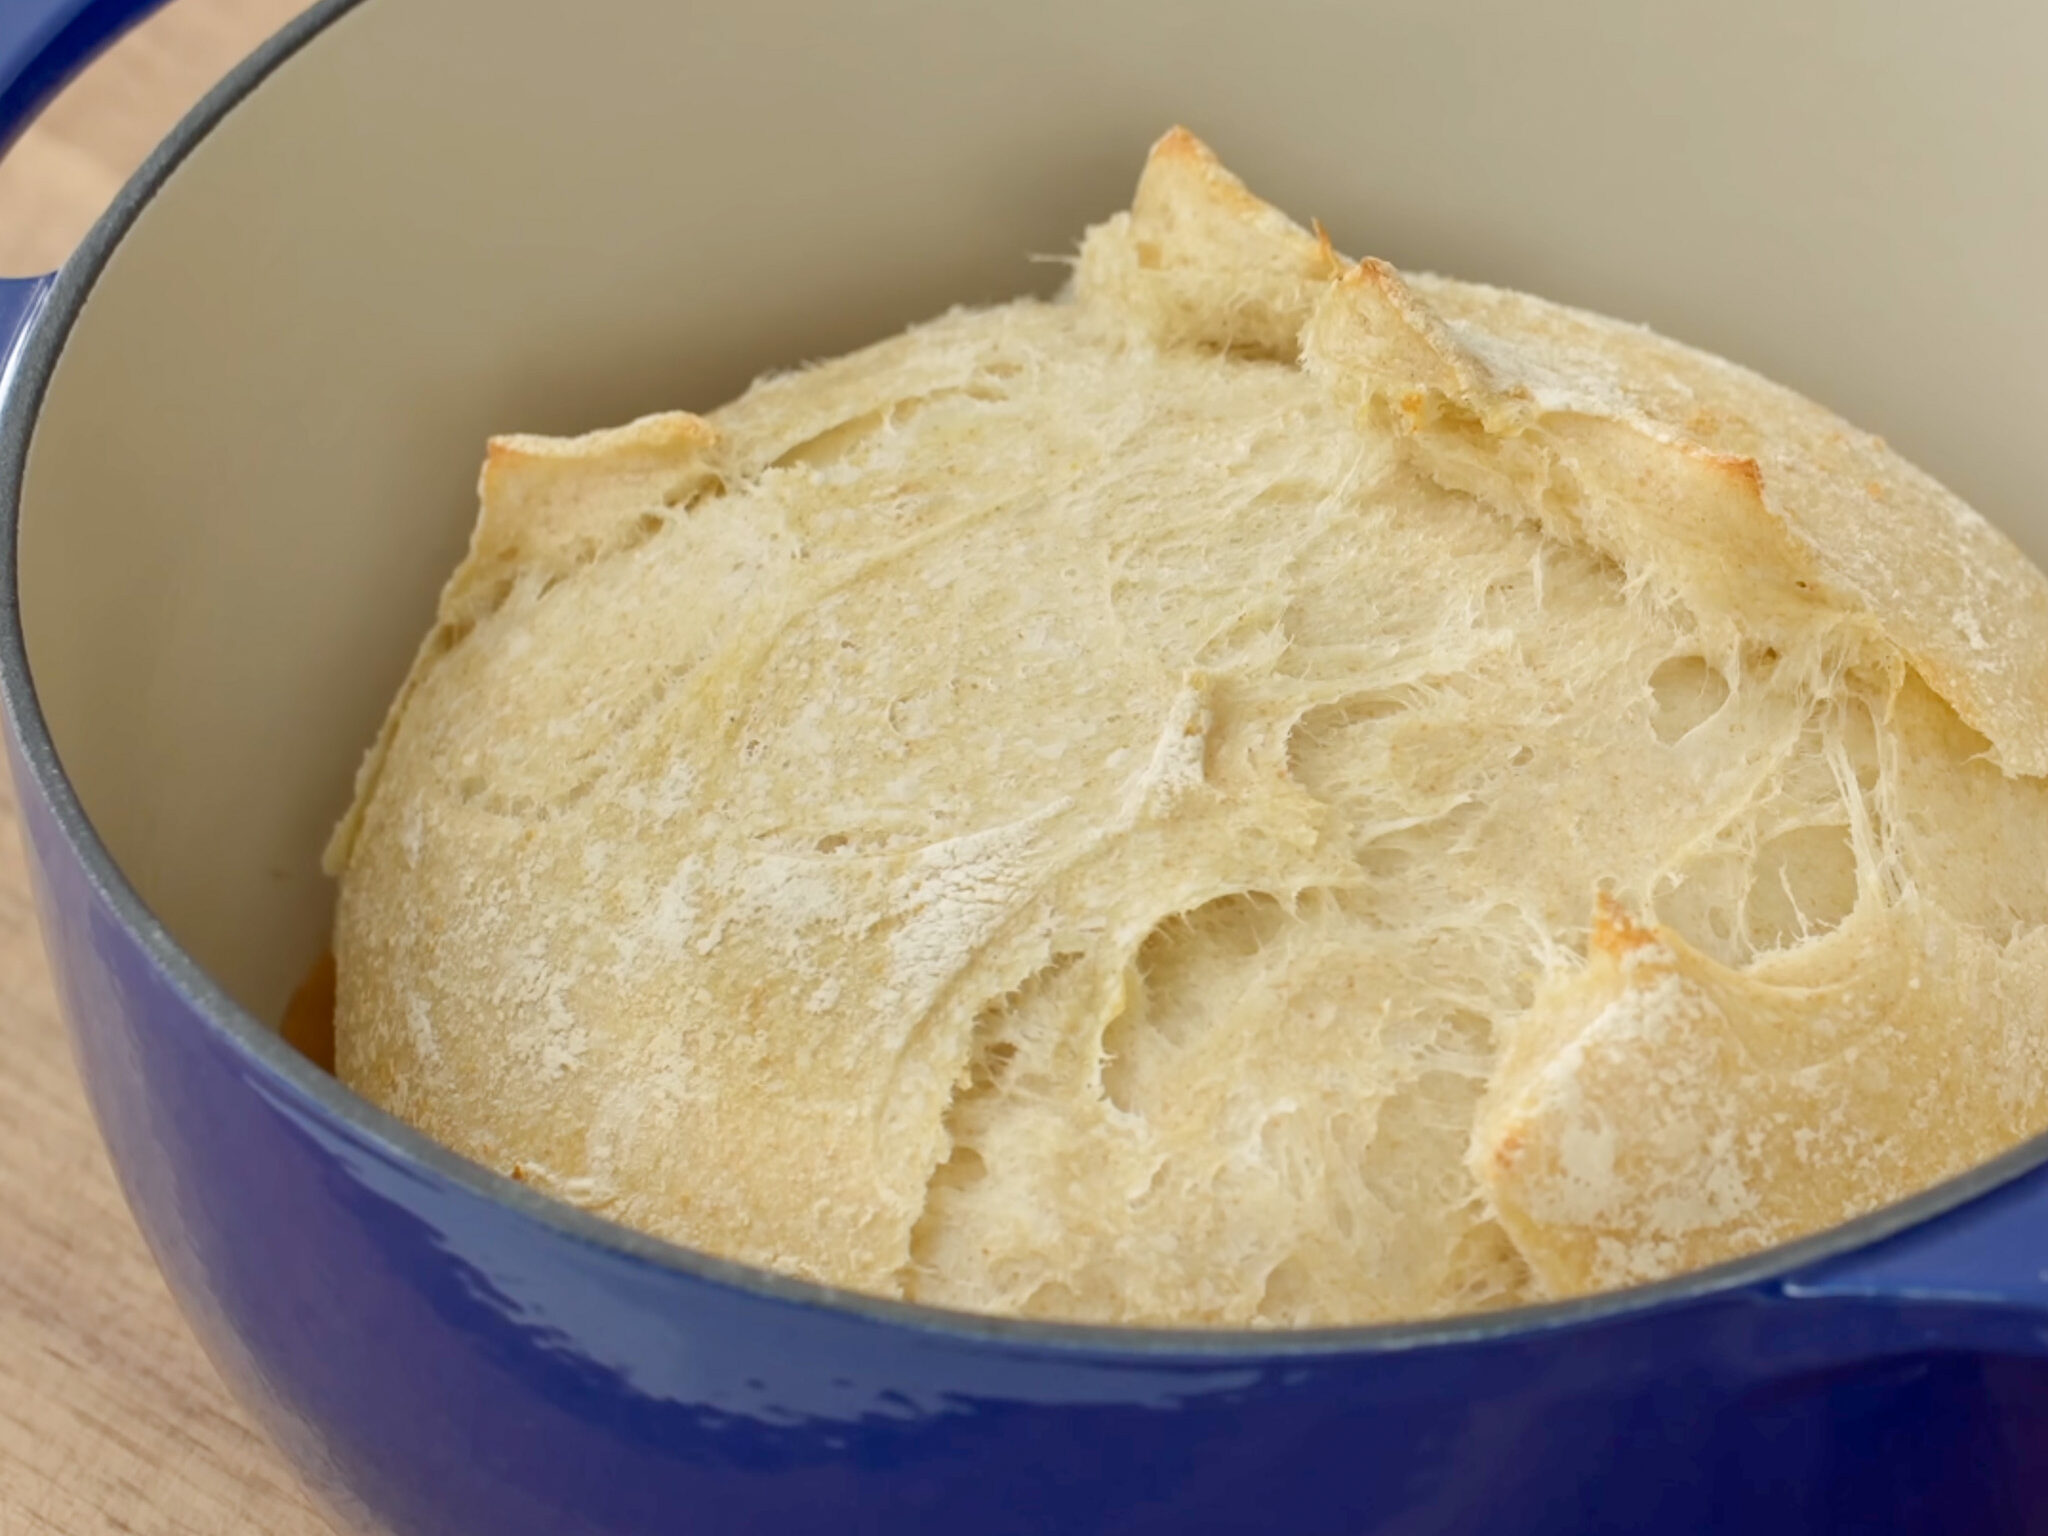
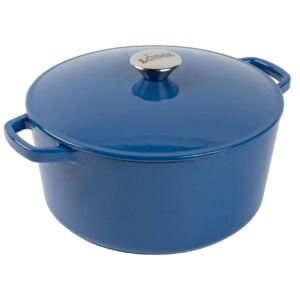
Using the dutch oven is my preferred method if you have one. It holds heat well and transfers that heat to the dough making for a thicker, crispier crust that can achieve a more dynamic golden brown crust than the sheet pan method below.
When to Pull It From THE Oven
Your loaf is baked when the crust shows every shade from gold to dark reddish mahogany. A blonde loaf will be gummy inside with a vapid, boring crust.
Cool the loaf briefly on a wire rack before cutting.
Sample Baking Schedule
DAY 1
8:00 AM – Feed your starter
↓ 12-hour ferment
8:00 PM – Build the leaven
Cover and leave at room temperature overnight.
↓ 12–14-hour overnight ferment
DAY 2
8:00 AM – Mix the dough
↓ 30-minute ferment
8:30 AM – First set of folds
↓ 30-minute ferment
9:00 AM – Second set of folds
↓ 2-hour bulk ferment
11:00 AM – Shape the loaf
↓ 60–90-minute final proof
11:30 AM – Preheat the oven + Dutch oven if using
12:00–12:30 PM – Bake
Bake covered for 15 minutes, then uncover and finish baking until deeply browned.
Storage & Reheating
A fully cooled loaf keeps at room temperature, cut-side down, on a board or in a paper bag for 2-3 days before it starts to stale. After that, slice the whole loaf, stack the slices in a freezer bag, and freeze. Frozen sourdough slices toast straight from the freezer and are honestly indistinguishable from fresh bread.
To reheat a whole stale loaf, spritz the crust with some water from a spray bottle or brush a little on, then bake at 350°F /175°C for 10 minutes. It refreshes the crust and brings the crumb back to life.
More Recipes to Try
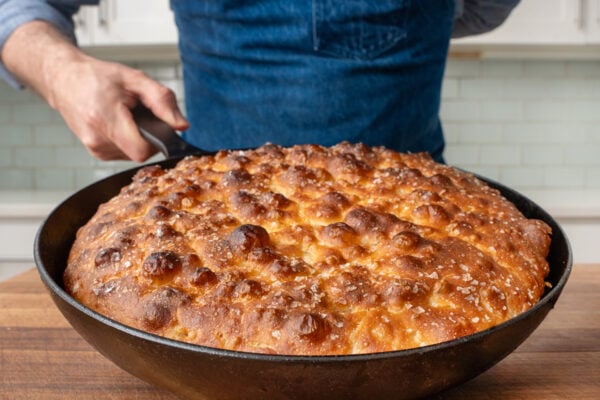
- Cast Iron Focaccia – Crispy edges, pillowy center, no mixer required
- Easiest Pizza Dough – Fast, hand-mixed pizza ready in about 2 hours
- 1 Dough, 3 Loaves – One beginner dough, three results of varying skill level
Easiest Actually Good Sourdough Bread
Ingredients
LEAVEN:
- 100 g water, 90℉/32℃
- 25 g ripe sourdough starter, fed 10-12 hours before mixing leaven
- 100 g bread flour, 12.7% protein
BREAD:
- 275 g water, 92°F/33°C
- ripe leaven, all from above
- 400 g bread flour, 12.7% protein
- 50 g whole wheat flour, 14% protein
- 12 g kosher salt
Instructions
STEP 1: BUILD THE LEAVEN (DO THIS ABOUT 12 HOURS BEFORE MIXING DOUGH):
- In a bowl, mix 100g of the 90°F/32℃ water with 25g ripe sourdough starter.
- Add 100g bread flour to the mixture and stir until well combined and no lumps remain.
- Cover the bowl and let it sit at room temperature for 12-14 hours. The leaven should become frothy, bubbly, and increase in size.
STEP 2: MIX THE DOUGH:
- In a mixing bowl, combine 275g 92°F/32℃ water with all of the ripe leaven. Stir until the leaven is dissolved in the water.
- Add 400g bread flour, 50g whole wheat flour, and 12g salt to the mixture.
- Use a sturdy spoon to mix the ingredients until a dry clump forms. Then, wet your hand and use it to squeeze and fold the dough until it is homogeneous and there are no dry spots.
STEP 3: BULK FERMENTATION:
- First Rest: Cover the bowl and let the dough rest for 30 minutes.
- First Fold: After 30 minutes, grab a portion of the dough near one side, stretch it until you feel resistance, then fold it over across to the other side of the bowl. Repeat 5-6 times, then flip the dough seam side down and round it into a ball. Cover and let rest (a second time) for another 30 minutes.
- Second Fold/Final Ferment: Repeat the folding process one more time after the second 30-minute rest. After this, cover the dough and place it in a warm spot to ferment for 2 more hours.
STEP 4: SHAPING DOUGH:
- Lightly flour a cutting board and flip the dough out onto the floured surface. Grab opposite sides of the dough, pull them out, and fold over each other toward the center. Rotate the dough and repeat 4-6 times.
- Flip the dough over onto the folds and round it while stretching the top down and under to create tension.
- If using a proofing basket, dust it with flour. If using a bowl, line it with a tea towel (kitchen towel) and dust with flour.
- Place the shaped dough seam side up in the basket. Give it a few more pull out and folds as shown in the video to create added tension.
STEP 5: PROOFING:
- Cover and let proof in a warm place for 60-90 minutes.
- After 60-90 minutes, the dough should have increased in size by about 60%. To test, gently poke the dough; if it slowly bounces back, it is ready to bake. Judge proofing by the way the dough looks, reacts to the poke not the time. Proofing in a cool room will take much longer than in a warm room.
STEP 6: BAKING:
OPTION 1: BAKING ON A SHEET TRAY:
- Preheat your oven to 450°F/232°C
- Prepare for Baking: Flip the dough onto a parchment-lined sheet tray.
- Score the Dough: Use scissors to make 5-6 overlapping snips on the top of the dough.
- Create Steam: Spray the dough 6-10 times with water and cover with a foil pan lid.
- Initial Bake: Bake covered for 15 minutes.
- Final bake: Uncover and Continue Baking: Remove the foil lid, add a wire rack to baking sheet, and bake for an additional 30 minutes.
OPTION 2: BAKING IN A DUTCH OVEN:
- Preheat your Dutch oven in a 475°F/245°C oven.
- Carefully flip the proofed dough onto a piece of parchment paper sprinkled with semolina flour.
- Use scissors to make 5-6 angled snips on the dough.
- Initial bake: Place the dough and parchment paper into the preheated Dutch oven, cover with the lid, and bake for 15 minutes.
- Final bake: Remove the lid and bake for an additional 20-25 minutes.
- The finished loaf should be deeply golden brown.
 Like this? Leave a comment below!
My Go-To Baking Gear

Frequently Asked Questions
Nine times out of ten, a flat loaf comes from not folding the dough properly early in the process, combined with weak shaping at the end. Temperature also plays a role. Cold dough ferments so slowly that it doesn’t stretch and strengthen the gluten in the same way during bulk fermentation. Flat loaves can come from a lot of things, but I’d start by getting better at folding the dough and shaping a loaf with real structure. And, as always, use warm water when you mix.
People in my comments section seem very concerned about not wasting discard. The problem is that it takes a while to build up enough discard to do something meaningful with. During that accumulation time, the 3 or 4 day old discard keeps getting more and more sour. Wasting 50g of flour once a week when my starter is in hibernation mode, then another 100g or so when I’m refreshing it to get ready to bake just doesn’t seem like a big deal to me. So I’ve never really bothered with figuring out what to do with discard.
Yes and it’ll actually taste better. After shaping, proof at room tmep for 60-70 minutes, then cover the basket and refridgerate for 8-16 hours. Bake it straight out of the fridge (no warming up) and add 5 minutes to the covered portion of the bake. The slow cold proof builds a deeper, more complex sour flavor, and gives you better crust. This is the more pro way to do it actually, but I wanted to keep this “beginner” friendly recipe same-day.
If your dough is so slack and sticky that you literally cannot move it, you probably didn’t quite fold it correctly OR your flour may not be high-protein enough. The water or flour may have also been scaled incorrectly. This happens more often than you’d think. You can try to fix it by giving the dough one more stretch and fold, then letting it ferment for another 30 minutes. If it’s still too wet to handle after that, sorry. You’re probably better off starting over instead of trying to force it through the rest of the process.