
The Easiest Actually Good Bread Recipe (1 Dough 3 Loaves)

Updated Sep 02, 2026, Published Apr 23, 2024
This post contains affiliate links. Please see our disclosure policy.
This simple no-mixer bread recipe is built to meet you where you are, whether you’re a total beginner or someone with a few good loaves under your belt. The core recipe makes one easy dough, then you decide how much complexity you want to take on. All three methods deliver a fresh, crusty bread experience that can rival a great bakery loaf.
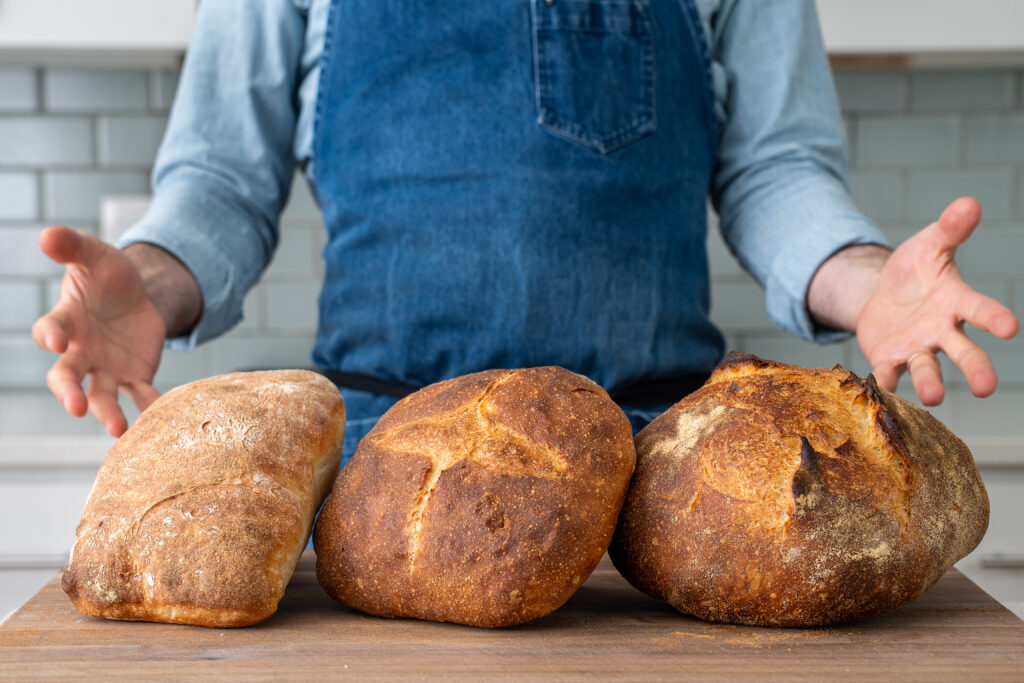
Table of Contents
Why This Dough Recipe Delivers
The original version of this bread recipe was viewed over 5 million times on Youtube, was baked by thousands of people, and for many, it was the first recipe that brought them to my channel. But after reading through thousands of YouTube comments, one issue came up again and again…the dough was too wet and sticky for many home bakers to handle comfortably, especially in places like Europe and Asia, where all-purpose flour is often weaker and absorbs less water.
For this 2.0 version, I reduced the water slightly and switched the main flour to bread flour, which absorbs more water than all-purpose and builds a stronger gluten network. Together, those changes make the dough easier to handle during folding, shaping, and moving from proof to oven. The core premise is still the same though: one easy dough, built with a proper a bakery-style preferment for deeper flavor, followed by a choose-your-own-adventure approach to the baking.
Brian’s Pro Tips
Poolish – A poolish is a type of preferment. It’s a technique used in professional bakeries where part of the flour and water from the recipe is mixed with a small amount of yeast and fermented before the final dough is made. By letting the yeast slowly ferment the flour overnight, you get more flavor than you could normally develop after the dough is fully mixed.
Build Strength with Folds, Not Kneading – High-hydration doughs are too wet for conventional kneading and can put a lot of strain on a stand mixer motor. Instead, this dough builds strength through a series of stretch and folds. Each fold layers the gluten over itself, creating structure without aggressive mixing. It’s an old-school technique that existed long before powered mixers, and when done well, it gives you excellent strength with less effort.
Steamed Bake – The difference between Loaf 1, with a soft crust, and Loaves 2 and 3, with a properly crunchy crust, is steam during the first part of the bake. Both methods trap the steam released by the dough around the surface of the loaf, which delays crust formation. That gives the bread more time to expand before the crust sets. It also keeps the surface moist long enough for starches on the outside of the dough to gelatinize. Once the steam is gone and the crust dries out, that thin gelled layer bakes into a crisp, shiny, crunchy crust.
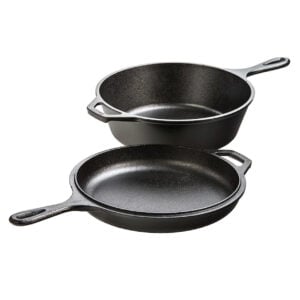
Use a Beat-Up Dutch Oven – 480°F for 30+ minutes will chew up the enameled coating on a nice dutch oven over time. If you bake often, get a dedicated ugly one… or better yet, get the Lodge Logic combo cooker. I baked 12 loaves a day in one for two and a half years. It’s the gold standard.
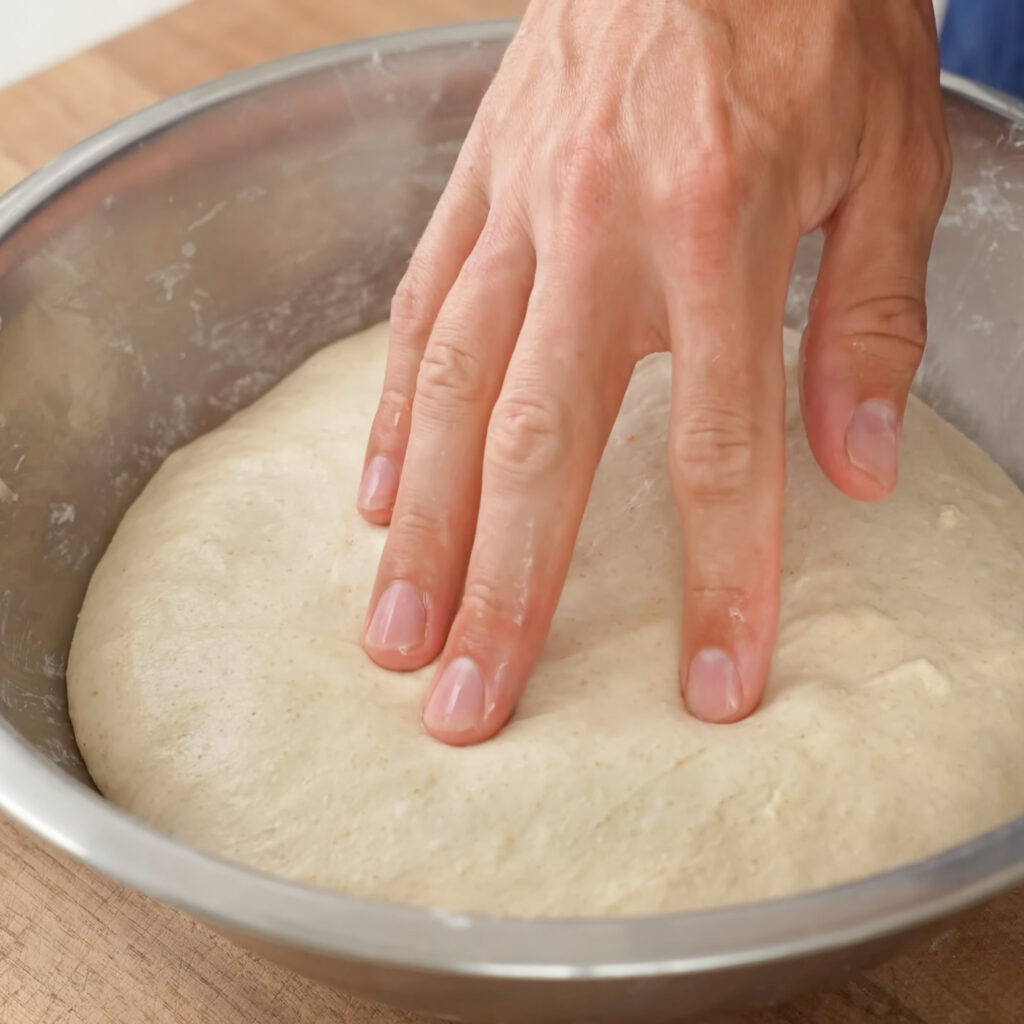
Judge by the Poke, Not the Clock – Proofing time depends on how warm your kitchen is. When you poke the dough gently with a floured finger, it should indent and then slowly spring back most of the way. Springs back fast = underproofed. Doesn’t spring back at all = overproofed. That slow lazy bounce is the sweet spot.
Key Ingredient Notes & Substitutions
Bread Flour –This is the single most impactful change from the original recipe. Bread flour is more absorbent and stronger than AP flour which makes a dough that is much easier for total beginners to handle. If you only have AP, reduce the water by 10–15g and expect the dough to be a little wetter and stickier during the stretch and fold.
Whole Wheat Flour – This adds a little bit of extra flavor and “wheatiness” to the loaf. Without it the final bread can be a little plain. If you don’t have it, sub in AP flour and leave out 10-15 grams of water. Whole wheat flour is much more absorbent.
Semolina Flour or Fine Cornmeal – A thin layer of semolina helps keep the loaf from sticking to the Dutch oven. The grains act almost like tiny ball bearings, which is especially helpful for beginners since their loaves are often weaker, slacker, and wetter on the outside. I prefer semolina to cornmeal because it’s finer, less gritty, and doesn’t add as much flavor.
Full ingredient list and amounts are listed in the recipe card below.
How To Make The 1 Dough 3 Loaves Dough
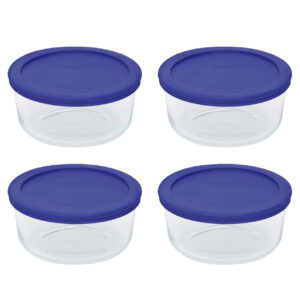
1. Make the poolish. In a medium lidded container, combine 150g room-temperature water, a tiny pinch of instant yeast, about 40 to 50 granules, and 150g bread flour. I typically use a basic 4-cup pyrex container for this.
Stir until no dry flour remains. Cover and let ferment at room temperature for at least 4 hours, but preferably 24 hours. When it’s ready, the poolish should be roughly tripled in size, very bubbly, and smell slightly boozy.
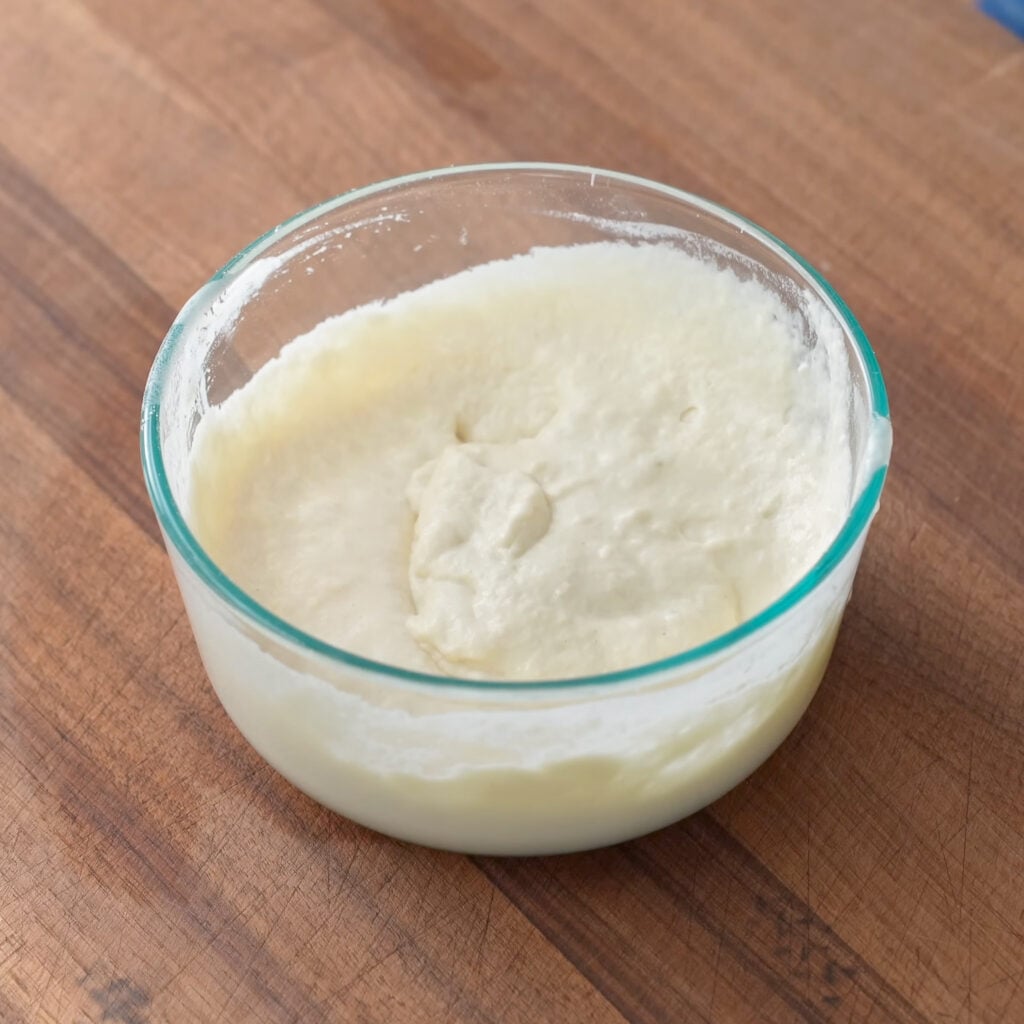
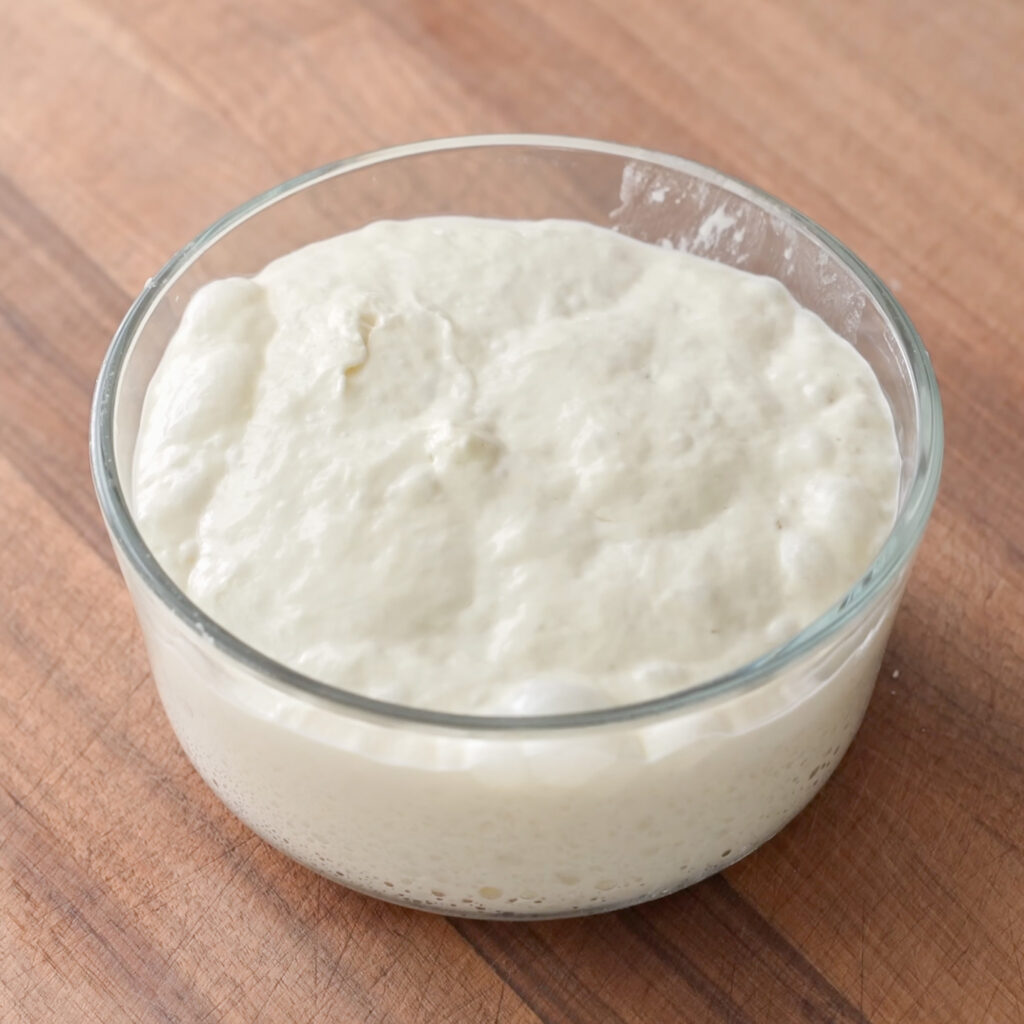
Can You skip the poolish? Yes, you can add the 150g of water and flour directly to the dough when you mix. But be warned, the color of the crust will be duller and the flavor will be lack lustre. The result is still nice crusty bread though, so go for it if you’re crunched for time.
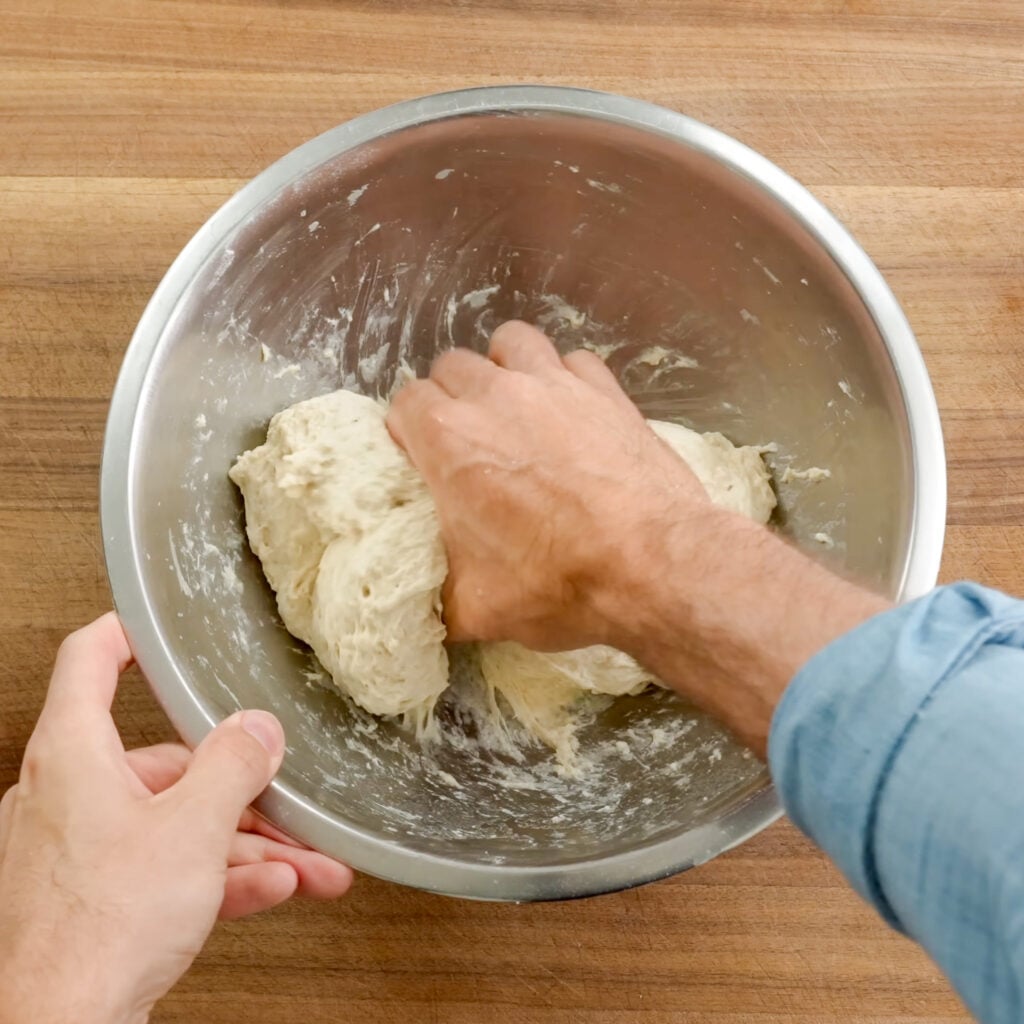
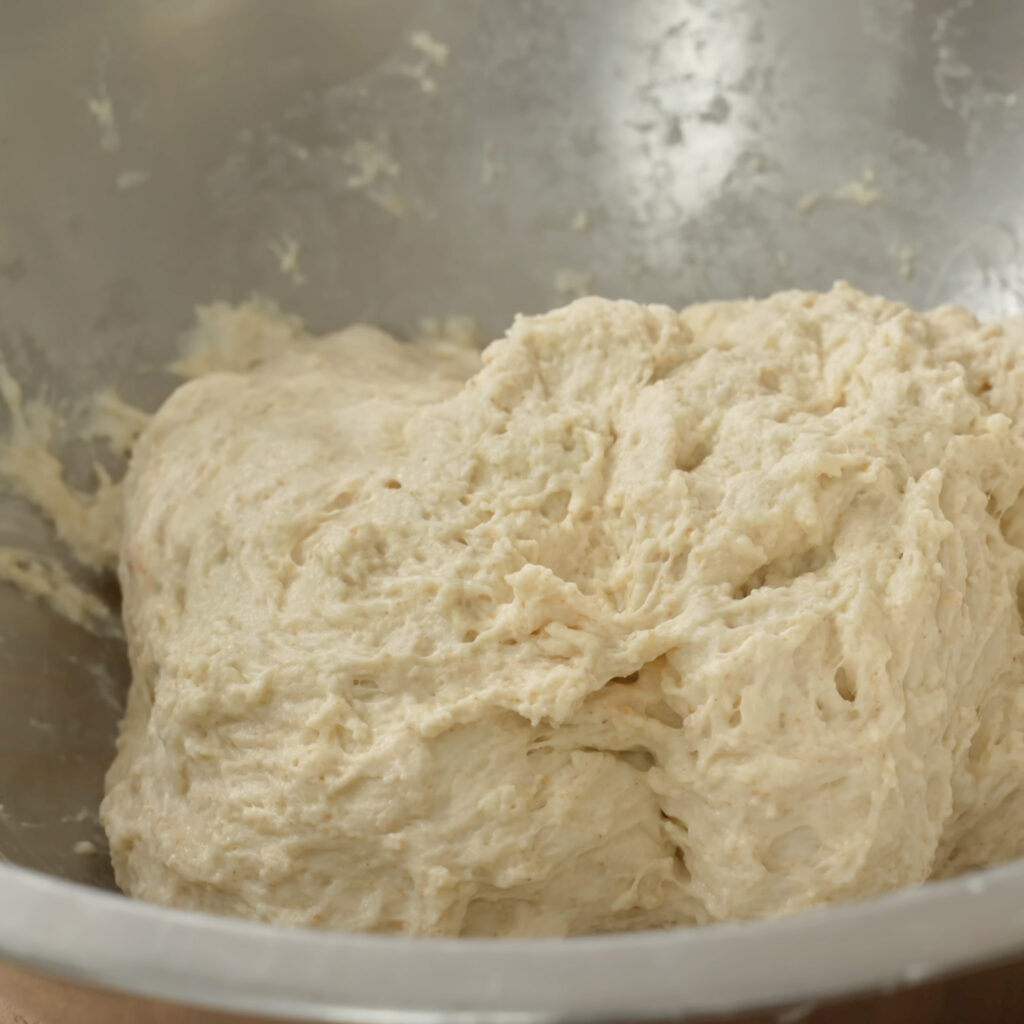
2. Mix the dough. In a medium stainless steel bowl, combine 250g warm water (about 86°F/30°C), 2g instant yeast, and the 300g of ripe poolish. Stir briefly to break up the poolish and dissolve the yeast. Then add in 12g salt, 400g bread flour, and 50g whole wheat flour.
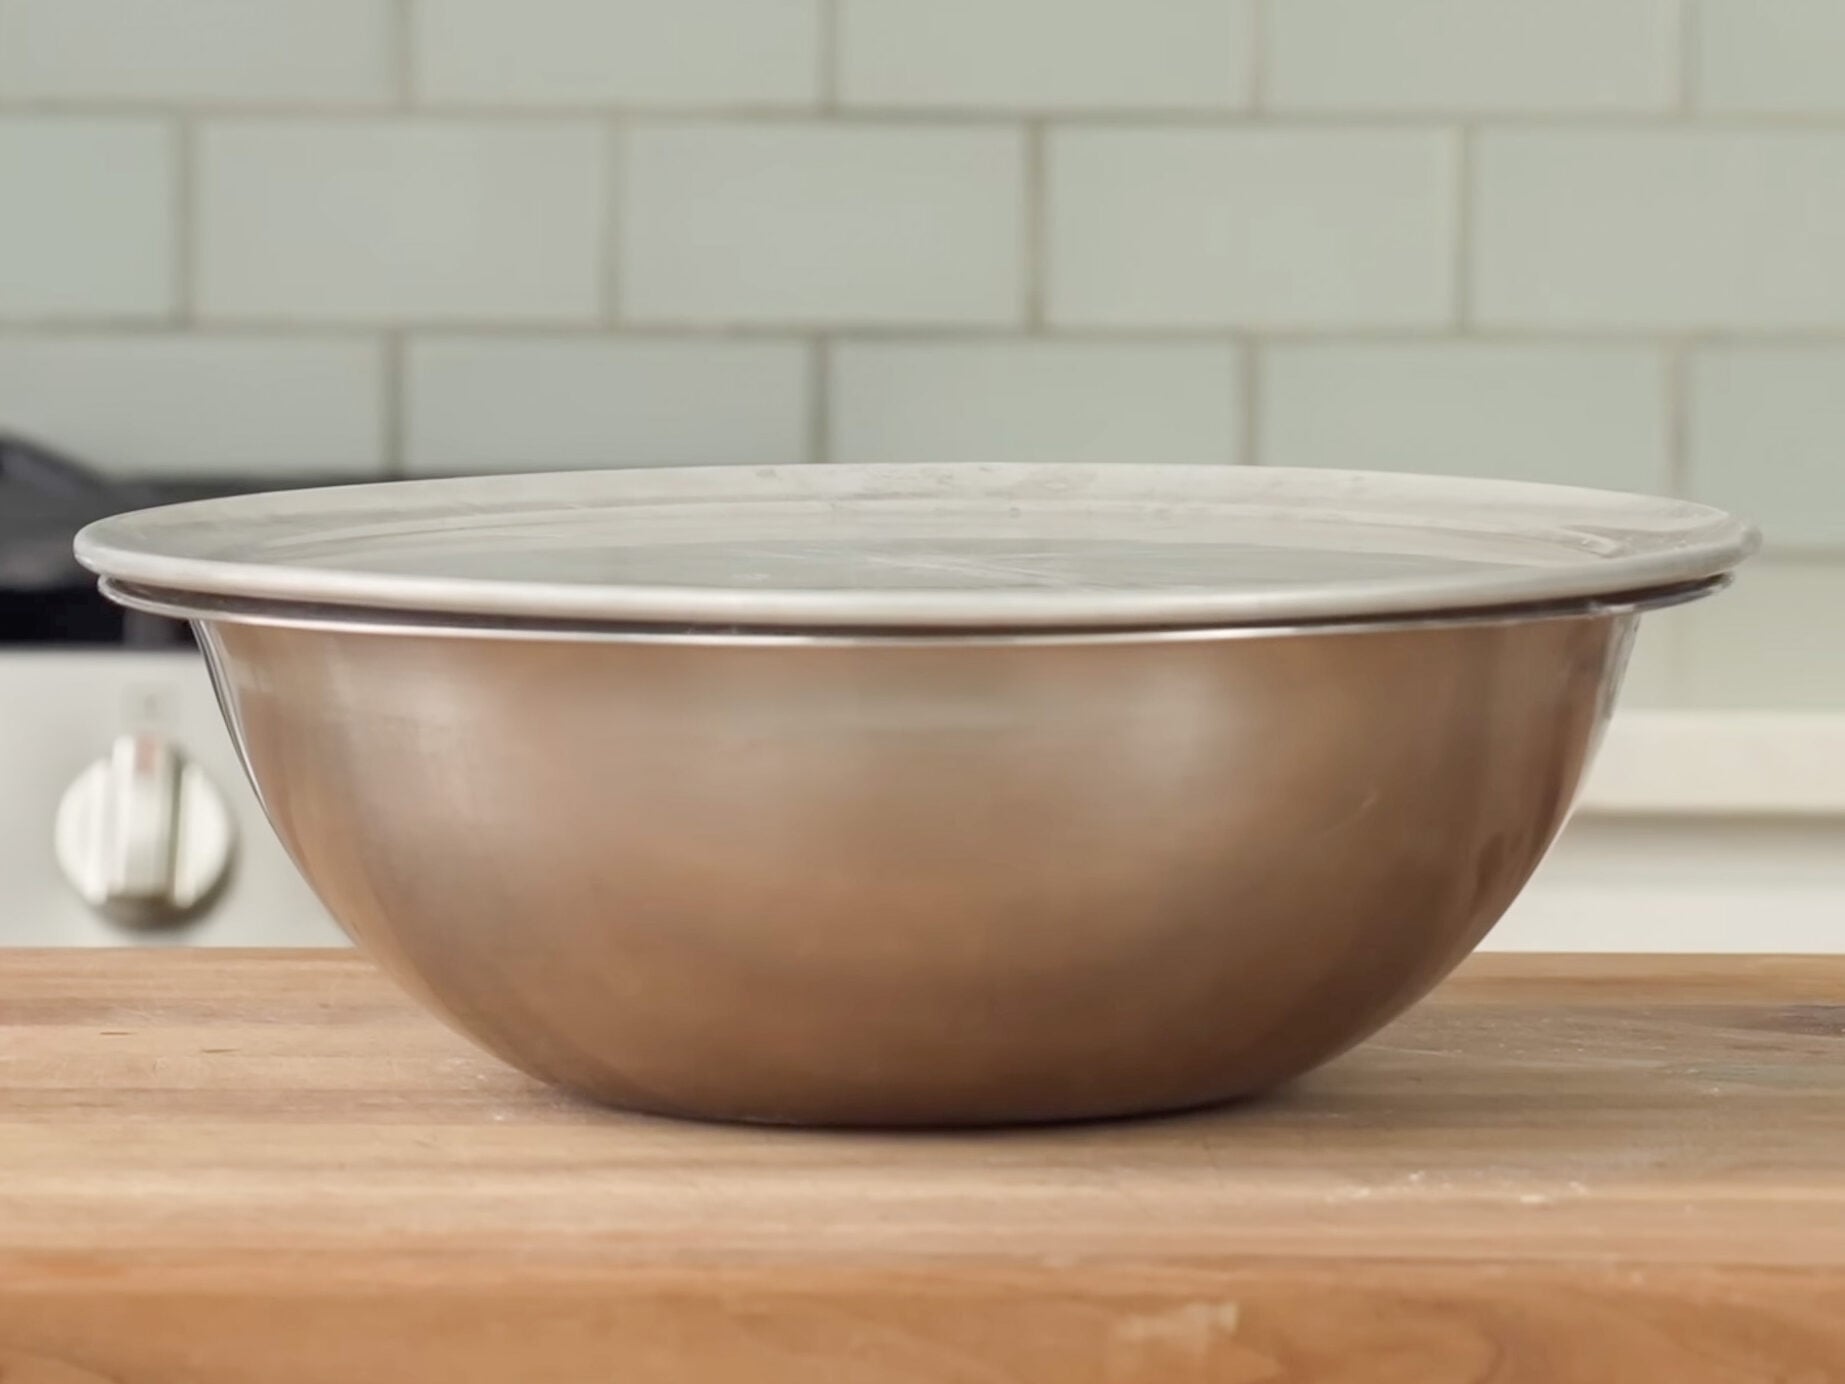
Stir with a sturdy spoon until things are relatively homogeneous, then come back with a soaking wet hand and squeeze and massage the dough until everything is evenly combined with no dry spots. Cover with a lid and ferment for 30 Minutes at room temp.
Stand mixer option
Use the dough hook on medium speed for 4–5 minutes until the dough is homogenous and clearing the bowl. Cover and ferment for 30 minutes, then follow the same folding process outlined below.
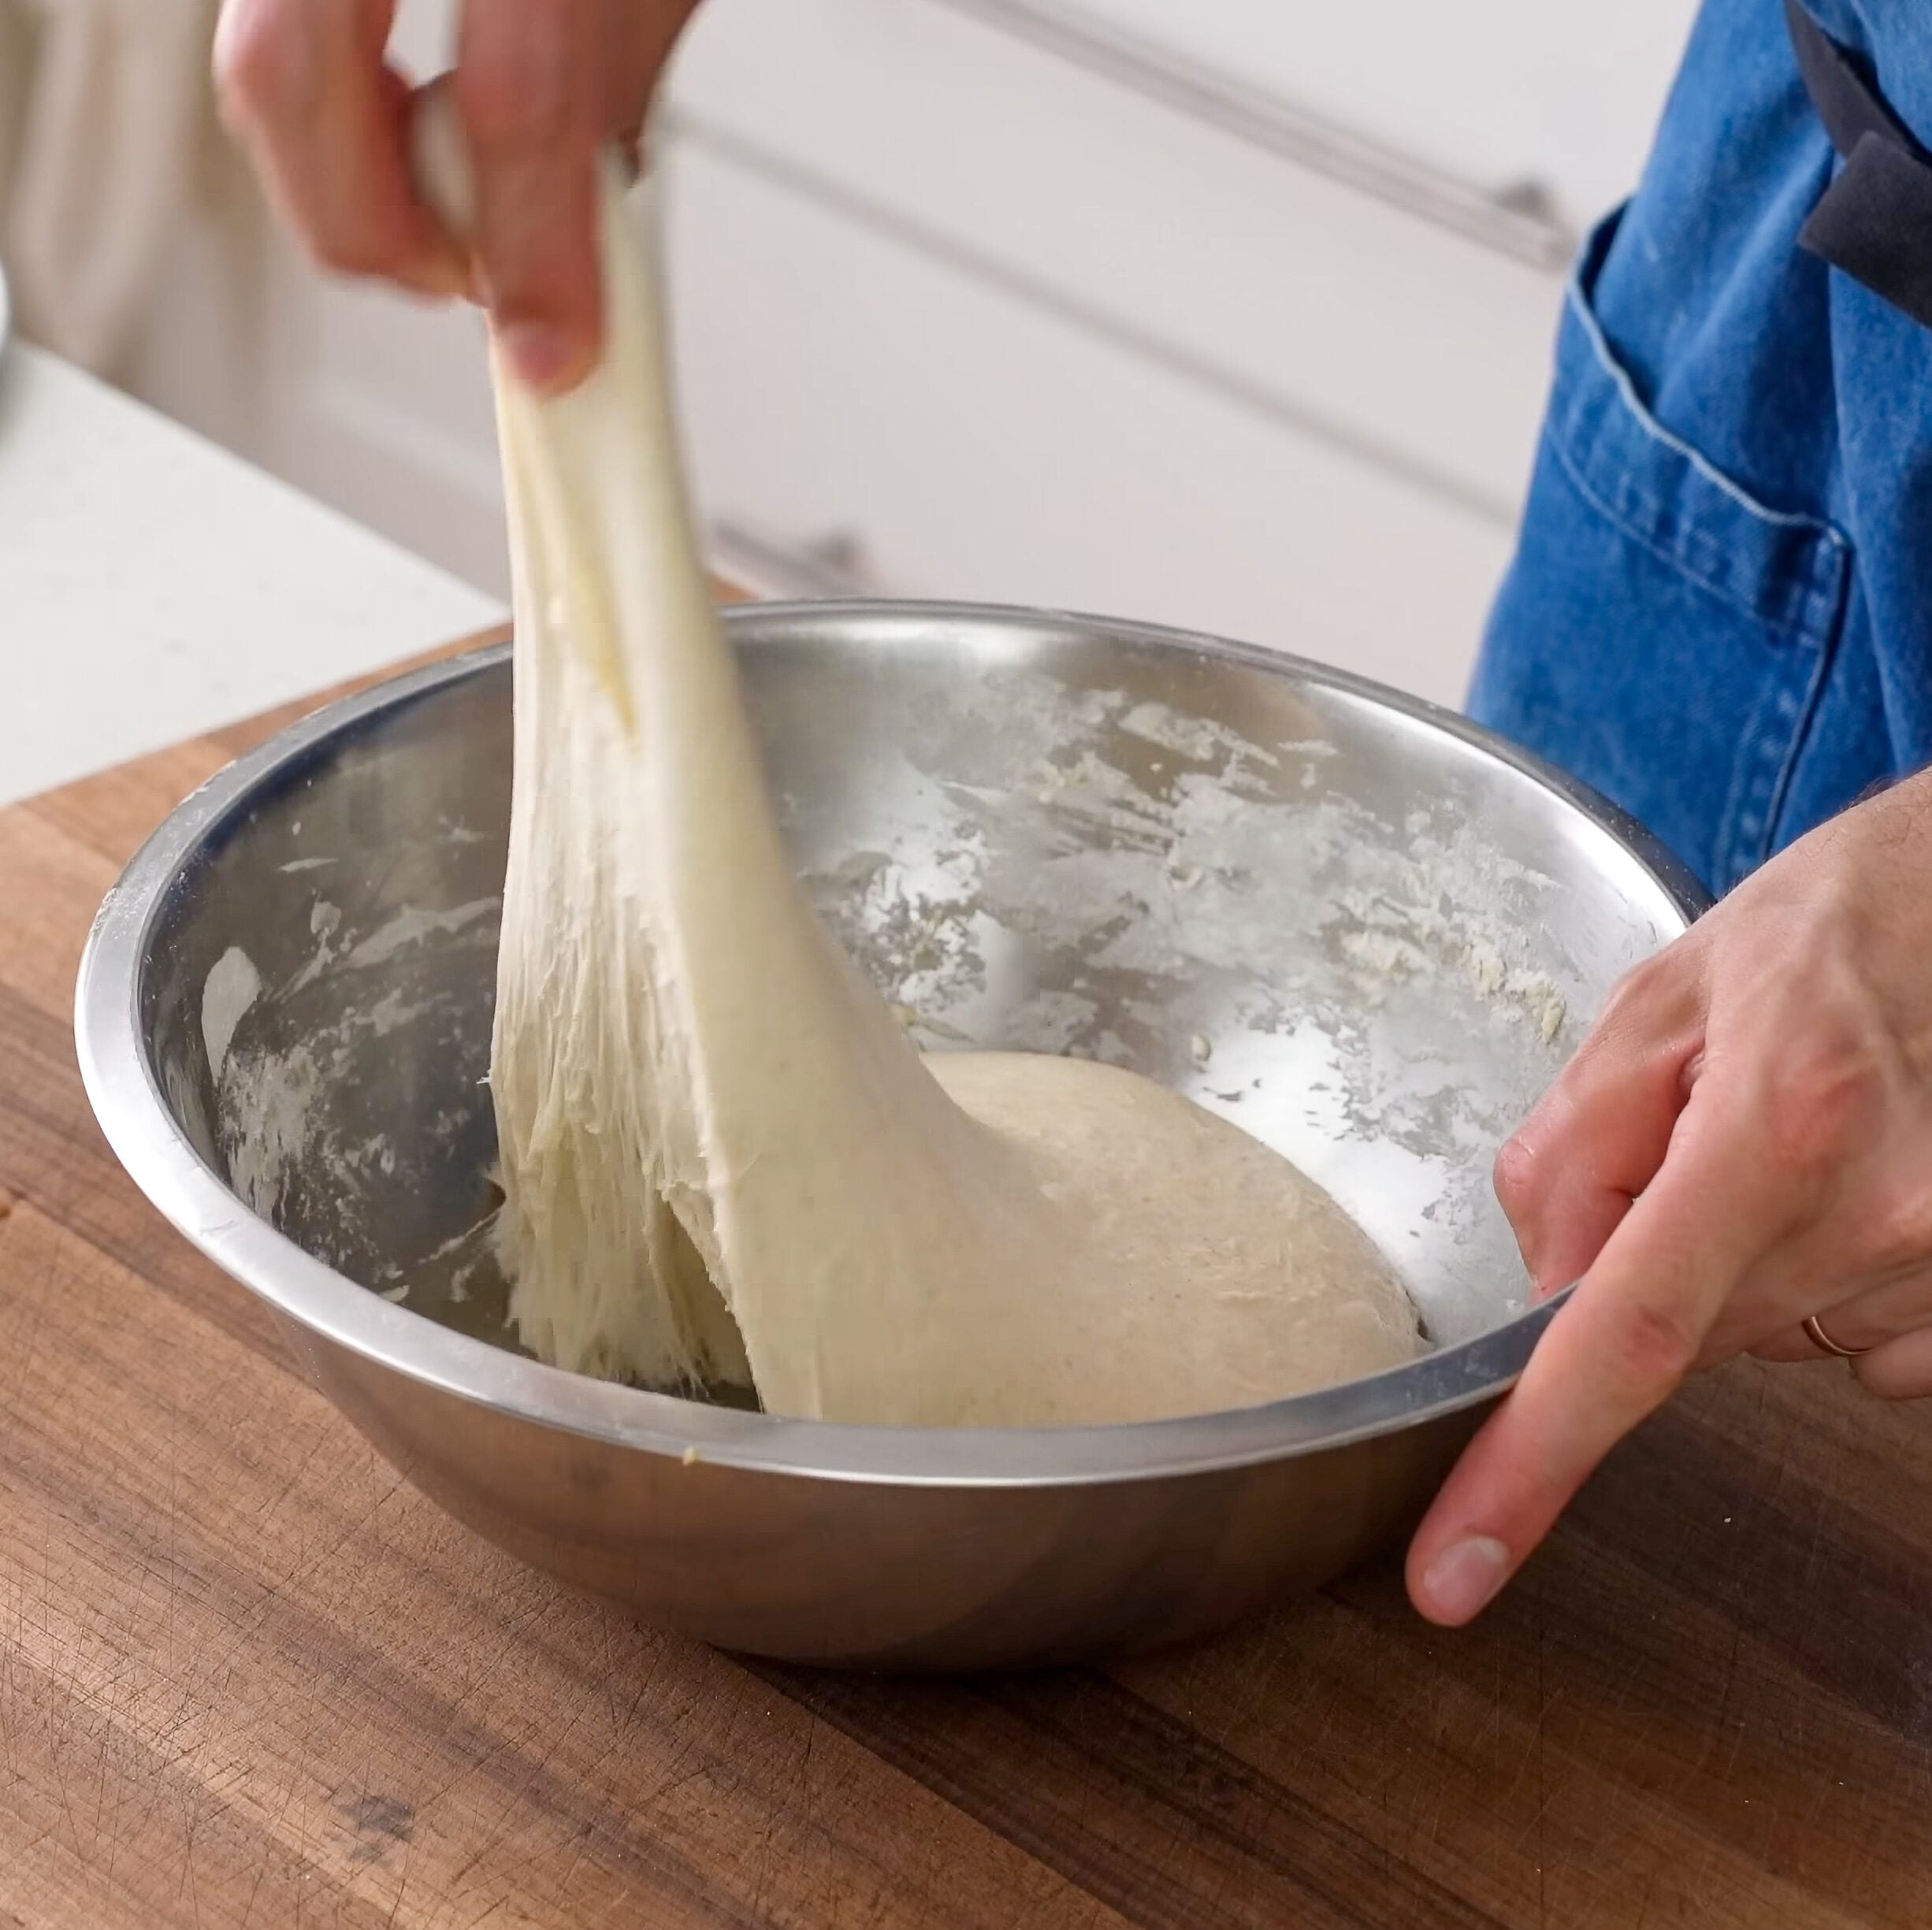
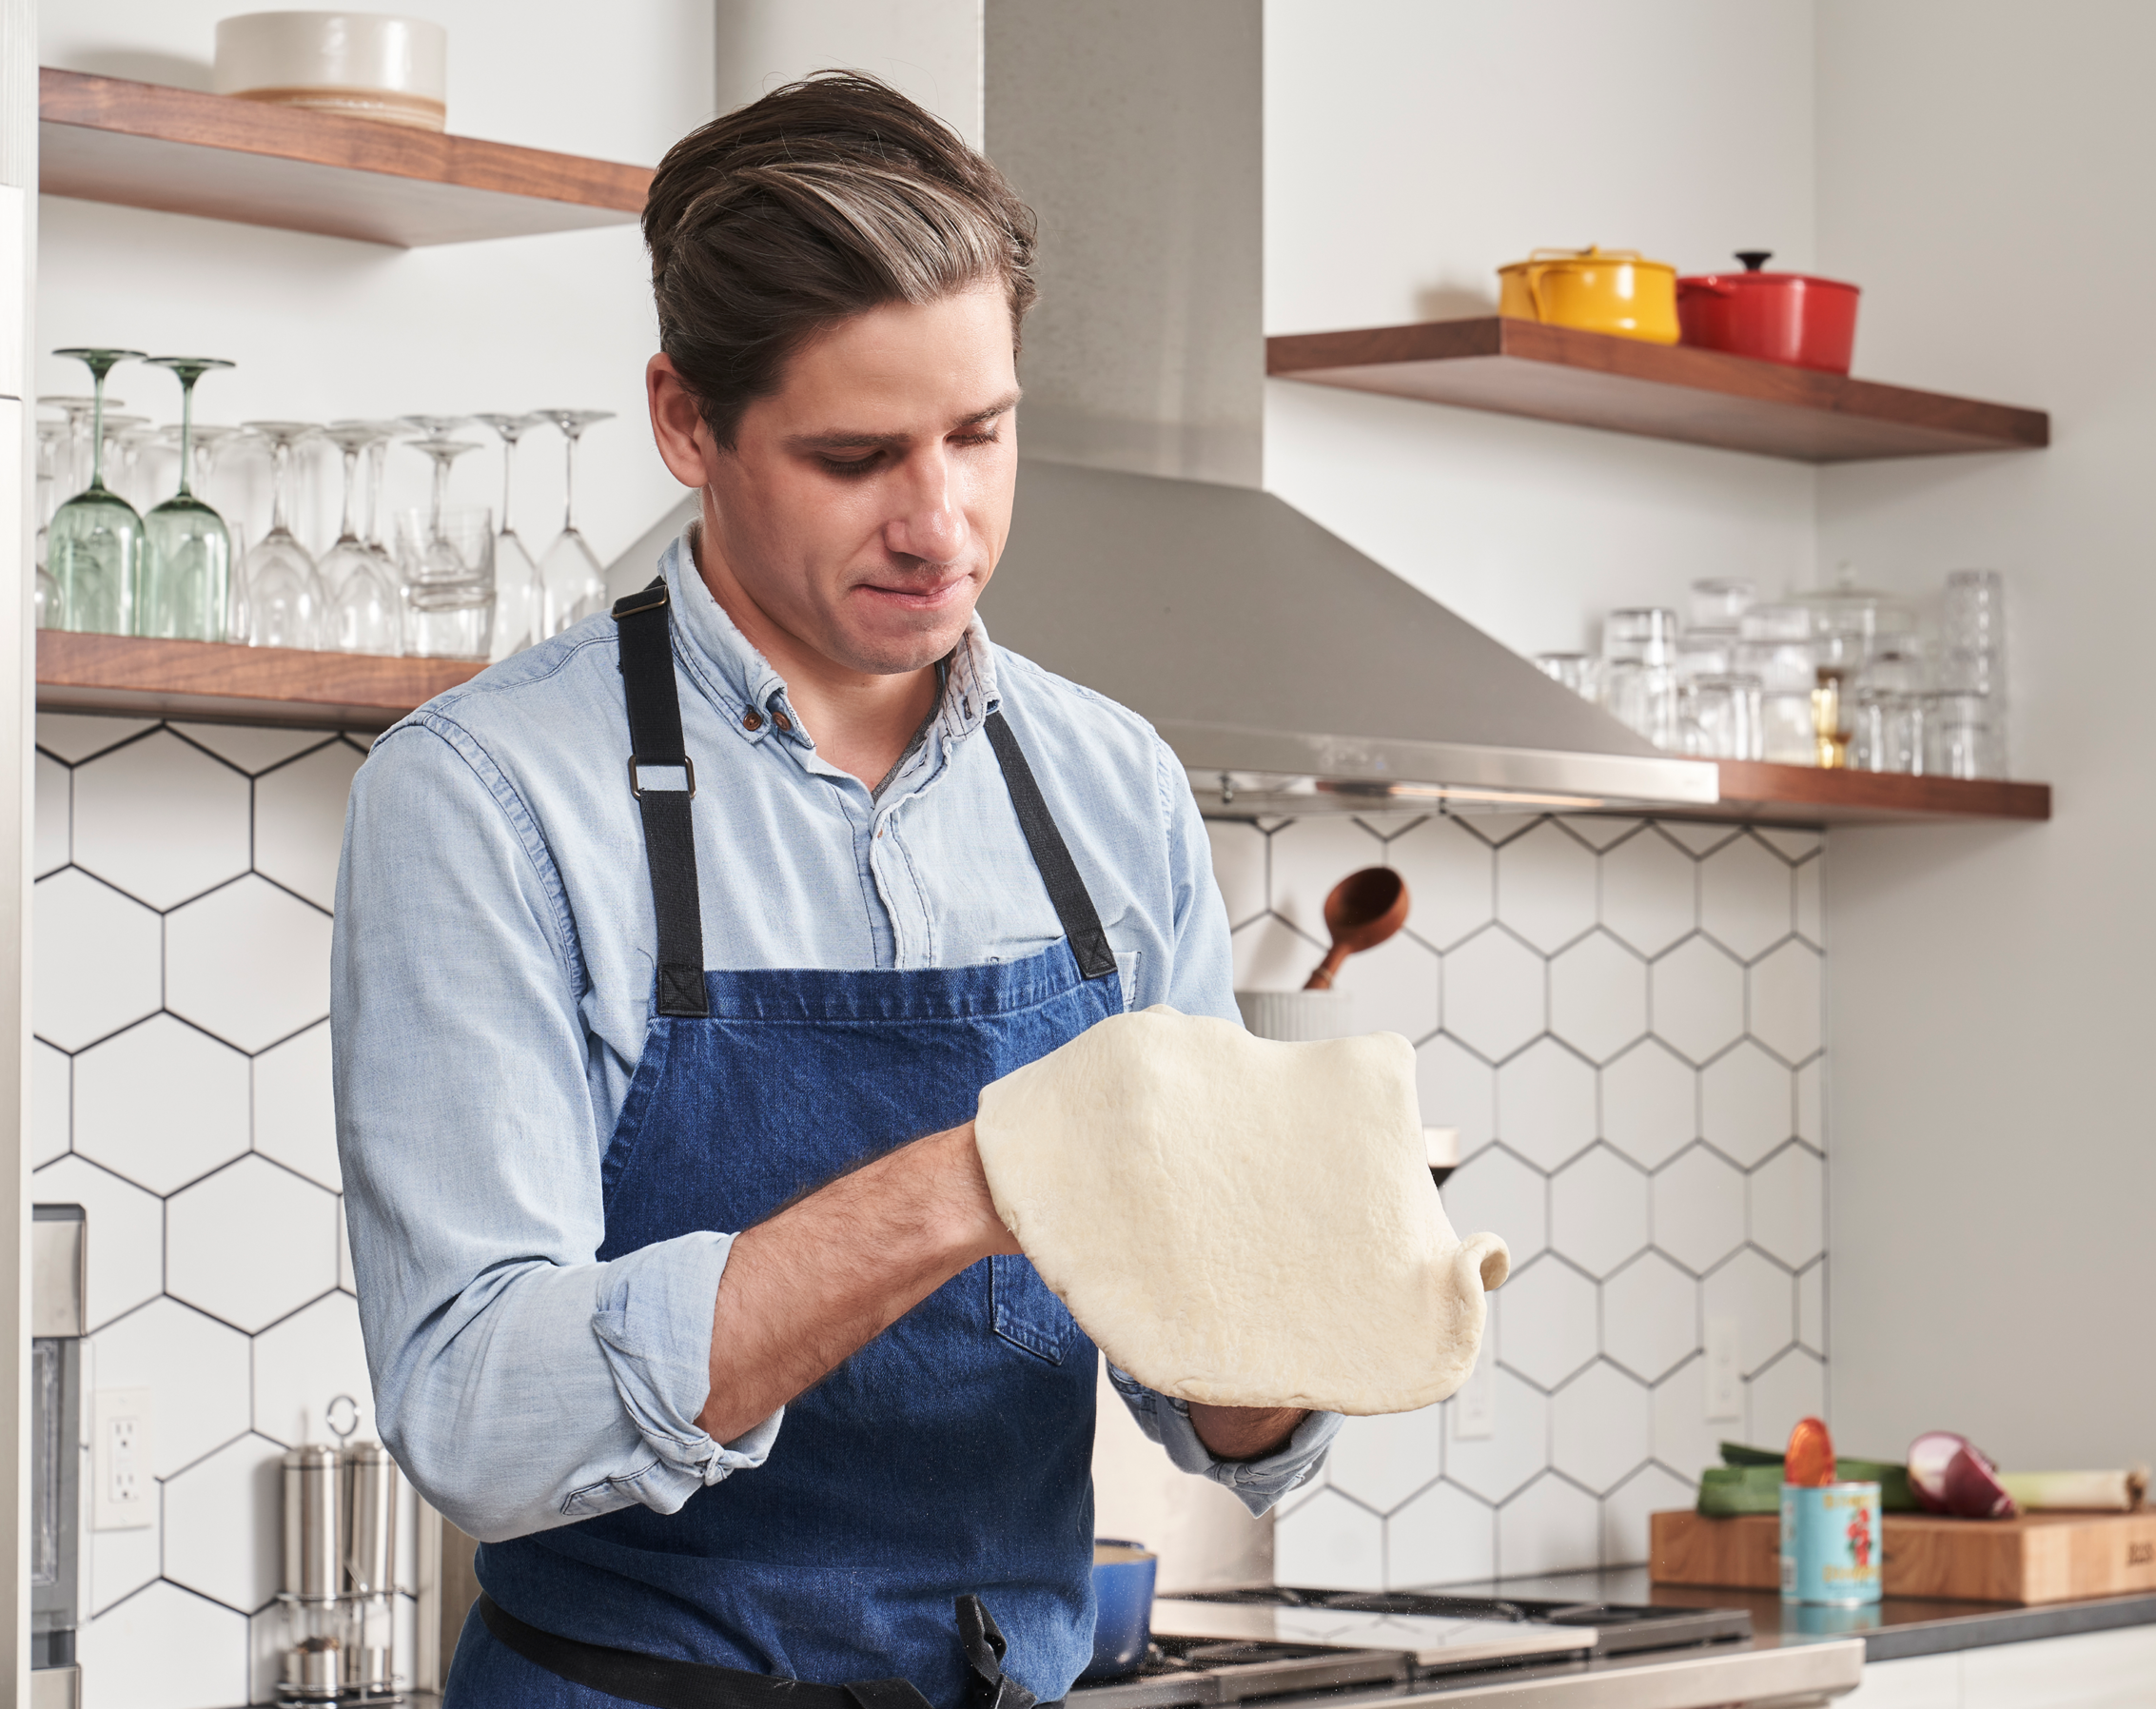
3. First fold (30 minutes in). After the first 30 minute ferment, the dough will have hydrated but will still feel very weak. Wet your hand then grab a handful of dough on one side of the bowl, pull it out 10-12 inches, and fold it over to the other side. Rotate the bowl slightly and repeat this process 7-8 times total. Then grab the ball of dough around its side and bottom, lift it, round and rotate it to build tension across the top, and set it back down into a smooth ball. Cover and rest another 30 minutes. You might find it helpful to watch my YouTube video on exactly how to do this here.
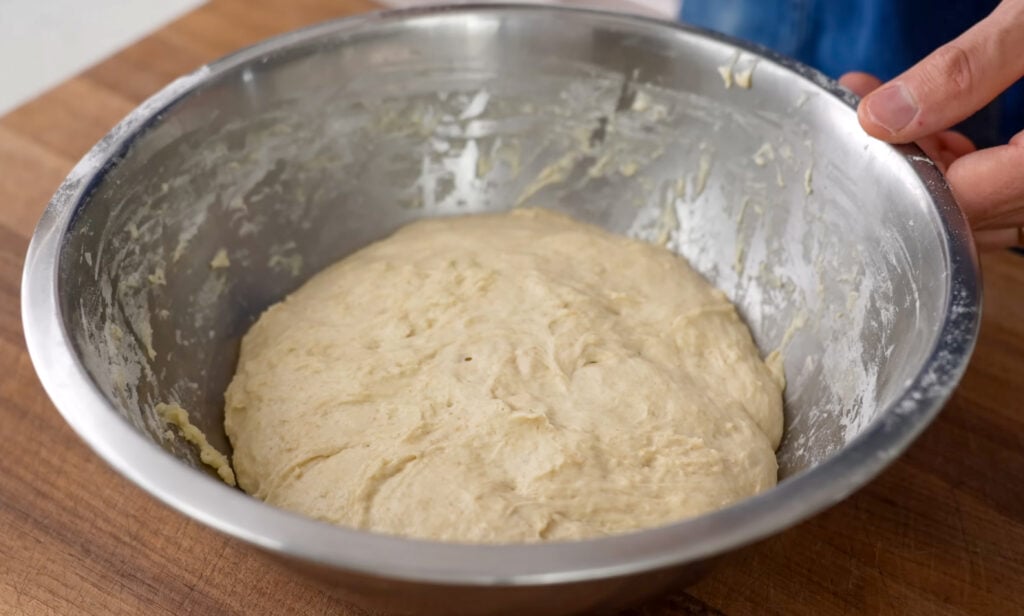
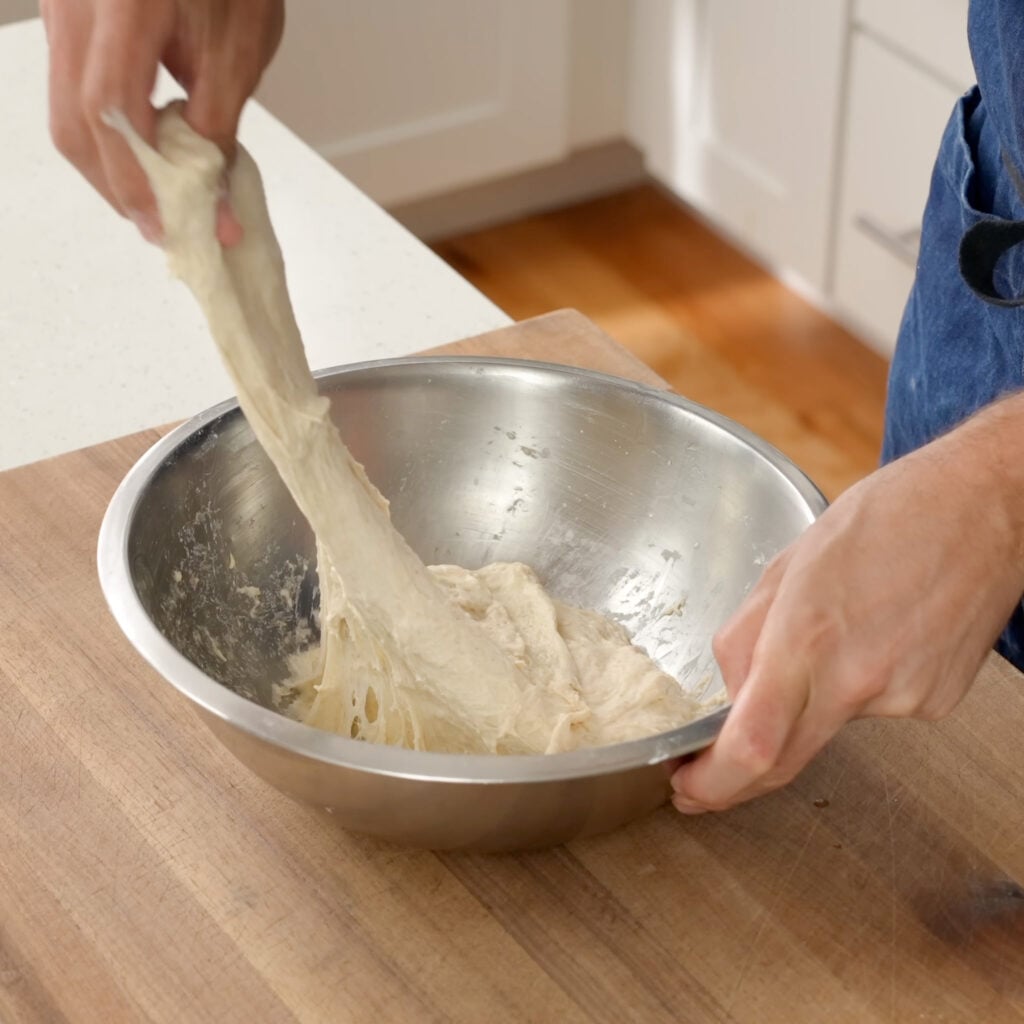
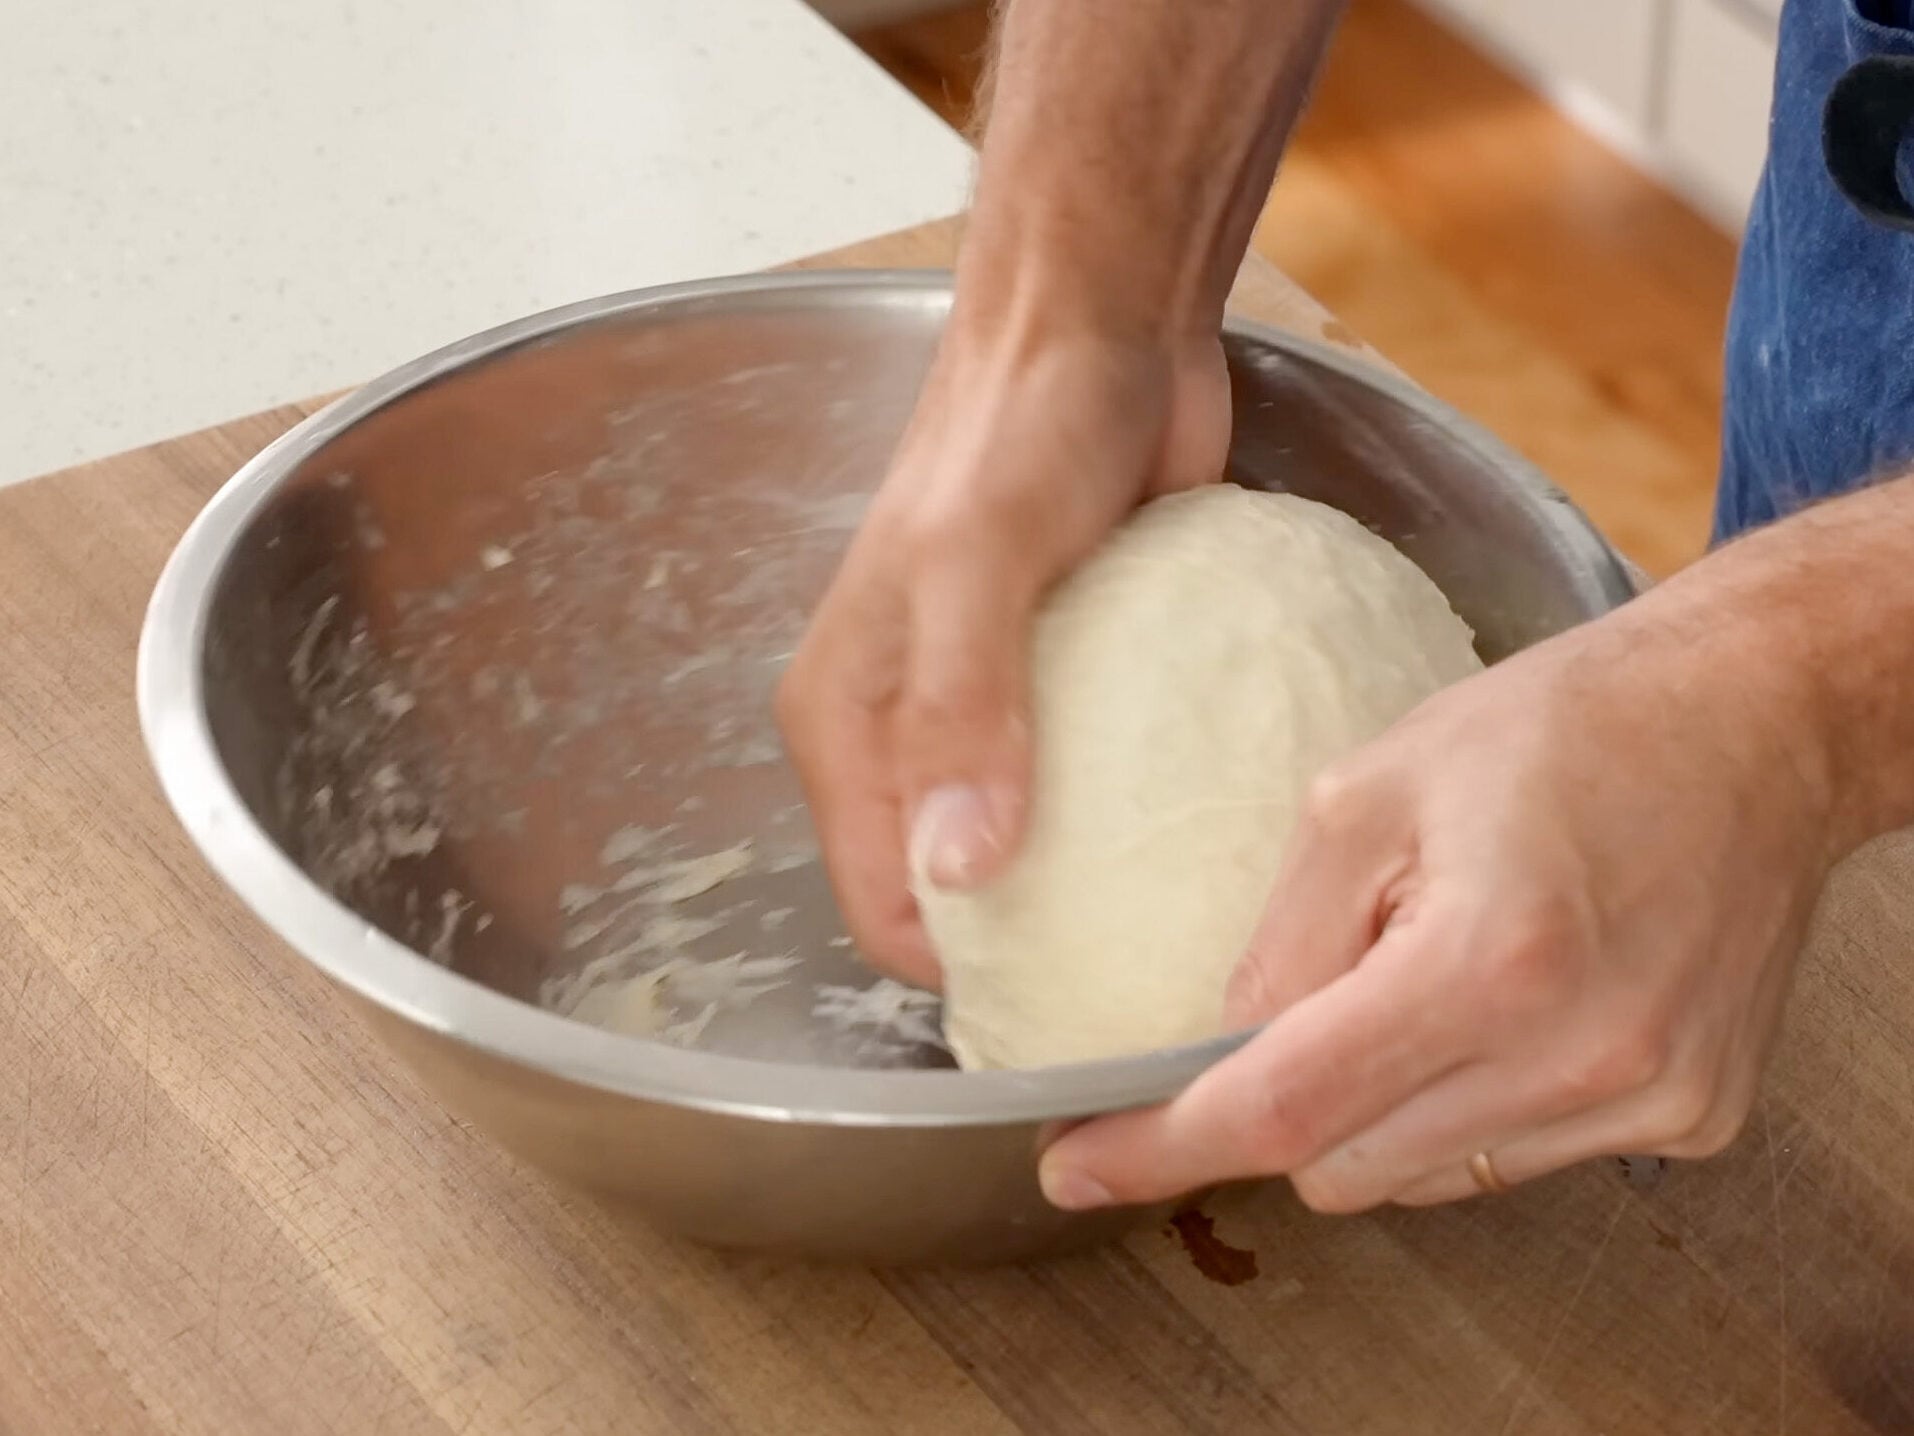
4. Second fold, then bulk ferment. Repeat the stretching, folding, and rounding exactly as before. After this second fold, the dough should feel noticeably stronger… it’ll hold its shape rather than spreading flat. Cover and ferment at room temperature for another 60 minutes, for a total bulk fermentation of about 2 hours.
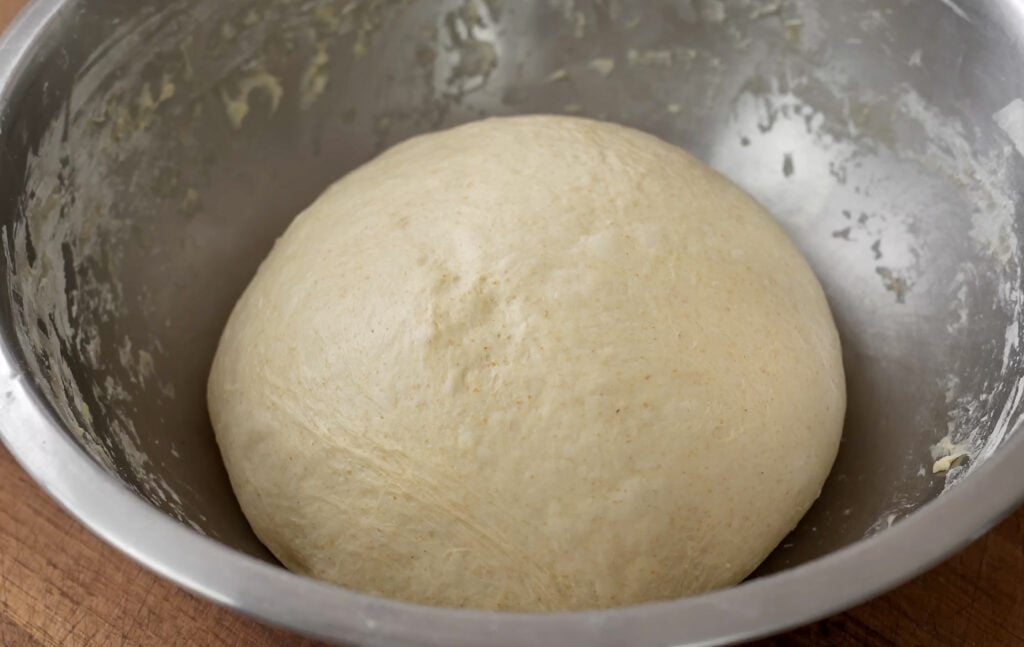
When you check back, the dough should have more than doubled in size and look lively, gassy and buoyant. Now you’re ready to shape your dough into 1 of the 3 loaves below.
How do I know when bulk fermentation is done? You’re looking for the dough to DOUBLE, not just increase by 50%. It should look noticeably alive and bouyant.
If the dough is still small, cold, and slack after the expected rise time, it probably fermented too slowly. This usually means the water was too cold, the room was too cold, or the yeast is dead. Move the dough somewhere warmer and give it more time.
Shaping your dough into a loaf
LOAF 1: Simple “Ciabatta Style” Loaf
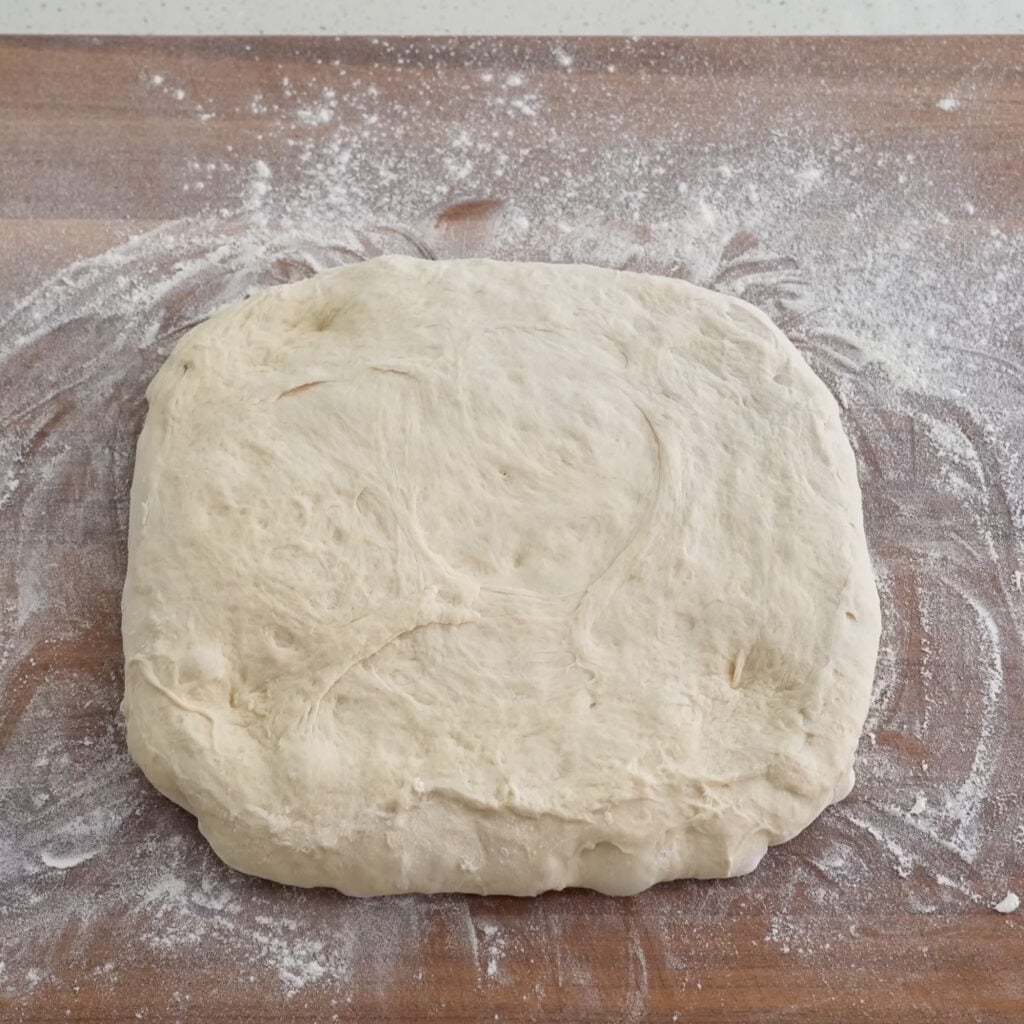
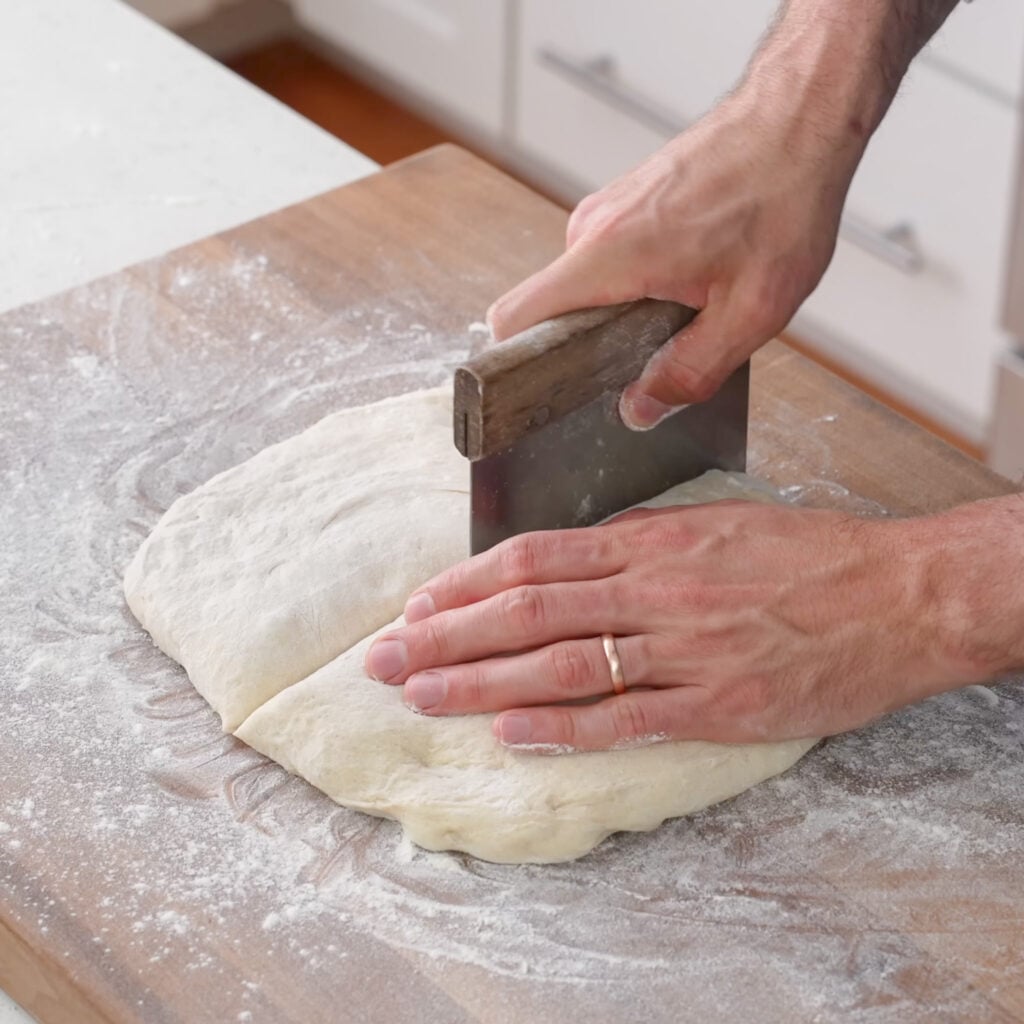
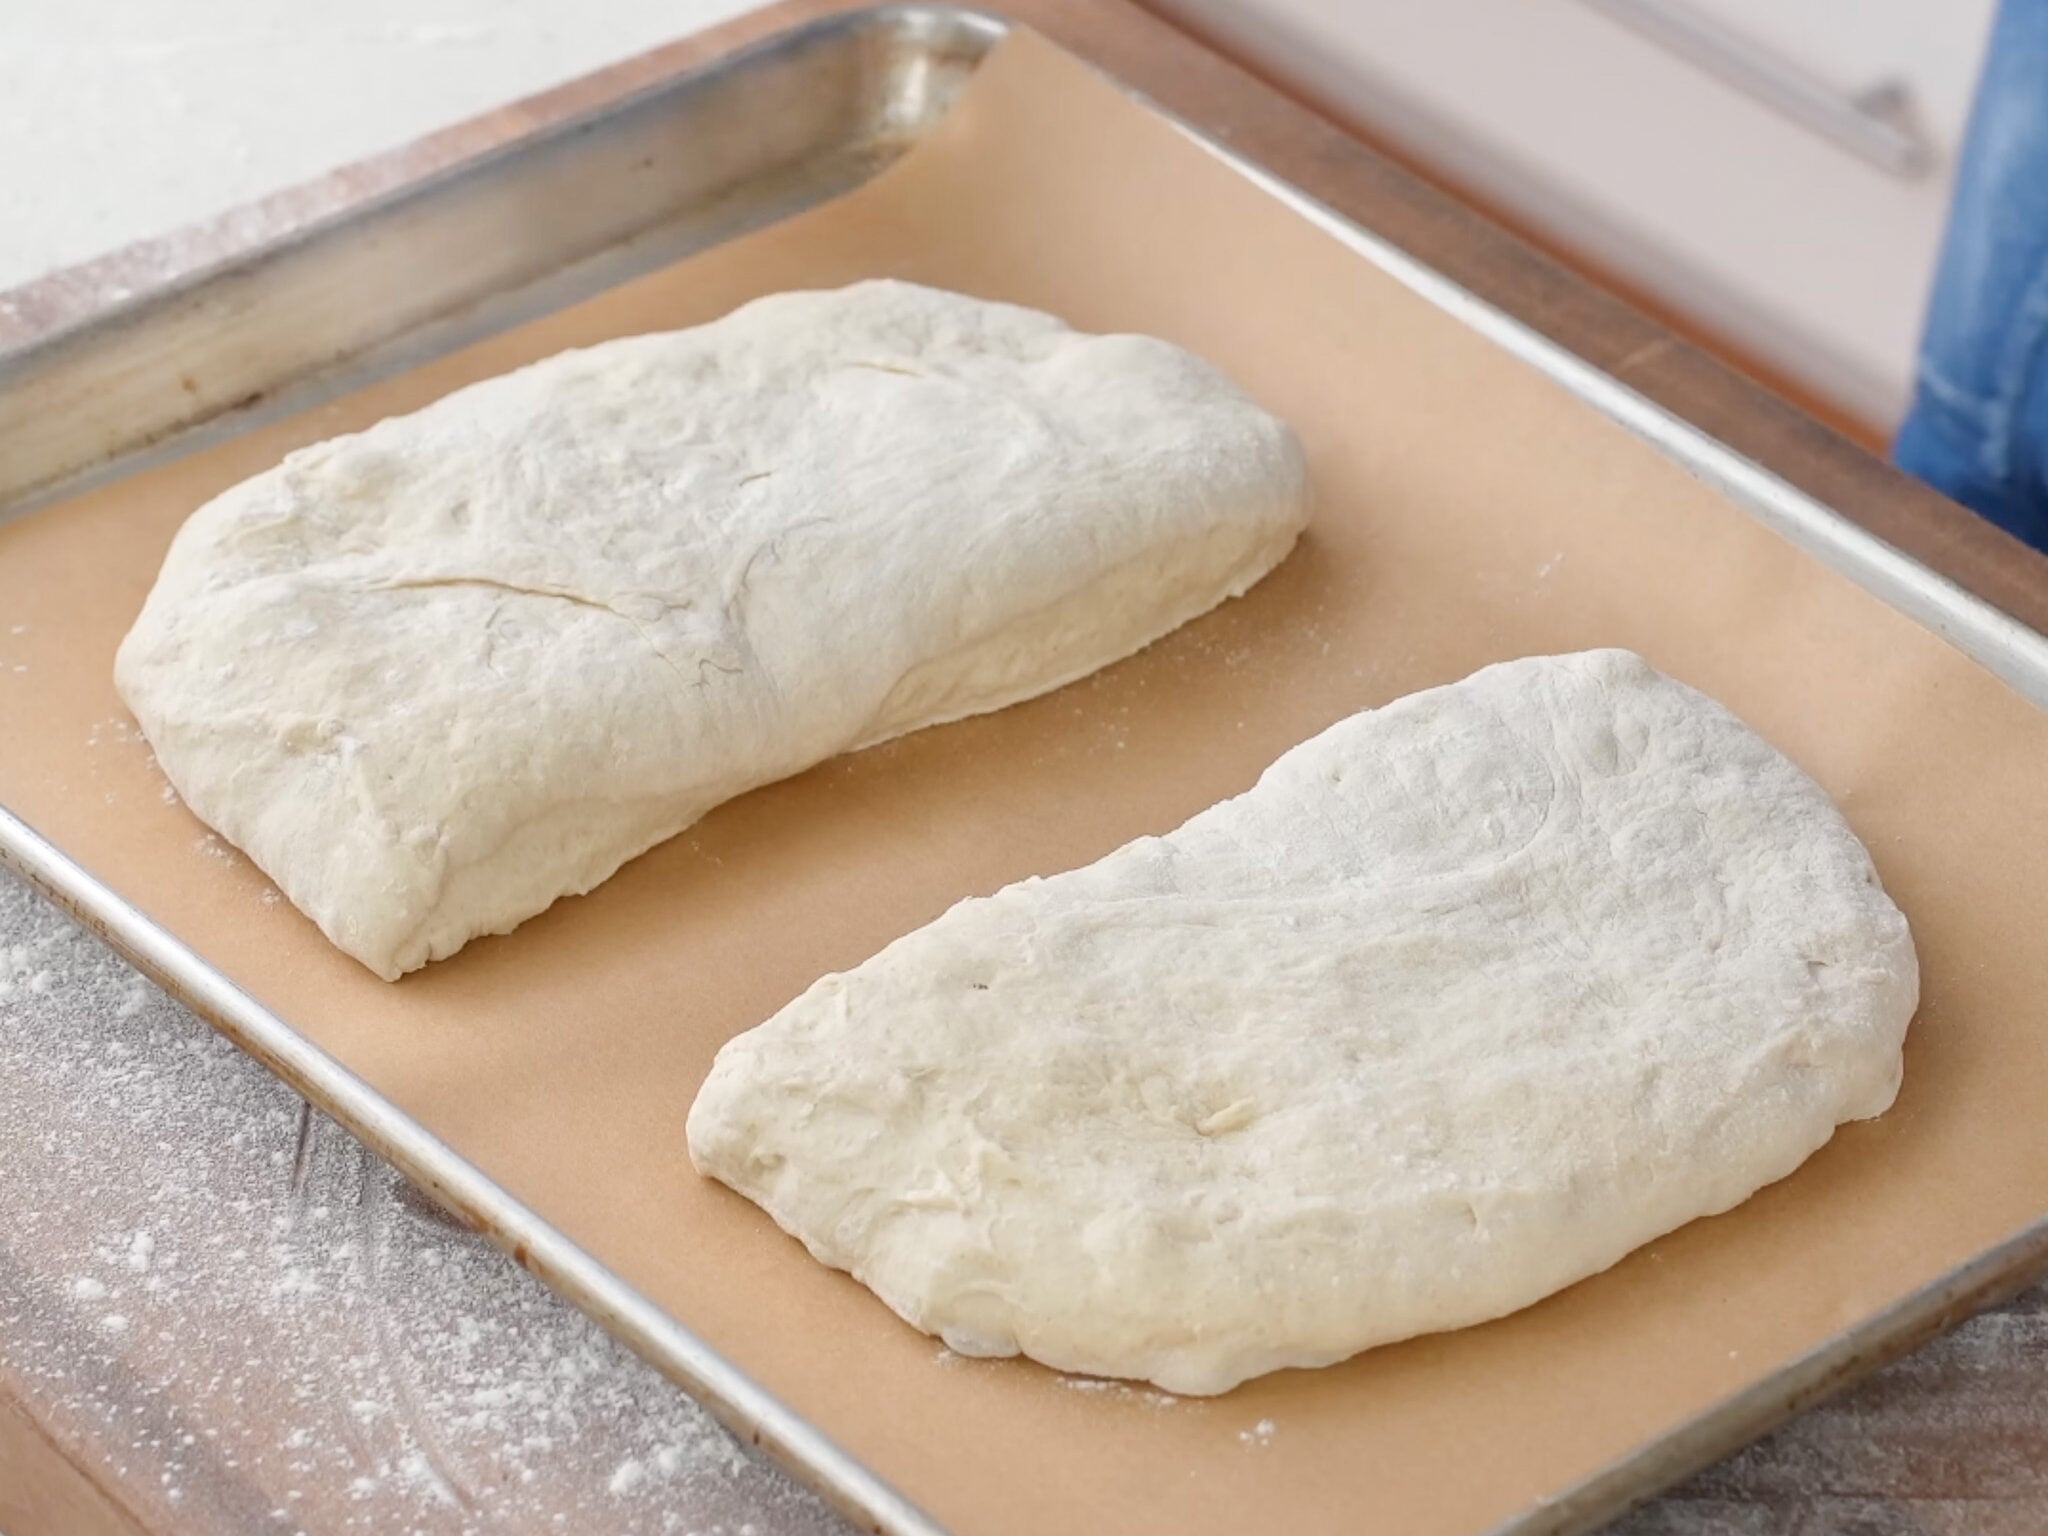
5.1. Shape and proof. Flour your work surface and gently flip the dough out. Flatten it slightly with a flat hand and pop any large air bubbles. Bubbles will balloon in the oven if you leave them. Gently move the dough into a rough square shape, then cut it straight down the middle into two equal rectangles (I like to use a dough scraper for this). Transfer each rectangle onto a parchment-lined sheet pan. Cover with another sheet pan and let them proof for 60 minutes.
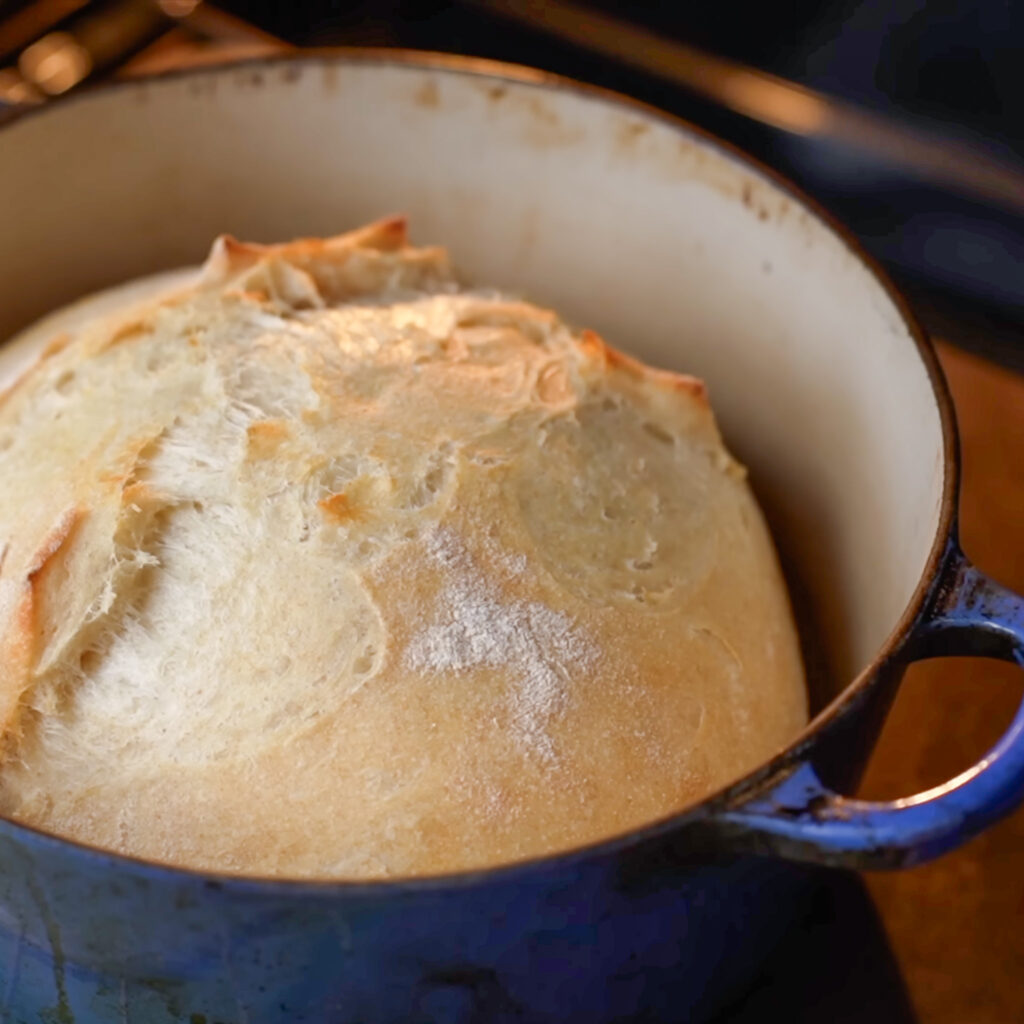
6.1. Bake. Preheat the oven to 480°F/250°C. After a at least 30-45 minutes of preheating, load the sheet tray into the hot oven and bake for 20 minutes. You should see a good rise and some nice color.
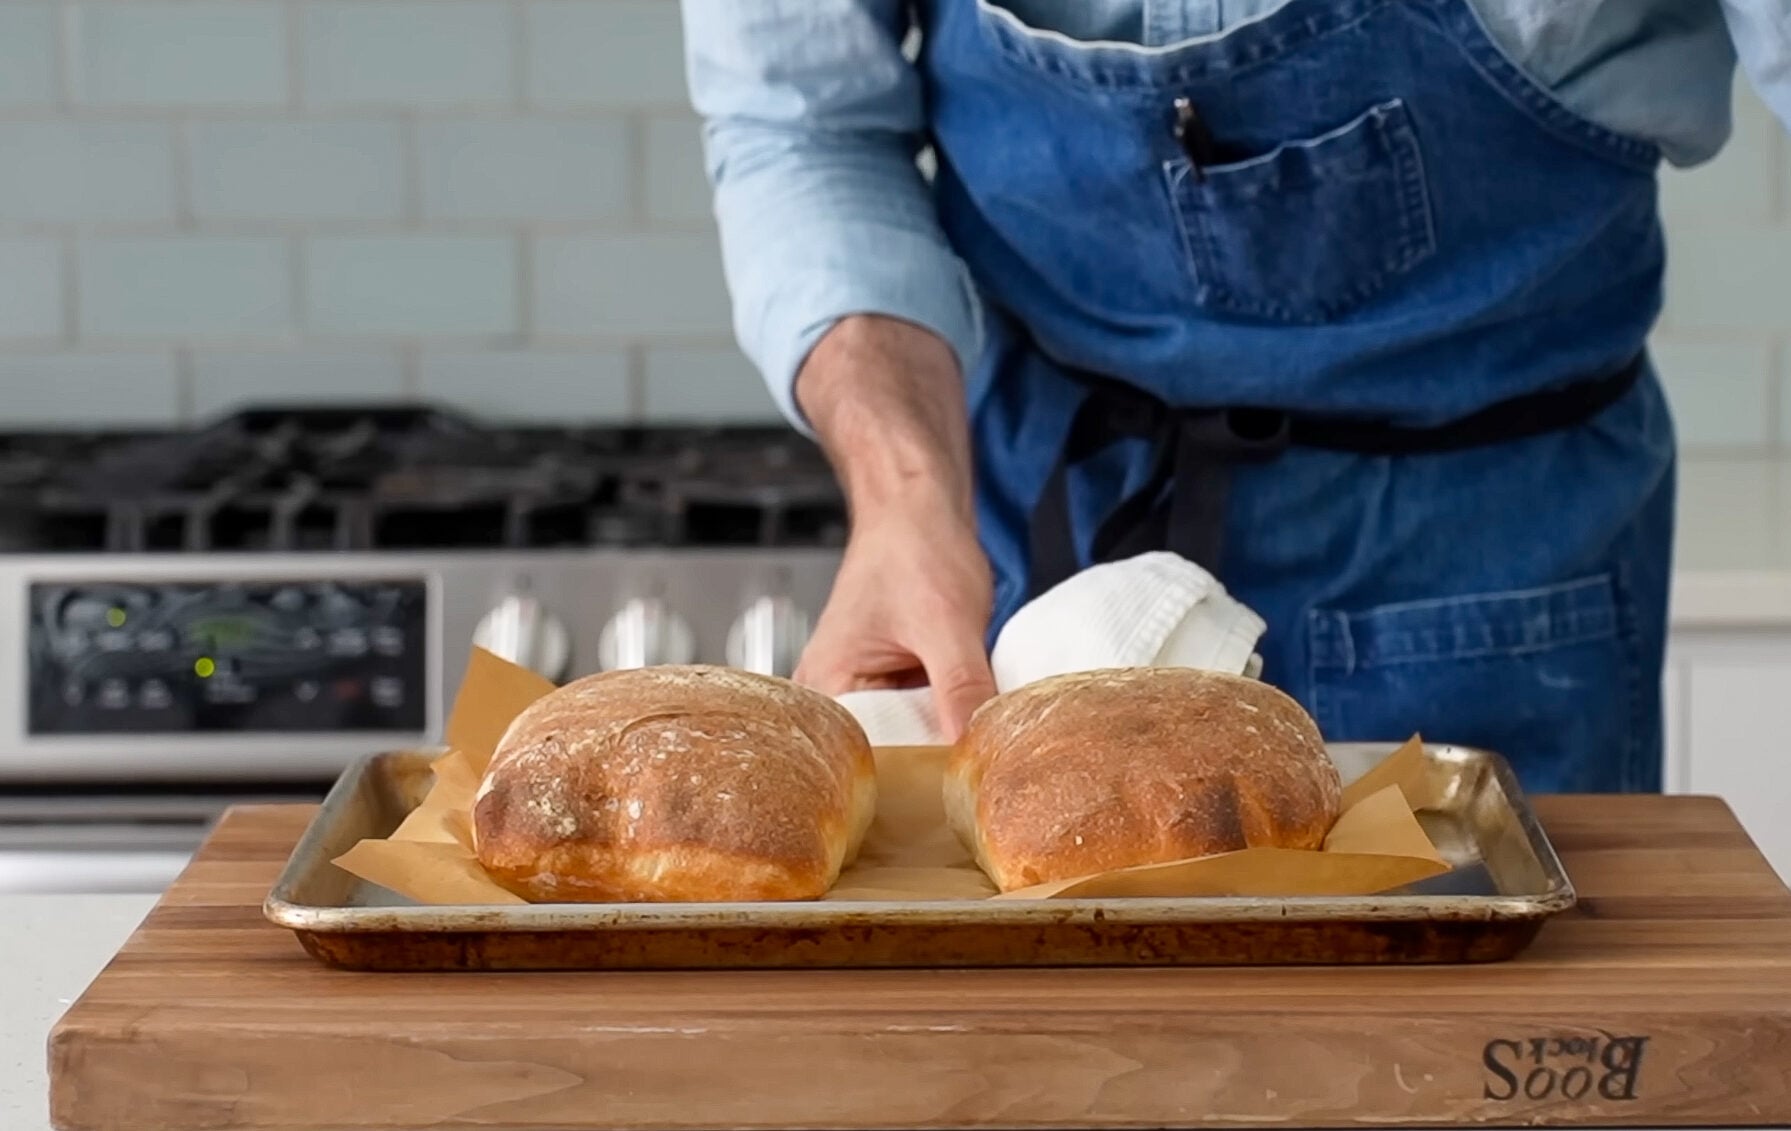
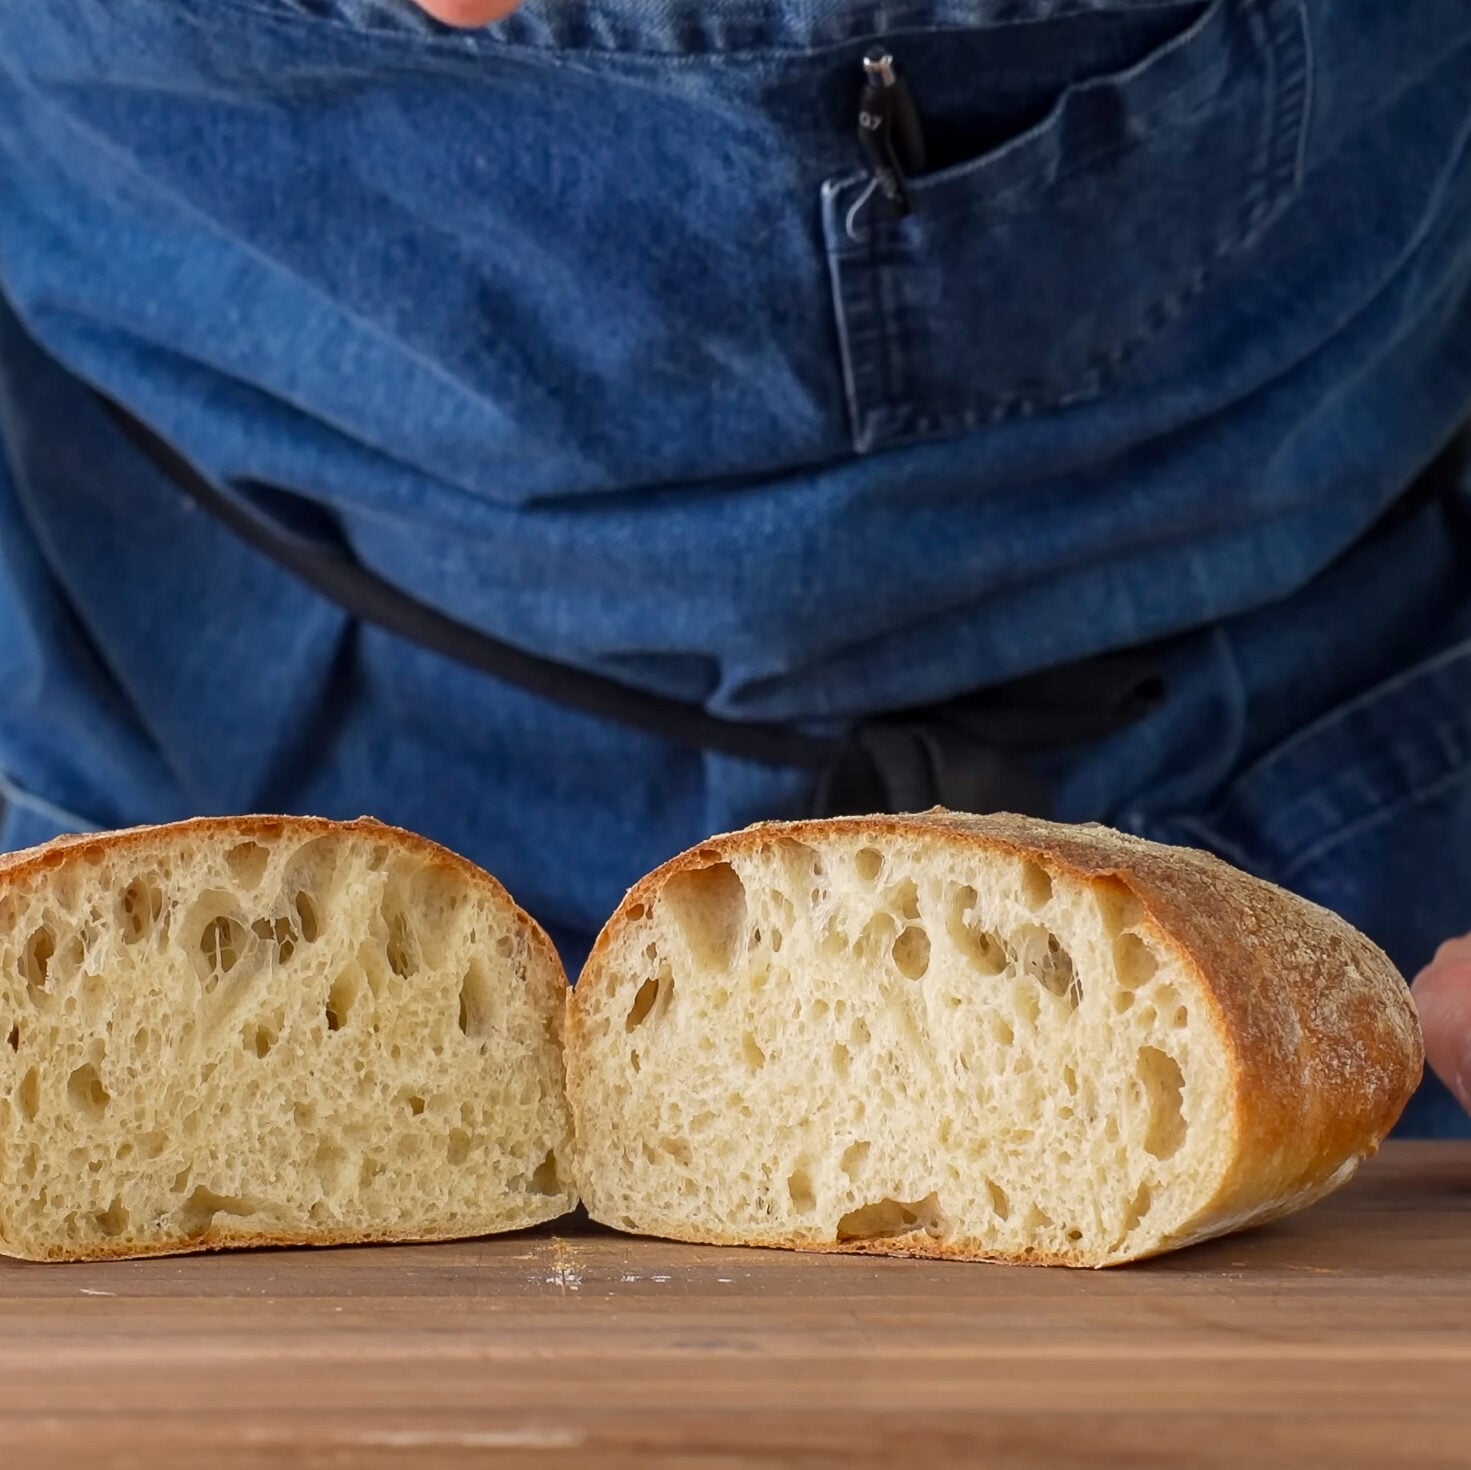
What’s the downside to this simplest, Loaf 1 method? The crust is soft. Without a sealed environment for steam, there’s nothing to set the crust into something thick and crunchy. If you’re planning to grill or toast this bread before serving, that’s a non-issue. If you eat it right out of the oven, there’s still some residual crispness. But this is the least crunchy of the three options, and it won’t hold that texture for long.
Loaf 2: Darker and Crustier Loaf
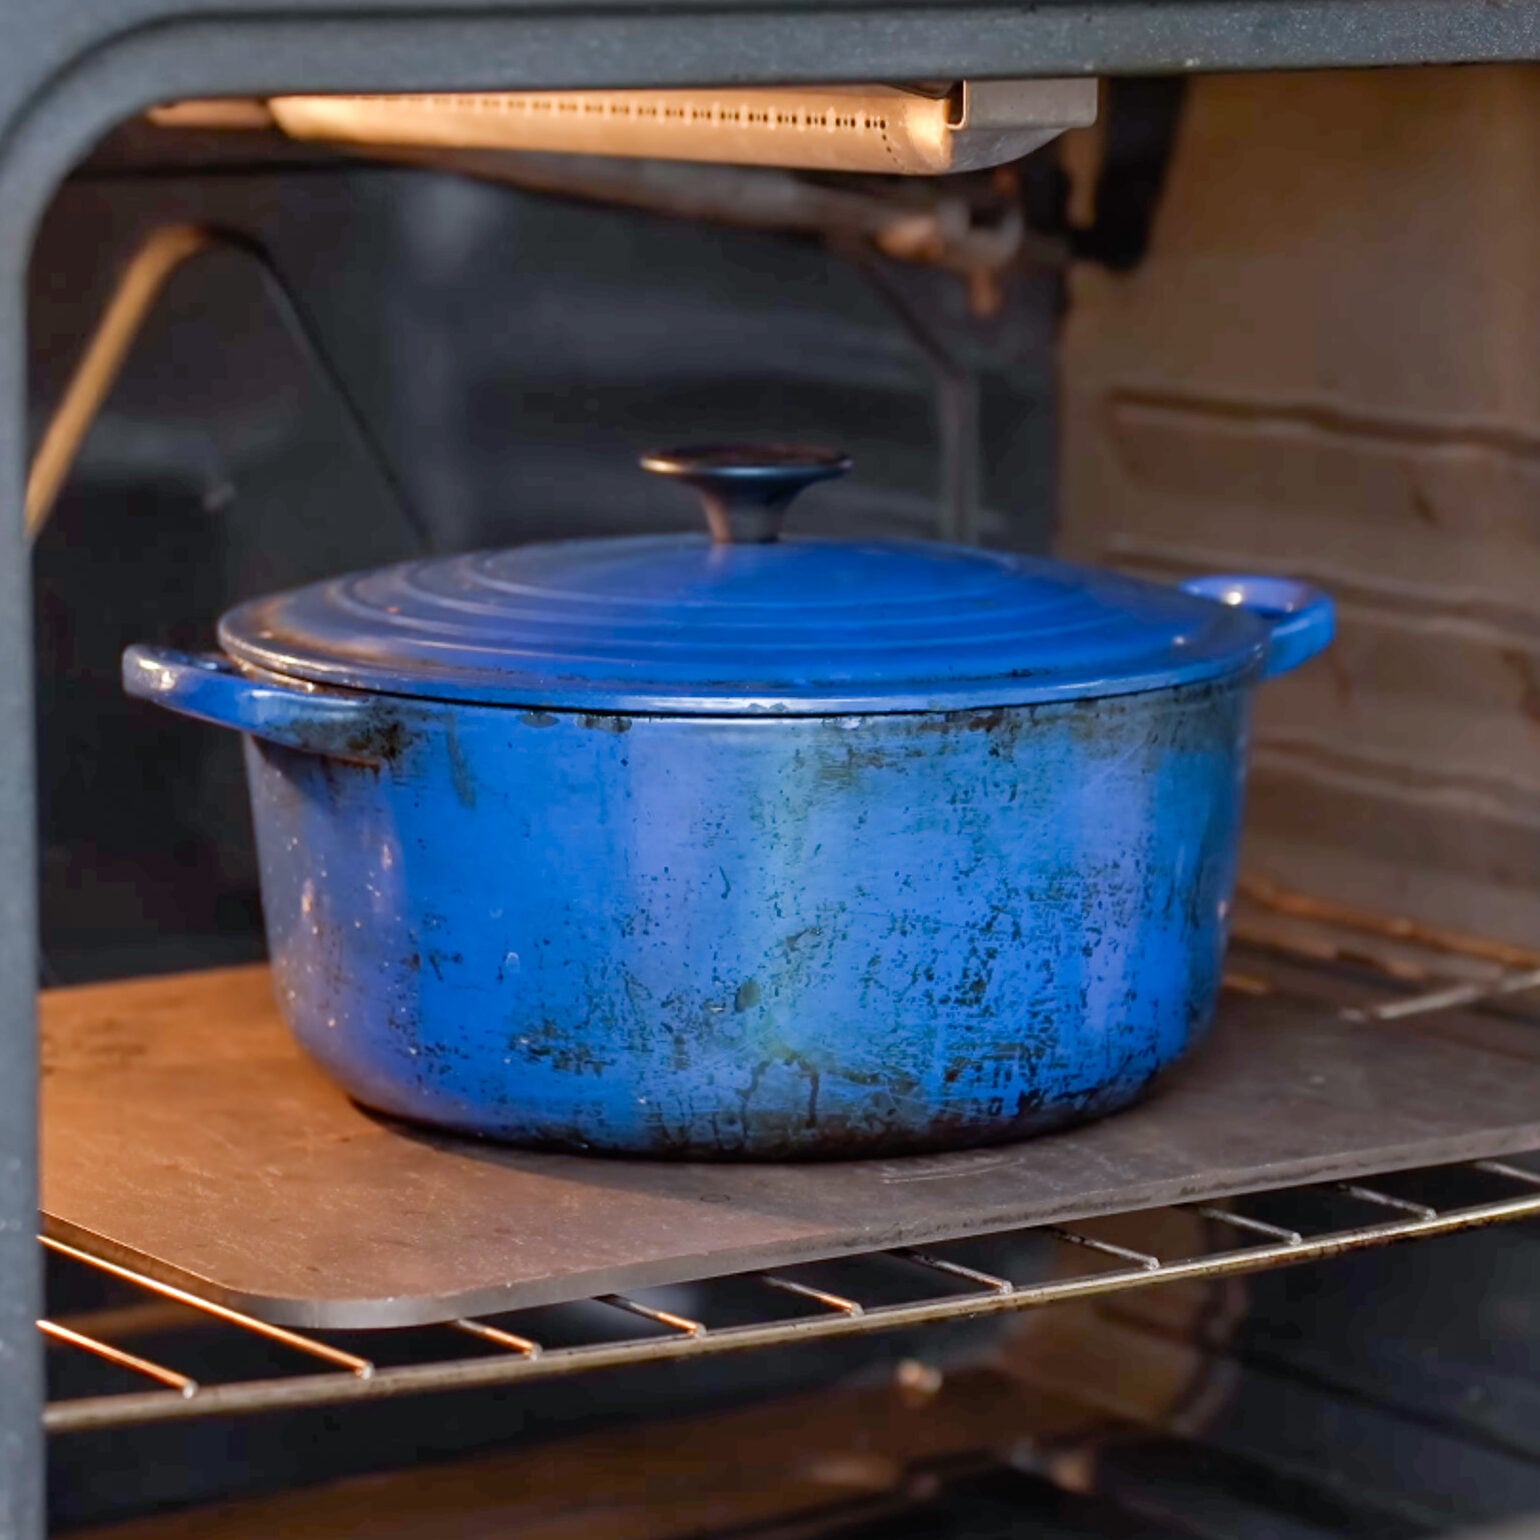
5.2 Shape and proof. Flour your work surface and flip the dough out. Flatten to Degas slightly, then shape into a rough rectangle and cut in half. For each half, gently pull the left and right sides outward, then fold them over the center, overlapping them like a letter folded into thirds. Use the flat of your hand to gently press out any large air bubbles, then flip the loaf seam-side down and tidy the edges so everything is tucked. You’ll end up with two loaves that feel tighter and more compact than the simple loaf 1 method. Transfer both to a parchment-lined sheet tray, cover with another sheet pan, and proof for 60 minutes. Preheat the oven to 480°F/250°C with a dutch oven inside (lid on) for at least 30 minutes.
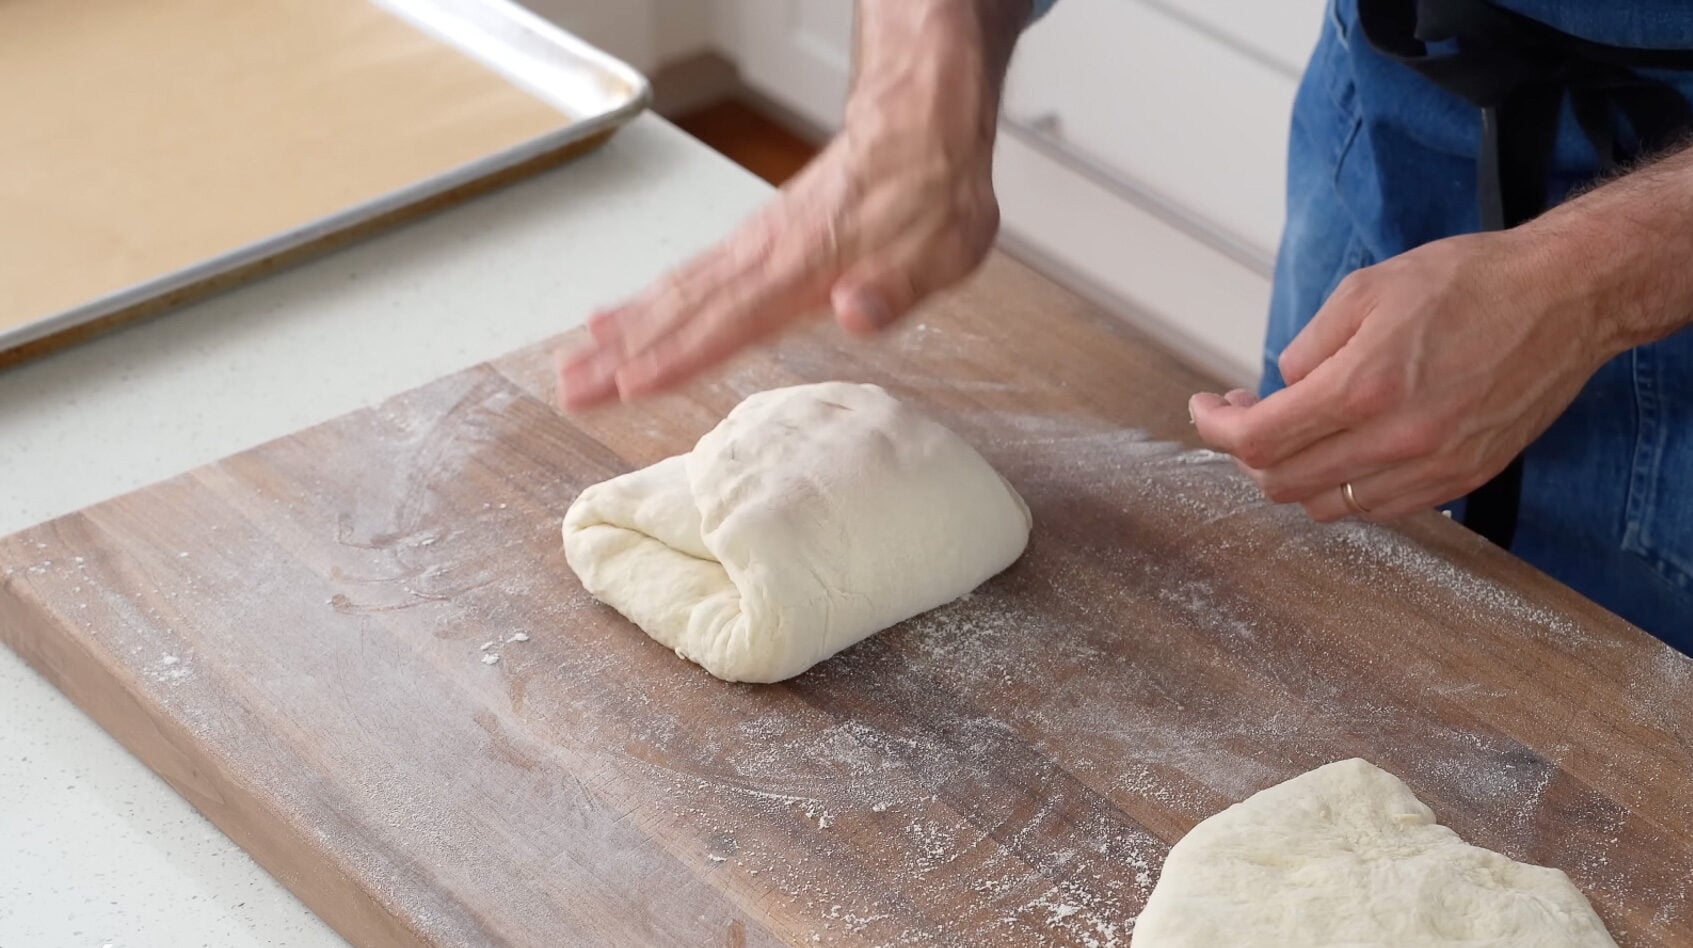
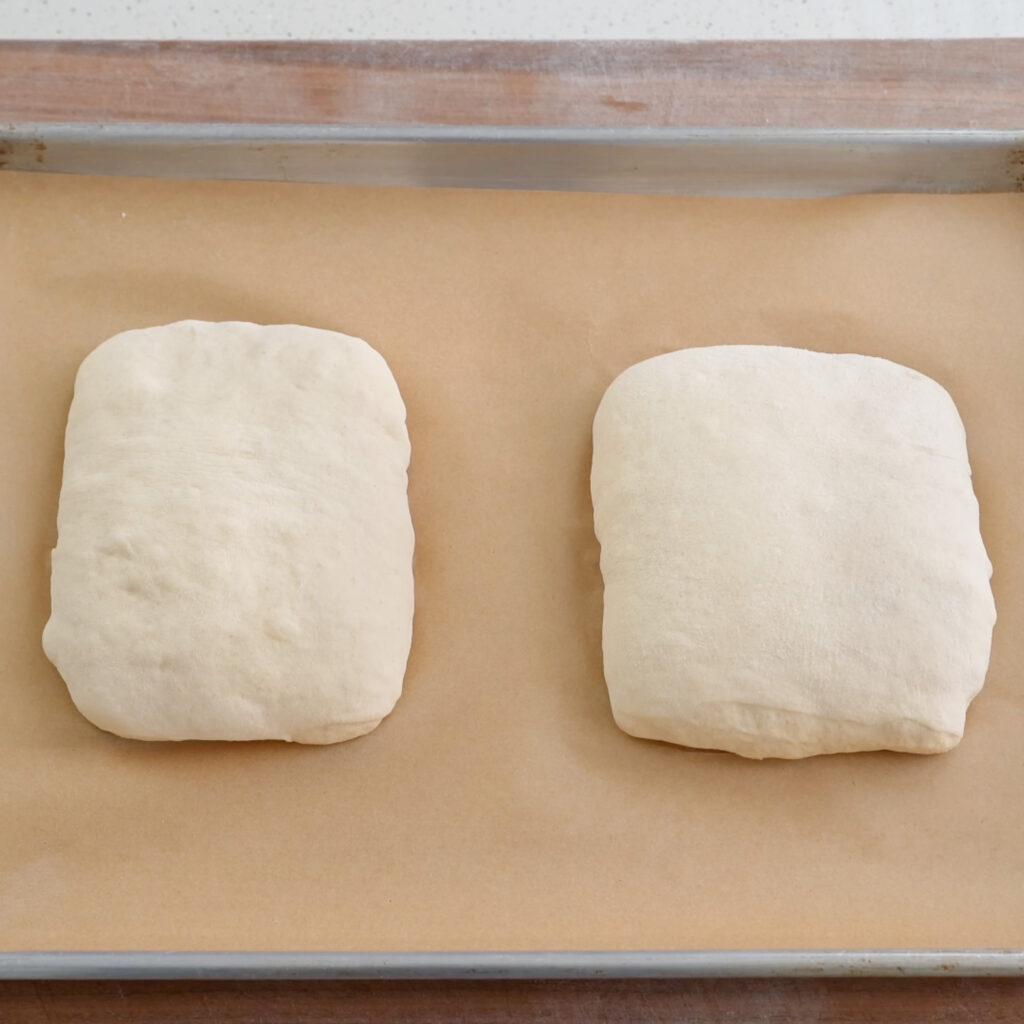
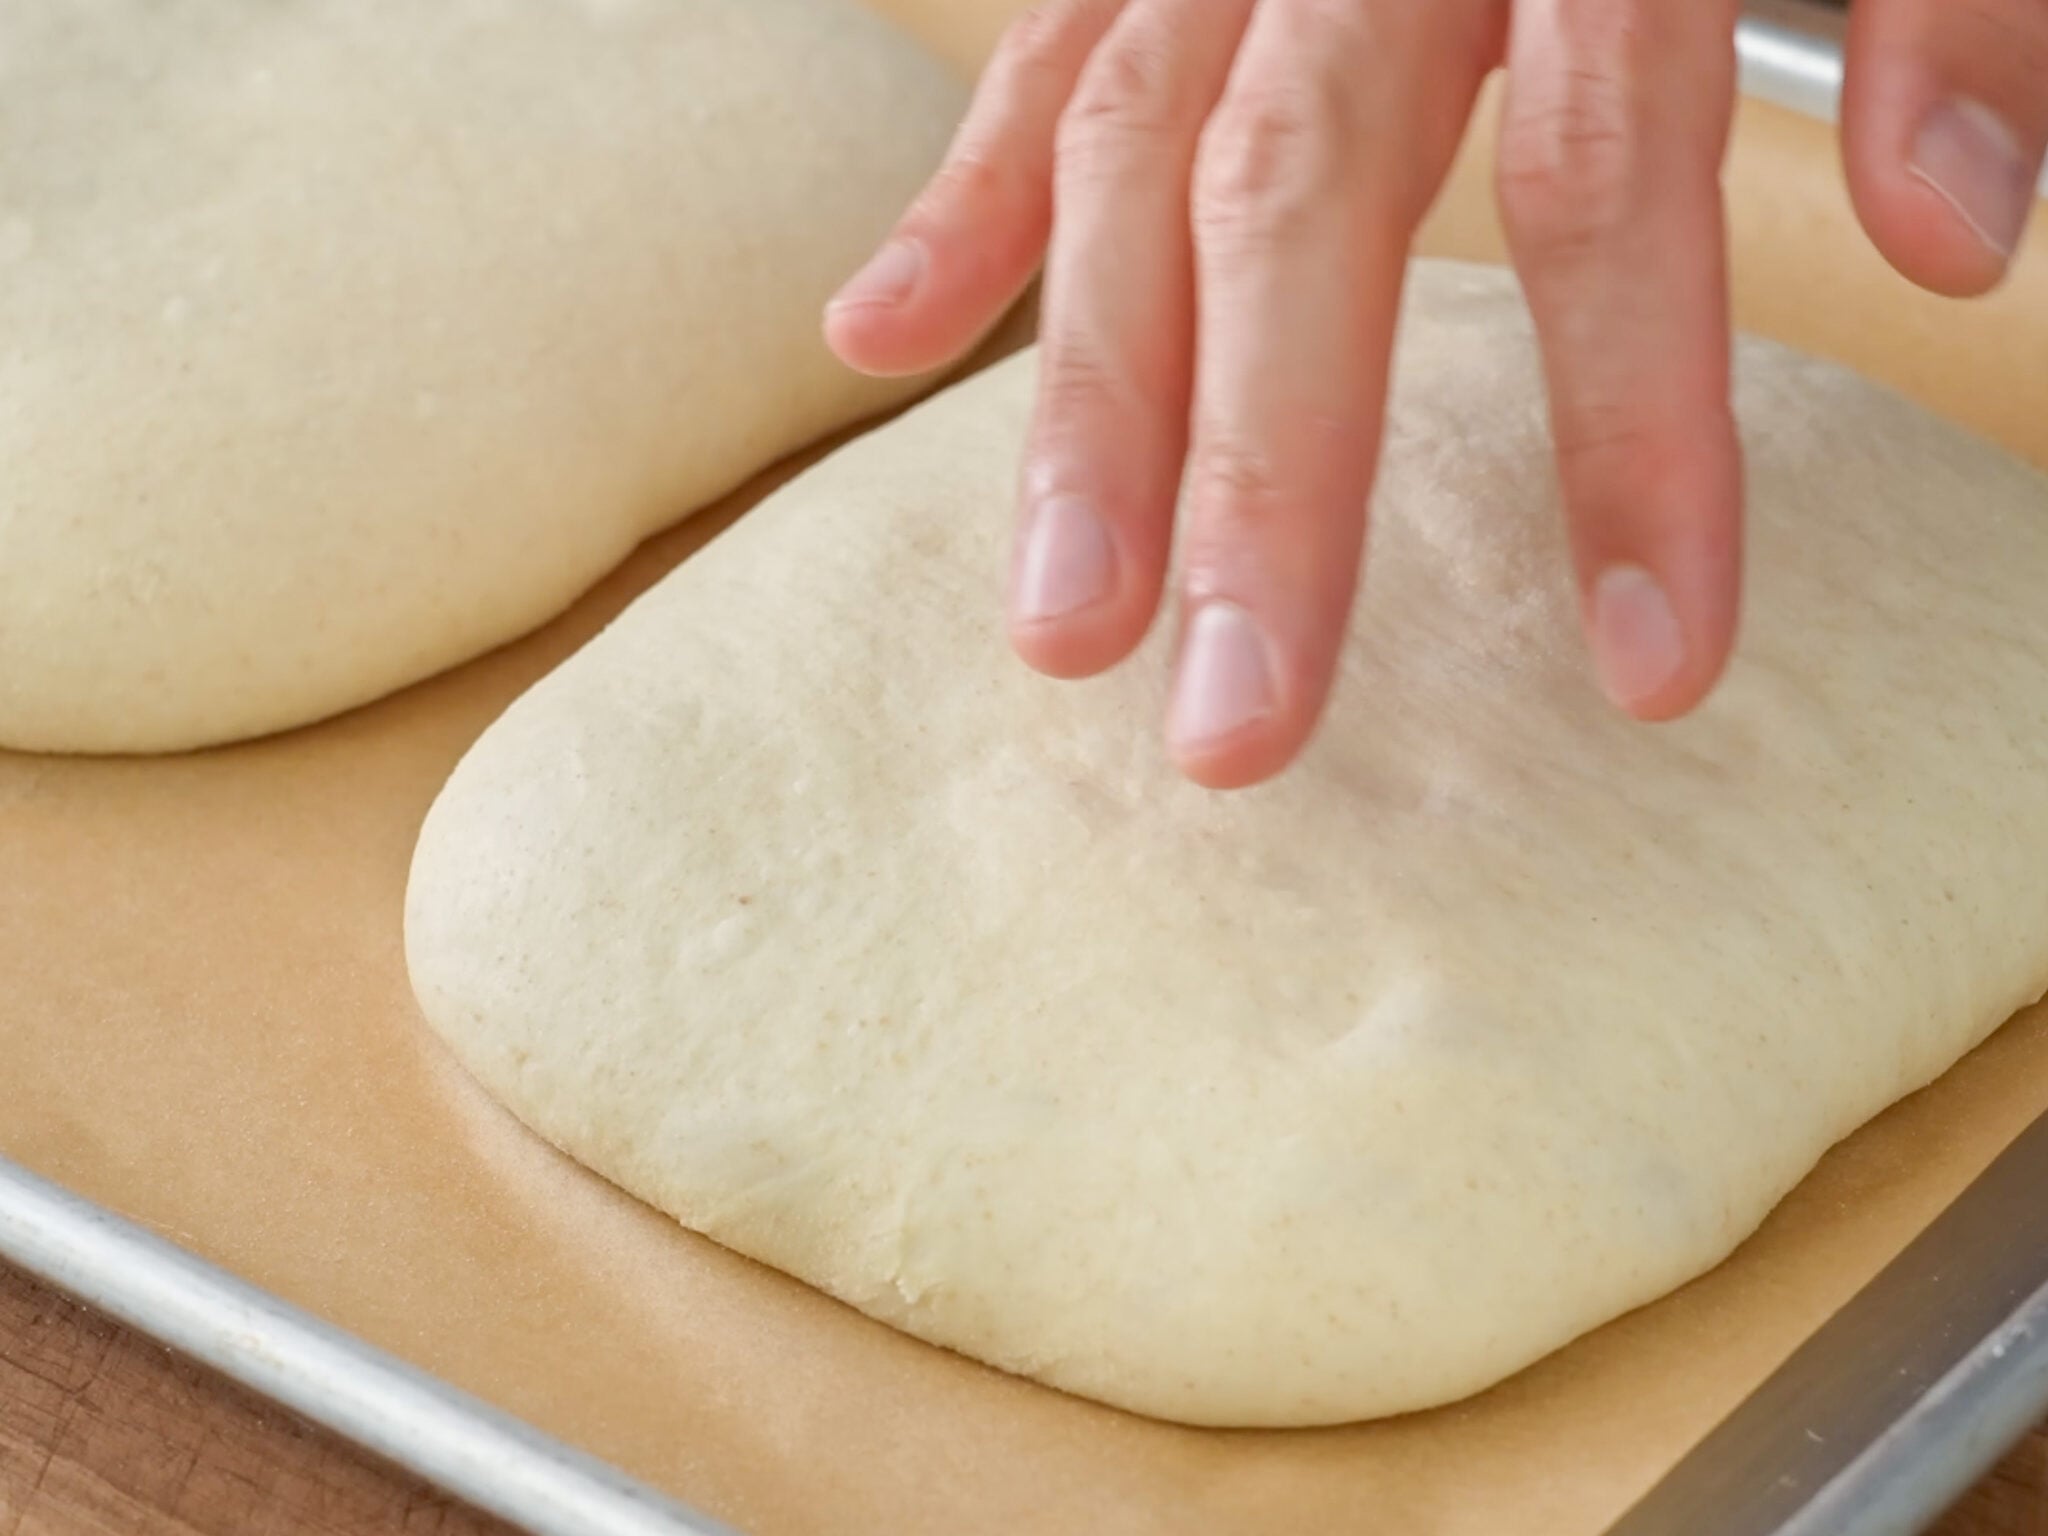
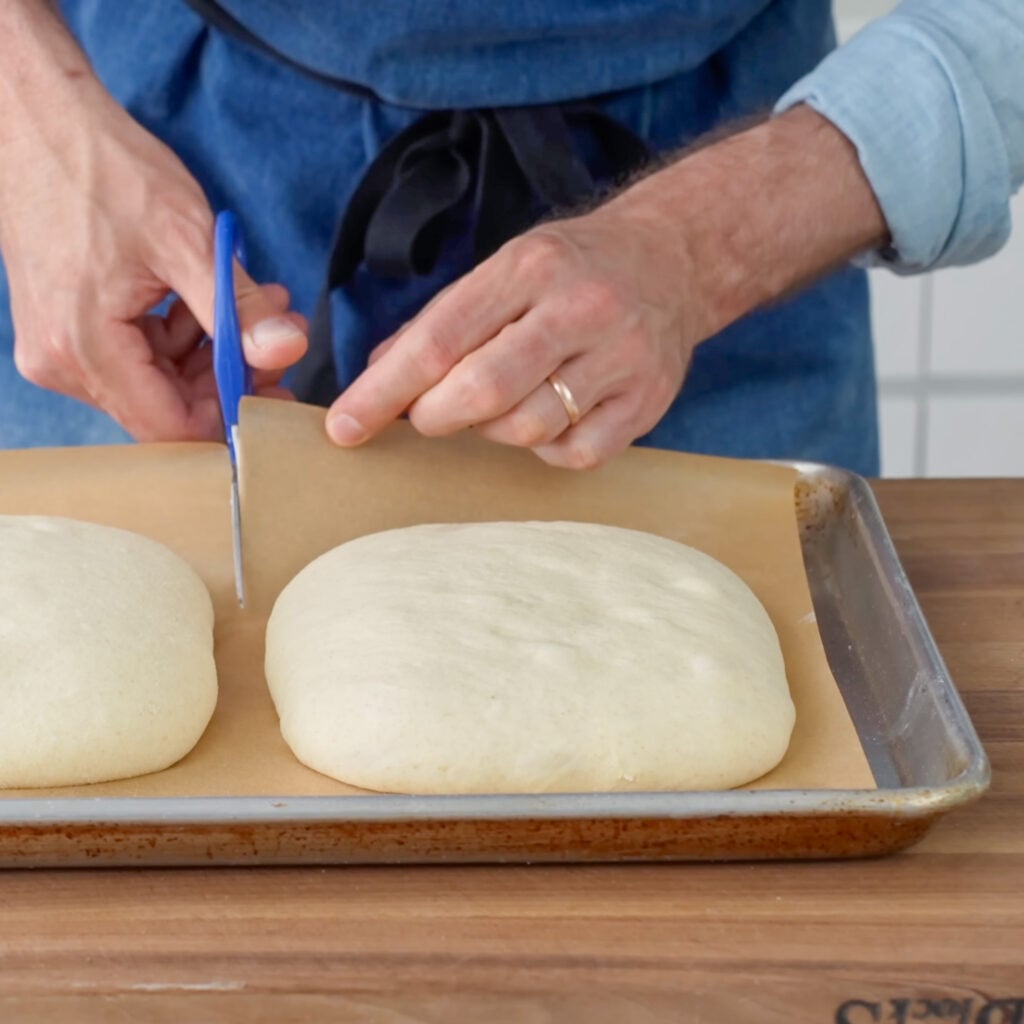
6.2. Bake. Slice the parchment in half (between the two loaves). You’ll bake these one at a time. Carefully lower the first loaf into the preheated dutch oven using the parchment as a sling. Cover with the lid, and bake for 20-22 minutes. Remove the lid and continue baking uncovered for 10-12 more minutes until the loaf is deeply golden brown. Repeat for the second loaf.
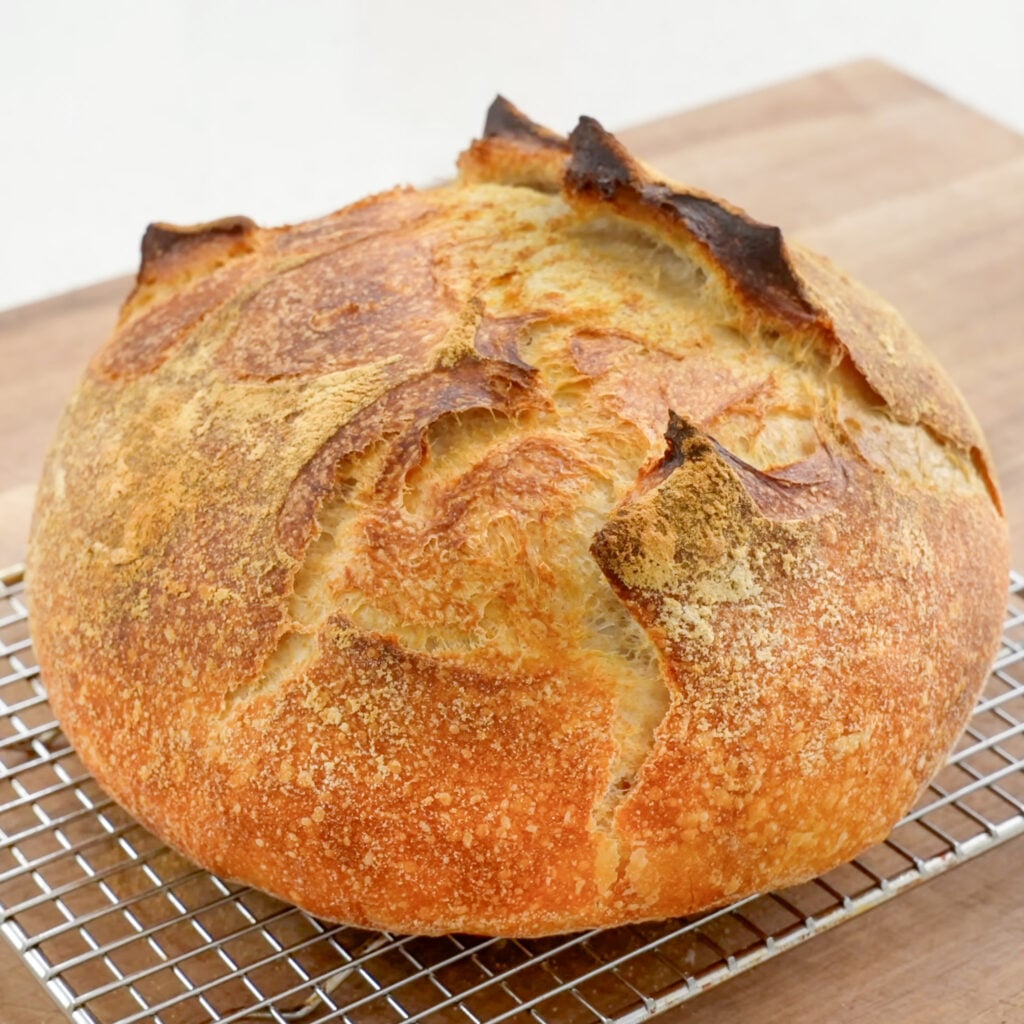
What does ‘deeply golden’ actually mean? You’re going for a rich mahogany brown, especially at any raised edges. Under-baked bread is closer to beige. If you’re second-guessing it, leave it in for two more minutes. This loaf is very hard to over-bake.
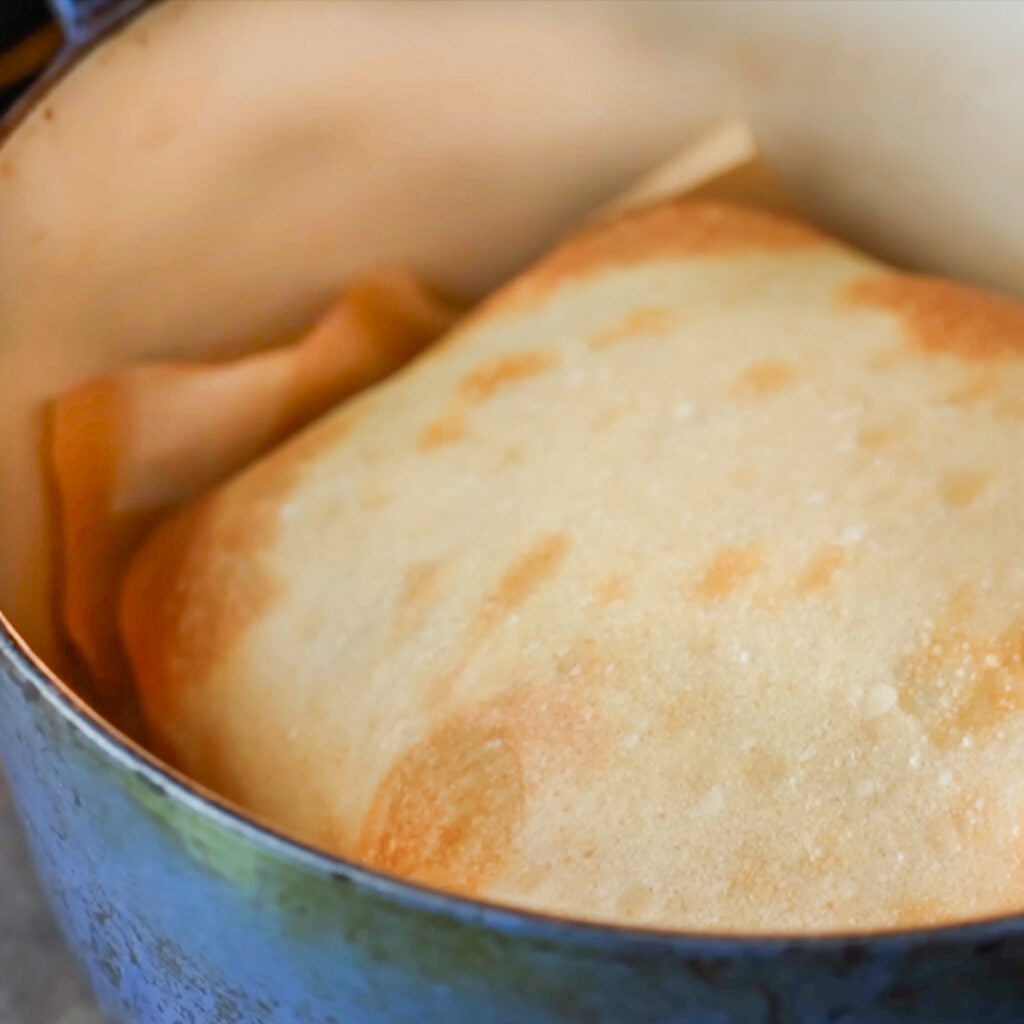
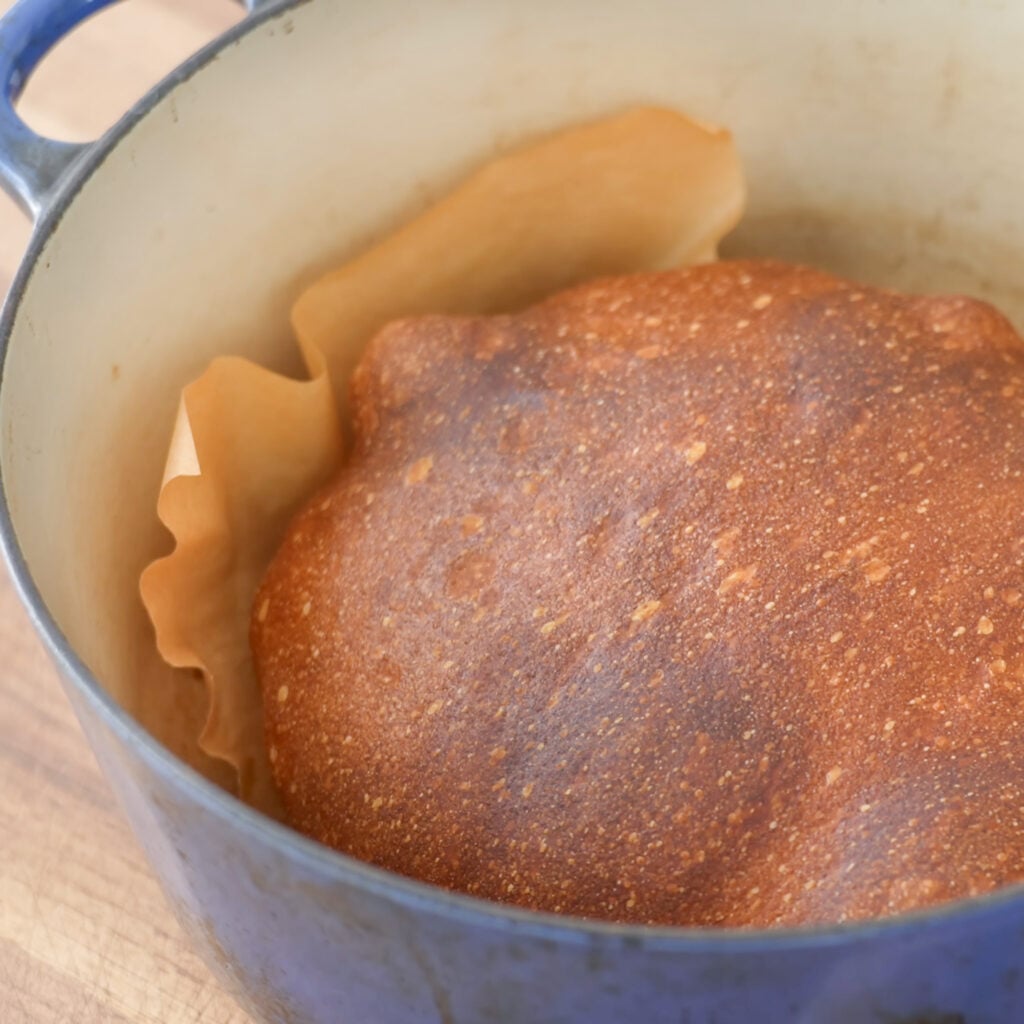
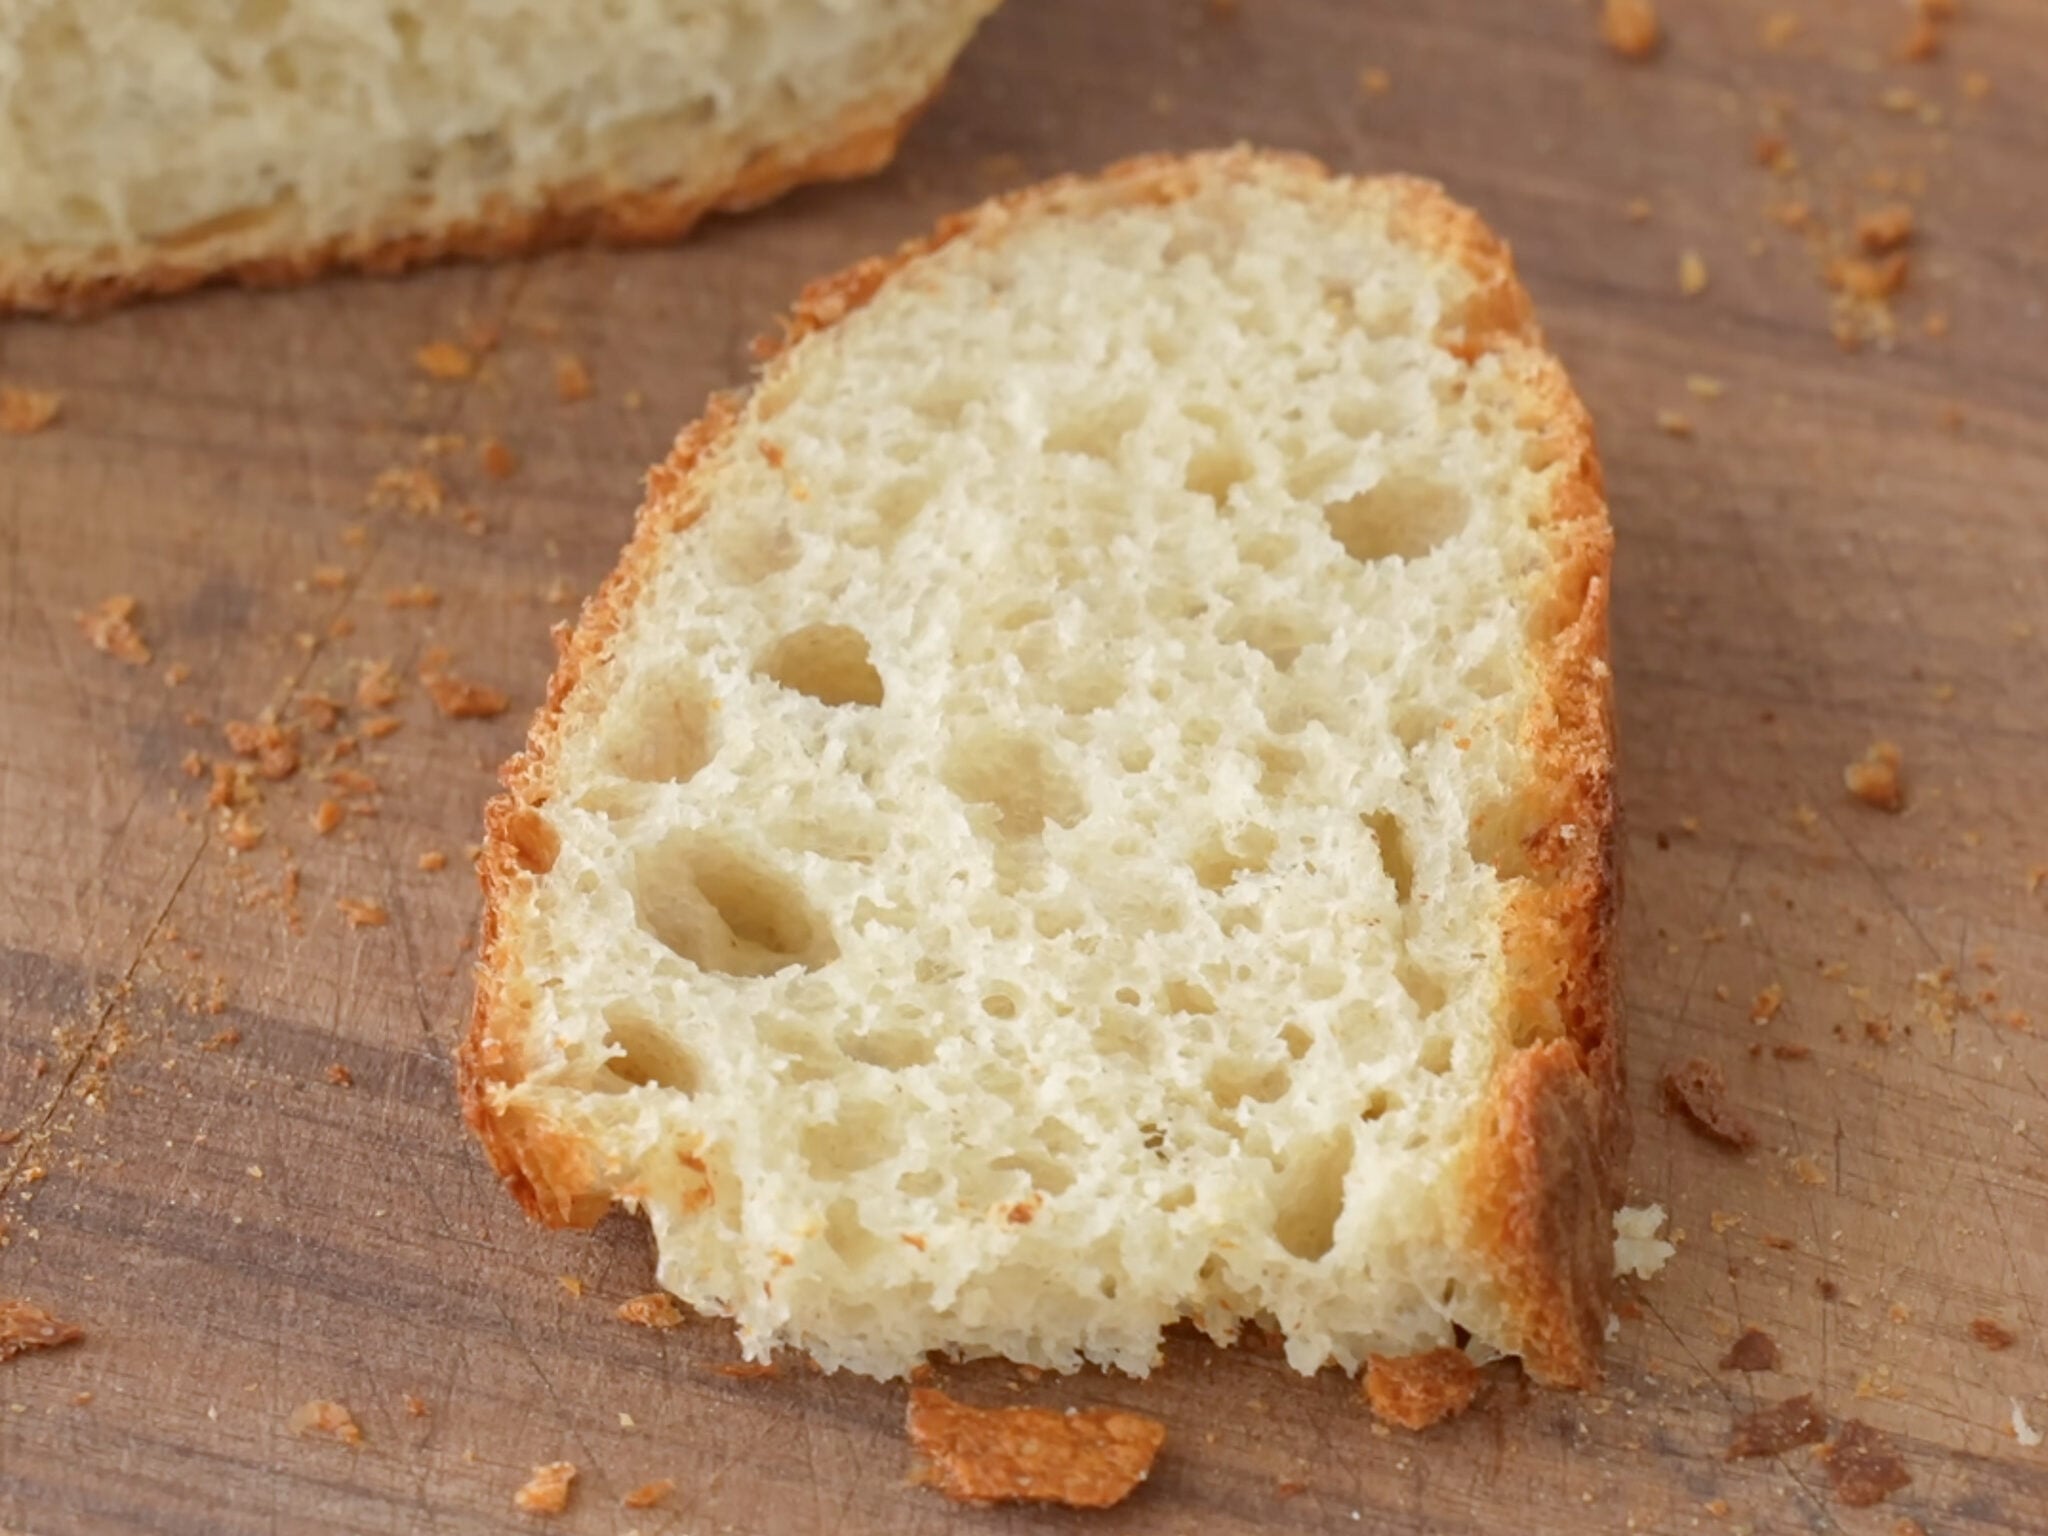
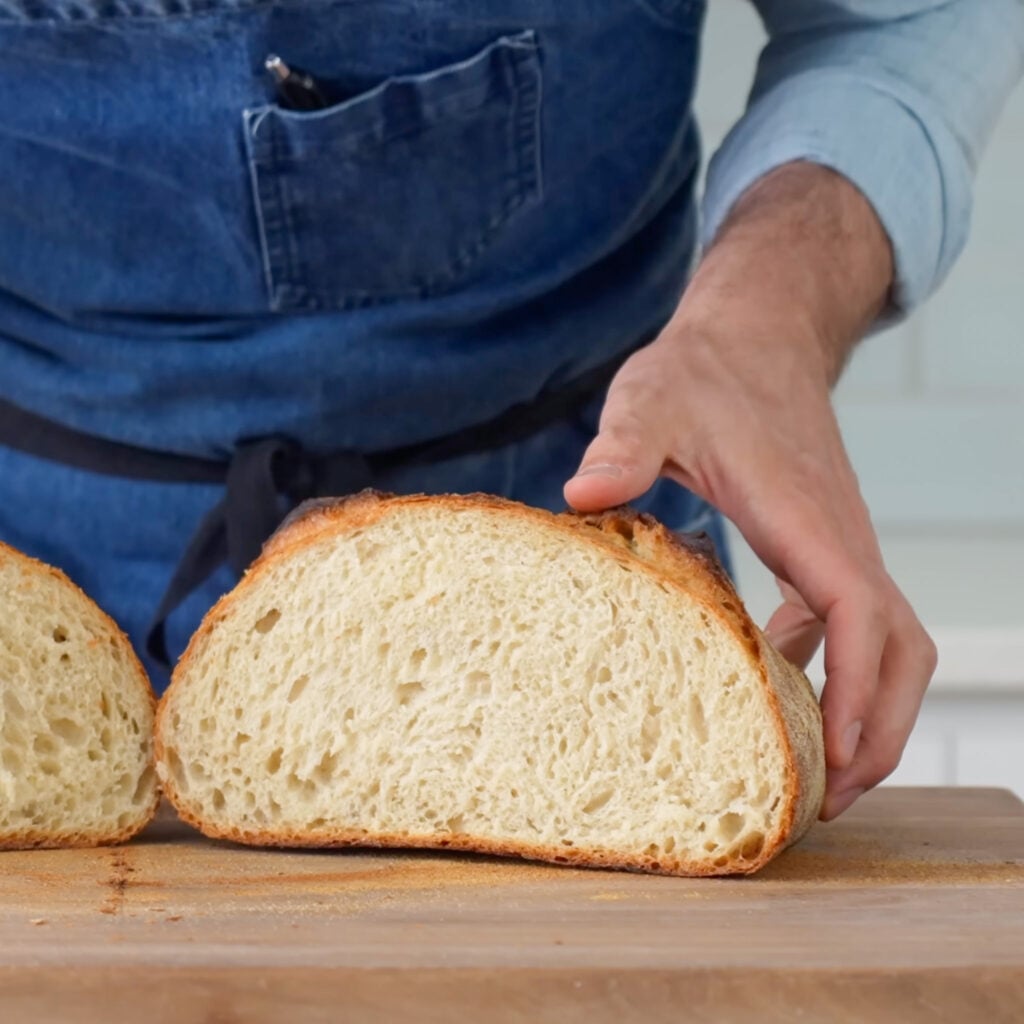
The crust on this version is genuinely special. Brittle, a touch chewy, and in terms of crust-to-crumb ratio it eats a lot like a baguette: about half the cross-section is crust. If you’re a crust person, this is the one.
Loaf 3: The Big Dog Boule
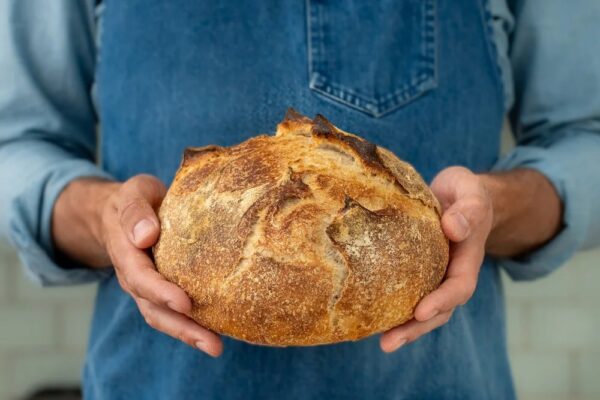
This version uses the entire batch of dough to make a single one-kilo loaf. It’s a proper grown-up boule.
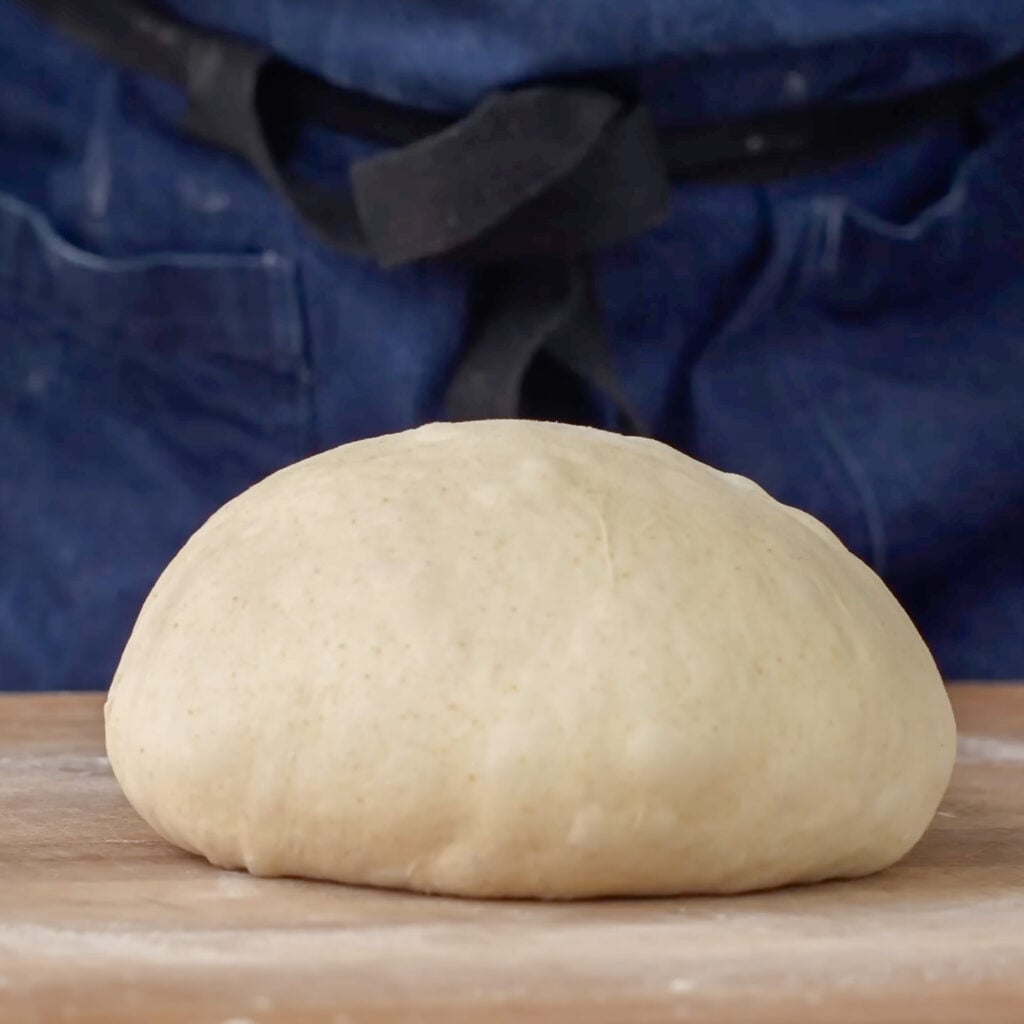
5.3 Shape the boule. Flour your work surface and flip the dough out. Pop any large bubbles. Grab a corner or side of the dough and fold it about 60% of the way across to the other side. Grab the next section clockwise and fold it similarly. Continue going around the dough 7–9 times total, popping any large bubbles that form as you go. Then flip the dough ball seam-side down. With your hands on either side, roll the dough on its seam to seal it, while tucking it up under itself slightly and building tension across the top.
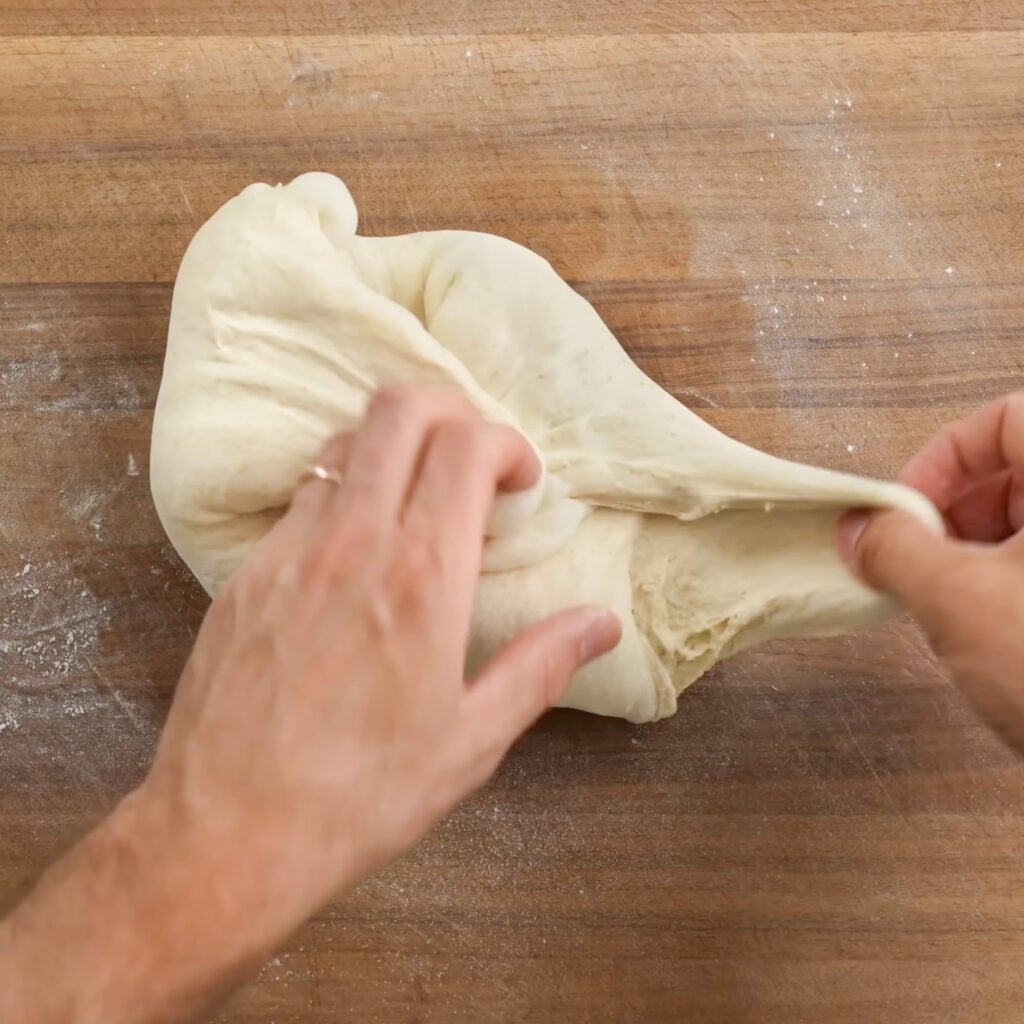
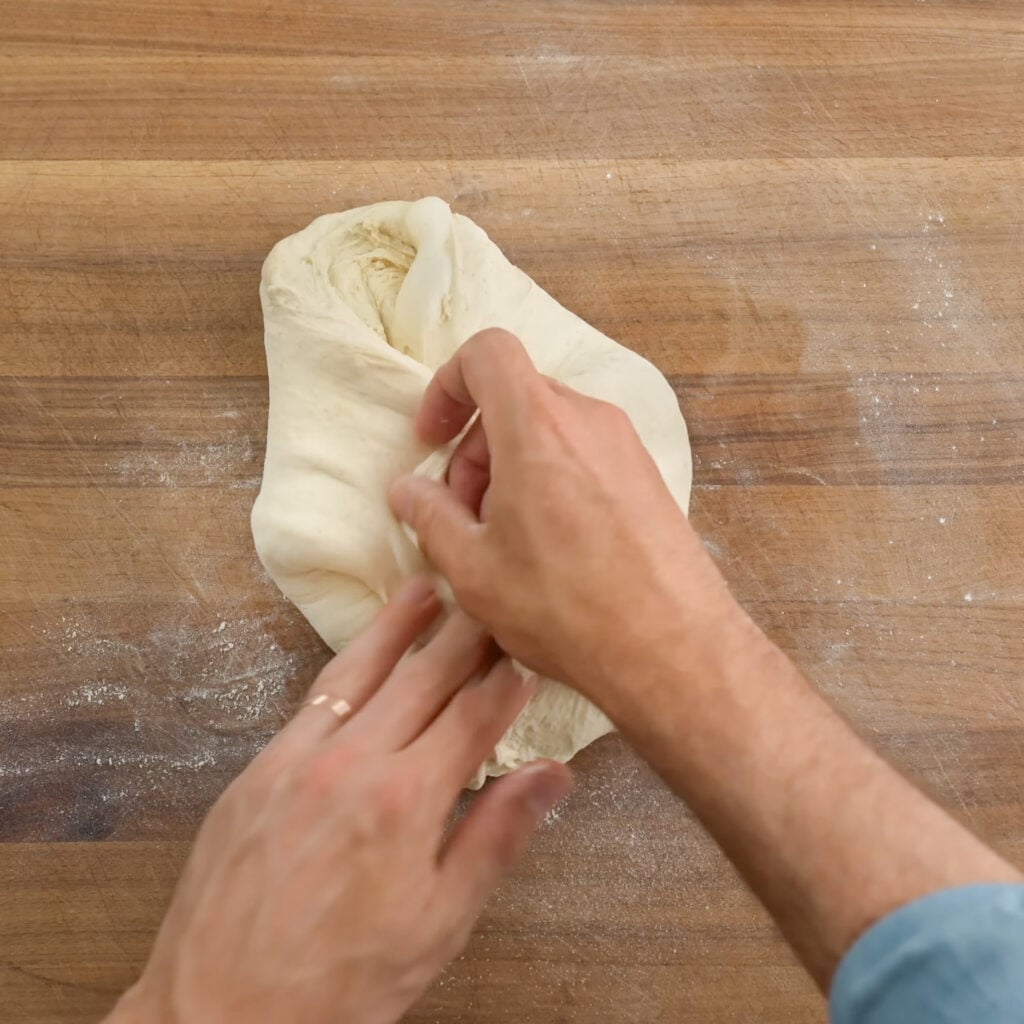
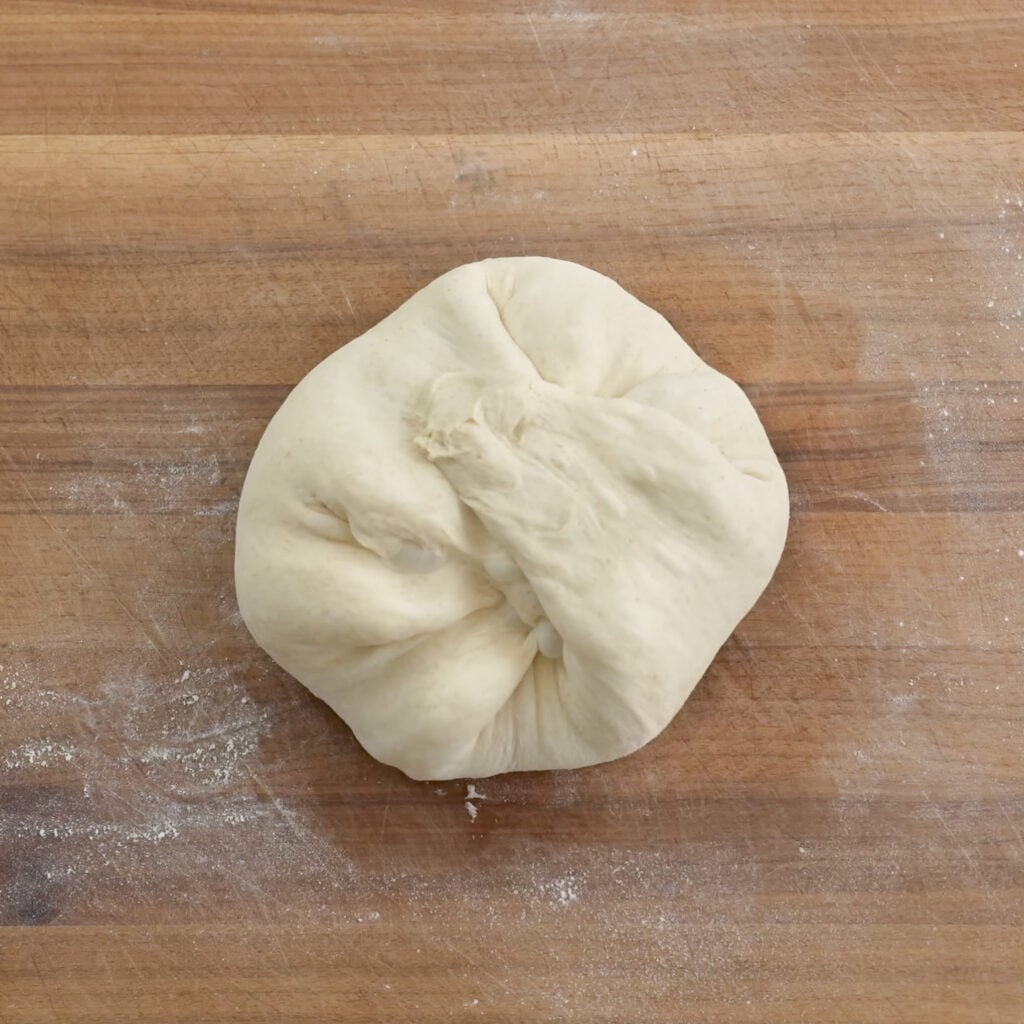
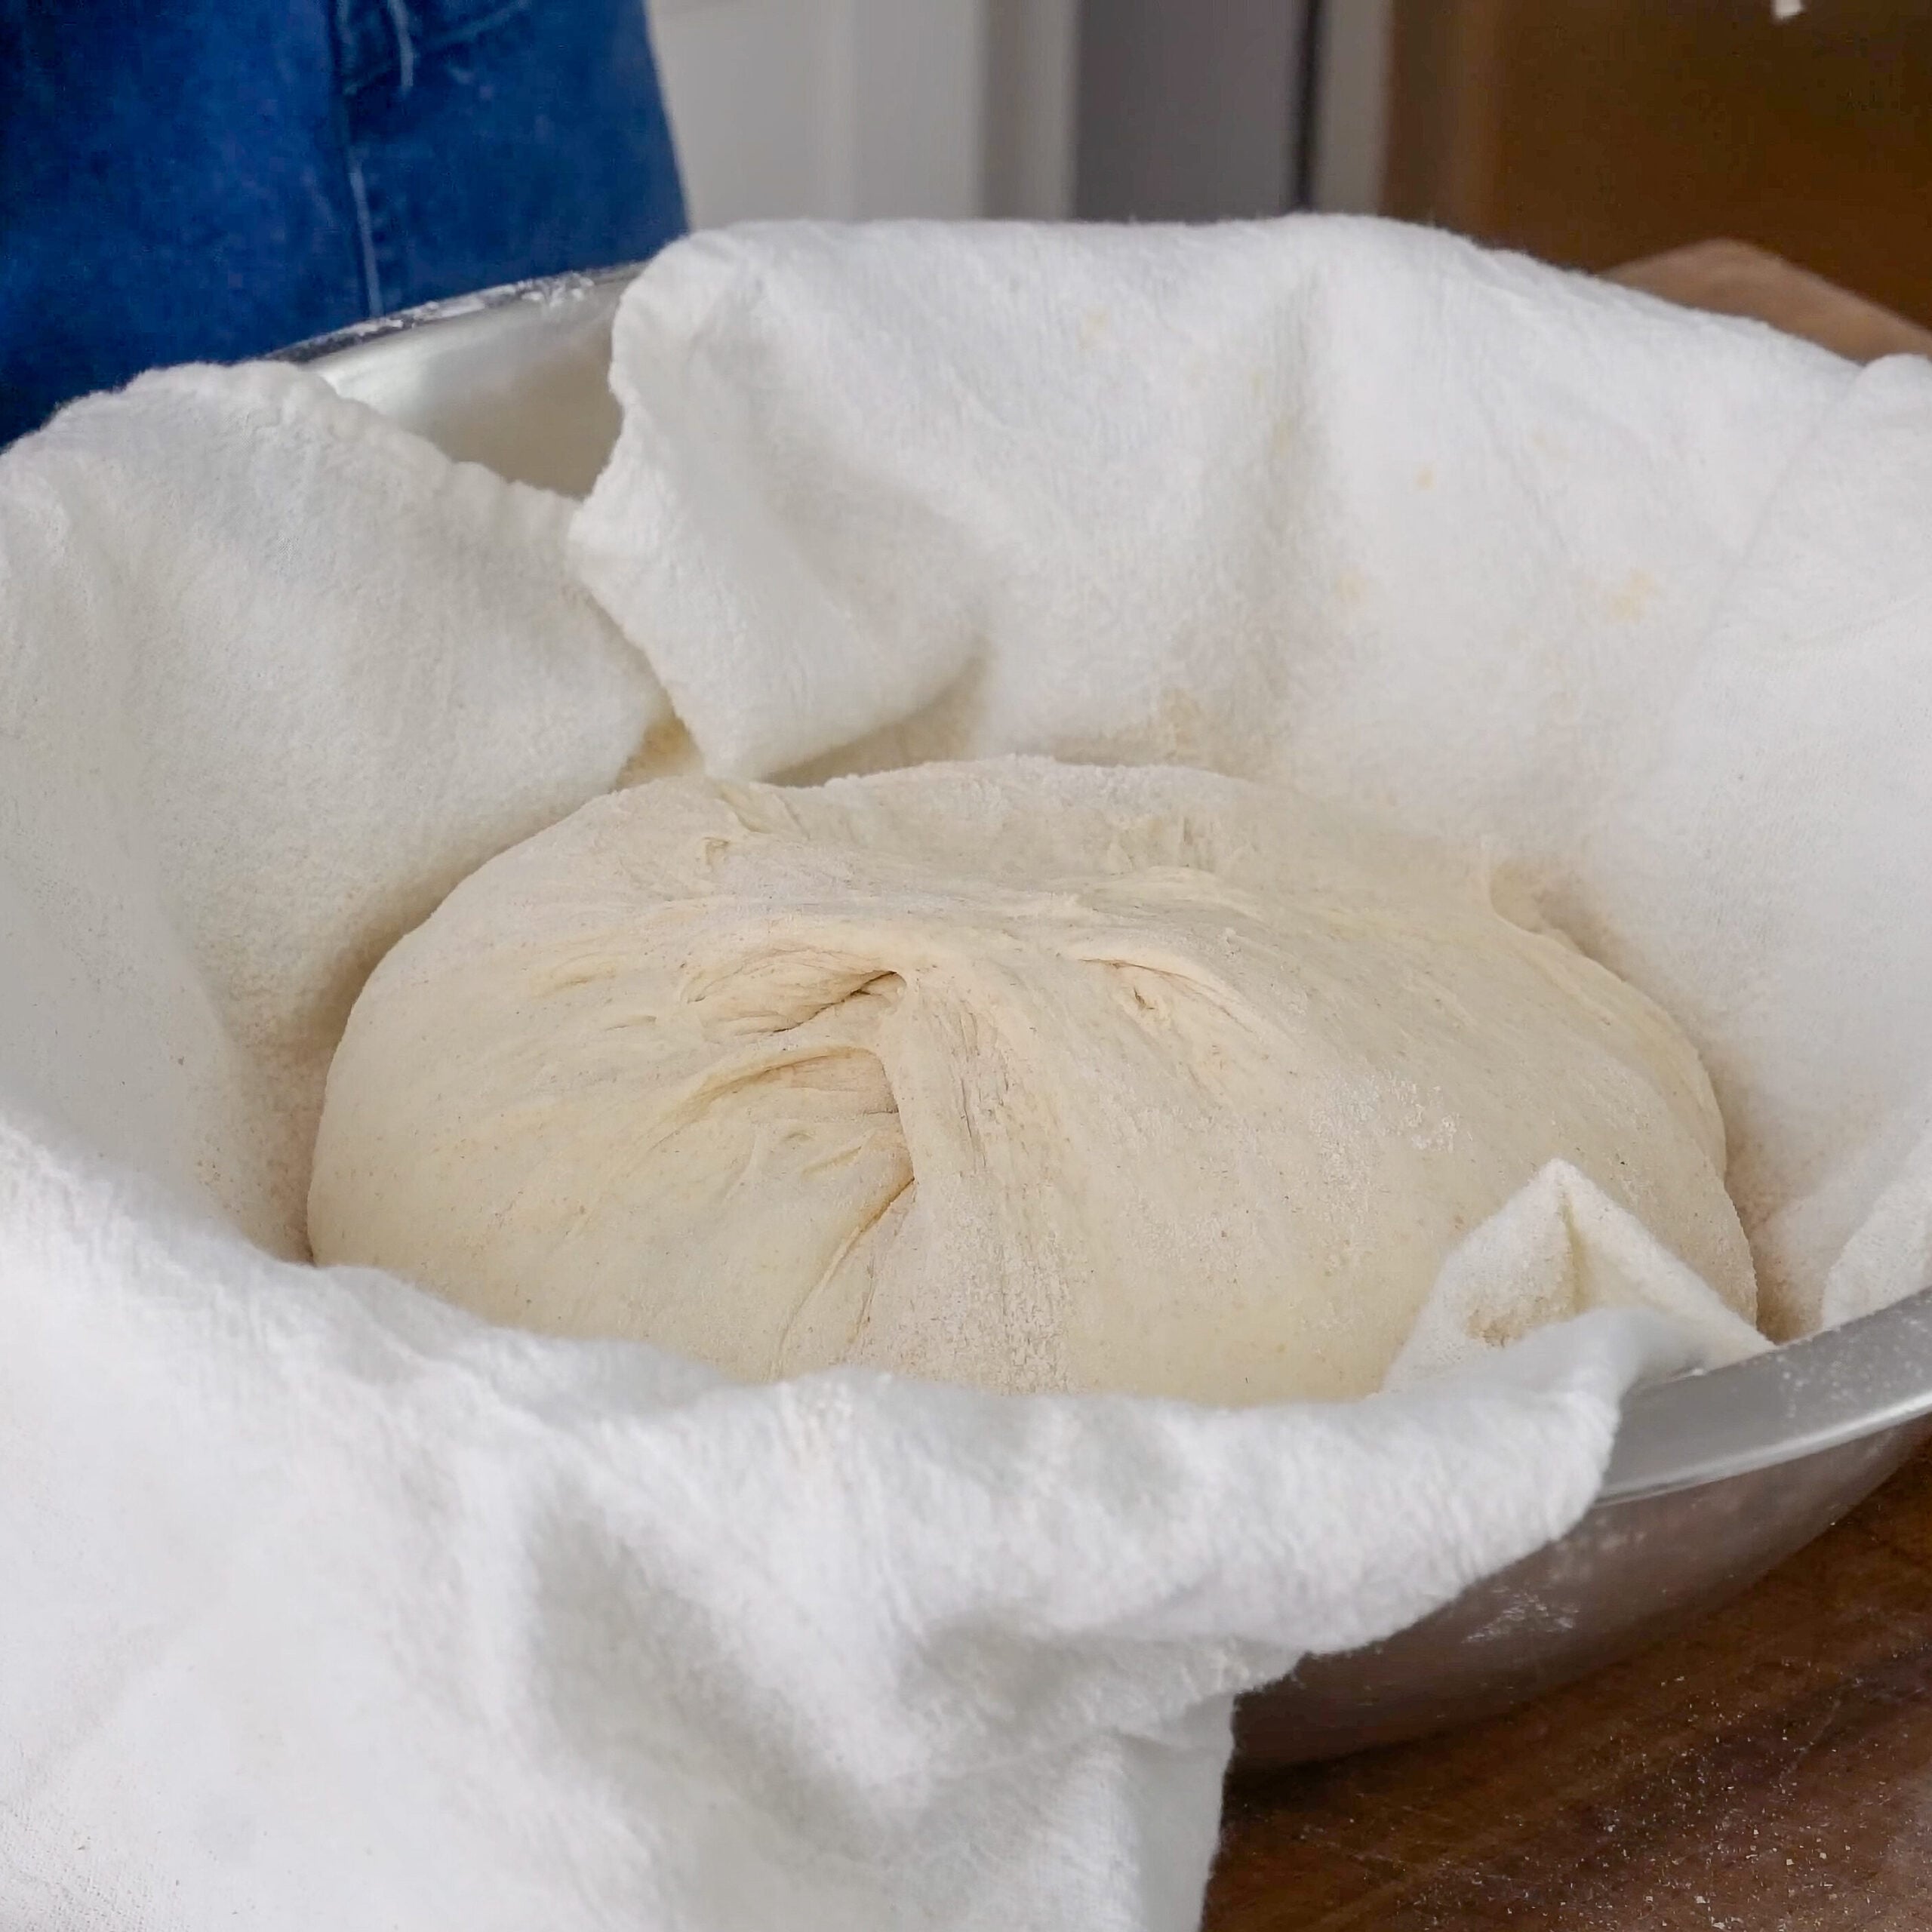
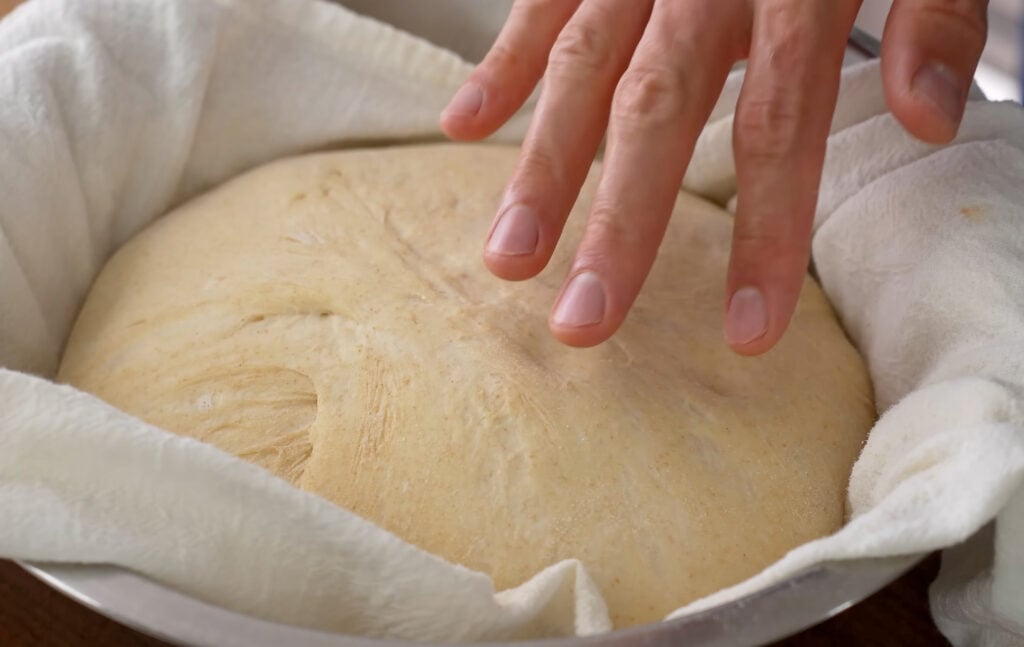
6.3. Proof in a floured bowl. Line a medium bowl with a thin kitchen towel. The bowl should be roughly the same size as the dough …I use this bowl which is the same I use for mixing. Dust the towel generously with a mix of bread flour and whole wheat flour. Transfer the shaped dough seam-side up into the bowl, fold the towel over the top to cover, and proof at room temperature for 60–120 minutes depending on how warm your kitchen is. After proofing, when you poke the dough, it should slowly spring back rather than holding the indent.
How do I know when the dough is properly proofed? The poke test: press a floured finger gently into the dough. If it springs back slowly over about 2–3 seconds, it’s ready. If it springs back immediately, give it more time. If the indent doesn’t come back at all, you’ve over-proofed. A warm kitchen (74–76°F / 24°C) will be closer to 60 minutes; a cooler one (65–68°F / 20°C) may need a full two hours.
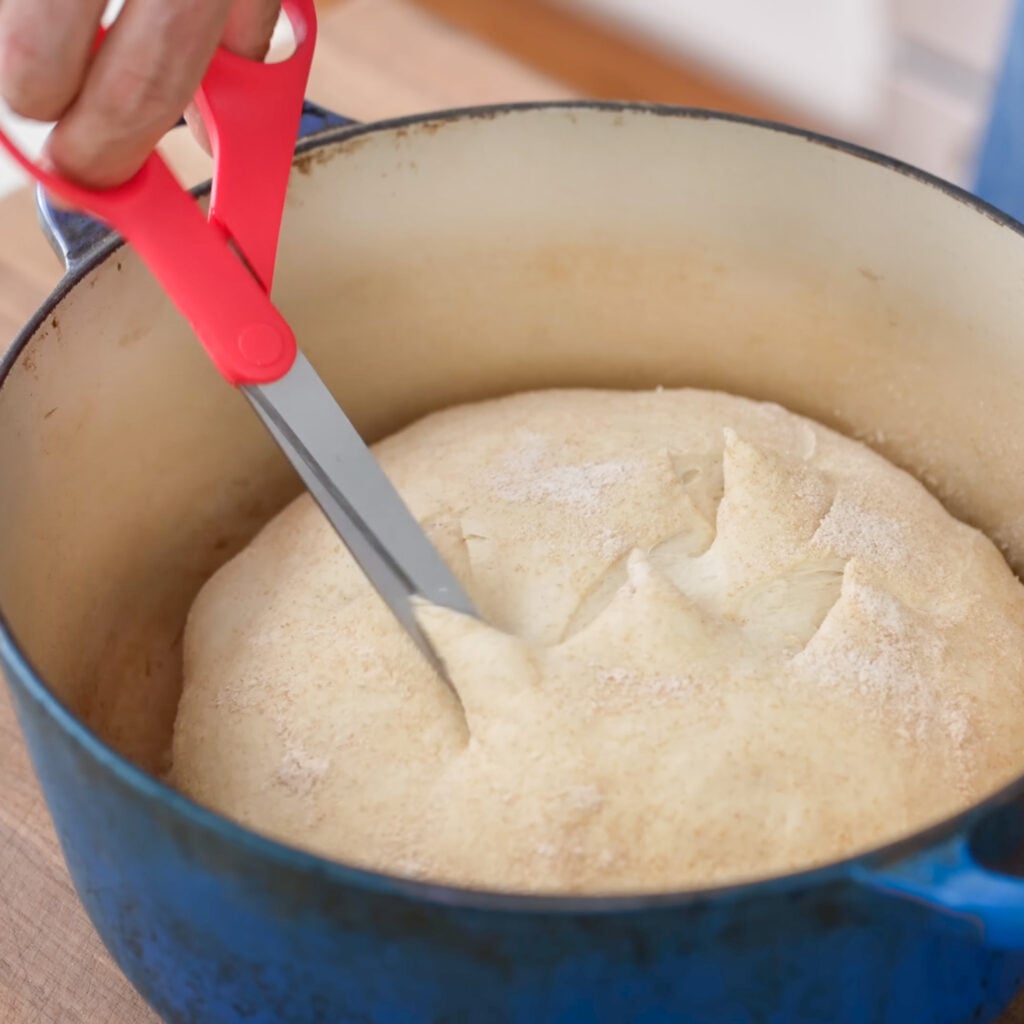
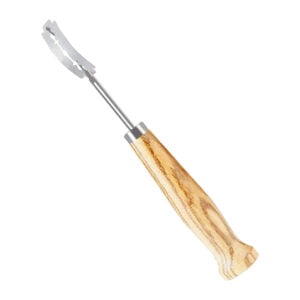
7.3. Bake. Preheat the oven to 480°F/250°C with a standard dutch oven or combo cooker inside for at least 30 minutes. Drop a generous layer of semolina flour or fine cornmeal into the bottom of the dutch oven to prevent sticking. Carefully flip the shaped loaf into the dutch oven so the seam side is now facing down. Score the top with a few cuts using scissors or a lame. This gives the loaf a controlled place to rise through and it’s what creates those dramatic ears when it opens up in the oven.
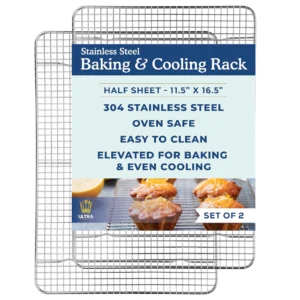
Cover with the lid and bake for 18 minutes. Remove the lid, reduce the oven to 465°F (240°C) and continue baking for 20-25 more minutes until the loaf is deeply and evenly browned and the crust feels well set. Transfer to a wire rack to cool before slicing.
Storage & Make-Ahead
All three loaves are best the day they’re baked. The crust on Loaves 2 and 3 in particular will soften overnight as interior moisture migrates out. Store at room temperature in a paper bag or bread box for up to 2 days. Don’t refrigerate; refrigeration accelerates staling significantly.
This bread stores well sliced. Just wrap tightly and freeze for up to 2 months, then toast directly from frozen.
More Easy Bread Recipes to Try:
- Easy Focaccia – The easiest and most-baked bread in my house
- No-Knead “Everything” Dough – Use it to make pizza, bread, bagels, and more
- My Easiest Actually Good Sourdough – When you want sourdough with less fuss
The Easiest Actually Good Bread (1 Dough 3 Loaves)
Ingredients
POOLISH INGREDIENTS:
- 150 g water (room temperature)
- 1 tiny pinch instant y east
- 150 g bread flour
DOUGH INGREDIENTS:
- 250 g warm water, approx 86°F/30°C
- 2 g instant yeast
- 300 g ripe poolish, see poolish instructions
- 12 g salt
- 400 g bread flour
- 50 g whole wheat flour
Instructions
Make the Poolish
- In a small bowl, combine the room temperature water, a tiny pinch of yeast, and bread flour.
- Stir to combine, cover, and let it ferment at room temperature for at least 4 hours, but preferably 24 hours.
Make the Dough
- In a medium bowl, mix together the warm water, instant yeast, and all of the ripe poolish.
- Add the salt, bread flour, and whole wheat flour to the bowl and stir with a sturdy spoon until you can no longer move the spoon through the mixture.
- Switch to using a wet hand to squeeze and massage the dough until there are no longer any dry spots and everything is evenly combined.
- Cover the bowl with a lid and ferment at room temperature for 30 minutes.
- Perform a strength building fold by pulling out a handful of the dough on one side and folding it over to the other side of the dough. Rotate the bowl a few degrees and repeat about 7 more times, rotating the bowl after each fold.
- After the folds, grab the ball of dough around its side/bottom with one hand, picking up the ball while rounding and rotating it, then setting it back down to create tension across the top. Do this several times.
- Cover and allow to ferment at room temperature again for another 30 minutes. After 30 minutes repeat the strength building fold and rounding.
- Cover and ferment at room temperature for 60 minutes. As this point you've fermented for 2 hours total. When you check back after this 60-minute ferment, the dough should have doubled in size.
SHAPING YOUR DOUGH INTO A LOAF
LOAF 1: Simple Ciabatta Style Loaf
- Flour your work surface and gently flip the dough out onto it.
- Flatten the dough slightly with a flat hand and pop any air bubbles.
- Shape the dough into a rough square then cut the square in half to create 2 equal rectangles.
- Transfer each loaf onto a parchment-lined sheet tray, cover with a kitchen towel or another sheet tray, and proof at room temperature for 60 minutes.
- Bake the loaves for 20 minutes in a well-preheated 480°F (250°C).
- After baking, let the loaves cool slightly before slicing with a bread knife.
LOAF 2: Darker and Crustier Loaf
- Flour your work surface and gently flip the dough out onto it.
- Shape the dough into a rough square.
- Cut the dough in half and shape each half by pulling out both sides, folding them over each other (like you would a letter) and gently degassing any large bubbles.
- Flip the dough over onto the folded side and tidy up to ensure everything is nicely tucked in.
- Transfer both shaped loaves onto a parchment-lined sheet tray. Cover with another sheet tray and let them proof for 60 minutes.
- Preheat the oven to 480°F (250°C) with a dutch oven or lodge combo cooker inside for 30 minutes.
- Slice the parchment paper in half (between the two loaves) and carefully lower 1 loaf with parchment paper into the pre-heated dutch oven using the parchment paper.
- Cover with the lid and bake for 20-22 minutes.
- Remove the lid and continue baking uncovered for another 10-12 minutes until the loaf is deeply golden brown.
- Repeat the process for the second loaf.
LOAF 3: The Big Dog Boule
- Flour your work surface and gently flip the dough out onto it.
- To shape the dough, grab a corner/side piece of the dough and pull it about 60% of the way across to the other side of the dough. Grab another side/corner of the dough next to the first, and fold it across again. Repeat all the way around the dough. You'll do this between 7-9 times in total, popping any big bubbles that form along the way.
- Flip the dough ball over so that the seam side is down against the work surface. With your hands on either side of the dough, roll the dough on its seam side while tucking it up underidself to seal it and create tension across the top of the dough.
- Grab a medium sized bowl that's just bigger than the dough ball you just made (I've linked the 5qt bowl I use in the gear section below). Line the bowl with a thin kitchen towel and dust the towel with a mix of wheat and all purpose flour. Transfer the dough ball to the floured towel-bowl, seam side UP, tucking the seam once again to better seal.
- Fold the towel over the dough and let it proof at room temperature for 45-120 minutes (depending on the temperature of your house) until it has doubled in size. The warmer your house, the shorter the proof. The cooler your house, the longer you'll need to proof. When properly proofed, the dough should indent then slowly spring back when you poke it.
- Preheat your oven to 480°F (250°C) with a dutch oven inside for 30 minutes
- Place a generous dusting of semolina flour or fine cornmeal in the dutch oven to prevent sticking.
- Carefully flip the shaped loaf into the dutch oven (seam side DOWN) and score the top with a few cuts or slices.
- Cover the dutch oven with the lid and bake for 18 minutes.
- Remove the lid and continue baking for another 20-25 minutes, reducing the oven temp to 465°F/240°C.
- When deeply browned, transfer the loaf to a wire rack to cool before slicing.
Notes
 Like this? Leave a comment below!
My Go-To Gear
Below are the tools I actually use when making this recipe. Some of these are affiliate links, which means I may earn a small commission if you purchase through them at no extra cost to you.

Frequently Asked Questions
Yes, but reduce the water by about 10-15g and expect a wetter, stickier dough. Most home-baker AP flour is significantly weaker than what I was working with in a professional bakery context, which is exactly why I switched this recipe to bread flour. The bread flour version handles better and springs up more in the oven. If you’re in Europe or Asia where flour protein content varies widely, bread flour is especially important here.
For Loaf 1, you don’t need one. Just the sheet pans. For Loaves 2 and 3, the dutch oven (or Lodge Combo Cooker) is what creates the steam environment that gives you a real crunchy crust. An alternative is to tent the loaf with a foil pan lid to trap some steam. It’s not quite the same result, but significantly better than baking fully uncovered. I cover this approach in my beginner baguette video.
You can, but you’ll lose both the depth of flavor and the crust-browning capability the preferment provides. The 4-hour minimum is doable in a single day if you plan it, and the flavor gap between the 4-hour and 24-hour versions is real. If time is the issue, start the poolish first thing in the morning and bake in the evening.







Nice Recipe
Love the recipe! It’s been treating me well for over a year now and I feel like I’ve gotten really comfortable with it – particularly when learning how long the final proof needs (often more than the 1 hour I was living by intially). Do you have any tips for adding some dry filling to the dough (parmesean/chive), like what stage to add or how to modify the folding process?